branch? 👀
새로운 기능 , bug fix 등 작업 -> branch를 새로 만들어서 그 branch에 커밋한다.
각각 branch가 완성이 되고 검증된 내용은 master(main) branch에 merge
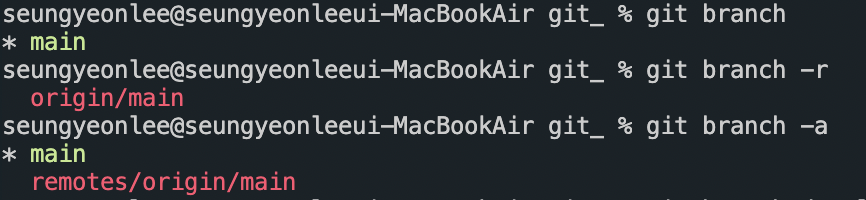
1️⃣ git branch
git branch ➔ commit된 브랜치 정보 확인(local)
git branch -r ➔ 원격 저장소 브랜치 정보 확인(remote)
git branch -a ➔ 로컬, 원격 브랜치 같이 보여줌(all)
git branch 새로운 브랜치 이름 ➔ 새로운 브랜치 만듦
- 새 브랜치 이름은 작업에 대한 명시적인 이름으로 줄 것.
git branch -d 브랜치 이름 ➔ 해당 브랜치 삭제(delete)
- devel1 브랜치를 삭제하고 devel2 브랜치를 생성

.png)
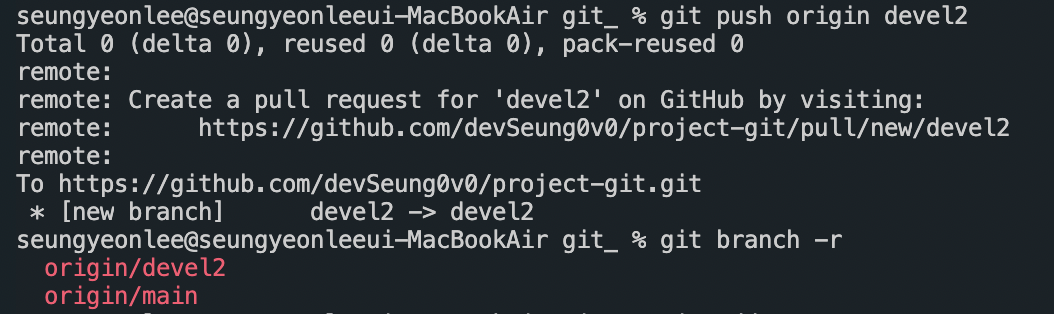
2️⃣ git push
git push origin 브랜치 이름 ➔ 해당 브랜치를 원격 저장소로 지정
- 새로 만든 devel2 브랜치를 원격 저장소로 지정
3️⃣ git checkout
git checkout 브랜치 이름 : 해당 브랜치로 이동하기
git checkout 커밋 해쉬번호 : 해당 커밋 버전으로 이동하기(시간여행!)

4️⃣ git log
💡 보기 깔끔하게 log formatting 하기!
git config --global alias.logstory "log --graph --all --pretty=format:'%C(yellow)[%ad]%C(reset) %C(green)[%h]%C(reset) | %C(white)%s %C(bold red){{%an}}%C(reset) %C(sky)%d%C(reset)' --date=short"%C : color specification
%h : abbreviated commit hash
%s : subject
%an : author name
%d : ref names, like the --decorate option of git-log[1]
.png)
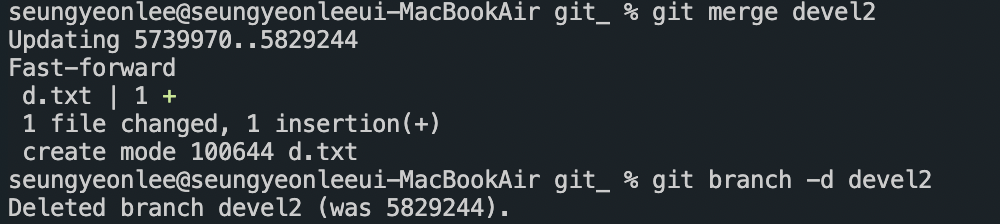
5️⃣ git merge - Fast forward 방식
- git checkout main ➔ merge 받는 브랜치(main)로 이동
- git merge 브랜치 이름
git branch -d 브랜치 이름 ➔ merge한 다음 삭제
❗️ 깔끔하지만 히스토리가 남지 않는다는 단점