WebSphere Application Server ND
WebSphere ND의 경우 WebSphere BASE에서 지원하는 기능을 포함하여 고가용성, 부하분산, 세션 클러스터링을 추가로 제공한다.
보통 nodeagent 인스턴스로 관리가 되고, 전체 Node로 관리하는 dmgr(Deployment Manager) 인스턴스를 통해 한번에 중앙 관리가 가능해진다.
Instance 생성
1. WebSphere Custom Toolbox 구동(GUI)
/opt/IBM/WebSphere/AppServer/bin/ProfileManagement/pmt.sh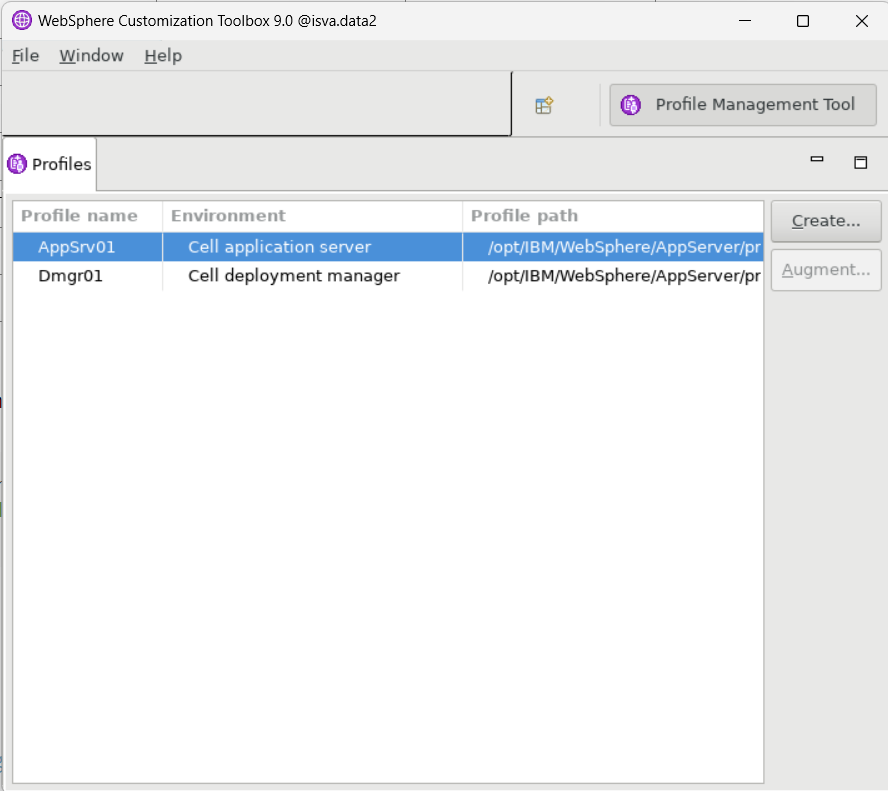
2. Deployment Manager Instance 선택 후 Create
AppSrv01 은 Server Instance를 의미하고, Dmgr01은 Deployment manager를 의미한다.
우선 Deployment Instance를 생성하기 위해 Dmgr01을 클릭한다.

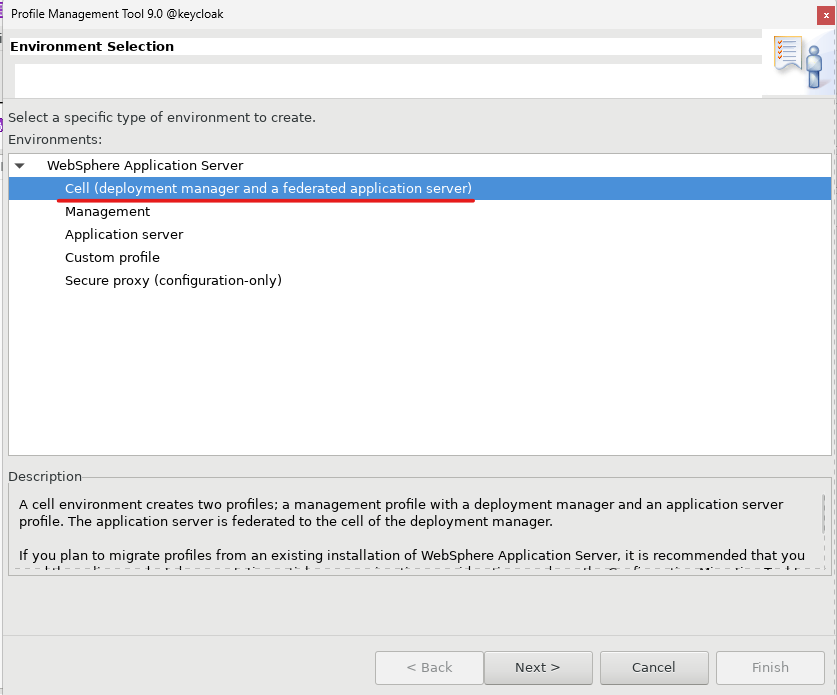
3. Deployment Manager 환경선택
Cell은 하나 이상의 물리적 Node 또는 서버의 논리적 그룹이다.
이는 여러 Application Server, Cluster 및 Resource를 단일 단위로 관리할 수 있는 관리 도메인을 나타낸다. 선택 후 Next를 눌러준다.
만약 Clustering을 위한 Second Server를 구축한다면 Cell이 아닌 Application server 하나만 하면 된다.
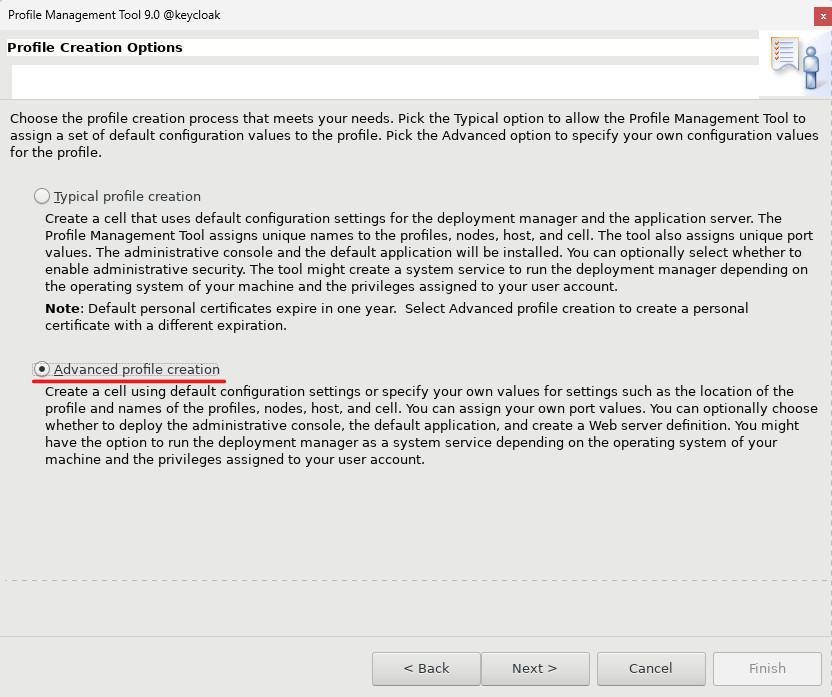
4. Profile 생성을 할 때의 옵션을 선택한다.
보통 Enterprise 환경에서는 Advanced profile creation 을 선택해준다.
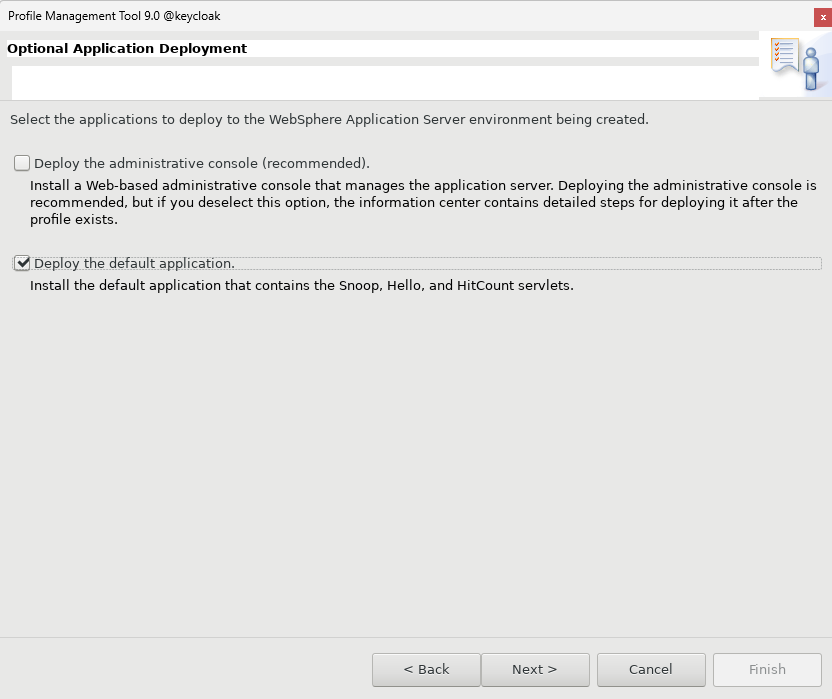
웹 관리 콘솔을 배포해주고, 기본 애플리케이션도 배포해준다.

Clustering Second 구성 시
웹 관리 콘솔은 배포하지 않는다.
5. Profile Name & Path 설정

Profile의 이름과 경로를 설정해준다.
Make this deployment manager profile the default : 이 Deployment manager profile을 새로운 기본값으로 지정하려면 선택하면 된다.
그 밑에는 Naming Rule이 있다.
6. Node, Host, Cell 이름 설정
기본 Default 값으로는 Linux의 Host name 을 이용하여 잡힌다.

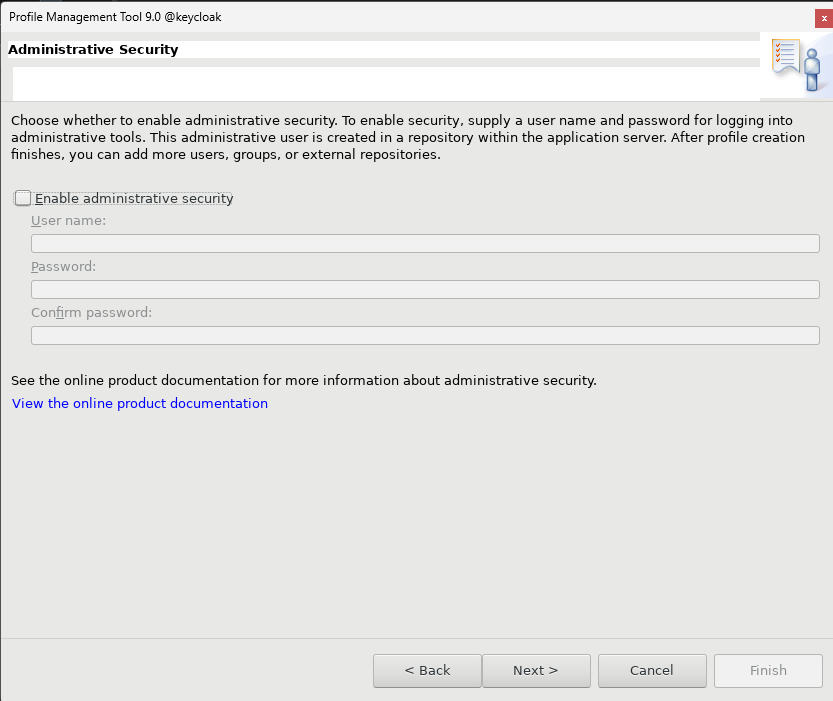
7. 관리자 계정 설정
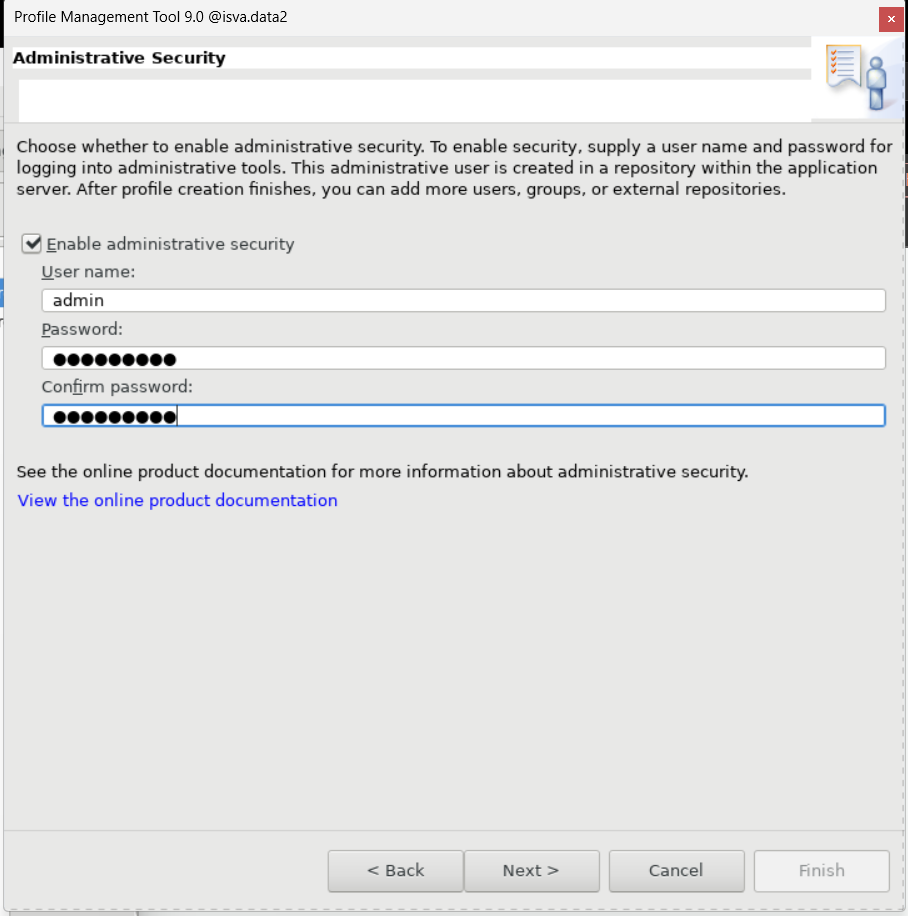
Second Server
Clustering Second Server에서는 관리자계정을 체크 해제 해주었다.
8. 인증서 생성
기본 인증서를 생성하는 것을 체크해주었다.

인증서 키에 담길 정보를 확인하고, 유효년도를 설정해준다.

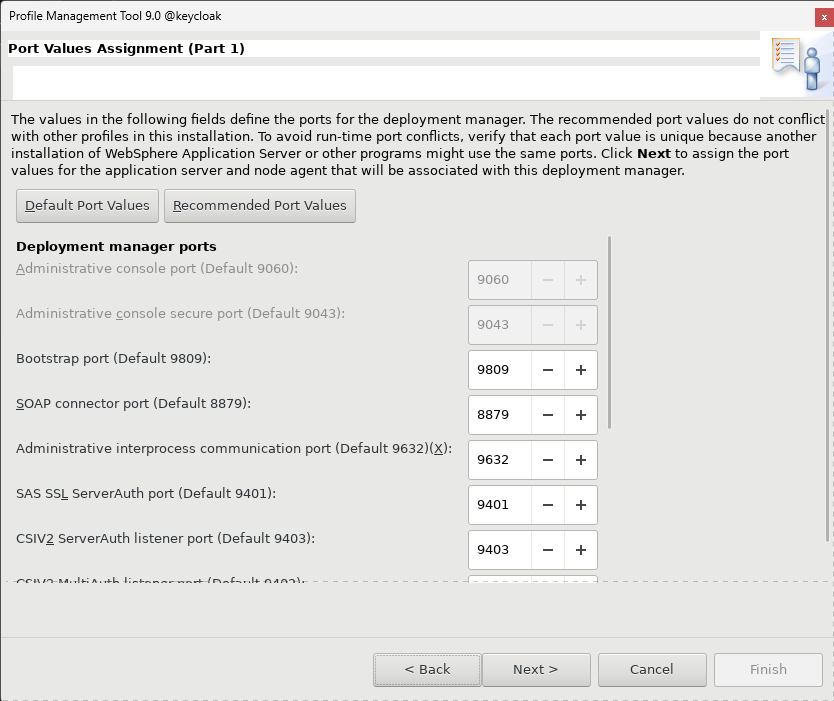
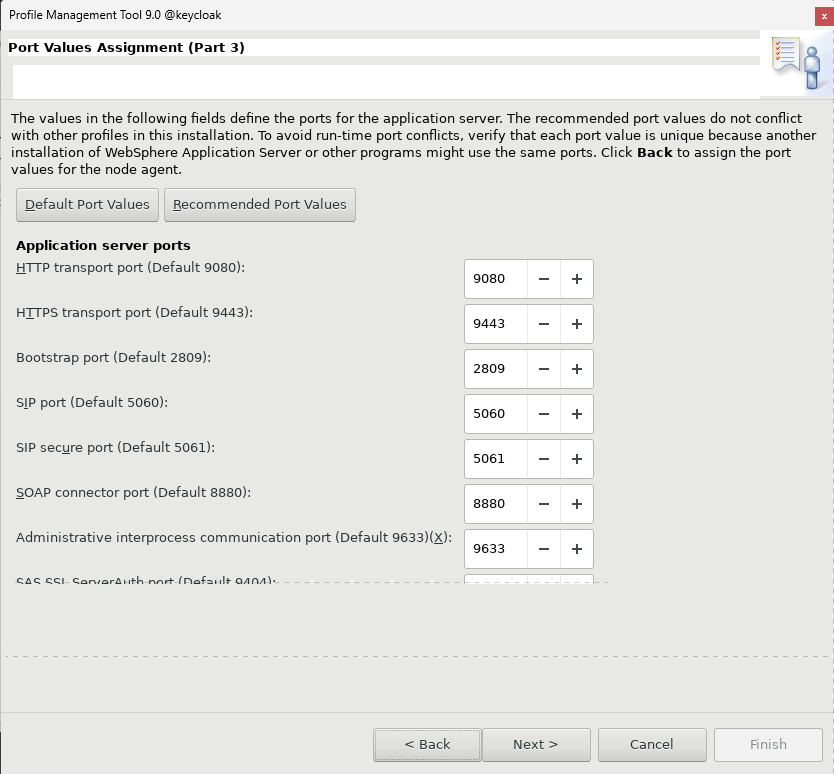
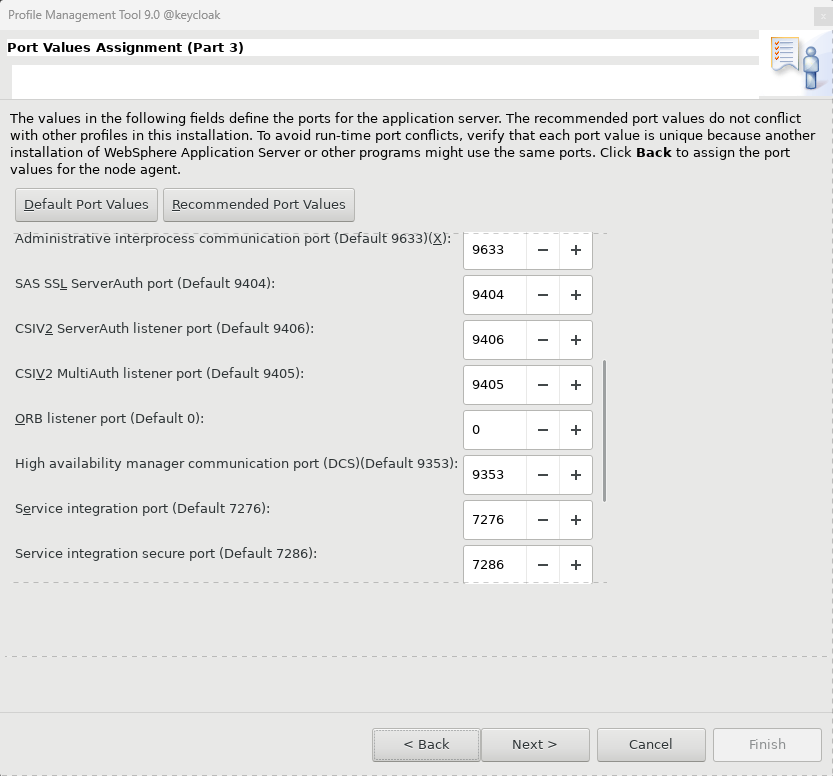
9. Port 번호 설정
Default Port로 설정되어 있는데 바꾸고 싶으면 바꾸면 된다.
Part 1

Part 2


Part 3

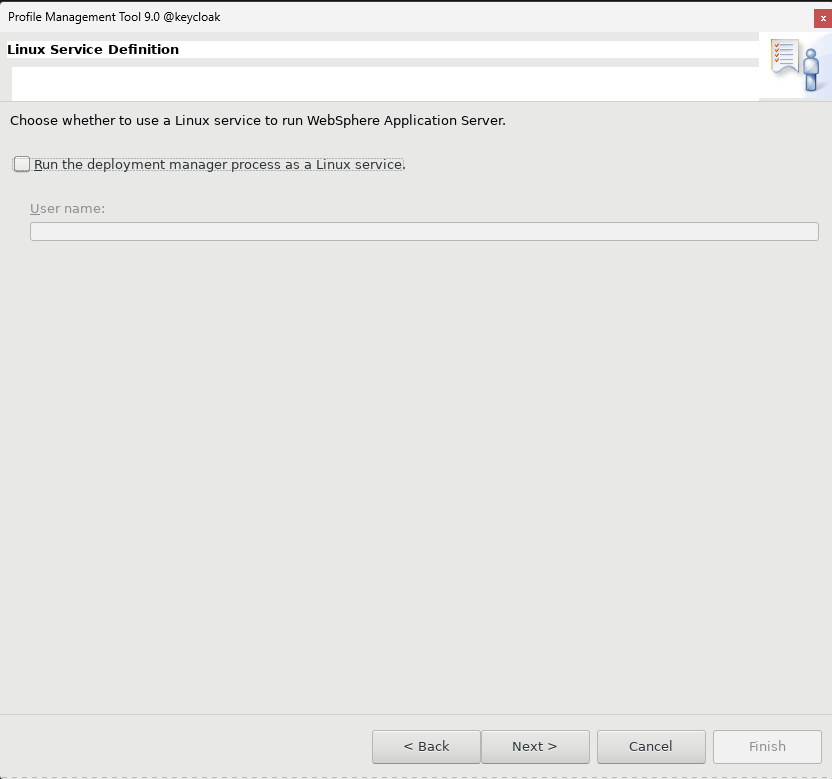
10. Linux Service 설정
Linux 서비스를 사용하여 WebSphere Application Server를 실행할지 여부 선택한다.
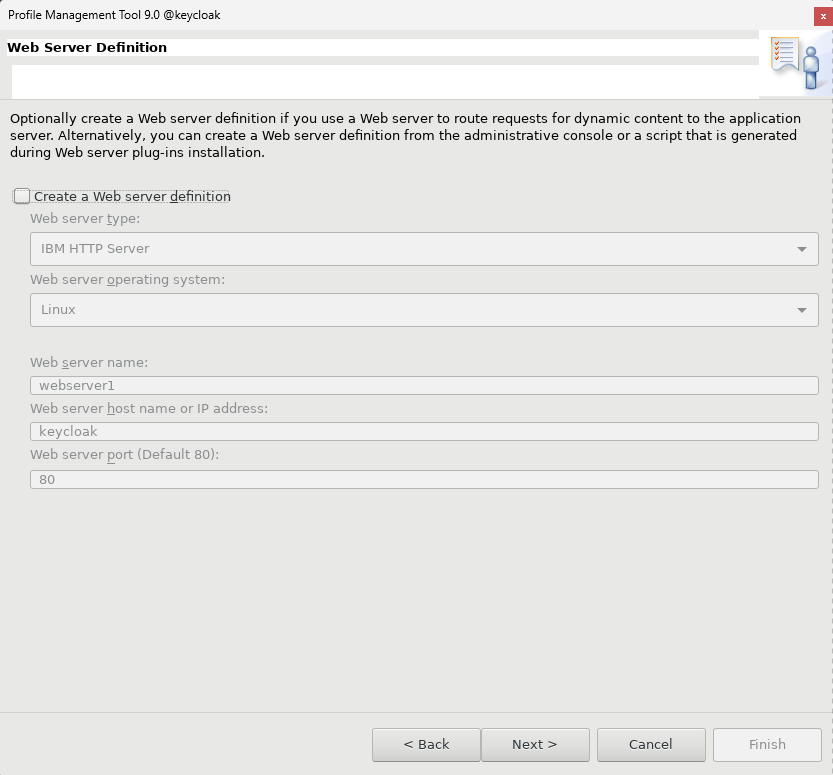
11. Web Server 설정
내가 연동하려는 SSO 에서는 Web Server는 따로 사용하지 않을 것이기 때문에 제외해준다.
12. 요약 및 Instance 구성 시작
정보를 확인하고 Create를 눌러준다.

Server 구동
인스턴스를 다 생성하고 나면 DN을 설치했던 경로에 인스턴스가 생성되어 있을 것이다.
Default 경로
/opt/IBM/WebSphere/AppServer/profiles
Deployment Manager
Deployment Manager 구동
/opt/IBM/WebSphere/AppServer/profiles/<DM Instance Name>/bin/startManager.sh -profileName <Instance Name> -username <Administration Name> -password <Administration Password>Deployment Manager 정지
/opt/IBM/WebSphere/AppServer/profiles/<DM Instance Name>/bin/stopManager.sh -profileName <Instance Name> -username <Administration Name> -password <Administration Password>
Node Instance
Node Instance 구동
/opt/IBM/WebSphere/AppServer/profiles/<Node Instance Name>/bin/startNode.sh -profileName <Instance Name>
Node Instance 정지
/opt/IBM/WebSphere/AppServer/profiles/<Node Instance Name>/bin/stopNode.sh -profileName <Instance Name>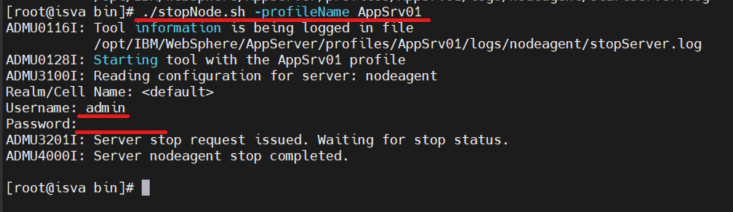
Application Server
Application Server 구동
./startServer.sh <Server Instance> -profileName <Profile Name> -statusport <Port Number>Application Server 정지
./stopServer.sh <Server Instance> -profileName <Profile Name> -statusport <Port Number>

Port 확인
WebSphere 기본 포트는 9060이다.
netstat -nap | grep 9060
Process 확인
ps -ef |grep AppServer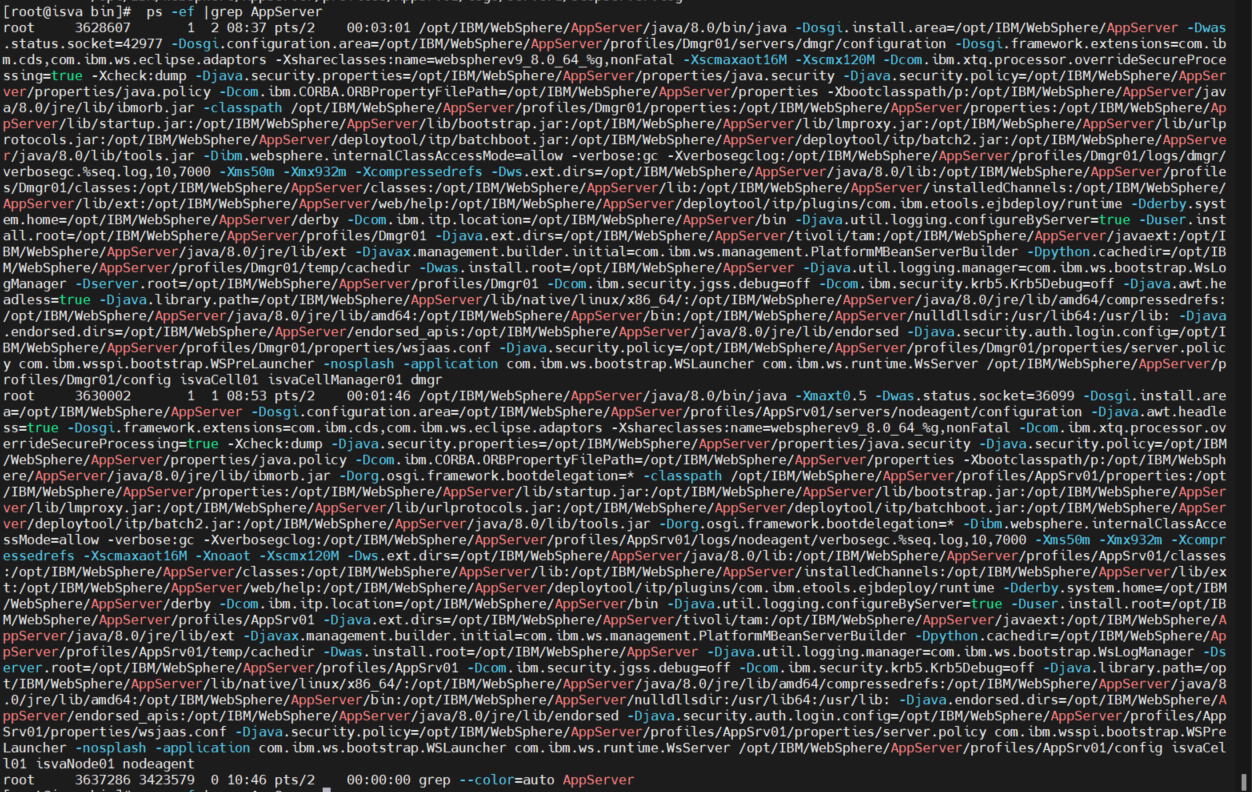
WebSphere 웹 관리자 콘솔 접속
1. 방화벽 OPEN
나는 VMWare에 WebSphere를 구축하였기 때문에 방화벽을 먼저 OPEN해준다.
설치한 OS가 RHEL 8.7 이기 때문에 아래 명령어를 통해 OPEN 해준다.
방화벽 OPEN
firewall-cmd --zone=public --permanent --add-port=9043/tcp
방화벽 Reload
firewall-cmd --reload방화벽 List 확인
firewall-cmd --zone=public --list-all
2. 웹 관리 콘솔 접속
https://<host addr>:<port>/ibm/console