PointFree에서 TCA 1.0이 공식적으로 배포된 후에 최신 버전으로 다시 처음부터 차근차근 설명해주는 무료 세션이 열렸는데 복습할 겸 기록해보고자 합니다.
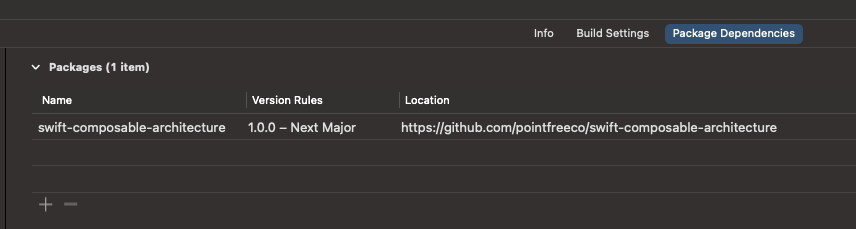
1. Package Dependencies에서 Composable Architecture 추가해주기.
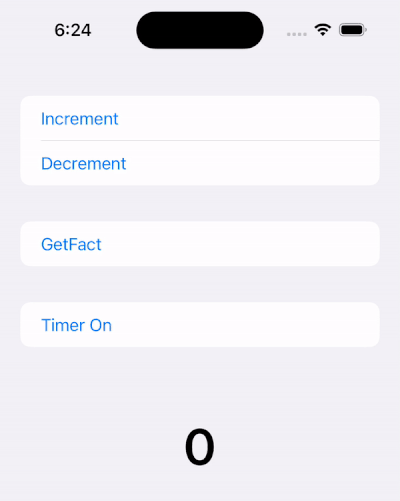
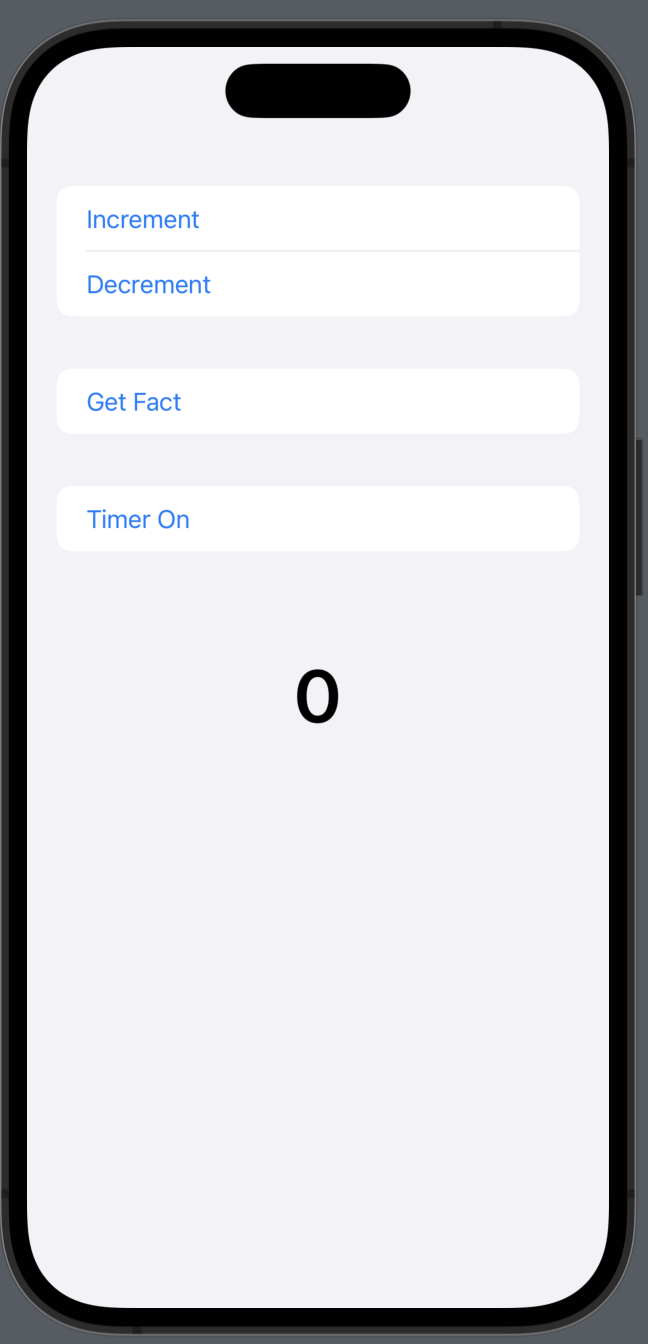
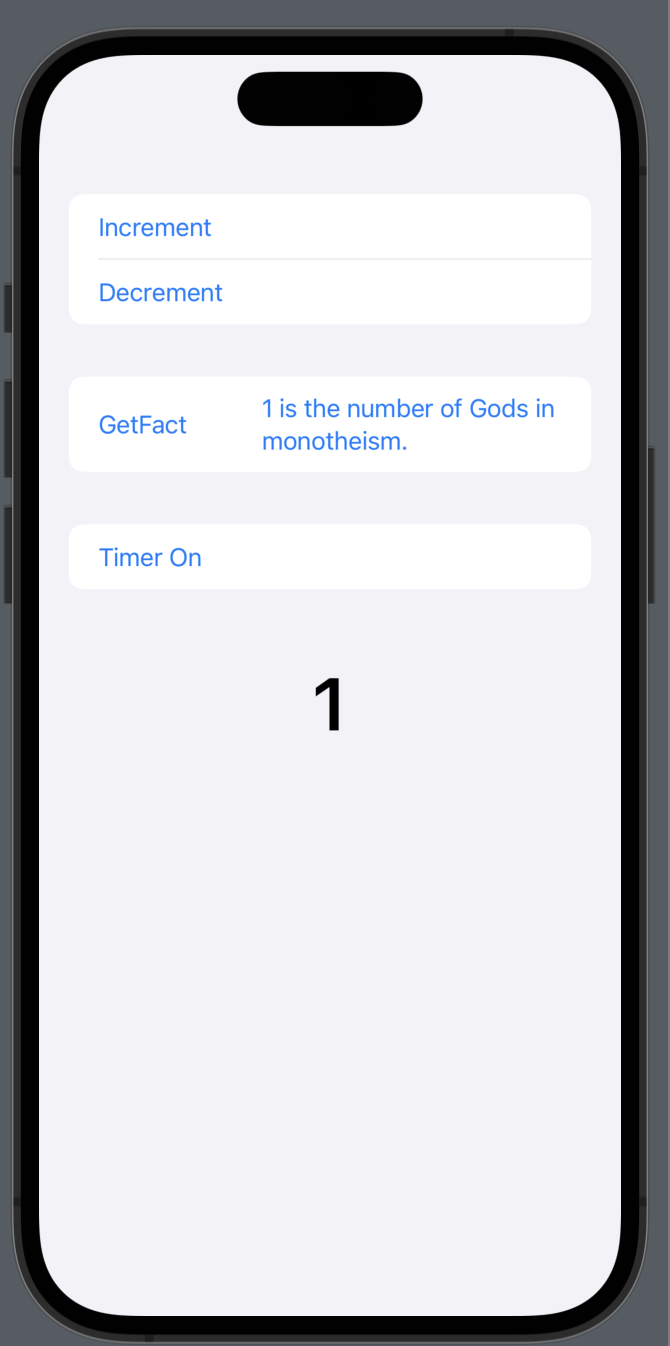
2. ContentView 레이아웃 구성
struct SectionContentView: View {
    var body: some View {
    	// 숫자 텍스트가 가운데에 오게 하고싶어 ZStack 사용
        ZStack {
            Form {
                Section {
                    Button("Increment") {
                        // To Do
                    }

                    Button("Decrement") {
                        // To Do
                    }
                }

                Section {
                    Button("Get Fact") {
                        // To Do
                    }
                }

                Section {
                    Button("Timer On") {
                        // To Do
                    }
                }
            }

            // 이 숫자는 "Increment/Decrement" 버튼을 눌렀을 때 값 변경
            Text("0")
                .bold()
                .font(.system(size: 50))
        }
    }
}
3. Composable Architecture 적용
Feature 는 스유의 ViewModel 이라고 생각하면 편할 듯. Reducer 프로토콜을 준수해야 하는데 기능의 State(상태변화), Action, Logic, 동작을 캡슐화한다.
일반적인 흐름:
- 사용자가 UI와 상호작용하여 액션이 생성.
- 액션이 Reducer로 전송됨.
- Reducer는 현재 상태와 Action을 받아 새로운 상태를 생성.
- 새로운 상태는 body를 업데이트 해 UI를 다시 렌더링.
import ComposableArchitecture

struct SectionContentFeature: Reducer {
    struct State: Equatable {
    	// 뷰에서 필요한 상태값들을 정의
        var count: Int = 0
        var fact: String? = nil
        var isTimerOn: Bool = false
    }

    // 유저가 UI와 상호작용하는 동작들 정의
    // Side Effect를 반환하는 case도 넣을 수 있음 (밑에서 설명 예정)
    // TCA는 명확함과 간결성을 위해 액션의 이름을 logic-based가 아닌 사용자 인터렉션에 따라 지정하는 것을 선호한다고 강조.
    // (incrementCounts X -> incrementButtonTapped O)
    enum Action {
        case incrementButtonTapped
        case decrementButtonTapped
        case getFactButtonTapped
        case timerButtonTapped
    }

    var body: some ReducerOf<Self> {
    	// 여러개의 reducer를 가질 수 있음.
        // inout 파라미터로 현재 state를 캡처
        // 리턴값은 Effect
        Reduce { state, action in
            switch action {
            case .incrementButtonTapped:
                return .none
            case .decrementButtonTapped:
                return .none
            case .getFactButtonTapped:
                return .none
            case .timerButtonTapped:
                return .none
            }
        }
    }
}
4. Store / WithViewStore 생성 및 바인딩
뷰는 Store 에 바인딩해서 현재 상태에 접근한다. 이 상태가 변경되면 UI는 자동으로 새로운 상태를 반영하여 업데이트 됨.
Store 가 생성되면 액션을 디스패치할 수 있고, Reducer 와의 통신을 처리하면서 상태를 업데이트함.
WithViewStore 를 사용하면 코드 가독성을 더 높힐 수 있음.
- 스토어에서
현재 상태 추출-> 뷰에서 상태 데이터를 직접 접근하고 사용할 수 있음. 액션 바인딩-> 특정 이벤트 (버튼 클릭 등)가 발생했을 때, store에서 직접 액션을 호출할 수 있음.
observe 도 중요함. $0 은 전체를 reload 한다는 의미인데 뷰가 커지면 커질수록 양이 많아지면서 버거워짐. $0 대신 observe: \.{state에 있는 프로퍼티 명} 을 넣어주면 전체가 아닌 해당 값만 변경 됨. (나중에 정리 예정)
struct SectionContentView: View {
    let store: StoreOf<SectionContentFeature>

    var body: some View {
        WithViewStore(store, observe: { $0 }) { viewStore in
            ZStack {
                Form {
                    Section {
                        Button("Increment") {
                            viewStore.send(.incrementButtonTapped)
                        }

                        Button("Decrement") {
                            viewStore.send(.decrementButtonTapped)
                        }
                    }

                    ...(생략)
                }

                Text("\(viewStore.count)")
                    .bold()
                    .font(.system(size: 50))
            }
        }
    }
}
var body: some ReducerOf<Self> {
Reduce { state, action in
switch action {
case .incrementButtonTapped:
state.count += 1
return .none
case .decrementButtonTapped:
state.count -= 1
return .none
...(생략)
}
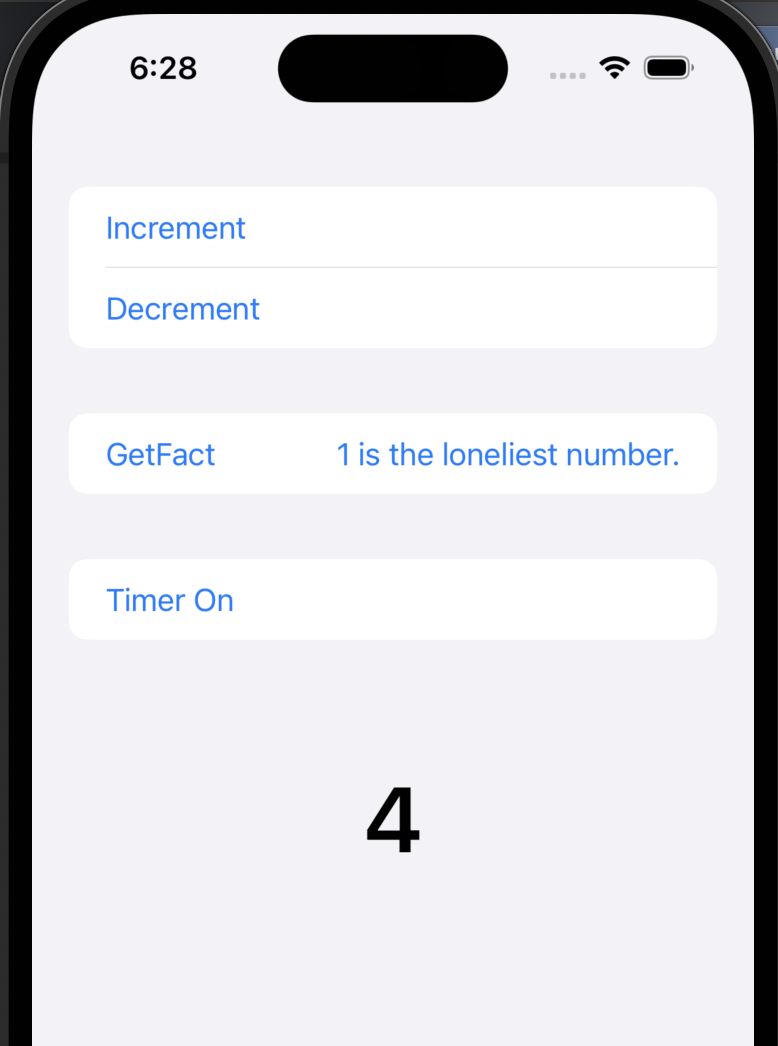
}5. Effect 반환
Effect 는 네트워크 요청 등과 같은 비동기적 (async) 혹은 부작용을 가진 작업을 나타내는데 사용된다. 가장 많이 쓰이는 이펙트는 run 이다.
먼저 뷰 UI 구성을 조금 바꿔보자. HStack Button에 타이틀과 api에서 받아온 String을 넣어주도록 바꿈.
struct SectionContentView: View {
    var body: some View {
        WithViewStore(store, observe: { $0 }) { viewStore in
			Section {
				Button {
					viewStore.send(.getFactButtonTapped)
				} label: {
					HStack {
						Text("GetFact")
						Spacer()
						if let fact = viewStore.fact {
							Text(fact)
						}
					}
				}
			}
... (생략)- inout 파라미터 state는 비동기 코드에서 바꿀 수 없으므로
캡처리스트를 생성해줘야 함. - 구조체 비동기에서는 값 변경이 안되기 때문에 값을 전달해줄 factResponse 액션을 추가해줌.
struct SectionContentFeature: Reducer {
    enum Action {
        case incrementButtonTapped
        case decrementButtonTapped
        case getFactButtonTapped
        case factResponse(String) // response를 받기위한 액션 추가
        case timerButtonTapped
    }

    var body: some ReducerOf<Self> {
        Reduce { state, action in
            switch action {

            ... (생략)

            case .getFactButtonTapped:
                return .run { [count = state.count] send in  // 캡처
                    let (data, _) = try await URLSession.shared.data(from: URL(string: "http://www.numbersapi.com/\(count)")!)

                    let fact = String(data: data, encoding: .utf8) ?? ""
                    await send(.factResponse(fact))
                }

            case .factResponse(let fact):
                state.fact = fact
                return .none
            }
        }
    }
}
6. Cancellable
state의 isTimerOn 값에 따라 타이머를 재생시킬지 종료시킬지 구분.
struct SectionContentView: View {
    var body: some View {
        WithViewStore(store, observe: { $0 }) { viewStore in

            ... (생략)

                    Section {
                        Button("Timer \(viewStore.isTimerOn ? "Off" : "On")") {
                            viewStore.send(.timerButtonTapped)
                        }
                    }
                }
            }
        }
    }
}
Effect를 캔슬 시키기 위해선 hashable한 identifier가 필요함. Typo나 실수를 방지하기 위해 private enum 타입으로 만들 수 있다.
struct SectionContentFeature: Reducer {
    enum Action {
        case incrementButtonTapped
        case decrementButtonTapped
        case getFactButtonTapped
        case factResponse(String)
        case timerButtonTapped
        case timerCounts // 타이머 카운트 올라가는 값 전달
    }

    // 캔슬 identifiers
    private enum CancelIdentifiers: CaseIterable {
        case cancelTimer
        ...
    }

    var body: some ReducerOf<Self> {
        Reduce { state, action in
            switch action {

            ... (생략)

            case .timerButtonTapped:
                state.isTimerOn.toggle()

                if state.isTimerOn {
                    return .run { send in
                        while true {
                            try await Task.sleep(for: .seconds(1))
                            await send(.timerCounts) // 비동기에서 값 변경 X
                        }
                    }
                    .cancellable(id: CancelIdentifiers.cancelTimer)
                } else {
                	// cancel effect로 캔슬 가능
                    return .cancel(id: CancelIdentifiers.cancelTimer)
                }

            case .timerCounts:
                state.count += 1
                return .none
            }
        }
    }
}
7. 완성