웹 풀사이클 데브코스 TIL [Day 49] - 타입스크립트 기초2
Access ModifierIntersection TypeTILclassgettersettertype aliastype guardunion type교육생국비지원교육수강후기코딩부트캠프클래스프로그래머스 데브코스
프로그래머스 웹 풀사이클 데브코스 TIL
목록 보기
49/85
2024.01.30(화)
🤝Union Type
|연산자를 사용하여 타입을 여러 개 연결할 수 있음
- 예시
// 문자열 또는 숫자 function logText(text: string | number) { // ... } - ⚠️논리적 OR과는 다른 개념임에 주의
🤞Intersection Type
&연산자를 사용하여 여러 타입을 모두 만족하는 하나의 타입을 나타낼 수 있음
- 예시
interface Person {
	  name: string;
	  age: number;
}

interface Developer {
	  name: string;
	  skill: number;
}

type Capt = Person & Developer;

/* Capt는 다음과 같이 정의됨

{
	  name: string;
	  age: number;
	  skill: string;
}

*/
🌟타입 별칭(type alias)
타입 별칭은 새로운 타입 값을 하나 생성하는 것이 아니라 정의한 타입에 대해 나중에 쉽게 참고할 수 있게 이름을 부여하는 것
- alias는 “에일리어스”라고 읽는다! ”얼라이어스”, “알리어스” 아님!
- 코드 재사용에 용이
- 예시
// string 타입을 사용할 때
const name: string = 'capt';

// 타입 별칭을 사용할 때
type MyName = string;
const name: MyName = 'capt';
type CardinalDirection = "North" | "East" | "South" | "West"; let direction: CardinalDirection;type numOrStr = number | string; let numStr: numOrStr = 100; function convertToString(val: numOrStr): string { return String(val); } function convertToNumber(val: numOrStr): number { return Number(val); }
➕
interfacevstype alias🔗
- 이 둘은 매우 비슷함
interface는 확장이 가능(open)한 반면type alias은 확장이 불가능(closed)하다는 큰 차이가 있음interface가 더 나은 error message를 제공하기 때문에type alias보다는interface를 사용하는 것이 권장됨😊
🛡️타입 가드(type guard)
typeof연산자를 이용하여 컴파일러가 타입을 예측할 수 있도록 타입을 좁혀(narrowing)주는 방식
- 다음 예시에서 큰 범위의 값을 작은 범위의 값에 할당할 때 컴파일 에러가 발생
type numOrStr = number | string; let numStr: numOrStr = 100; let item: number; function convertToString(val: numOrStr): string { item = val; // error TS2322: Type 'numOrStr' is not assignable to type 'number'. return String(val); } typeof연산자로 타입 검증을 수행한 후 할당하면 에러가 발생하지 않음function convertToString(val: numOrStr): string { if (typeof val === 'number') { item = val; } return String(val); }
📚Array와 Tuple
- Array는 길이가 가변적 & 동일한 타입의 요소로 구성
- Tuple은 길이가 고정적 & 각 요소의 타입이 정해져 있음
// Array
let numbers: number[] = [1, 2, 3, 4, 5];
let fruits: string[] = ["apple", "banana", "orange"];
let mixedArray: (number | string)[] = [1, "two", 3, "four"];
let readOnlyArray: ReadonlyArray<number> = [1, 2, 3, 4, 5]; // 읽기 전용 (수정 불가능)

// Tuple: 타입의 순서가 정해져 있음
let greeting: [number, string, boolean] = [1, "hello", true];
// REST 문법이 적용된 매개변수 -> Array로 받음
function sum(a: number, ...nums: number[]): number {
const totalOfNums = 0;
for (let key in nums) {
totalOfNums += nums[key];
}
return a + totalOfNums;
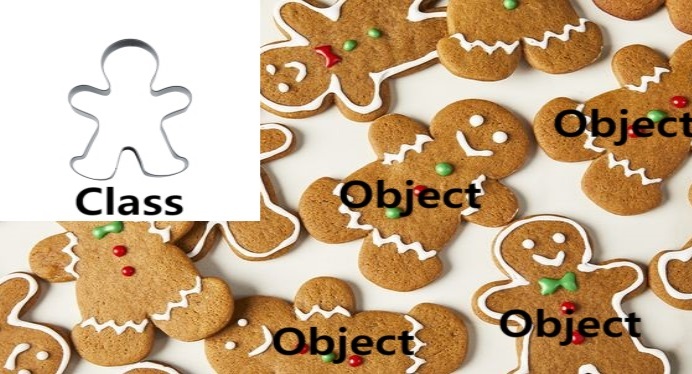
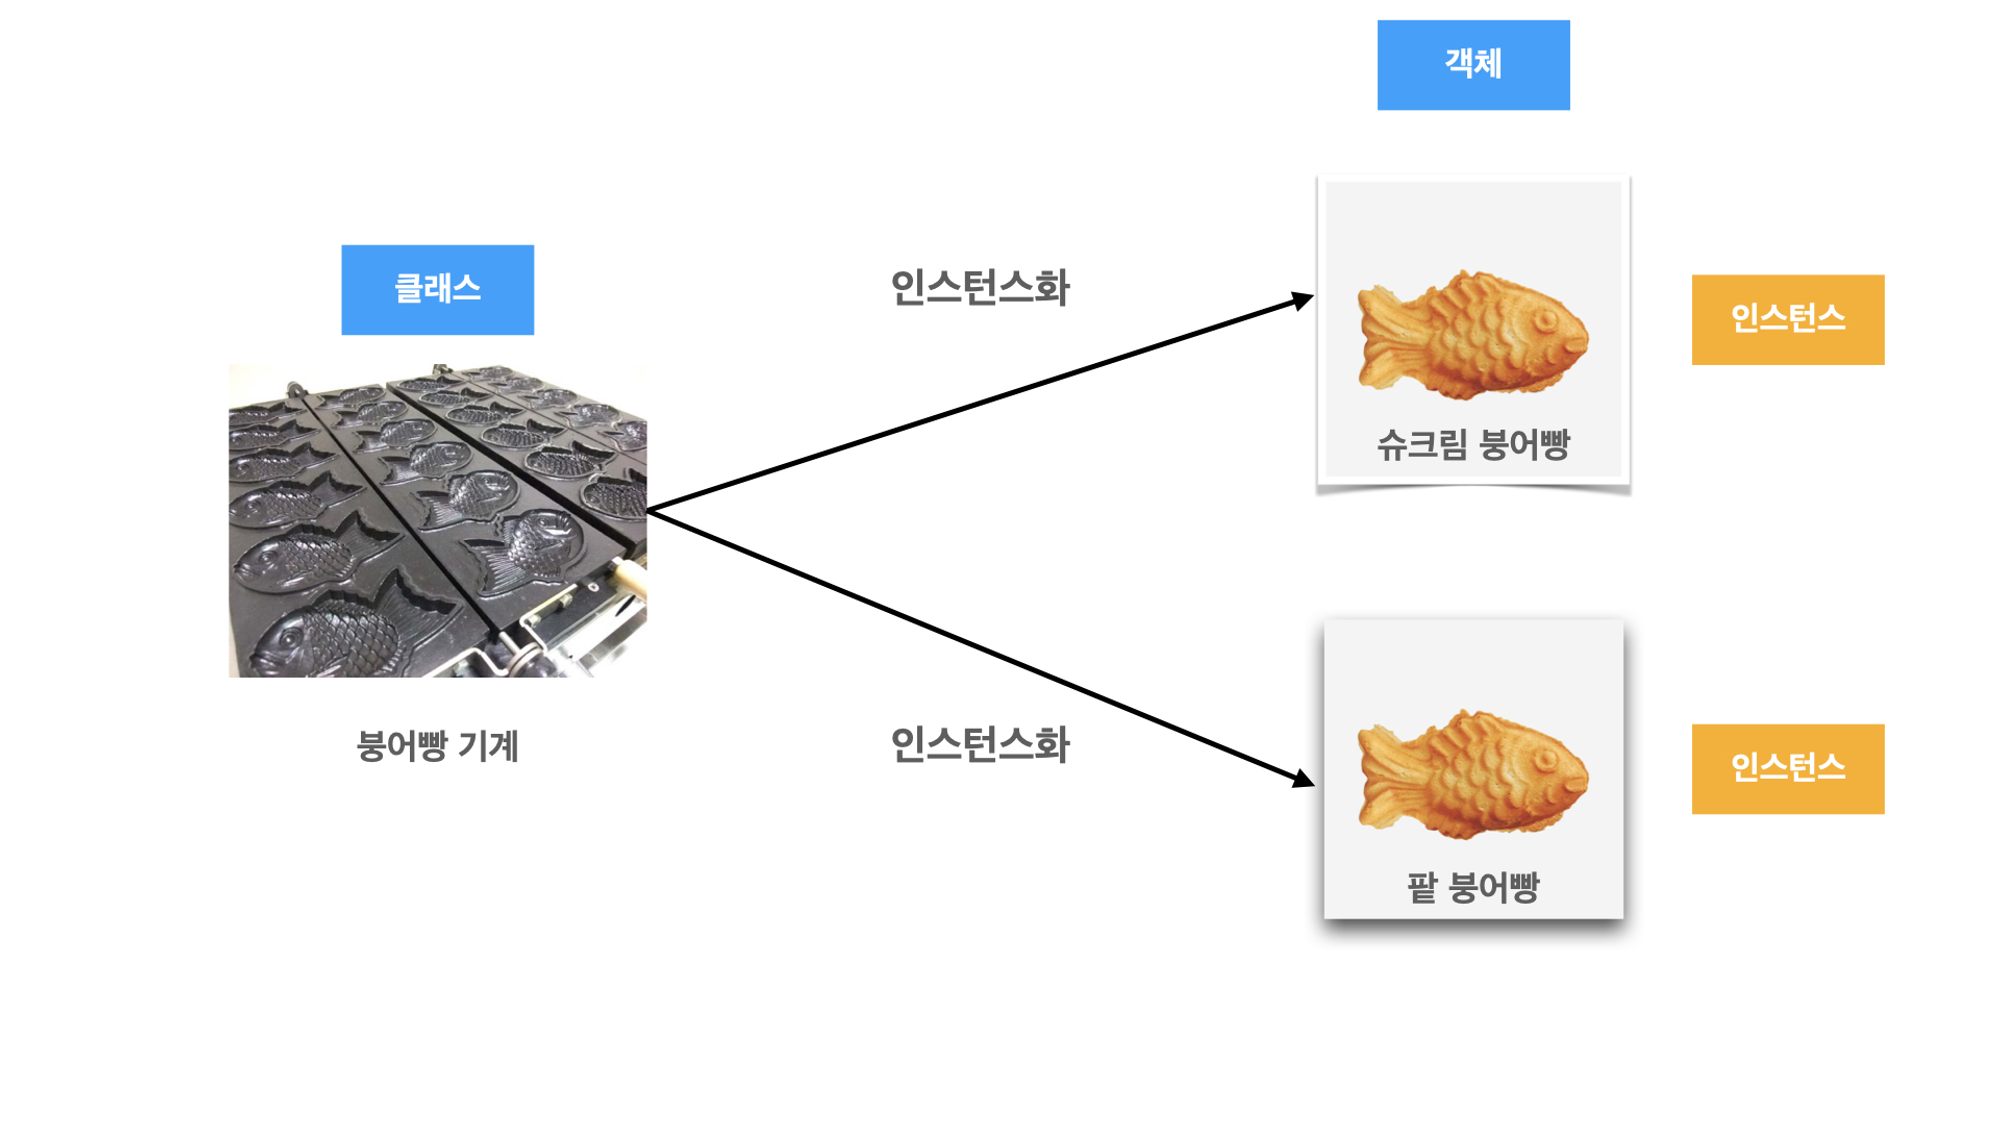
}📂클래스
- 클래스: 객체의 설계도 또는 생산틀 (붕어빵틀)
- 객체: 클래스의 실체 (팥 붕어빵, 슈크림 붕어빵, …)
- 용어 정리
- 멤버 변수 == 속성 == 프로퍼티
- 멤버 함수 == 메소드
📍클래스와 객체 만들기
class Empolyee {
    empName: string;
    age: number;
    empJob: string;

    printEmp = (): void => {
        console.log(`${this.empName}의 나이는 ${this.age}이고 직업은 ${this.empJob}입니다.`);ㅁ
    }
}

let employee1 = new Empolyee(); // 객체 생성
employee1.empName = "Hwang";
employee1.age = 20;
employee1.empJob = "개발자";
employee1.printEmp();   // Hwang의 나이는 20이고 직업은 개발자입니다.
📍생성자
class Empolyee {
    empName: string;
    age: number;
    empJob: string;

    constructor(empName: string, age: number, empJob: string) {
        this.empName = empName;
        this.age = age;
        this.empJob = empJob;
    }

    printEmp = (): void => {
        console.log(`${this.empName}의 나이는 ${this.age}이고 직업은 ${this.empJob}입니다.`);
    }
}

let employee1 = new Empolyee("Hwang", 20, "개발자"); // 객체 생성
employee1.printEmp(); // Hwang의 나이는 20이고 직업은 개발자입니다.- 객체가 생성될 때
constructor()함수가 자동으로 호출됨 - 멤버 변수 선언과 할당은 constructor의 매개 변수에서 한 번에 축약해서 표현 가능
class Empolyee {
    constructor(
        private _empName: string,
        private _age: number,
        private _empJob: string,
    ){}

    printEmp = (): void => {
        console.log(`${this.empName}의 나이는 ${this.age}이고 직업은 ${this.empJob}입니다.`);
    }
}
📍접근 제한자
- 프로퍼티이나 메소드에 어떠한 접근 제한자도 지정해주지 않으면 default로
public으로 지정됨
| access modifier | 설명 |
|---|---|
| public | class 내·외부에서 모두 접근 가능 |
| private | class 내부에서만 접근 가능 (prefix로 _를 붙이는 naming convention이 있음) |
| protected | class나 이 class를 상속받은 class 내부에서만 접근 가능 (외부에서는 private처럼, 자식은 public처럼 사용 가능) |
class Empolyee {
    constructor(
        private _empName: string,
        private _age: number,
        private _empJob: string,
    ){}

    printEmp = (): void => {
        console.log(`${this._empName}의 나이는 ${this._age}이고 직업은 ${this._empJob}입니다.`);
    }
}

let employee1 = new Empolyee("Hwang", 20, "개발자"); // 객체 생성
employee1._empName = "Kim"; // error TS2341: Property '_empName' is private and only accessible within class 'Empolyee'.
employee1.printEmp();
📍getter와 setter
private으로 정의된 프로퍼티나 메서드를 읽고 쓰기 위한 접근 메서드
get과set키워드를 사용get만 선언하고set을 선언하지 않는 경우에는 자동으로readonly로 인식됨- 함수 외부에서 getter와 setter가 구현된 프로퍼티에 접근하거나 값을 할당하면 이에 맞게 getter와 setter 메서드가 동작
- getter와 setter 없이 직접 메서드를 구현한다면
instance.getProperty(),instance.setProperty(value)와 같이 메소드를 호출하는 방식으로 사용해야 하지만 - getter와 setter를 사용하면
instance.property,instance.property = value와 같이 마치 property에 접근하고 값을 할당하는 것처럼 훨씬 간결하고 직관적으로 사용 가능
- getter와 setter 없이 직접 메서드를 구현한다면
class Empolyee {
    constructor(
        private _empName: string,
        private _age: number,
        private _empJob: string,
    ){}

    get empName() {
        return this._empName;
    }

    set empName(value: string) {
        this._empName = value;
    }

    printEmp = (): void => {
        console.log(`${this._empName}의 나이는 ${this._age}이고 직업은 ${this._empJob}입니다.`);
    }
}

let employee1 = new Empolyee("Hwang", 20, "개발자"); // 객체 생성
employee1.empName = "Kim";
employee1.printEmp();   // Kim의 나이는 20이고 직업은 개발자입니다.
이것저것 관심 많은 개발자👩💻