
2024.01.12(금)
🚀Authorization header에 JWT 넣어 보내기
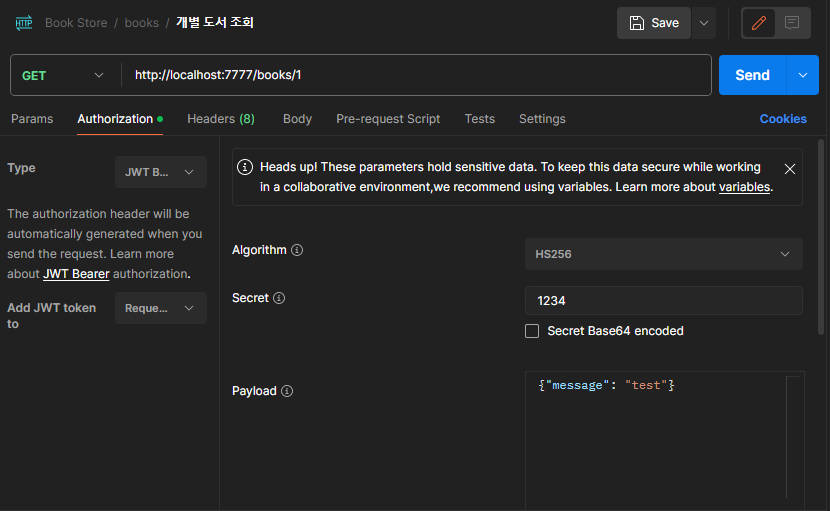
🔐Authorization header 형식
jwt.io에 다음과 같이 나와있다.
Whenever the user wants to access a protected route or resource, the user agent should send the JWT, typically in the Authorization header using the Bearer schema. The content of the header should look like the following:
Authorization: Bearer <token>
- 강의에서는
Authorization: <token>형식으로 보냈지만 나는 위 형식을 따라 구현했다. - Postman에서도 Request의 Authorization tab에서 JWT Bearer type을 지원한다
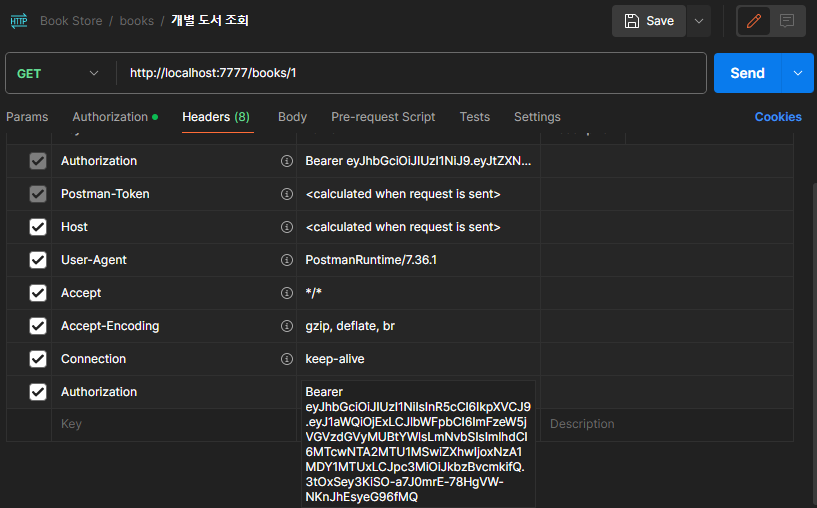
- login 때 발급받은 token을 사용할 것이므로 하단의 console을 눌러 log에서 token을 복사한 후 Headers tab에서 Authorization field에 다음과 같이 token을 추가해서 사용했다.
🐻Bearer란?
- token 앞에 써준 Bearer가 무엇인지 간단히 찾아보았다.
- HTTP 인증 방식 중 하나로 OAuth 2.0 프레임워크에서 사용하는 토큰 인증 방식이라고 한다.
- 참고 자료: Bearer, OAuth
✔️JWT verification
-
jsonwebtoken 모듈에서는 다음 세 가지의 Error를 지원한다.
TokenExpiredError: token이 만료되었을 때 error를 발생시킴JsonWebTokenError: token이 유효하지 않을 때 error를 발생시킴NotBeforeError: 현재 날짜가nbfclaim보다 이전일때 error를 발생시킴
-
jwt.verify(token, secretOrPublicKey)를 이용해 손쉽게 JWT을 검증할 수 있다.
-
다음과 같은 형식으로 검증 middleware를 만들었다.
req.decodedToken에 decode한 JWT payload 객체를 담아 다음 middleware를 호출한다.
const verifyToken = (req, res, next) => {
    try {
      // Authorization: Bearer <token>
      const token = req.headers.authorization.split(' ')[1];

      const decoded = jwt.verify(token, process.env.PRIVATE_KEY, { ignoreExpiration: false });
      req.decodedToken = decoded;
      next();
    } catch (error) {
      next(error);
    }
  };
};
👉 https://github.com/do0ori/book-store-project/pull/9
모듈화하고 리팩토링하면 코드가 어느 정도 정리되는 것이 보여서 뿌듯하다.

이것저것 관심 많은 개발자👩💻