
디스코드 날씨 알림 봇 만들기
하루에 한번씩 디스코드로 날씨 알림을 받는 기능을 만드려고 합니다.
lambda에 걸려있는 eventbridge 가 하루마다 이벤트를 트리거 하면 lambda에서 디스코드의 웹훅으로 신호를 보내는 느낌으로 만들 것 같습니다.
모두가 아는 유명한 날씨를 데이터를 받아올 수 있는 곳 에서 데이터를 받아올 것 이고, 위도경도 값을 입력하지 않고 city만으로도 사용이 가능한 api를 사용할 것 이다.
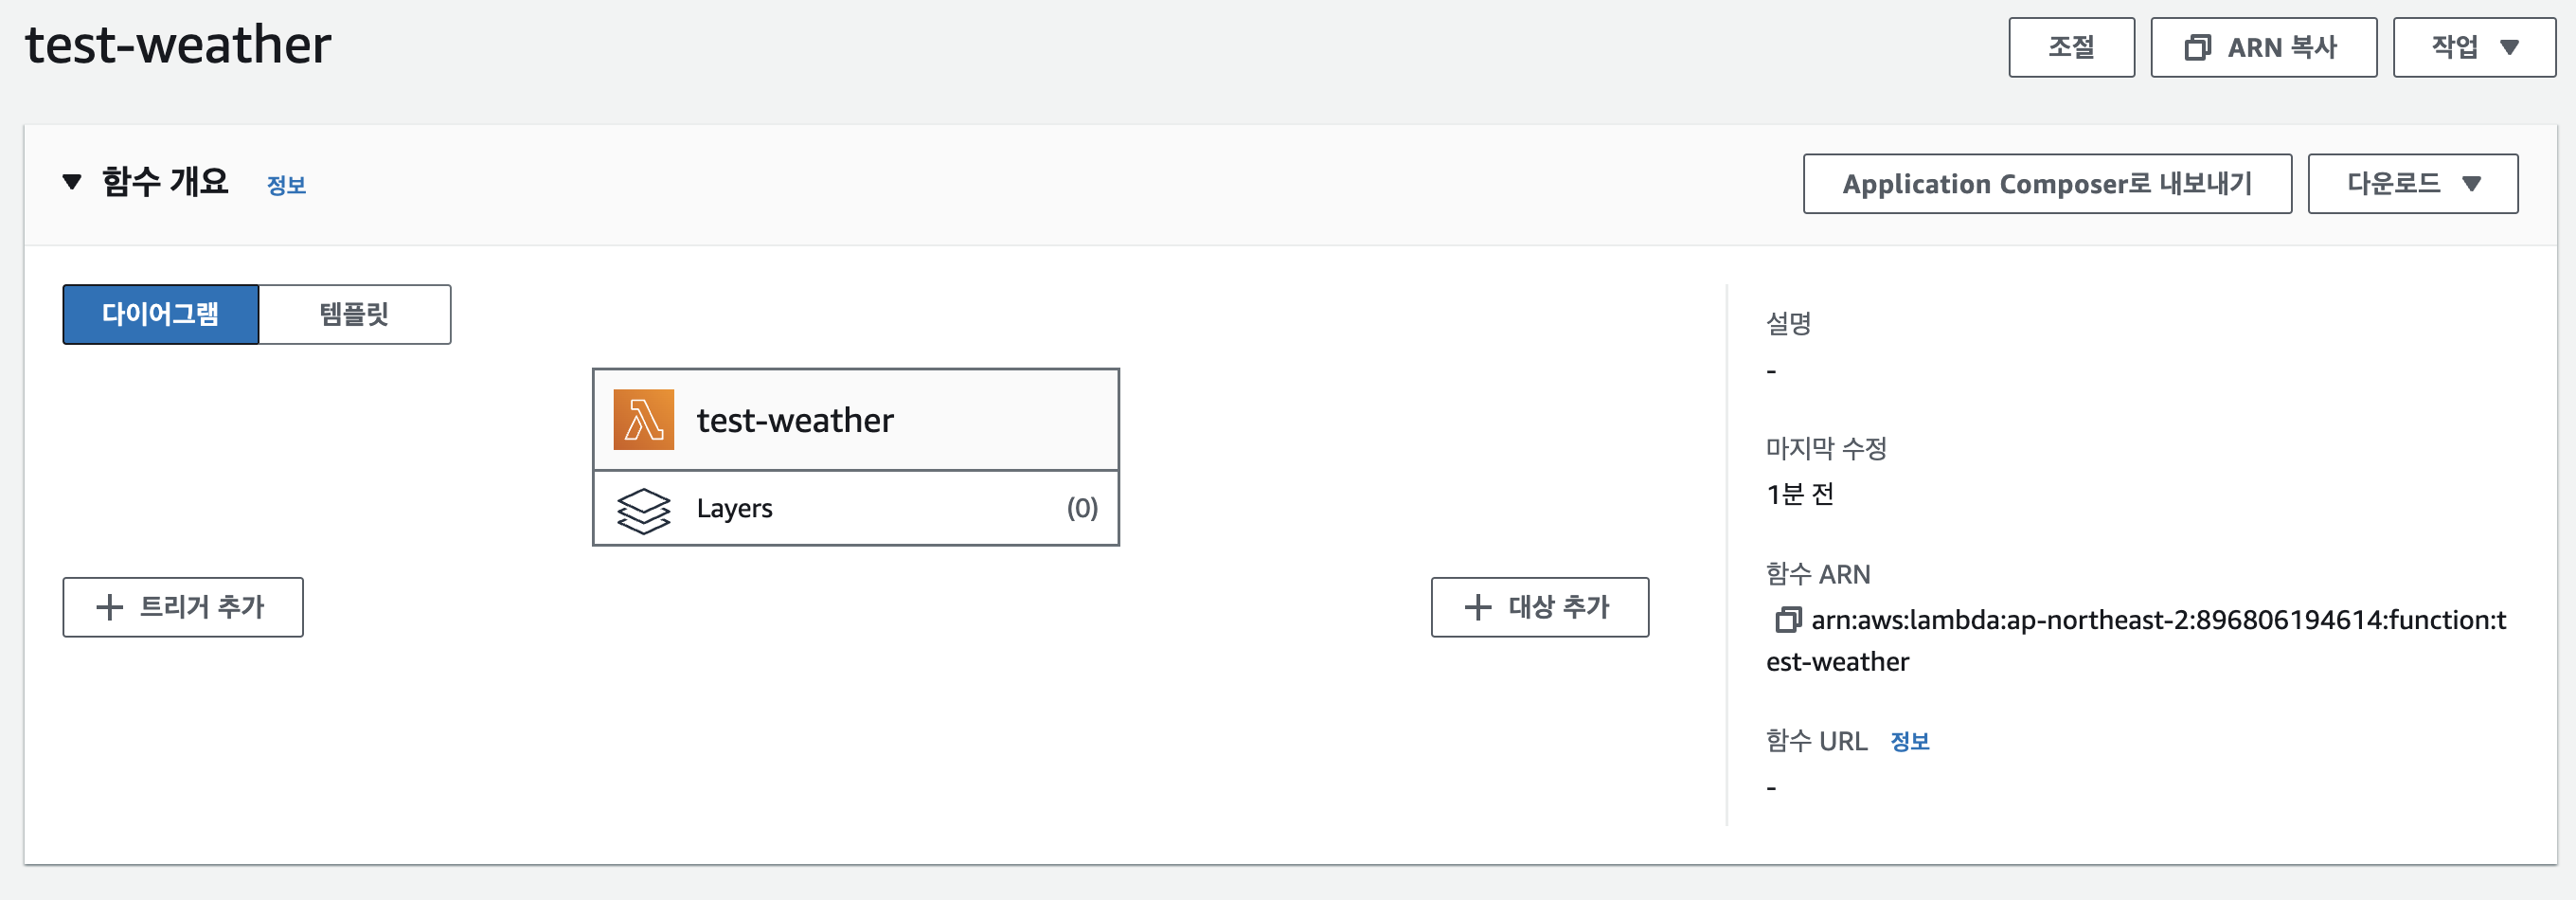
일단 Lambda부터 생성.
그리고 내가 추출하고 싶은 값을 응답해주는 api를 사용할 것 이다.
그 api를 이용해서 lambda 함수를 작성해주자
export const handler = async (event) => {
const city = "seoul";
const apikey = "<YOUR API KEY>"
const res = await fetch(`https://api.openweathermap.org/data/2.5/weather?q=${city}&appid=${apikey}`);
if (res.ok) {
const json = await res.json();
console.log(json)
const time = json.dt;
const main = json.weather[0].main;
const description = json.weather[0].description;
console.log(`[${time}] ${main}-${description}`)
}
// TODO implement
const response = {
statusCode: 200,
body: JSON.stringify('Hello from Lambda!'),
};
return response;
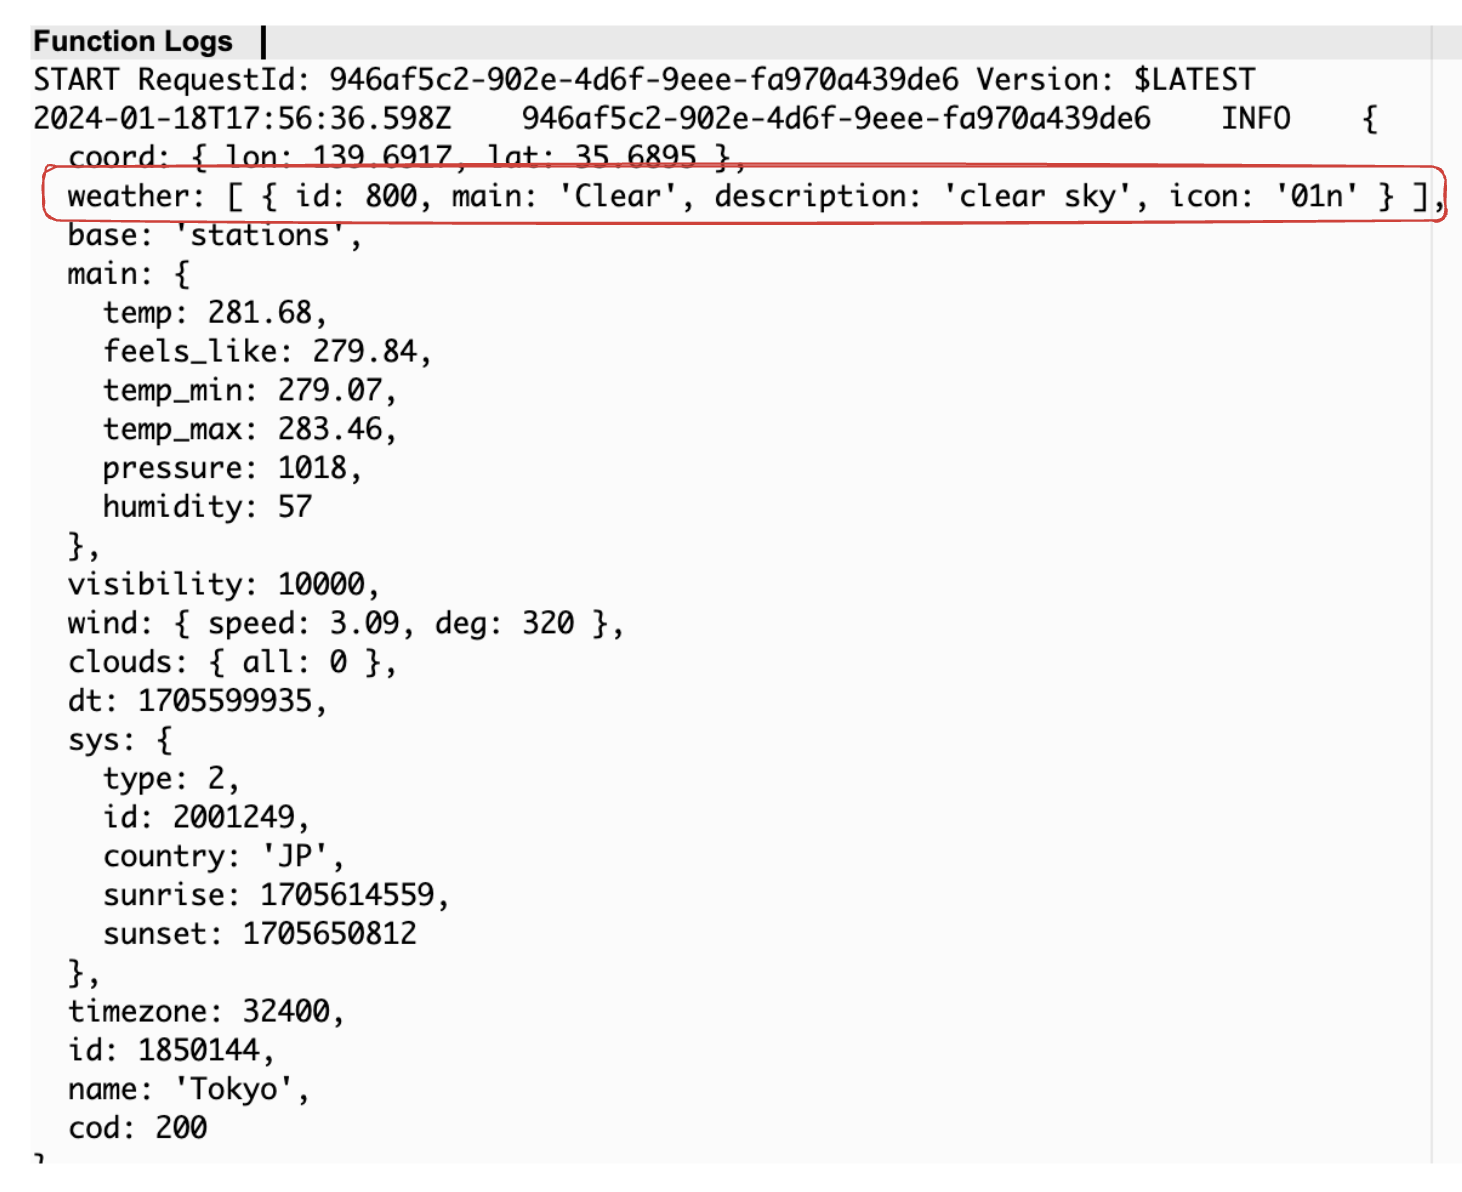
};하고 테스트를 돌려보면 일단 아래와 같은 값을 얻을 수 있다.
하지만 lambda의 시간형식이 unix형식이기 때문에 custom을 조금 해줘야할 필요성이 있을 것 같다. 따라서 아래와 같이 코드를 수정하자. timeout 에러 날 시 람다 컨피그 수정해주자.
export const handler = async (event) => {
    const city = "seoul";
    const apikey = "0dd0da2475c2b1fbd4d99754a25617a8"
    const res = await fetch(`https://api.openweathermap.org/data/2.5/weather?q=${city}&appid=${apikey}`);
    if (res.ok) {
        const json = await res.json();
        const time = json.dt;
        const offset = json.timezone;
        const date = new Date((time+offset)*1000);
        const main = json.weather[0].main;
        const description = json.weather[0].description;
        const result = `[${date.toLocaleString("ko-KR")}] ${main}-${description}`;
        console.log(result)
    }

    // TODO implement
    const response = {
        statusCode: 200,
        body: JSON.stringify('Hello from Lambda!'),
    };
    return response;
};
시간 데이터 형식 수정 한 결과이다.

그 후 discord 의 webhook url 을 복사해서 아래처럼 코드를 수정하자.
export const handler = async (event) => {
    const city = "seoul";
    const apikey = "0dd0da2475c2b1fbd4d99754a25617a8"
    const res = await fetch(`https://api.openweathermap.org/data/2.5/weather?q=${city}&appid=${apikey}`);
    if (res.ok) {
        const json = await res.json();
        const time = json.dt;
        const offset = json.timezone;
        const date = new Date((time+offset)*1000);
        const main = json.weather[0].main;
        const description = json.weather[0].description;
        const result = `[${date.toLocaleString("ko-KR")}] ${main}-${description}`;
        console.log(result)

        const webhookUrl = "<webhookUrl>";

        await fetch(webhookUrl, {
            method: "POST",
            headers: {
                "Content-Type": "application/json"
            },
            body: JSON.stringify({
                content: result
            })
        });
    }

    // TODO implement
    const response = {
        statusCode: 200,
        body: JSON.stringify('Hello from Lambda!'),
    };
    return response;
};
webhook이 트리거 되어 메시지가 온 모습

그리고 eventbridge 에서 원하는 시간 마다 설정하면 원하는 알람을 받을 수 있다.
Image upload REST API
일단 s3 테스트용 만들어놓자, 잠깐 테스트하고 지울거니까 퍼블릭엑세스는 모두 허용으로 만들어놓자.

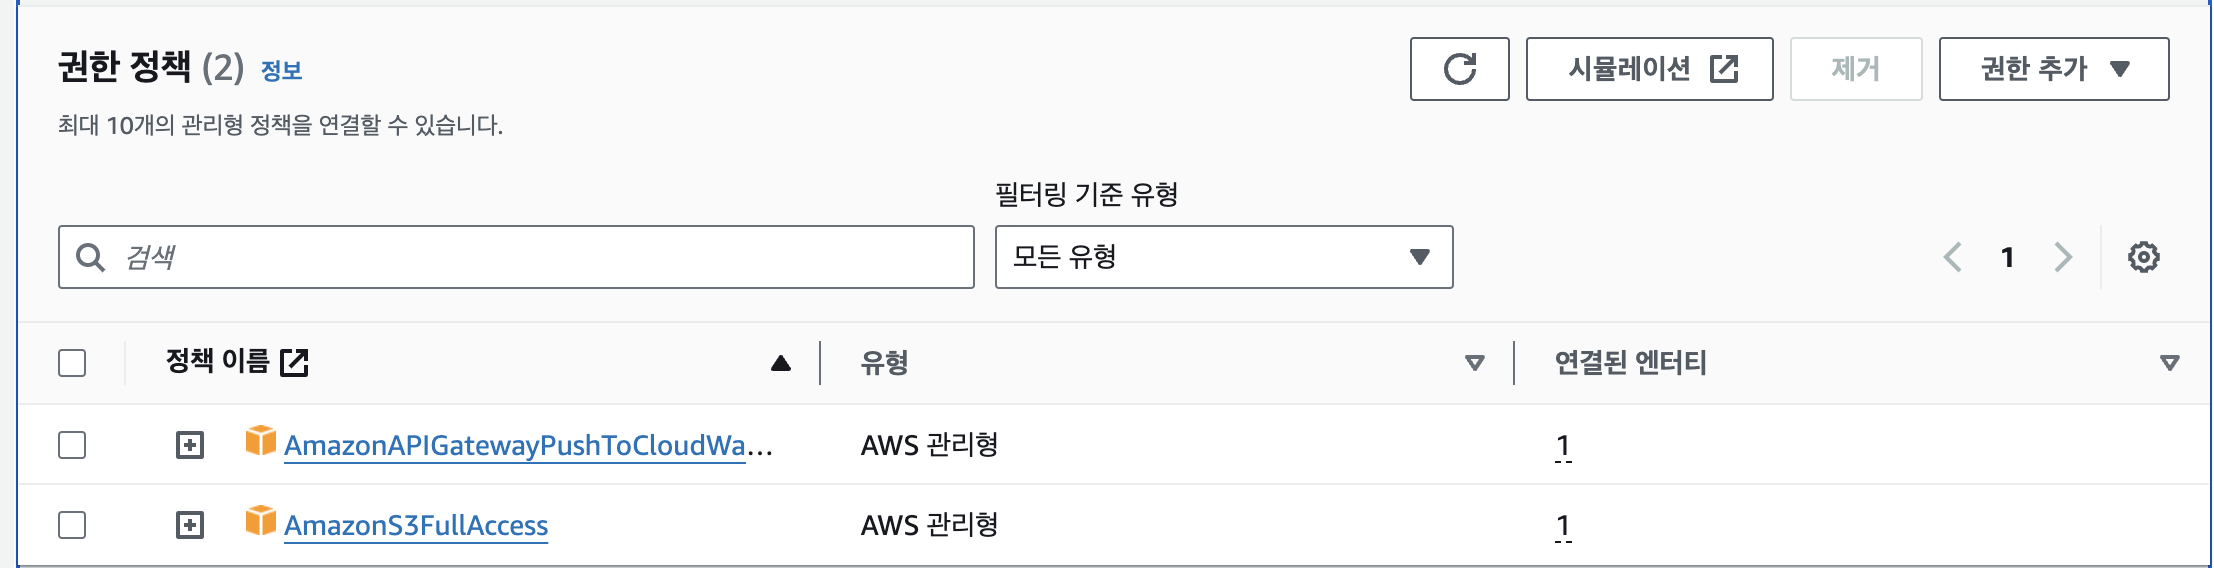
그리고 s3 에 대한 role을 하나 생성하는데 테스트용으로 api-gateway, AmazonS3FullAccess 권한만 추가 해놓자.
그리고 api-gateway 에서 REST API를 생성하자
생성완료
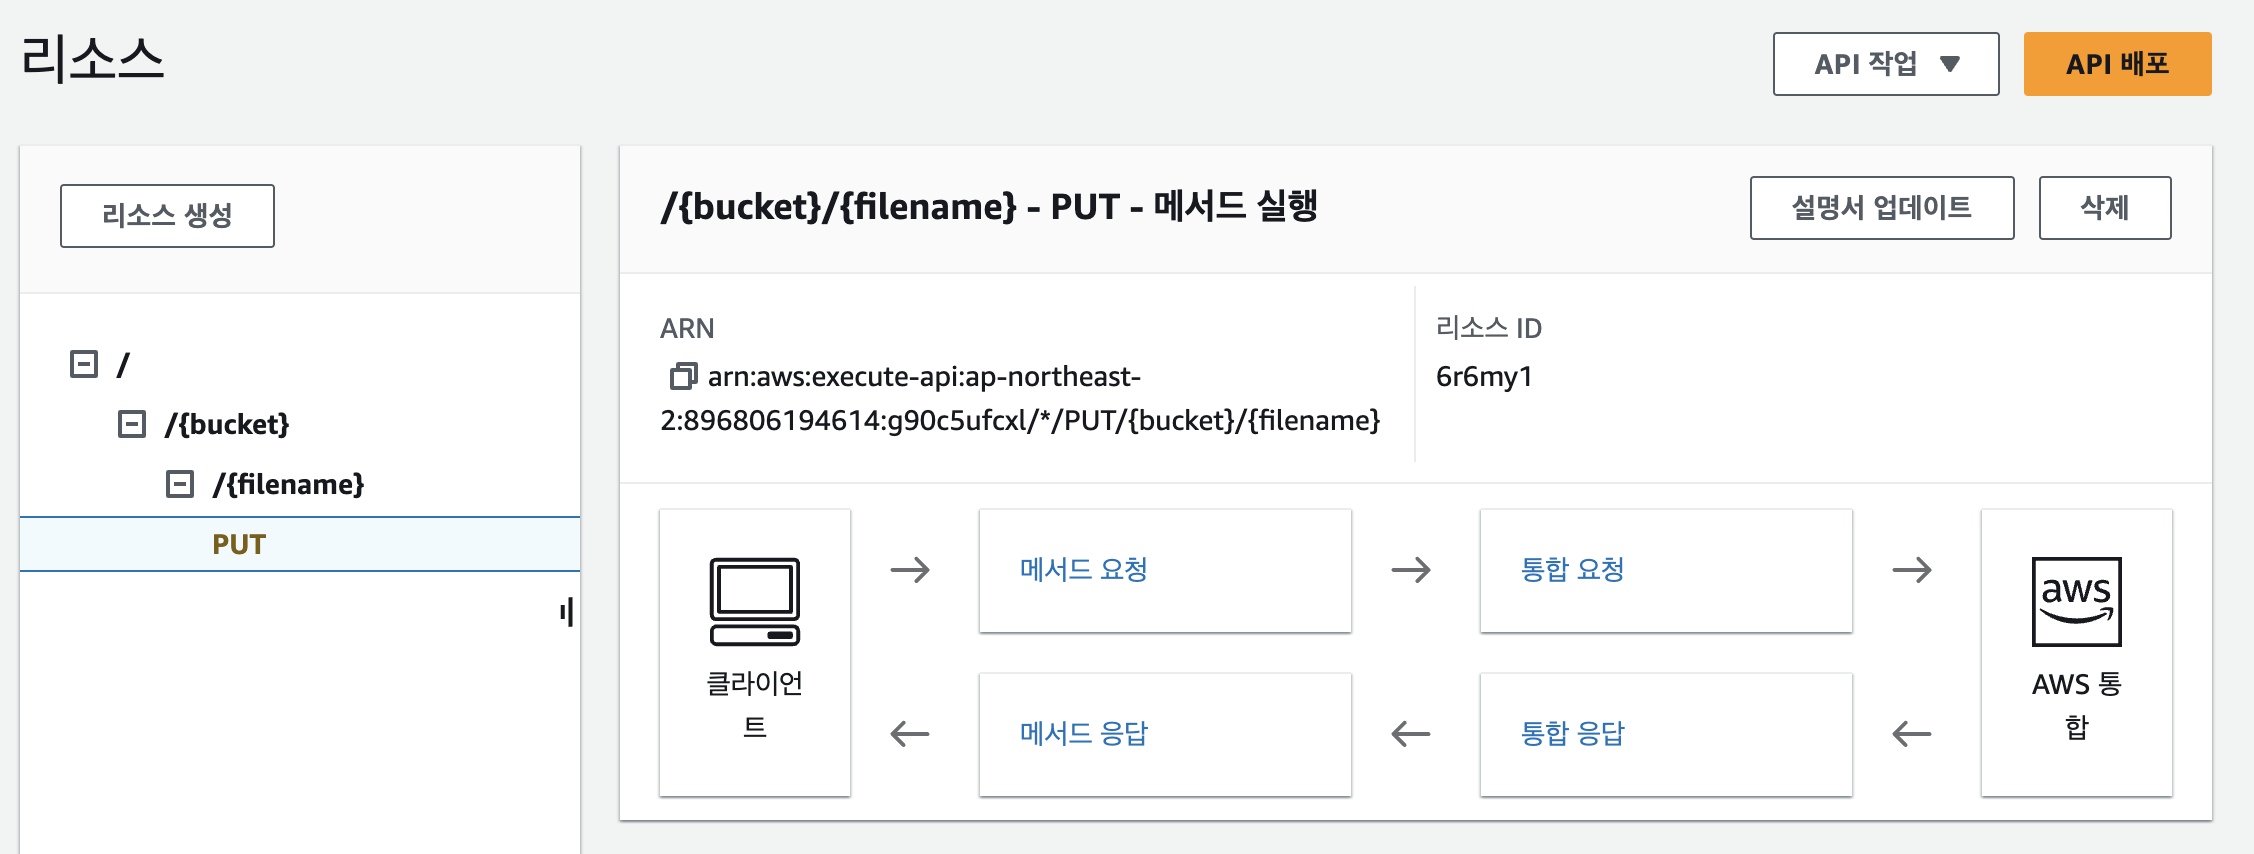
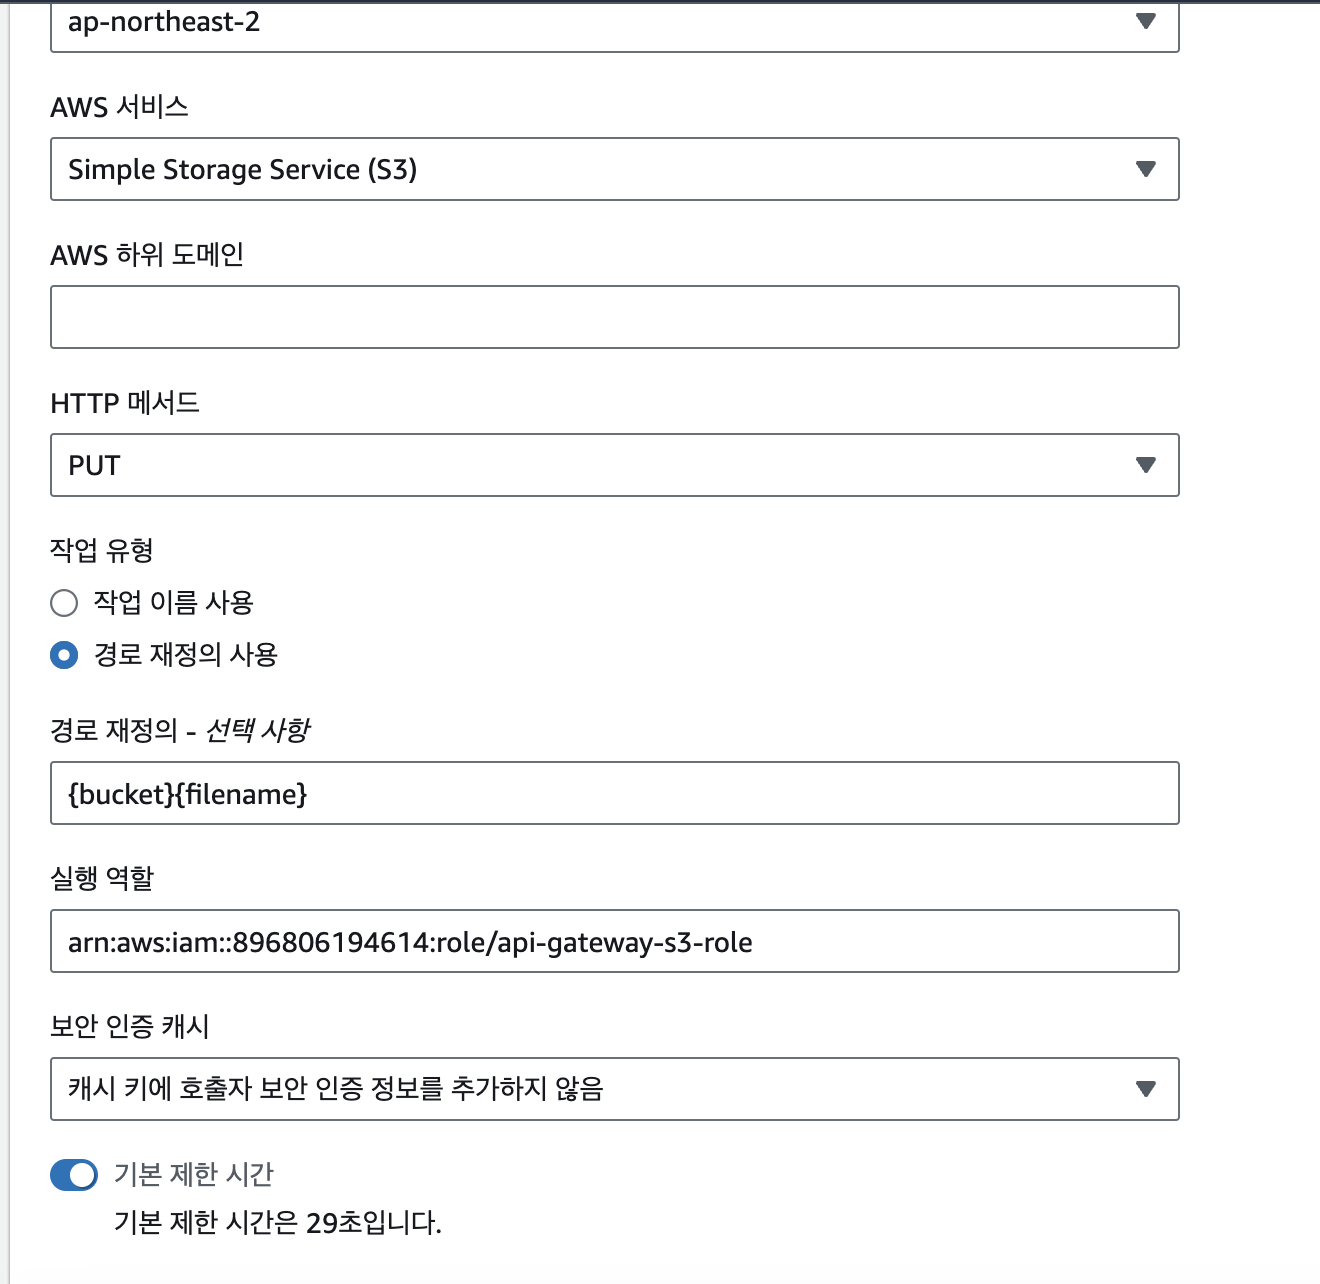
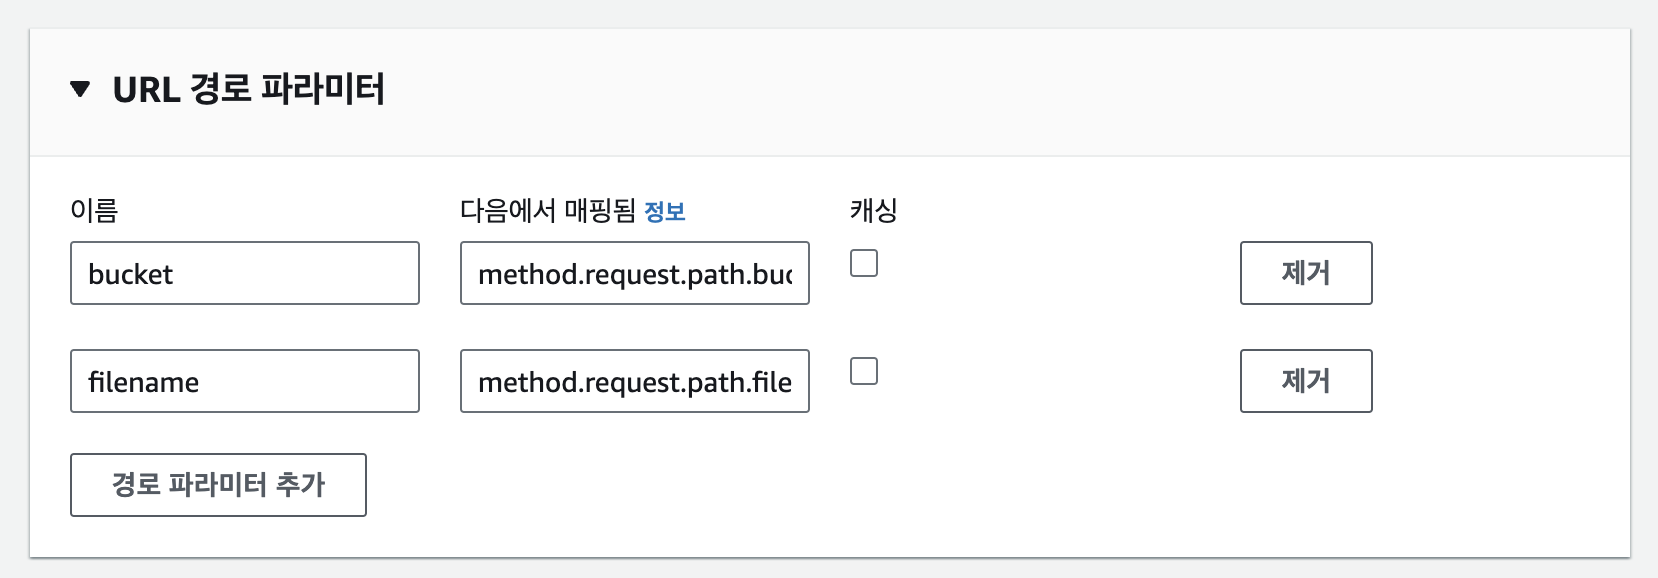
경로 파라미터도 추가해주자.
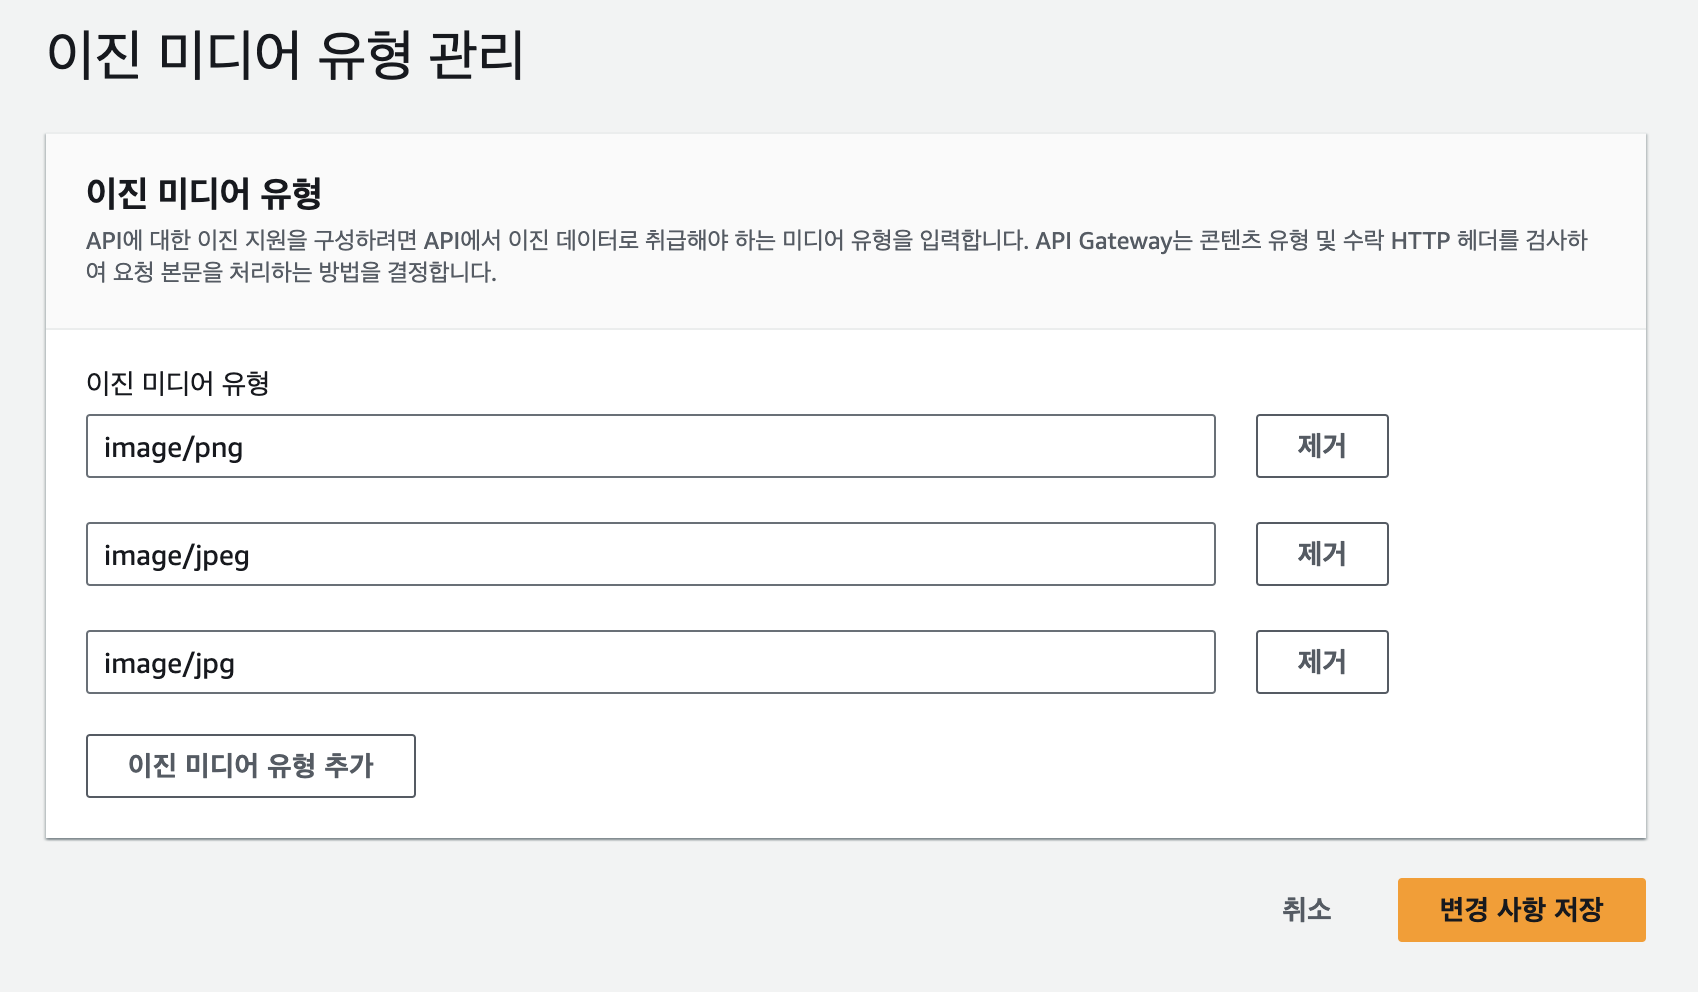
바이너리 타입도 추가해주자.
그리고 생성한 API를 배포해주자.
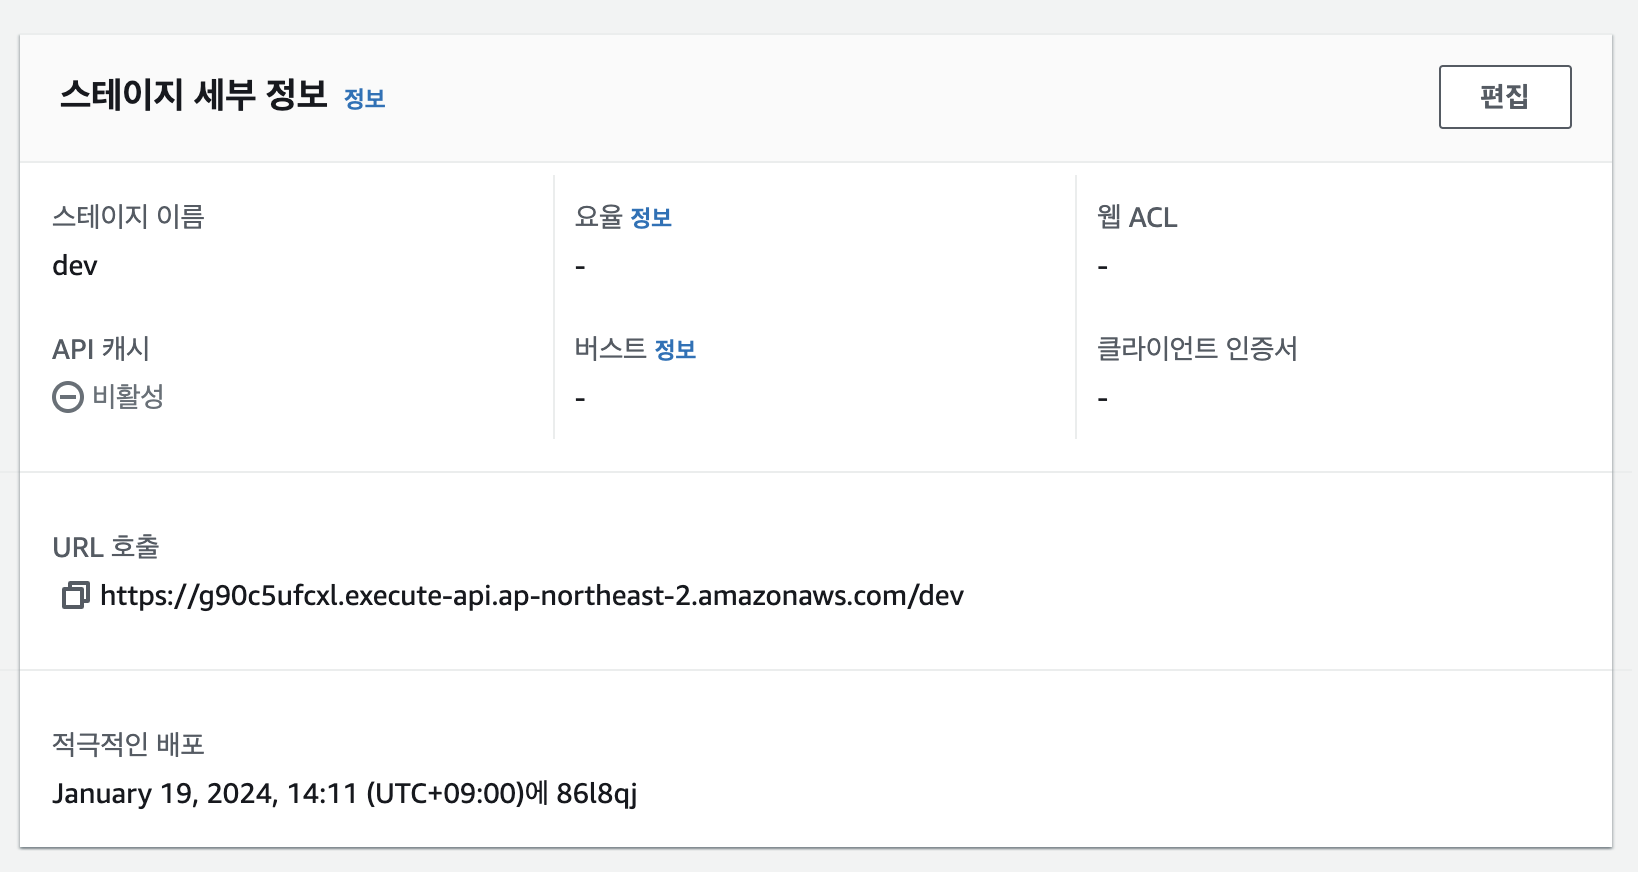
그리고 해당 URL/bucket이름/저장할파일이름 으로 put 요청을 보내게 되면 s3에 저장되게 된다.