계산기 목업을 만들기는 다양한 태그를 접목해보며 만들어 볼 수 있었으나.....
구동하기는 절대 쉽지않았다.
buttons.addEventListener('click', function (event) {
if (target.matches('button')) {
 if (action === 'number') {
  if(display.textContent === '0' || previousKey === 'operator') { // 화면에 0이 떠있거나 일때 previousKey === 'operator' 일때
        display.textContent = buttonContent; //내가 클릭한 값이 화면에 표출
      } else {
        display.textContent += buttonContent; // 다음키를 +=를 이용해 뒤에 표출
      }
      previousKey = 'number'; // 전 키를 넘버로 표출
      }
if (action === 'operator') {
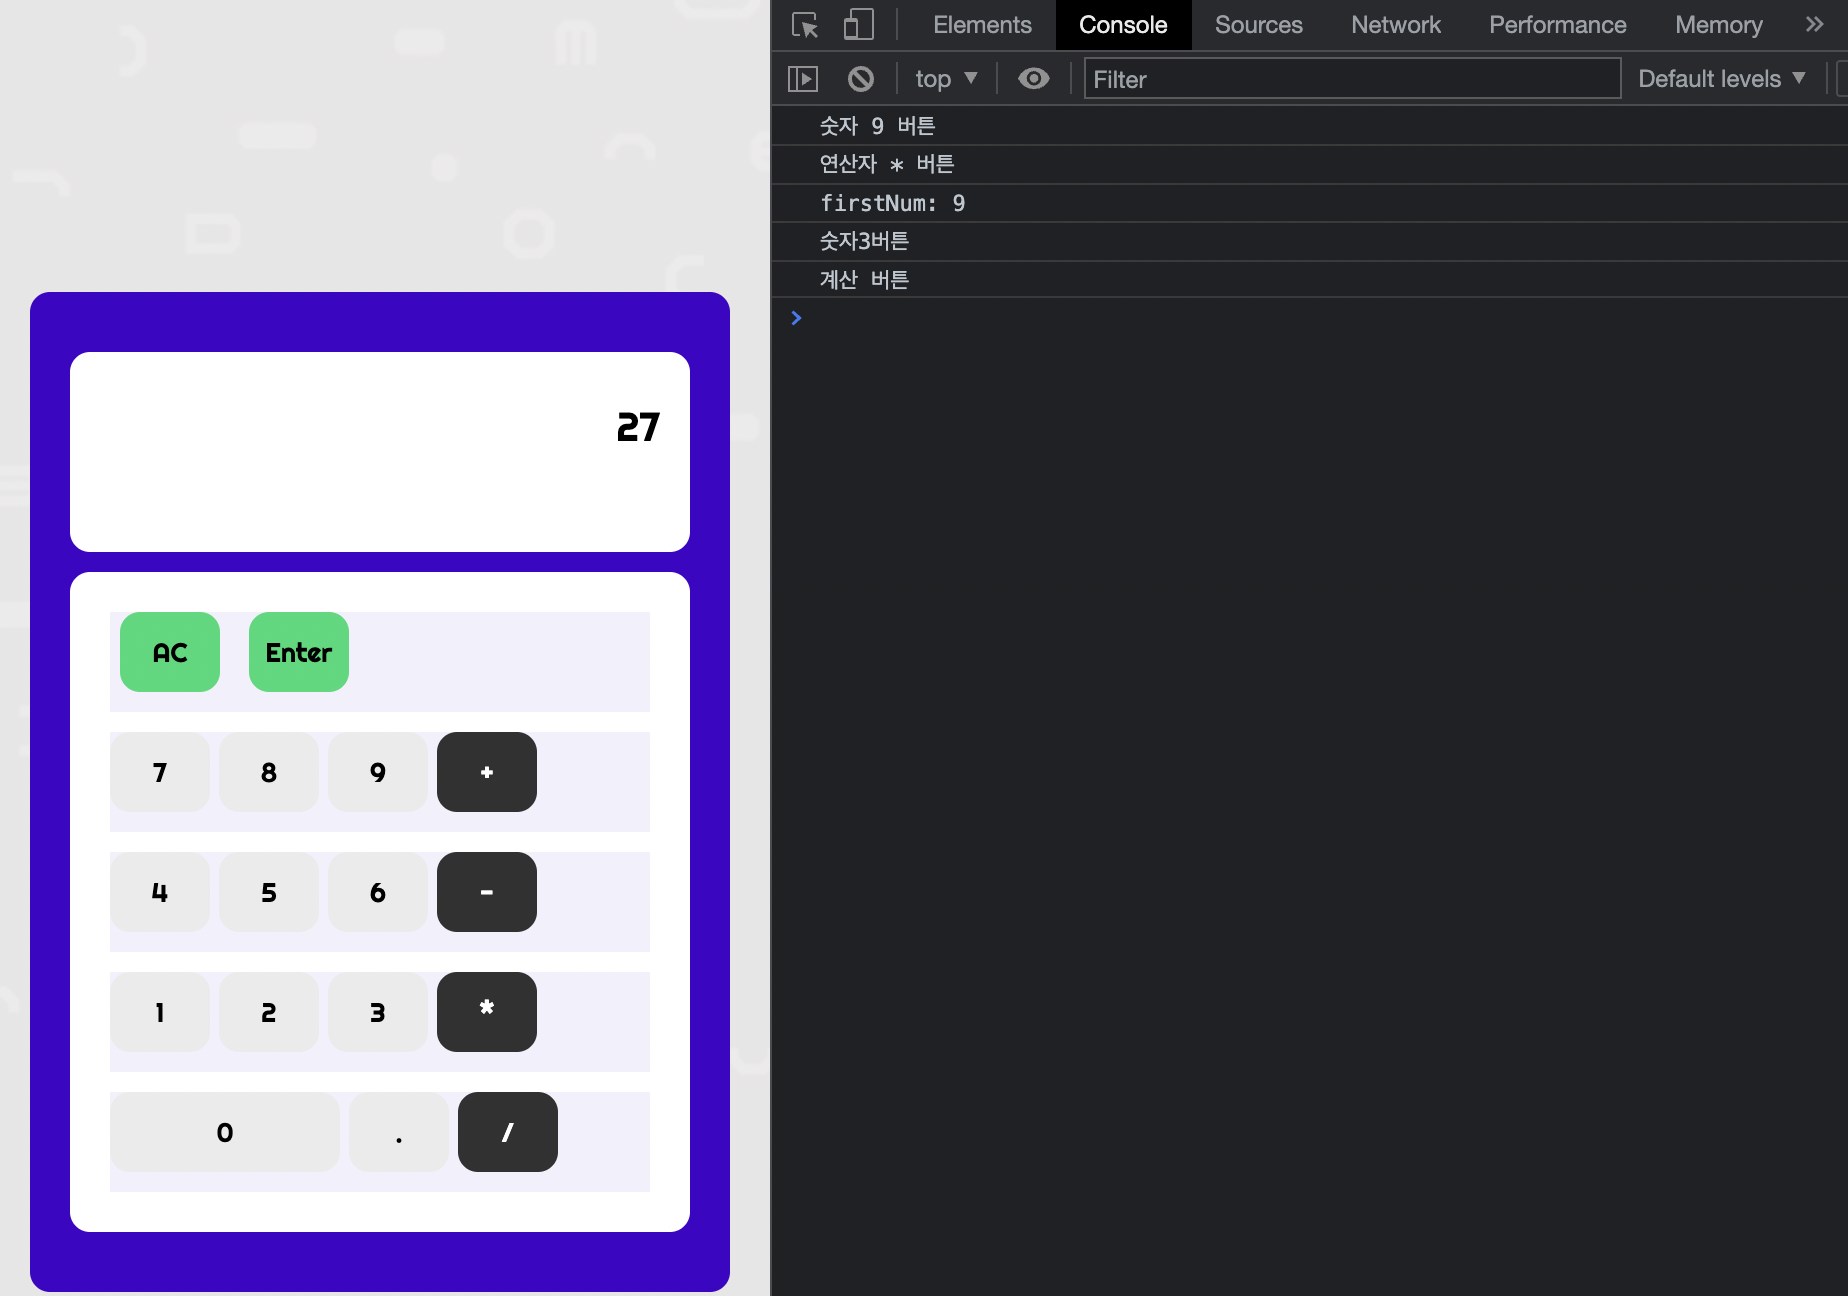
firstNum = display.textContent; //원하는 값을 입력한 후 operator 버튼 누르면 화면에는 firstnum이 나오도록
console.log(`firstNum: ${firstNum}`) // 내가 누른 operatordms opreartorforadvavced 에 저장
operatorForAdvanced = buttonContent;('+', '-', '/', '*')
previousKey = 'operator';
}if (action === 'clear') {
display.textContent = '0'; //clear 버튼을 누르면 모든 변수 값과 화면의 출력이 0 or undfined로 표시
firstNum = undefined;
operatorForAdvanced = undefined;
previousKey = undefined;
previousNum = undefined;
}if (action === 'calculate') { // firstnum, op~ , pr~, 에 할당된 값을 결과값에 전달하여 표출
previousNum = display.textContent;
display.textContent = calculate(firstNum, operatorForAdvanced, previousNum);
}위와 가이 button을 눌렀을때 할당되어있는 class를 불러와서 함수를 작성하여 작동 구현을 했다.

코드짜는 제빵왕이상원