How to save W5100S-EVB-Pico MQTT Message in AWS DynamoDB
0
⚡ 들어가기
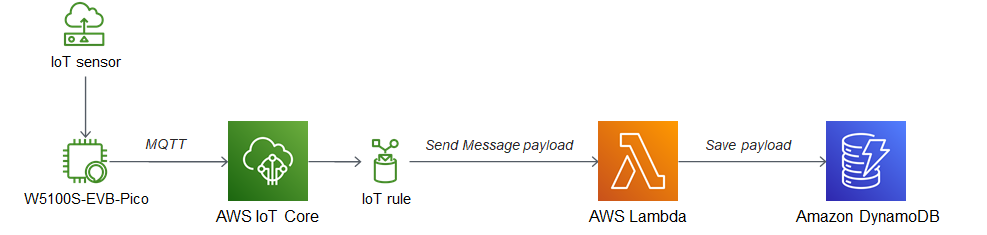
이 포스팅은 W5100S-EVB-Pico로부터 MQTT Message를 받아서 이를 DynamoDB에 저장하는 튜토리얼입니다. 먼저 MQTT Message를 IoT Core에서 받아서 rule에 따라 처리됩니다. 이 rule은 MQTT Message를 DynamoDB에 저장하게 해주는 Lambda를 트리거 해줍니다. 이 Lambda를 통해서DynamoDB Table에 데이터가 저장됩니다.
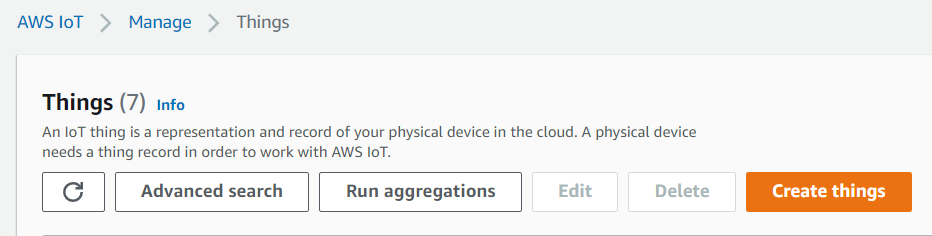
1. Create Thing
- "Create things" 클릭
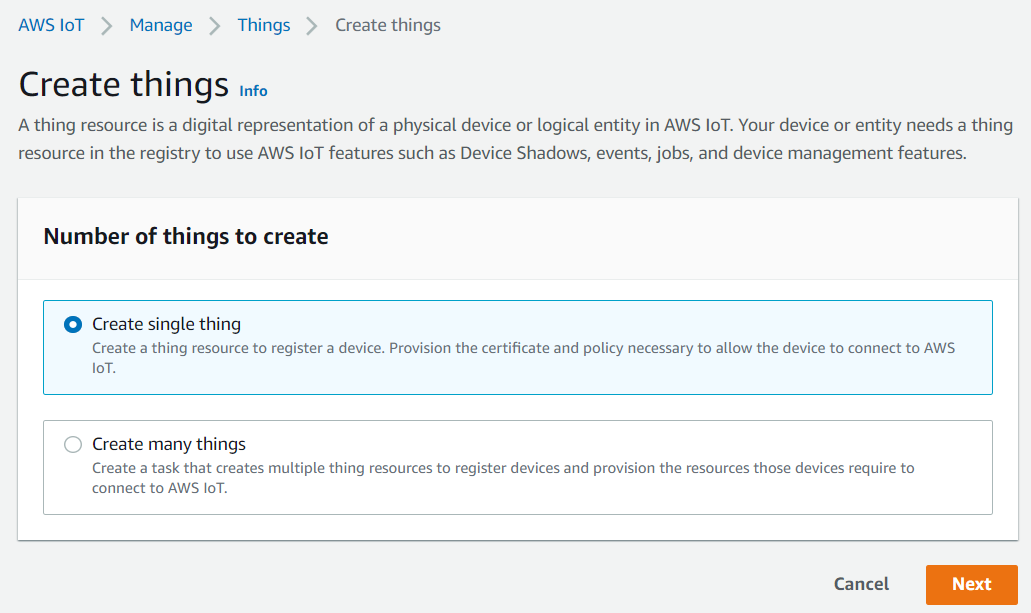
- "Create single thing" 선택
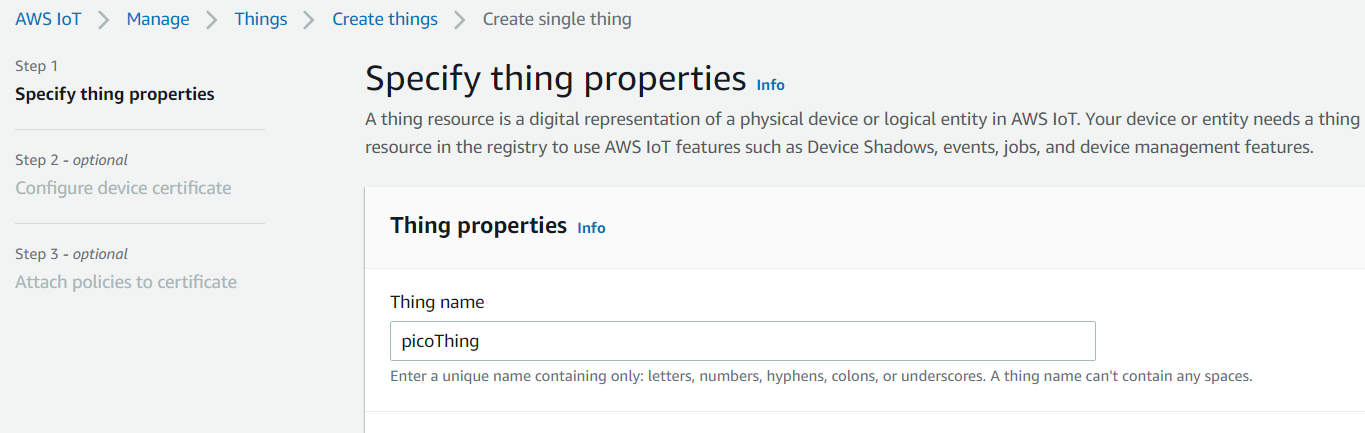
- thing Name은 식별 가능하게 설정.
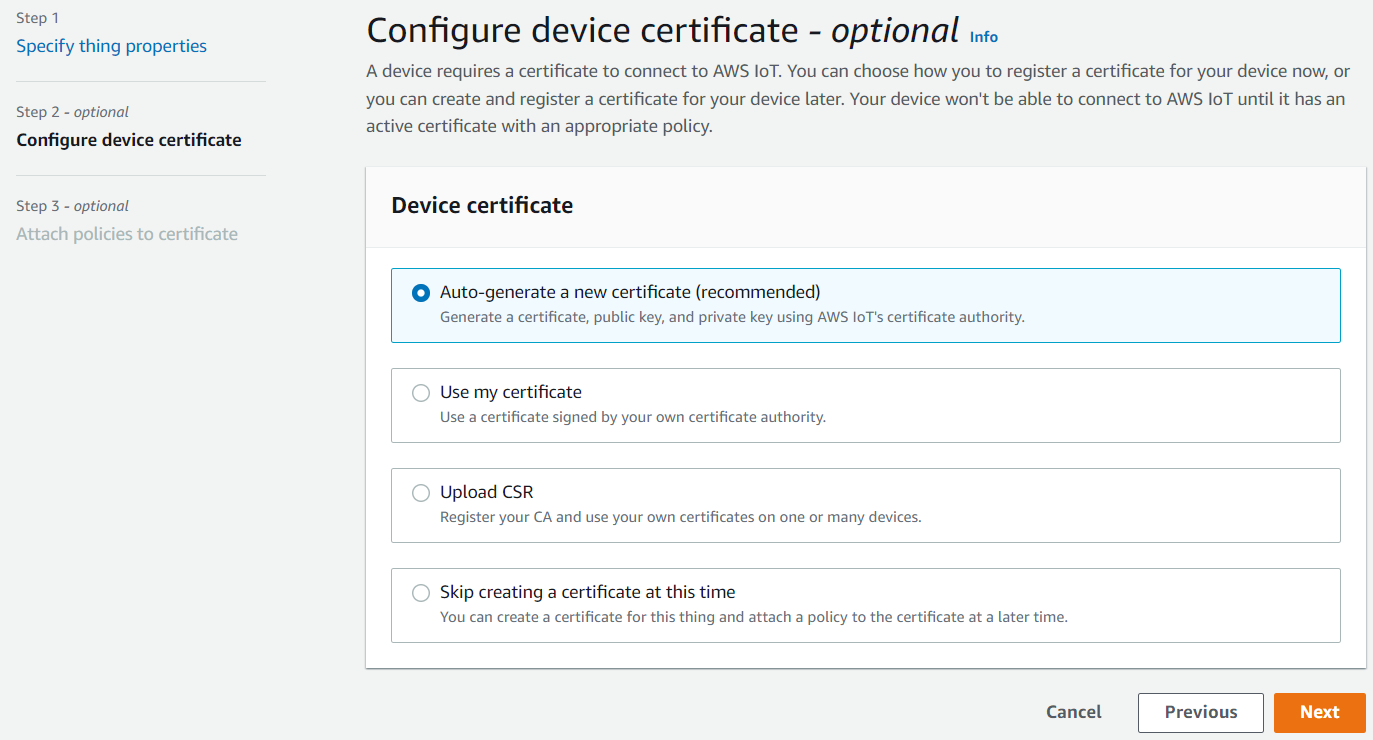
- 인증서는 자동 생성 선택.
- IoT Core 사용을 위한 정책을 생성하고 연결해줍니다.
- 정책 내용은 아래와 같습니다.
{
  "Version": "2012-10-17",
  "Statement": [
    {
      "Effect": "Allow",
      "Action": "iot:Connect",
      "Resource": "*"
    },
    {
      "Effect": "Allow",
      "Action": "iot:Publish",
      "Resource": "*"
    },
    {
      "Effect": "Allow",
      "Action": "iot:Receive",
      "Resource": "*"
    },
    {
      "Effect": "Allow",
      "Action": "iot:Subscribe",
      "Resource": "*"
    }
  ]
}
2. Publish MQTT Message
- RP2040과 AWS를 연결하는 SDK를 활용했으며, 깃허브 링크를 따라가면 사용할 수 있습니다.
- thing Name을 위에서 생성한 thing Name으로 변경해주었습니다.
/* AWS IoT */
#define MQTT_DOMAIN "account-specific-prefix-ats.iot.ap-northeast-2.amazonaws.com"
#define MQTT_PUB_TOPIC "$aws/things/my_rp2040_thing/shadow/update"
#define MQTT_SUB_TOPIC "$aws/things/my_rp2040_thing/shadow/update/accepted"
#define MQTT_USERNAME NULL
#define MQTT_PASSWORD NULL
#define MQTT_CLIENT_ID "my_rp2040_thing"- W5100S-EVB-Pico에서 현재 보내는 메시지 페이로드는 다음과 같습니다.
{"temperature":23, "humidity":25}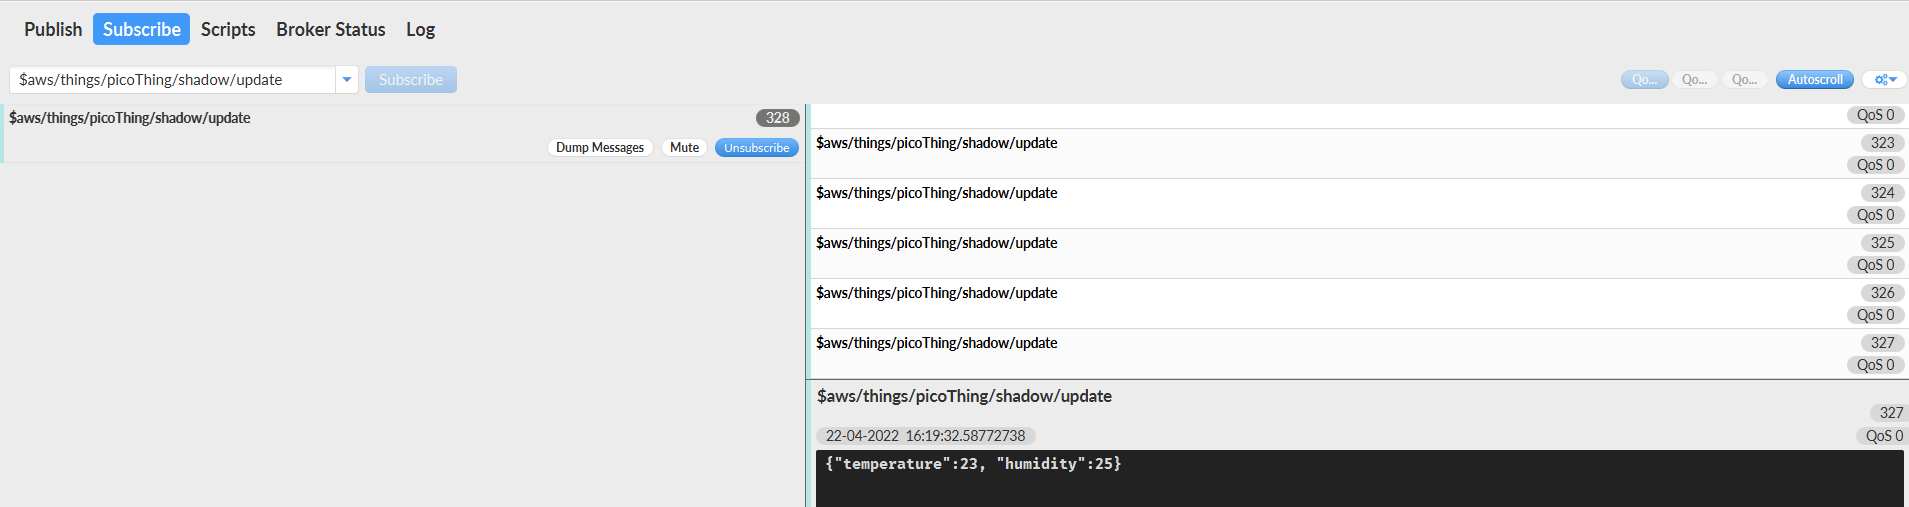
3. Save MQTT Message in DynamoDB Table
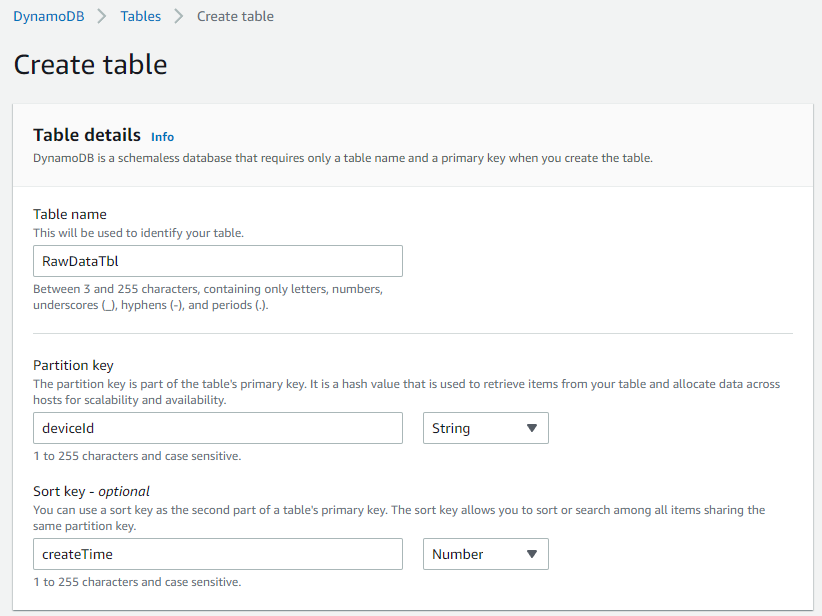
3.1. Create DynamoDB Table
- Table name, Partition key, Sort key(option)만 정해주고 그 외 설정은 디폴트 값을 사용했습니다.
- partition key와 sort key는 테이블의 항목을 CRUD할 때 활용됩니다.
- createTime은 timestamp 값입니다.
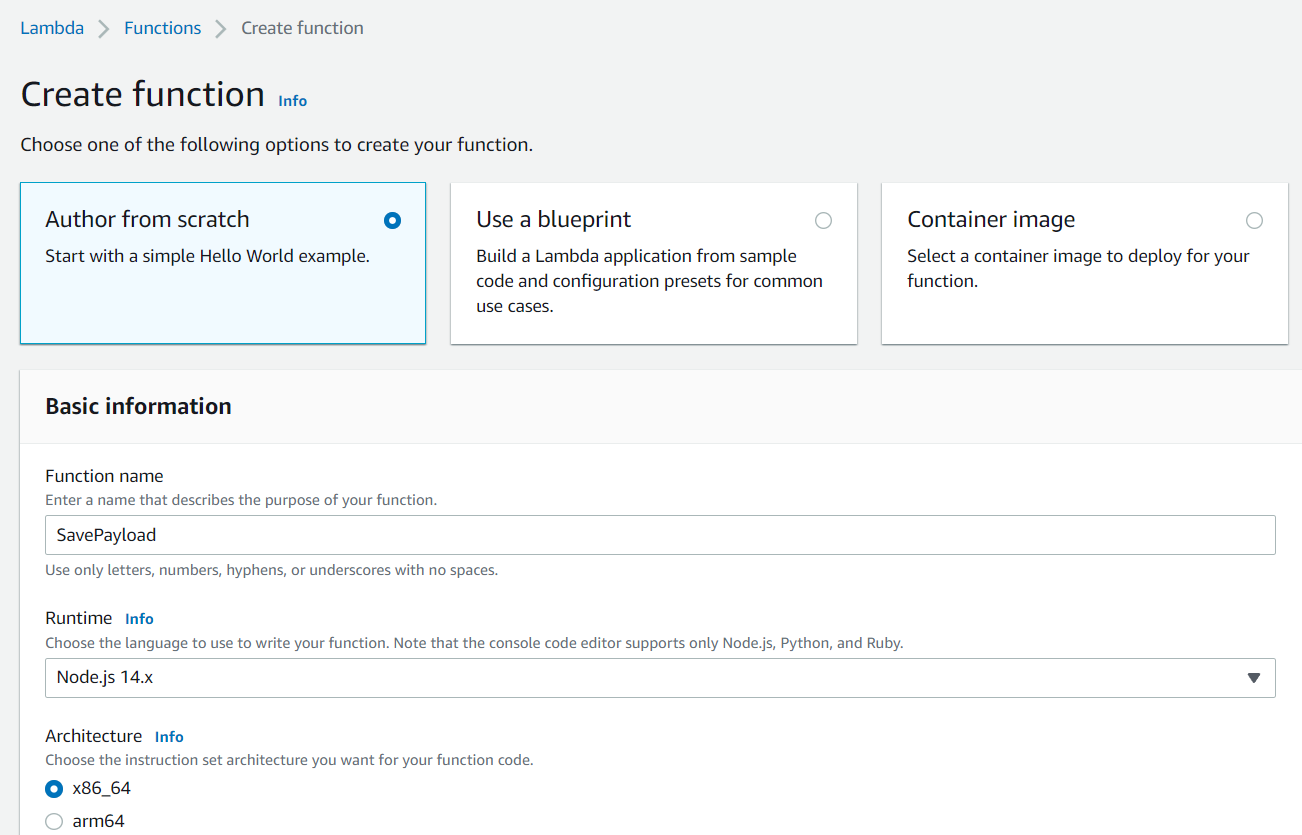
3.2. Create Lambda
-
Function name 설정하고, Runtime은 Node.js 선택 후 생성.
-
index.js를 아래의 내용을 변경 후 deploy 해줍니다.
console.log('Loading function');
const AWS = require('aws-sdk');
const dynamo = new AWS.DynamoDB.DocumentClient();

const collection ="RawDataTbl" // DB Table Name

function addHours(date, hours) {
  const newDate = new Date(date);
  newDate.setHours(newDate.getHours() + hours);
  return newDate;
}

const deleteTime = addHours(Date.now(), 12) // DynamoDB TTL

// Handler lamda function
exports.handler = function(event, context) {
console.log('Received event:', JSON.stringify(event, null, 2));
   const params = {
    TableName: collection,
    Item:{
        "deviceId": event.clientId, // = thing Name
        "createTime": event.timestamp,
        "deleteTime": Math.floor(deleteTime / 1000),
        "payload": event.payload // MQTT Message
        }
    };

    console.log("Saving Telemetry Data");

    dynamo.put(params, function(err, data) {
        if (err) {
            console.error("Unable to add Data. Error JSON:", JSON.stringify(err, null, 2));
            context.fail();
        } else {
            console.log(data)
            console.log("Data saved:", JSON.stringify(params, null, 2));
            context.succeed();
            return {"message": "Item created in DB"}
        }
    });
}
3.3. Create IoT Rule
- Rule name 설정.

- SQL statement
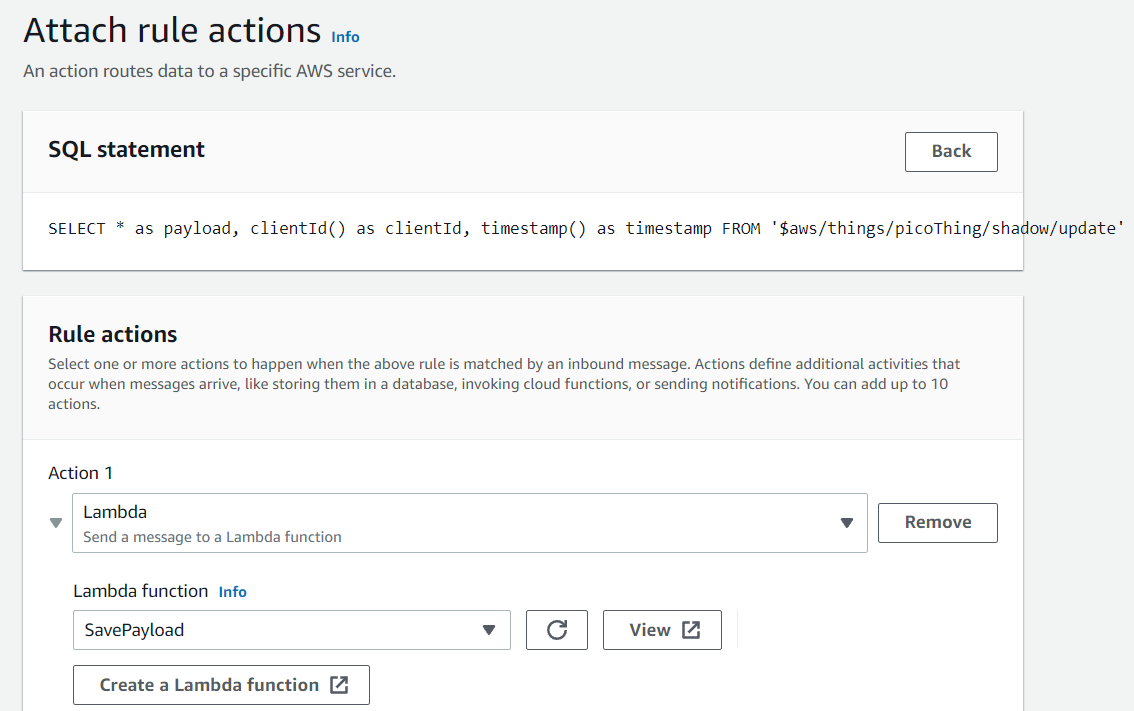
SELECT * as payload, clientId() as clientId, timestamp() as timestamp FROM '$aws/things/picoThing/shadow/update'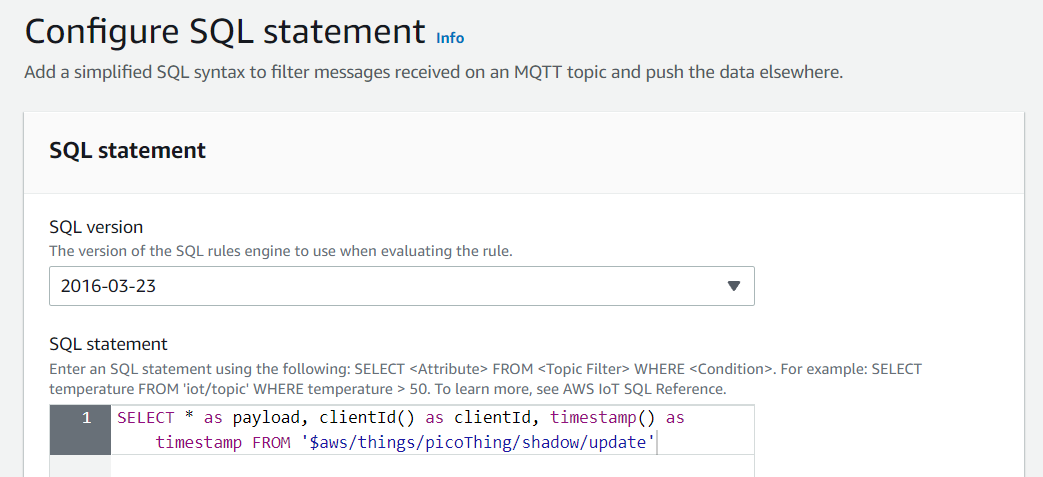
- 위에서 만들어둔 Lambda를 선택합니다.
3.4. Check Table
- rule을 활성화시키고 테이블을 확인하면 원하는 형태로 데이터가 저장되었음을 볼 수 있다.


Web Developer