create-react-app 없이 리액트 개발환경 구축하기
디렉토리 및 package.json 생성
mkdir pure-react
cd pure-react
npm init -y
React 패키지 설치
npm install react
npm install react-dom // react를 DOM과 연결 시켜주는 패키지
Webpack 패키지 설치
// webpack 관련
npm install webpack
npm install webpack-cli // 웹 팩을 터미널(CLI) 에서 사용할 수 있는 패키지
npm install webpack-dev-server // 웹 팩을 빠르게 실시간 리로드할 수 있는 개발 서버 패키지

// webpack config 설정의 plugins 관련
npm install html-webpack-plugin // 웹 팩이 HTML 파일을 읽어서 로드할 수 있도록 도와주는 플러그인
npm install mini-css-extract-plugin // CSS를 별도의 파일로 추출해서 가져오는 플러그인
npm install interpolate-html-plugin // package script 에서 선언한 정보를 HTML 파일에서 사용할 수 있도록 해 주는 플러그인
npm install @pmmmwh/react-refresh-webpack-plugin // 코드의 변경된 사항을 바로 적용해 주는 플러그인

// webpack config 설정의 loader 관련
npm install babel-loader // JSX 및 ES6+ 문법을 트랜스파일링하는 패키지
npm install css-loader // CSS 파일을 JavaScript 가 이해할 수 있도록 변환하는 패키지
npm install style-loader // <style> 태그를 삽입하여 CSS에 DOM을 추가하는 패키지
Babel 패키지 설치
npm install @babel/core // 바벨의 코어 패키지
npm install @babel/preset-env // ES6 이상 버전의 코드를 ES5로 트랜스파일링하는 패키지
npm install @babel/preset-react // react의 JSX를 트랜스파일링하는 패키지
webpack.config.js 파일 생성 및 설정
const path = require('path');
const HtmlWebpackPlugin = require('html-webpack-plugin');
const MiniCssExtractPlugin = require('mini-css-extract-plugin');
const InterpolateHtmlPlugin = require('interpolate-html-plugin');
const ReactRefreshWebpackPlugin = require('@pmmmwh/react-refresh-webpack-plugin');

const devMode = process.env.NODE_ENV !== 'production';

module.exports = {
  entry: './src/index.js', // 번들링을 시작할 파일
  resolve: { // 번들링 할 파일 설정
    extensions: ['.js', '.jsx'],
  },
  output: { // 번들링 결과 파일이 들어갈 위치
    path: path.resolve(__dirname, 'build'),
    filename: 'static/js/[name].[contenthash:8].js',
    chunkFilename: 'static/js/[name].[contenthash:8].chunk.js',
    assetModuleFilename: 'static/media/[name].[hash:8].[ext]',
    clean: true,
  },
  devtool: devMode ? 'eval-source-map' : false,
  devServer: {
    port: 3000,
    hot: true,
    open: true,
    client: {
      overlay: true,
      progress: true,
    },
  },
  module: { // loader 설정
    rules: [
      {
        oneOf: [
          {
            test: /\.(js|jsx)$/,
            exclude: /node_modules/,
            use: {
              loader: 'babel-loader',
              options: {
                presets: [['@babel/preset-env', { targets: 'defaults' }]],
                plugins: devMode ? ['react-refresh/babel'] : [],
              },
            },
          },
          {
            test: /\.css$/i,
            use: [
              devMode ? 'style-loader' : MiniCssExtractPlugin.loader,
              'css-loader',
            ],
          },
          {
            test: [/\.bmp$/, /\.gif$/, /\.jpe?g$/, /\.png$/],
            type: 'asset',
            parser: {
              dataUrlCondition: {
                maxSize: 10000,
              },
            },
          },
          {
            type: 'asset/resource',
            exclude: [/\.(js|jsx)$/, /\.html$/, /\.json$/, /^$/],
          },
        ],
      },
    ],
  },
  plugins: [
    new HtmlWebpackPlugin(
      Object.assign(
        {},
        {
          template: 'public/index.html',
        },
        !devMode
          ? {
              minify: {
                removeComments: true,
                collapseWhitespace: true,
                removeRedundantAttributes: true,
                useShortDoctype: true,
                removeEmptyAttributes: true,
                removeStyleLinkTypeAttributes: true,
                keepClosingSlash: true,
                minifyJS: true,
                minifyCSS: true,
                minifyURLs: true,
              },
            }
          : undefined
      )
    ),
    new InterpolateHtmlPlugin({ PUBLIC_URL: '' }),
  ].concat(
    devMode ? [new ReactRefreshWebpackPlugin()] : [new MiniCssExtractPlugin()]
  ),
};
babel.config.json 파일 생성 및 설정
{
    "presets": [
      "@babel/preset-env",
      ["@babel/preset-react", { "runtime": "automatic" }]
    ]
}
이제 남은 파일을 생성해 보겠습니다.(public/index.html, src/index.js. src/App.js)
public > index.html
<!DOCTYPE html>
<html lang="en">
<head>
    <meta charset="UTF-8">
    <meta http-equiv="X-UA-Compatible" content="IE=edge">
    <meta name="viewport" content="width=device-width, initial-scale=1.0">
    <title>Document</title>
</head>
<body>
    <div id='root'></div>
</body>
</html>
src > index.js
import React from "react";
import ReactDOM from 'react-dom/client';
import App from "./App";

const root = ReactDOM.createRoot(document.getElementById('root'));

root.render(
    <React.StrictMode>
      <App />
    </React.StrictMode>
  );
src > App.js
import React from "react";

const App = () =>{
    return <div>Hello World!</div>
}

export default App;
모든 파일 구성이 완료되었다면 package.json의 script에 웹 팩을 실행할 수 있는 명령어를 입력합니다.
package.json
"scripts": {
"start": "webpack serve --progress --mode development",
"build": "webpack --progress --mode production"
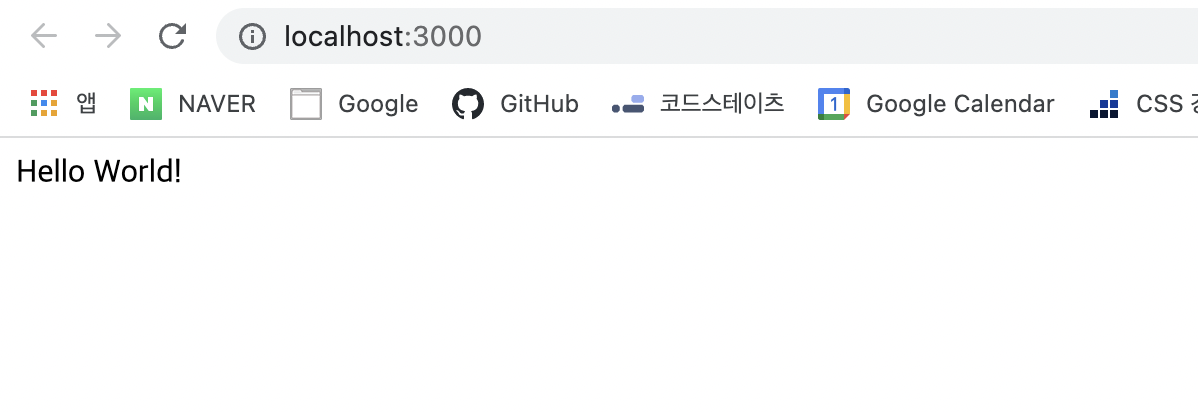
}자, 이제 모든 준비가 끝났습니다. 터미널에 npm run start 혹은 npm run build 를 입력해 봅시다!
npm run start (webpack serve --progress --mode development) 를 입력한 경우
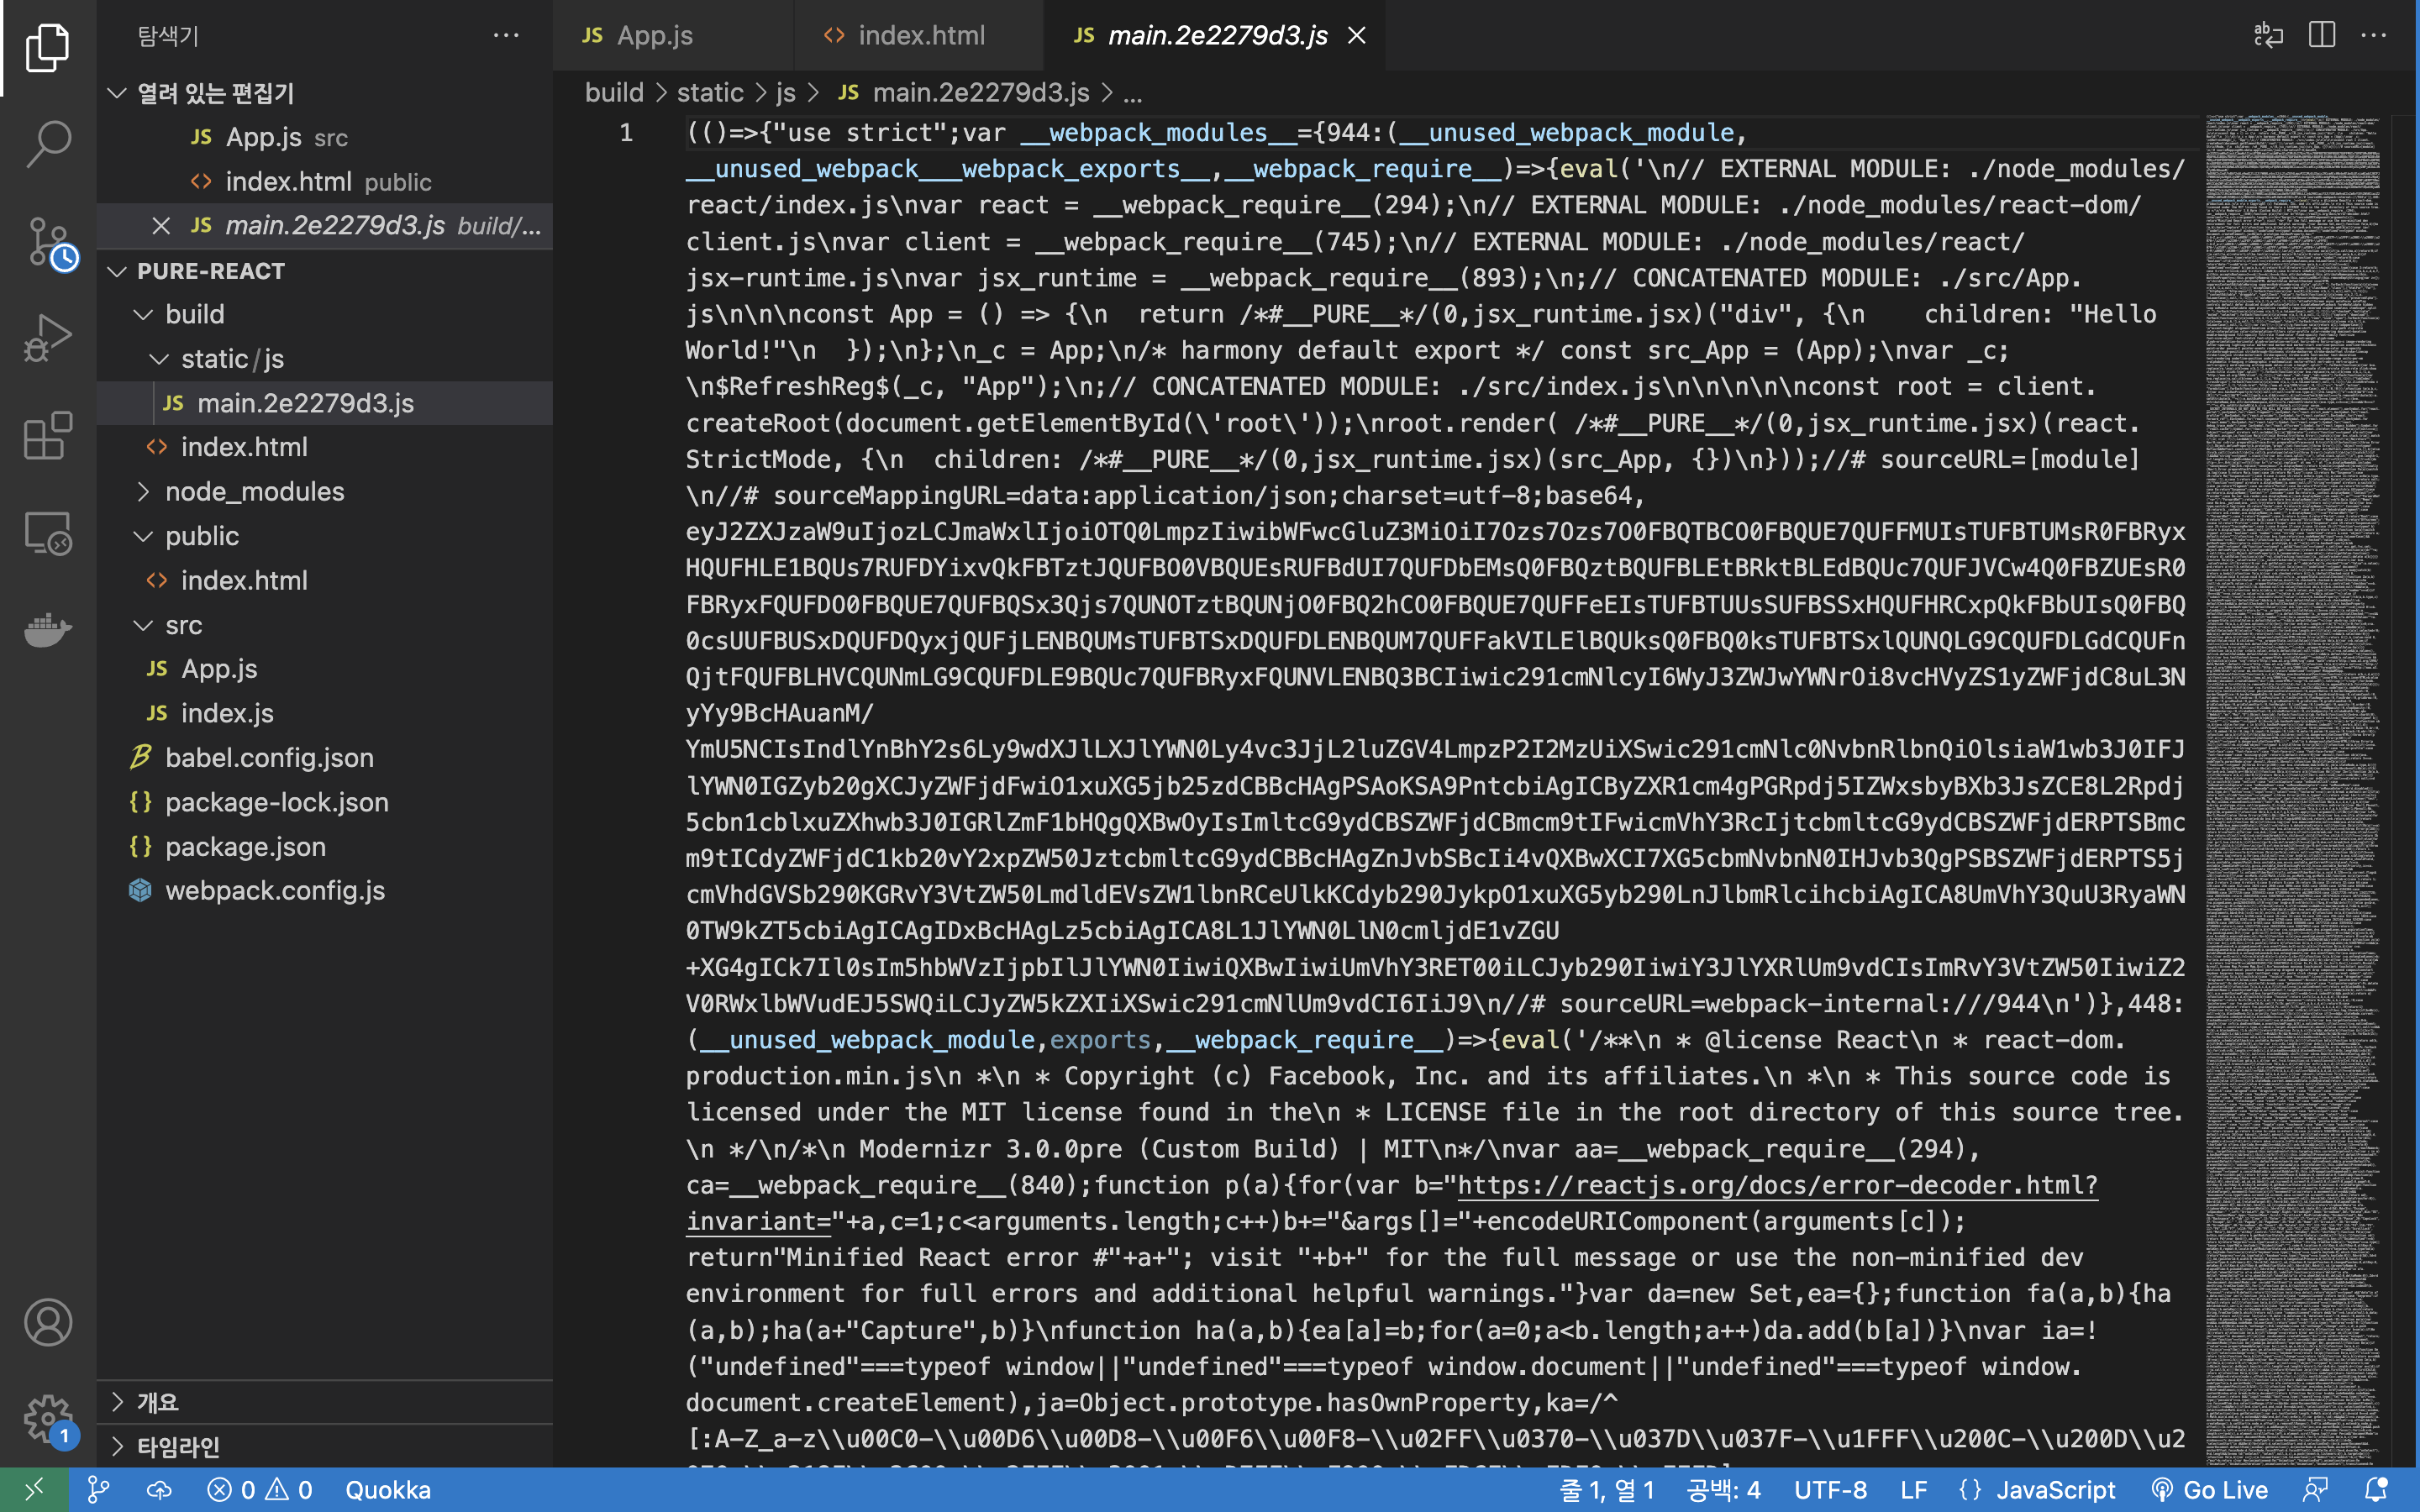
npm run build (webpack --progress --mode production) 를 입력한 경우
webpack.config.js 의 output 속성에 적어준 대로 build 폴더 내부에 빌드된 파일이 생성됩니다.
production 모드로 생성된 빌드 파일의 내용은 다음 화면과 같습니다.
만약 build script 명령어를 webpack --progress --mode development 로 변경한다면 빌드 파일의 모양은 다음과 같이 나타납니다.
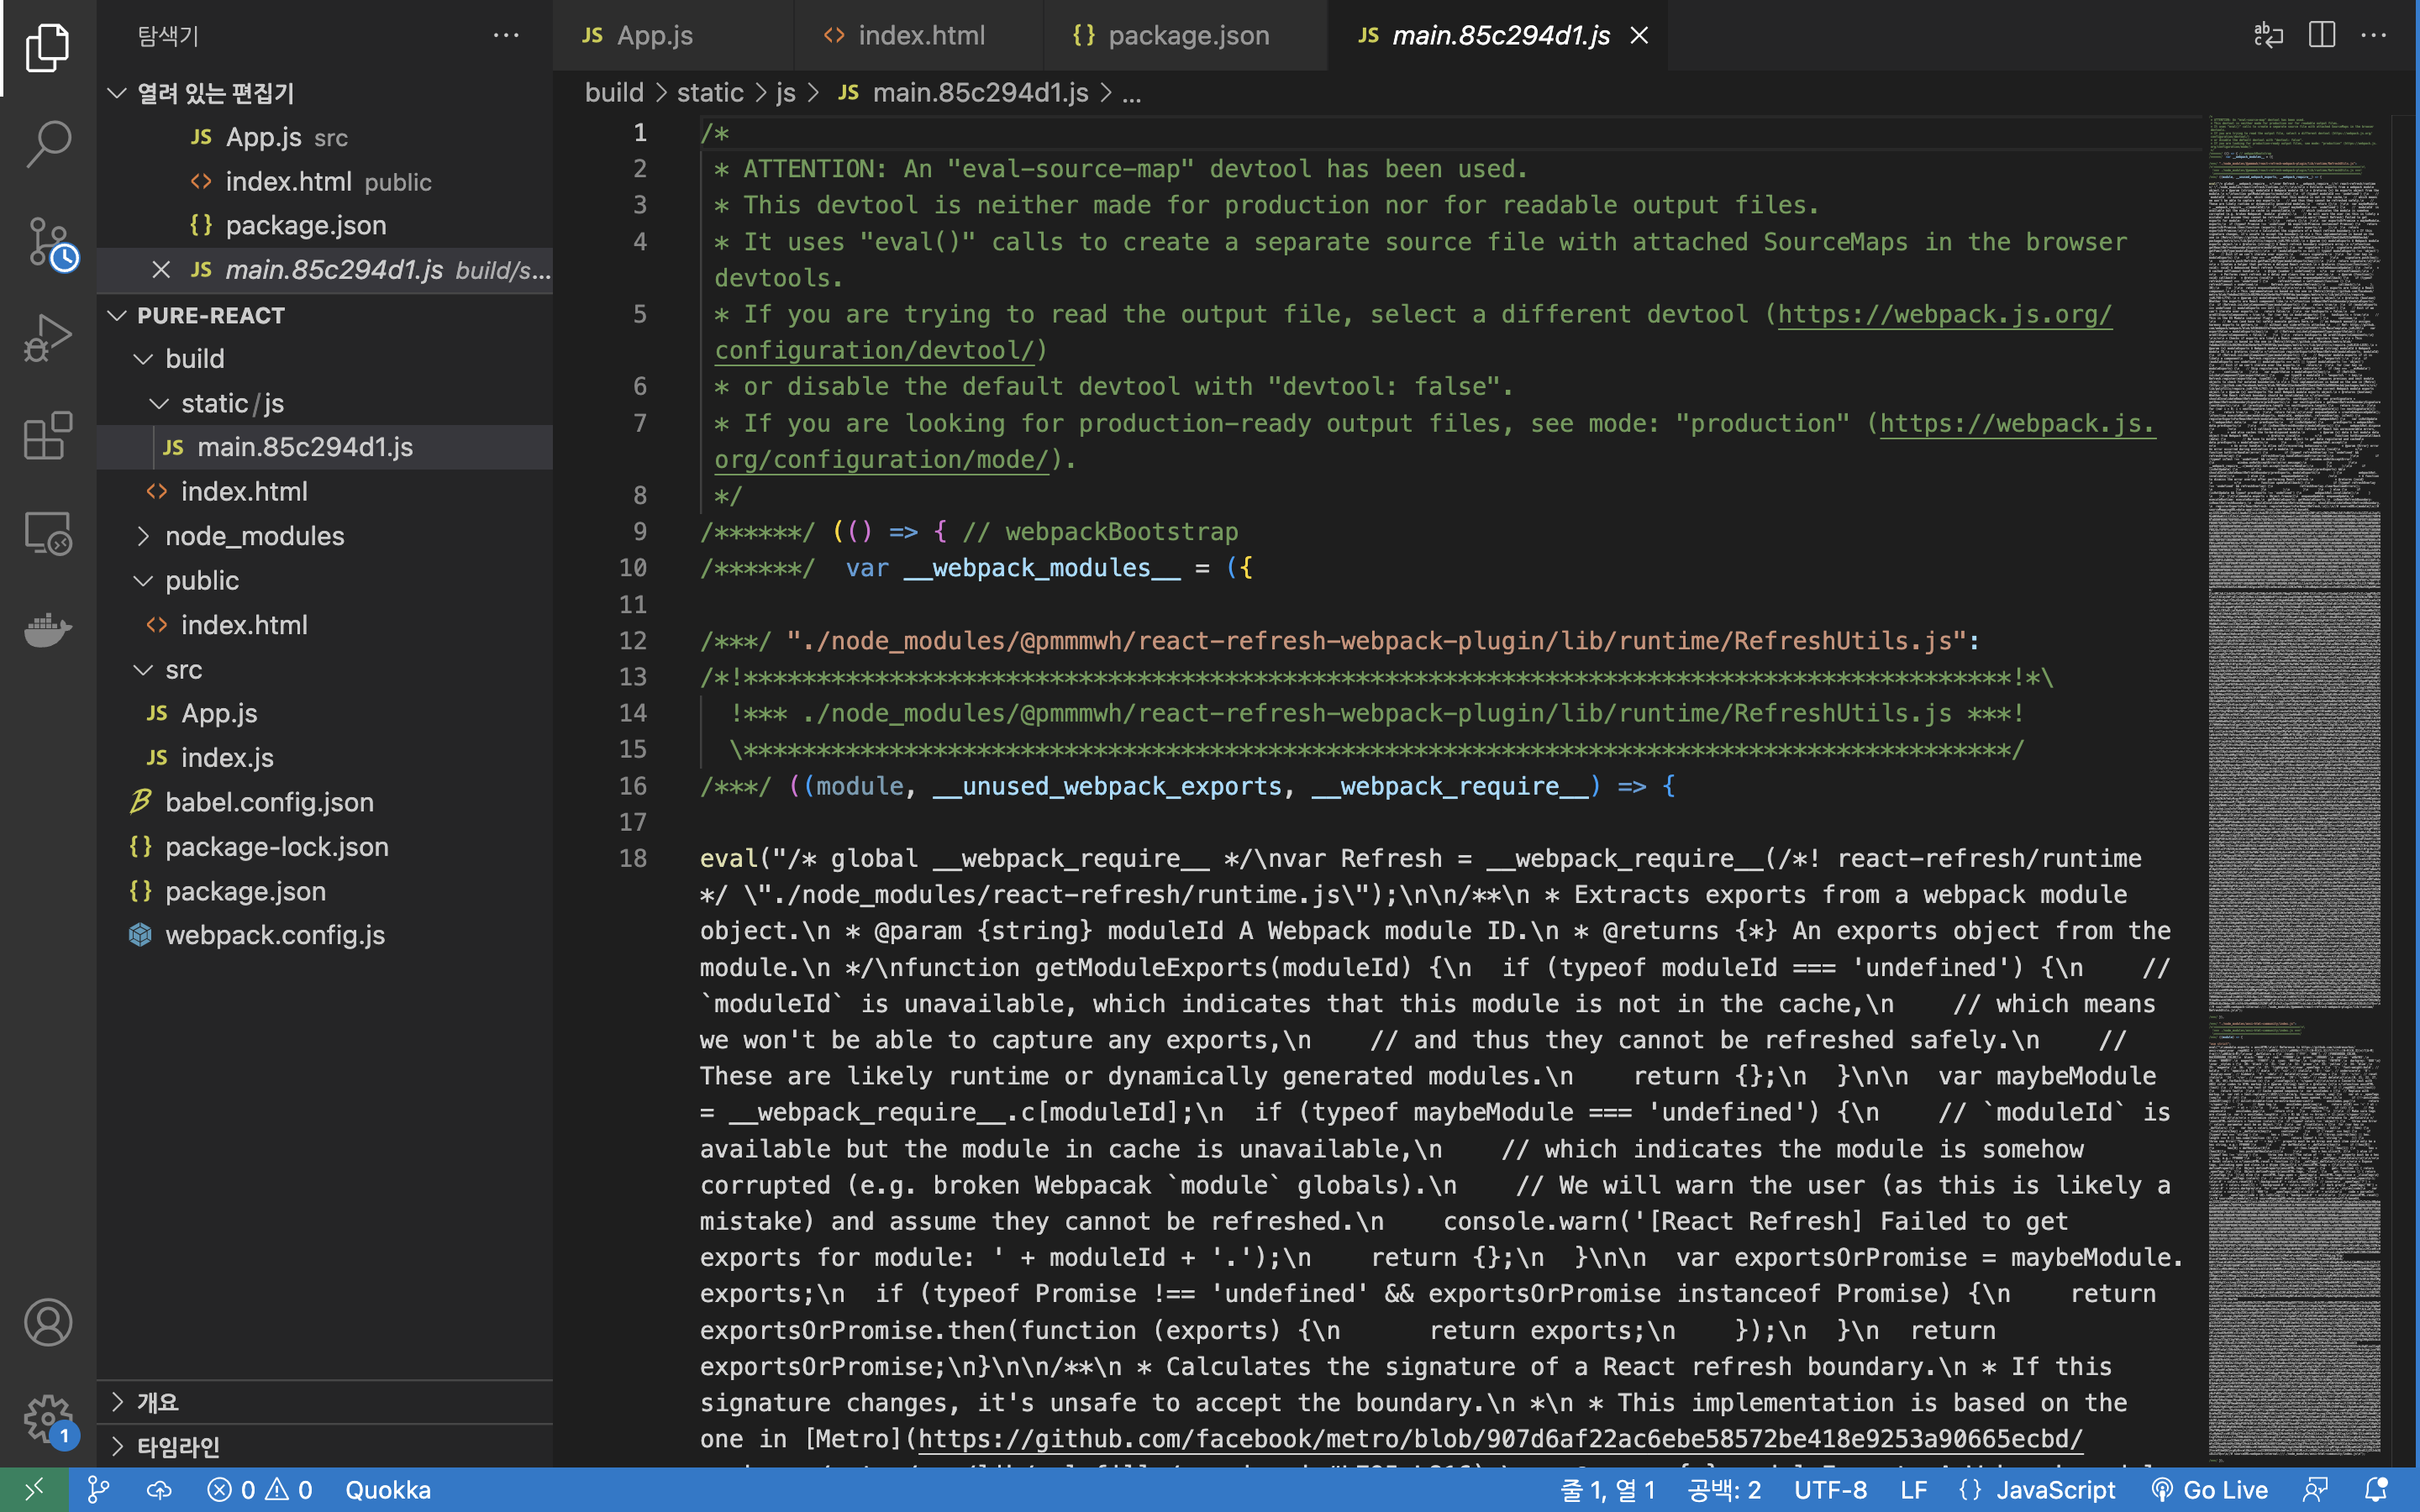
development와 production의 차이?
development 에서는 강력한 소스 매핑, localhost 서버에서는 라이브 리로딩이나 hot module replacement 기능을 원합니다. production에서의 목표는 로드 시간을 줄이기 위해 번들 최소화, 가벼운 소스맵 및 애셋 최적화에 초점을 맞추는 것으로 변경됩니다.

개발자 되기 프로젝트!