
유저 등록 가상 폼 작성과 View 연계
오늘 포스팅은, 직전 포스팅에 이어서 유저 등록 가상 폼을 작성하여 PostUser View와 연계해보도록 하겠다.
velog_series_01/dashboard/dashboard_core 아래에 forms.py 파일을 신규 생성한다.
그리고 다음과 같이 작성한다.
from django_registration.forms import RegistrationForm
from dashboard_core.models import PostUser

class PostUserForm(RegistrationForm):

  class Meta(RegistrationForm.Meta):
    model = PostUser
가상 폼 포맷은 작성하였으니 URL에 가상 폼을 등록하자.
velog_series_01/dashboard/dashboard 에서 urls.py 을 열고 아래와 같이 추가해주자.
 .
 .
 .
from django_registration.backends.one_step.views import RegistrationView
from dashboard_core.forms import PostUserForm
 .
 .
 .
urlpatterns = [
.
.
.
path('accounts/register/', RegistrationView.as_view(
form_class=PostUserForm,
success_url='/'
), name='django_registration_register'),
.
.
.
]다음으로 settings.py 파일에서 로그인 / 아웃 후에 자동 다이렉트 페이지 URL을 추가해준다.
  .
  .
  .
USE_L10N = True

USE_TZ = True

LOGIN_URL = "accounts/login/"
LOGIN_REDIRECT_URL = "/"
LOGOUT_REDIRECT_URL = "/"

# Static files (CSS, JavaScript, Images)
# https://docs.djangoproject.com/en/3.2/howto/static-files/

STATIC_URL = '/static/'

  .
  .
  .
다음으로, 로그인 기능 관련해서 페이지에 간단히 로그인 정보를 표시해줄 template 을 만들어 보자.
velog_series_01/dashboard/dashboard 폴더 아래에 아래와 같이 폴더와 파일을 만든다.
- dashboard (
velog_series_01/dashboard/dashboard)
-- templates (폴더)
-- -- django_registration (폴더)
-- -- -- registration_form.html (파일)
-- -- registration (폴더)
-- -- -- login.html (파일)
-- -- auth_layout.html (파일)
그리고 settings.py 에서 TEMPLATES > DIRS 에 templates 폴더 패스를 등록한다.
TEMPLATES = [
    {
        'BACKEND': 'django.template.backends.django.DjangoTemplates',
		'DIRS': [BASE_DIR / 'dashboard' / 'templates'],
        'APP_DIRS': True,
        'OPTIONS': {
            'context_processors': [
                'django.template.context_processors.debug',
                'django.template.context_processors.request',
                'django.contrib.auth.context_processors.auth',
                'django.contrib.messages.context_processors.messages',
            ],
        },
    },
]
이제 templates 폴더의 아래 3개 파일을 아래와 같이 작성한다.
auth_layout.html
registration_form.html
login.html
auth_layout.html
<html>
  <head>
    <meta charset="utf-8" />
    <meta http-equiv="X-UA-Compatible" content="IE=edge" />
    <meta name="description" content="" />
    <meta name="viewport" content="width=device-width, initial-scale=1" />
    <title>Post</title>
    <link rel="stylesheet"
    href="https://maxcdn.bootstrapcdn.com/bootstrap/3.3.7/css/bootstrap.min.css"
    integrity="sha384-BVYiiSIFeK1dGmJRAkycuHAHRg32OmUcww7on3RYdg4Va+PmSTsz/K68vbdEjh4u"
    crossorigin="anonymous/>
    <style>
      .login-form-container {
        width: 300px;
        margin: auto;
      }

      .registration-form-container {
        width: 400px;
        margin: auto;
      }
    </style>
  </head>
  <body>
    <div class="auth-box text-center">{% block content %} {% endblock %}</div>
  </body>
</html>
registration_form.html
{% extends 'auth_layout.html' %} {% load crispy_forms_tags %} {% block content%}
<h1>Create your account</h1>
<div class="registration-form-container">
  <form method="POST">
    {% csrf_token %} {{ form|crispy }}
    <button type="submit" class="btn btn-sm btn-outline-primary">
      Create an user
    </button>
  </form>
</div>
{% endblock %}
login.html
{% extends 'auth_layout.html' %} {% load crispy_forms_tags %} {% block content
%}
<h1>Login</h1>
<div class="login-form-container">
  <form method="POST">
    {% csrf_token %} {{ form|crispy }}
    <button type="submit" class="btn btn-sm btn-outline-primary">Login</button>
  </form>
</div>
{% endblock %}
위의 파일들을 저장하고, 서버를 올려서 아래 URL로 접근해보자.
python manage.py runserver
http://127.0.0.1:8000/accounts/register/
아래처럼 회원등록 폼이 나타나면 성공이다!
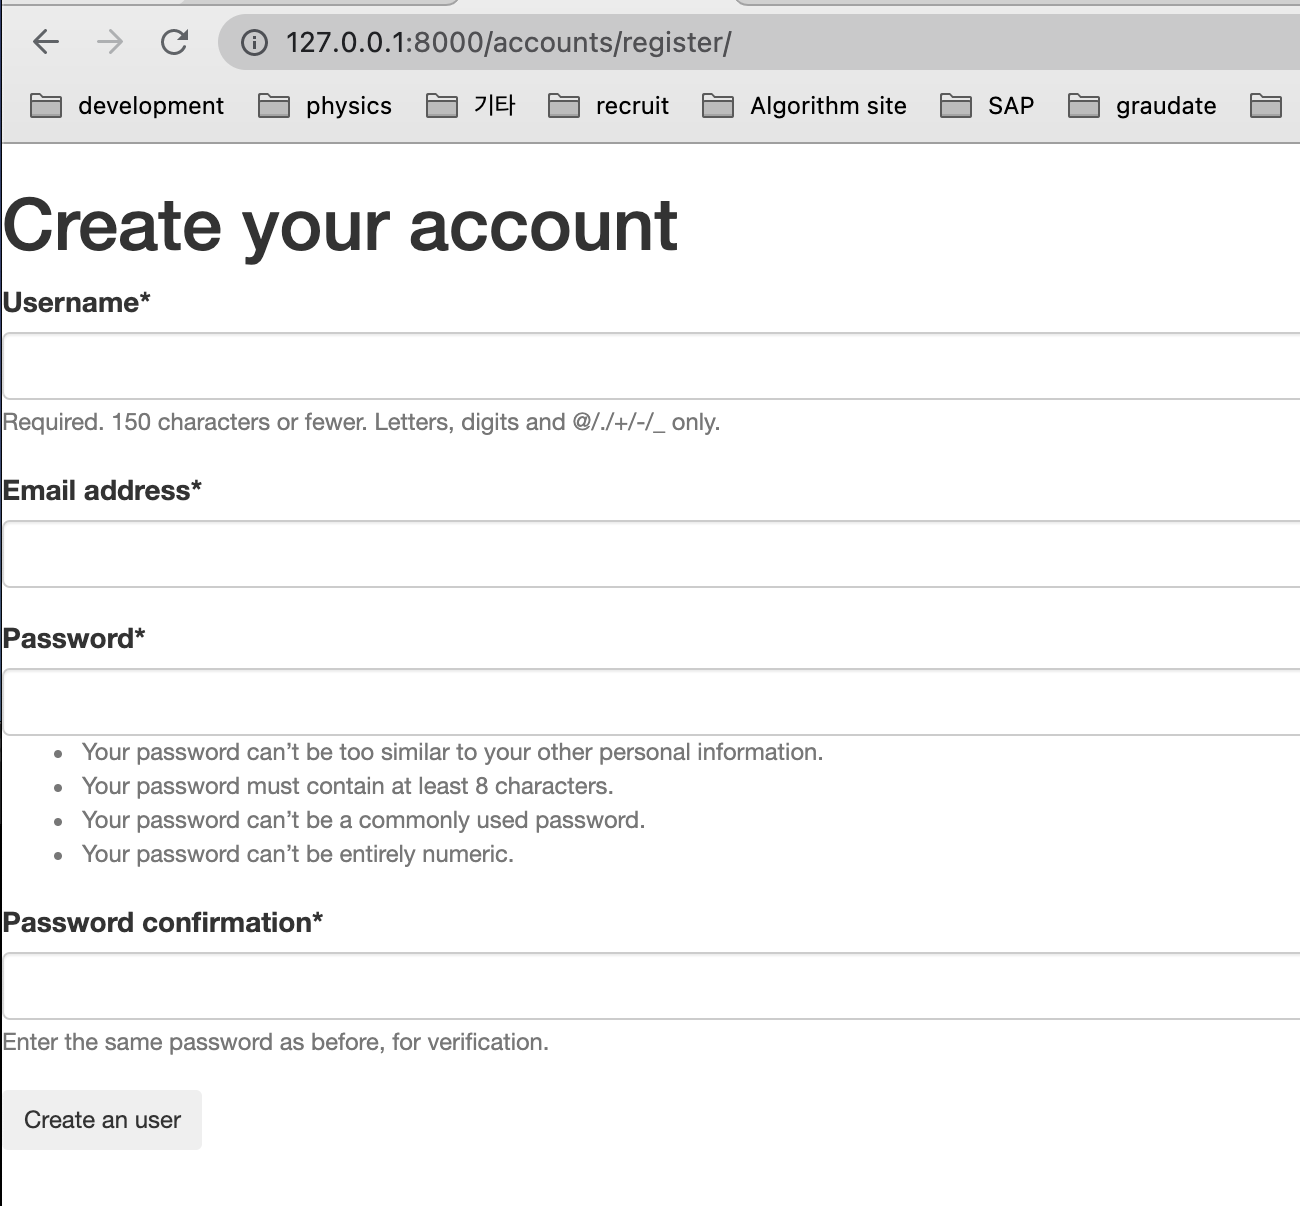
위에 화면에서 한번 회원등록을 해보자.
등록하자마자, http://127.0.0.1:8000/ 페이지로 리다이렉트 된다.
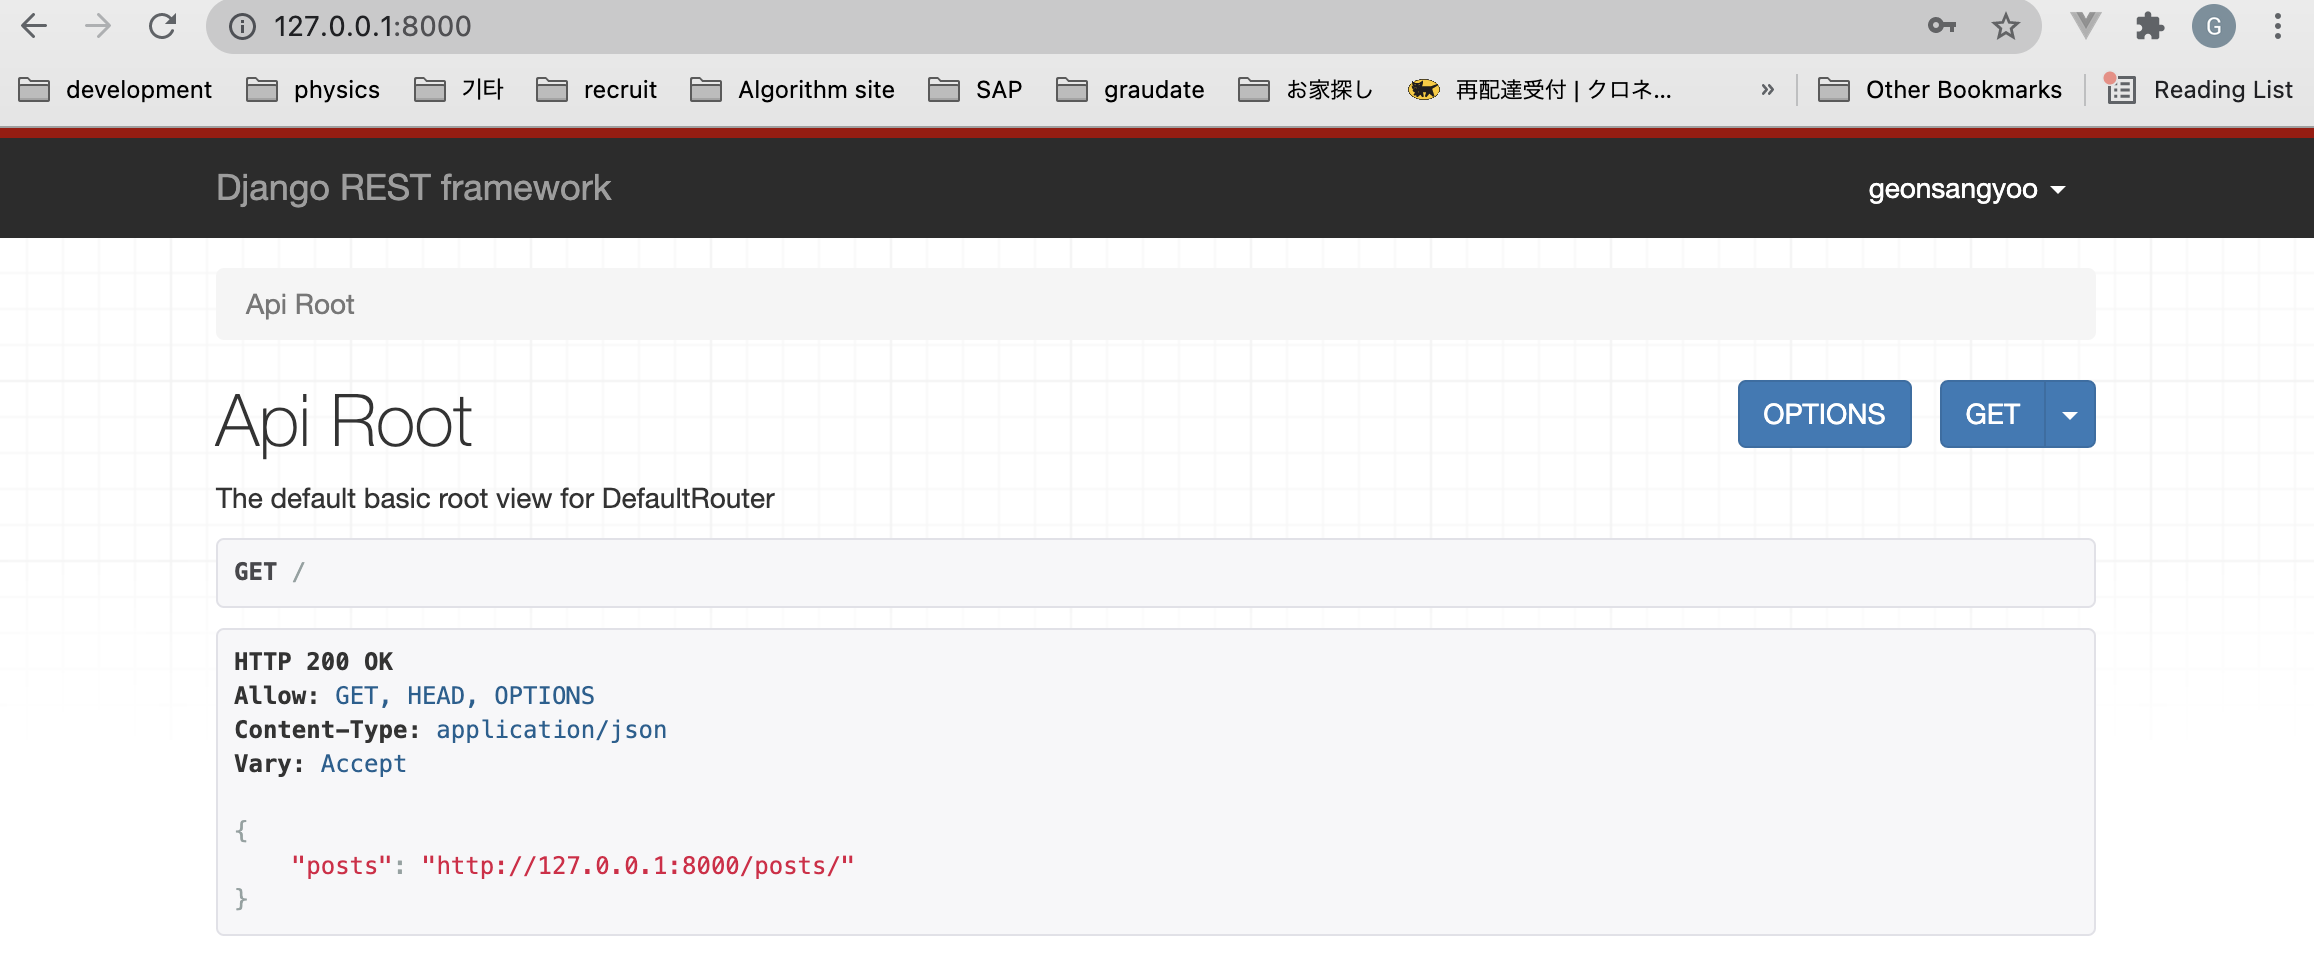
우상단 화면에 방금전에 가입한 Username 이 표시됨을 알수있다.
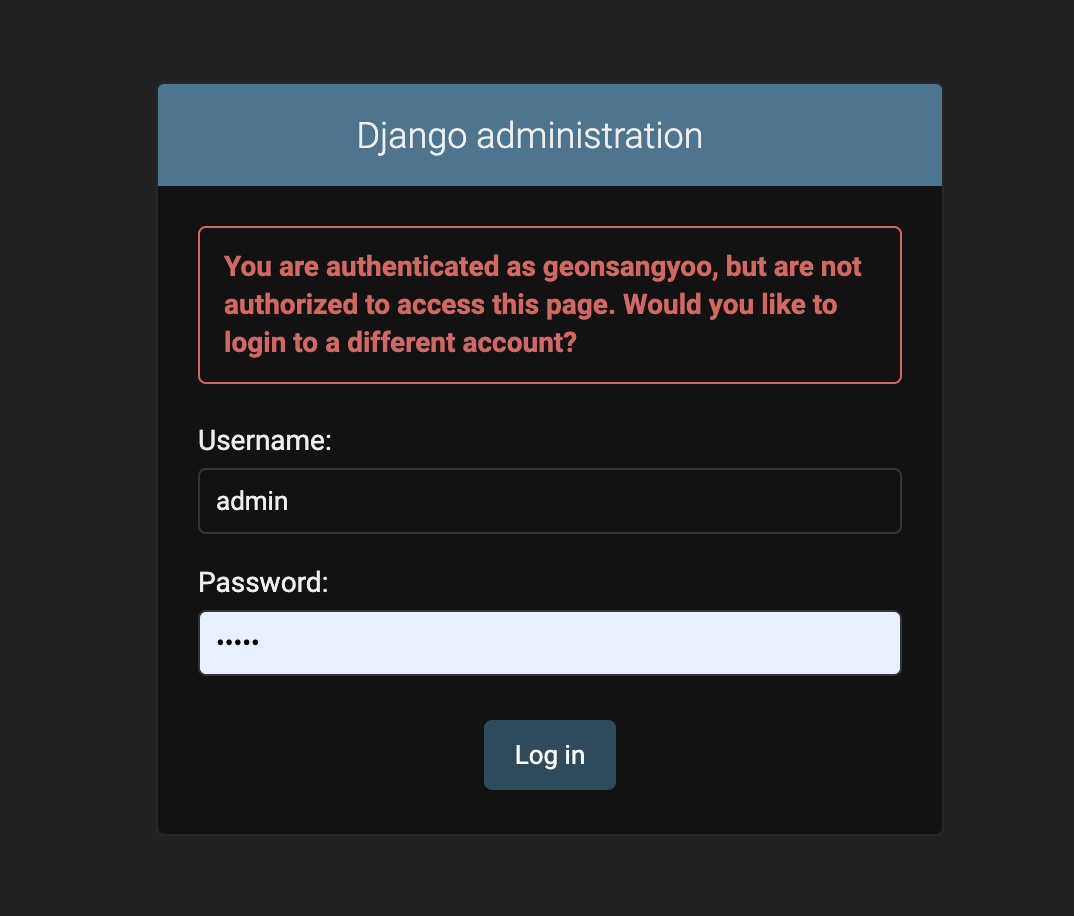
자, 실제로 유저관리화면에 추가되었는지 확인해보자.
아래 admin 계정으로 관리화면에 로그인 해보자.
http://127.0.0.1:8000/admin
Users Model 을 조회해보자.
아래처럼, 방금 추가한 Username 이 존재함을 알 수 있다.
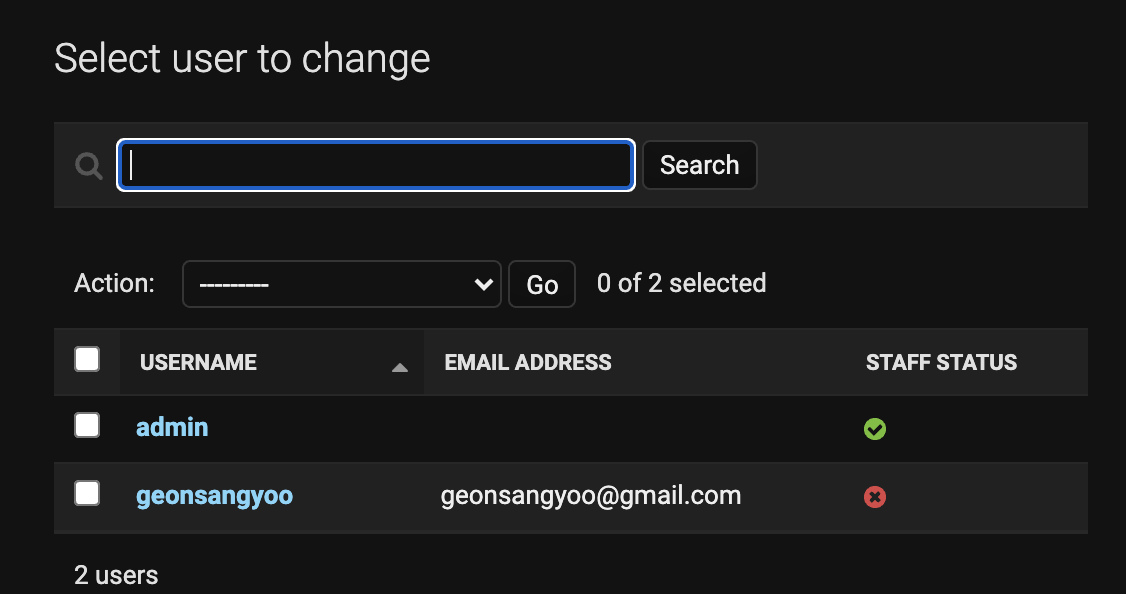
이것으로 가상폼이긴 하나, 유저 모델을 추가해서 django 프로젝트의 Post 모델과 연계하여 보았다.
다음 포스팅에서는 실제API로 확장해서, 클라이언트에서 직접 Request 로 받아서 처리 하는 로직을 작성해보겠다.
Thank you!