설치 구성
[root@localhost /]# cat /etc/redhat-release
Rocky Linux release 8.7 (Green Obsidian)

[root@localhost /]# uname -r
4.18.0-425.3.1.el8.x86_64

[root@localhost /]# ip a
2: ens192: <BROADCAST,MULTICAST,UP,LOWER_UP> mtu 1500 qdisc mq state UP group default qlen 1000
    link/ether 00:0c:29:ca:18:fe brd ff:ff:ff:ff:ff:ff
    altname enp11s0
    inet 192.168.1.22/24 brd 192.168.1.255 scope global noprefixroute ens192
       valid_lft forever preferred_lft forever
    inet6 fe80::e1a5:bed9:3ff9:e496/64 scope link noprefixroute
       valid_lft forever preferred_lft forever
-
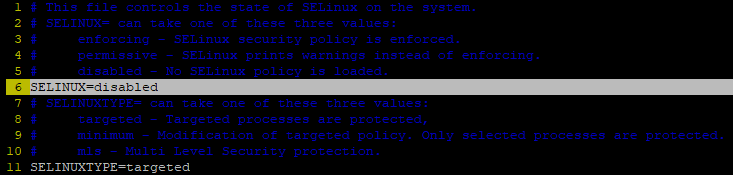
selinux disabled(/etc/selinux/config)
-
zabbix install
dnf -y install https://dl.fedoraproject.org/pub/epel/epel-release-latest-8.noarch.rpm
dnf -y install https://rpms.remirepo.net/enterprise/remi-release-8.rpm
dnf module install php:remi-7.4 -y
dnf install http://repo.zabbix.com/zabbix/6.4/rhel/8/x86_64/zabbix-release-6.4-1.el8.noarch.rpm
dnf clean all
dnf -y install zabbix-server-mysql zabbix-web-mysql zabbix-apache-conf
zabbix-sql-scripts zabbix-selinux-policy zabbix-agent
php -v //7.4
NOTE: php의 최소 버전이 7.4여야 하는데 간혹 php의 버전이 7.0으로 설치되면 zabbix 설치 단계에 오류가 발생한다.
- mariadb install
A. mariadb install
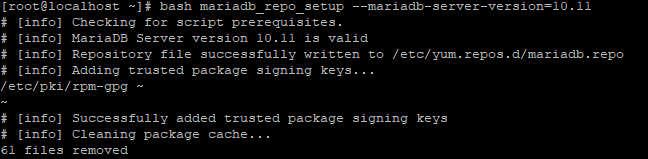
curl -LsS -O https://downloads.mariadb.com/MariaDB/mariadb_repo_setup

bash mariadb_repo_setup --mariadb-server-version=10.11
dnf -y install mariadb-server && systemctl start mariadb && systemctl enable mariadb
B. Reset root password for database
mariadb-secure-installation
Switch to unix_socket authentication [Y/n] y
Change the root password? [Y/n] y
New password: 'NEW root DB password'
Re-enter new password: 'NEW root DB password'
Remove anonymous users? [Y/n] y
Disallow root login remotely? [Y/n] y
Remove test database and access to it? [Y/n] y
Reload privilege tables now? [Y/n] y
C. Create database
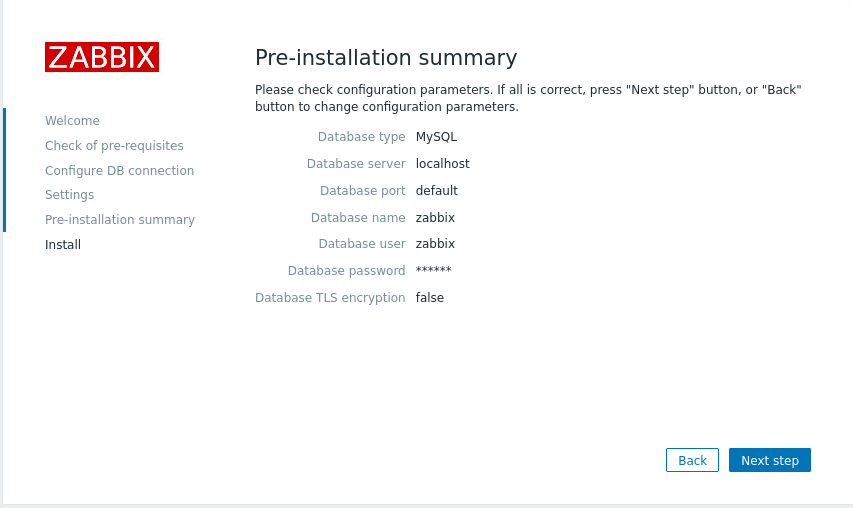
mysql -uroot -p'1234' -e "create database zabbix character set utf8mb4 collate utf8mb4_bin;"
mysql -uroot -p'1234' -e "grant all privileges on zabbix.* to zabbix@localhost identified by 'zabbixDBpass';"
D. Import initial schema and data
zcat /usr/share/zabbix-sql-scripts/mysql/server.sql.gz | mysql --default-character-set=utf8mb4 -uzabbix -p'zabbixDBpass' zabbix
E. Enter database password in Zabbix configuration file
vim /etc/zabbix/zabbix_server.conf
DBPassword='zabbixDBpass'
-
Start Zabbix
systemctl restart zabbix-server zabbix-agent
systemctl enable zabbix-server zabbix-agent
firewall-cmd --add-service={http,https} --permanent
firewall-cmd --add-port={10051/tcp,10050/tcp} --permanent
firewall-cmd --reload -
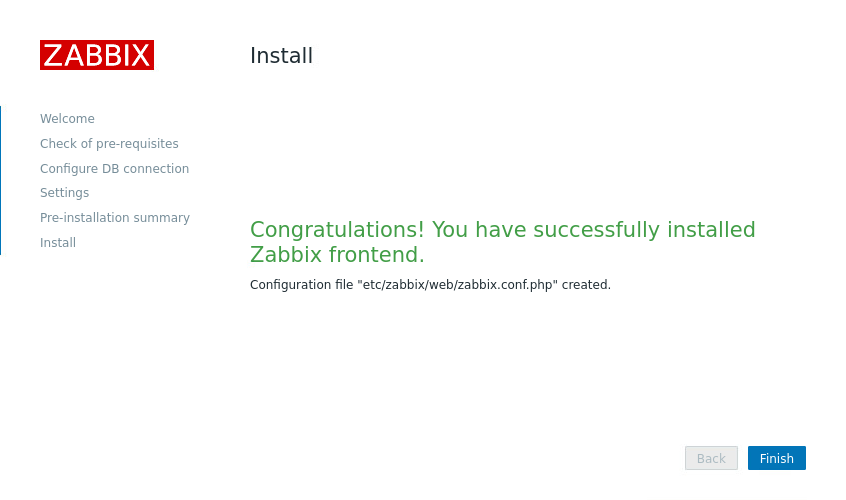
Zabbix frontend
A. Restart Apache web server
systemctl restart httpd php-fpm
systemctl enable httpd php-fpm
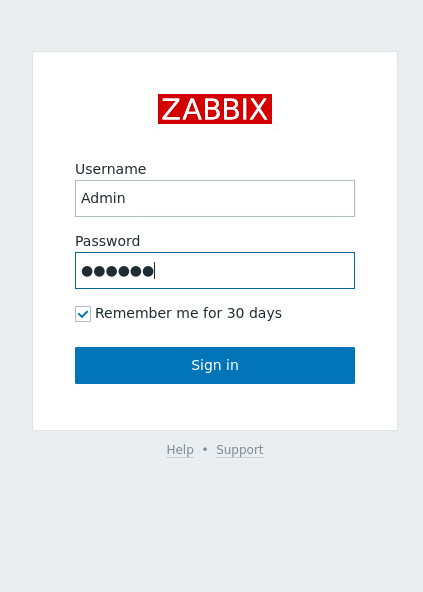
B. Connect to the server ip
zabbix 사용 조건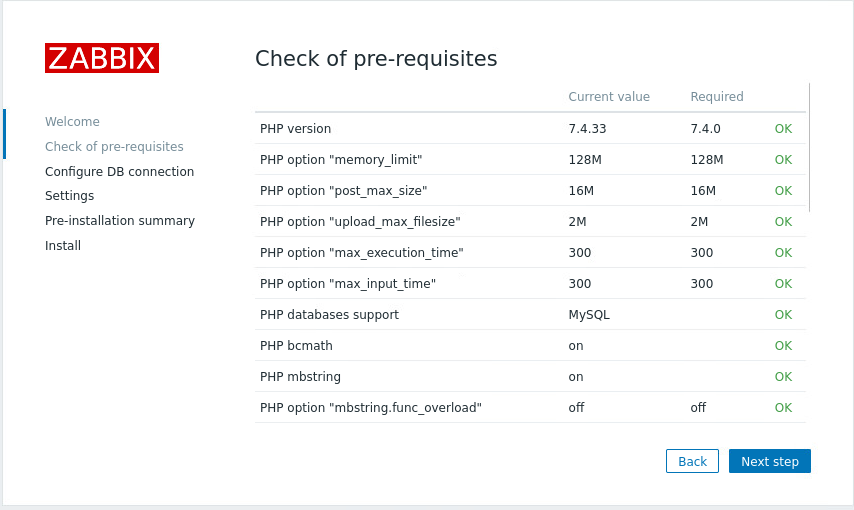

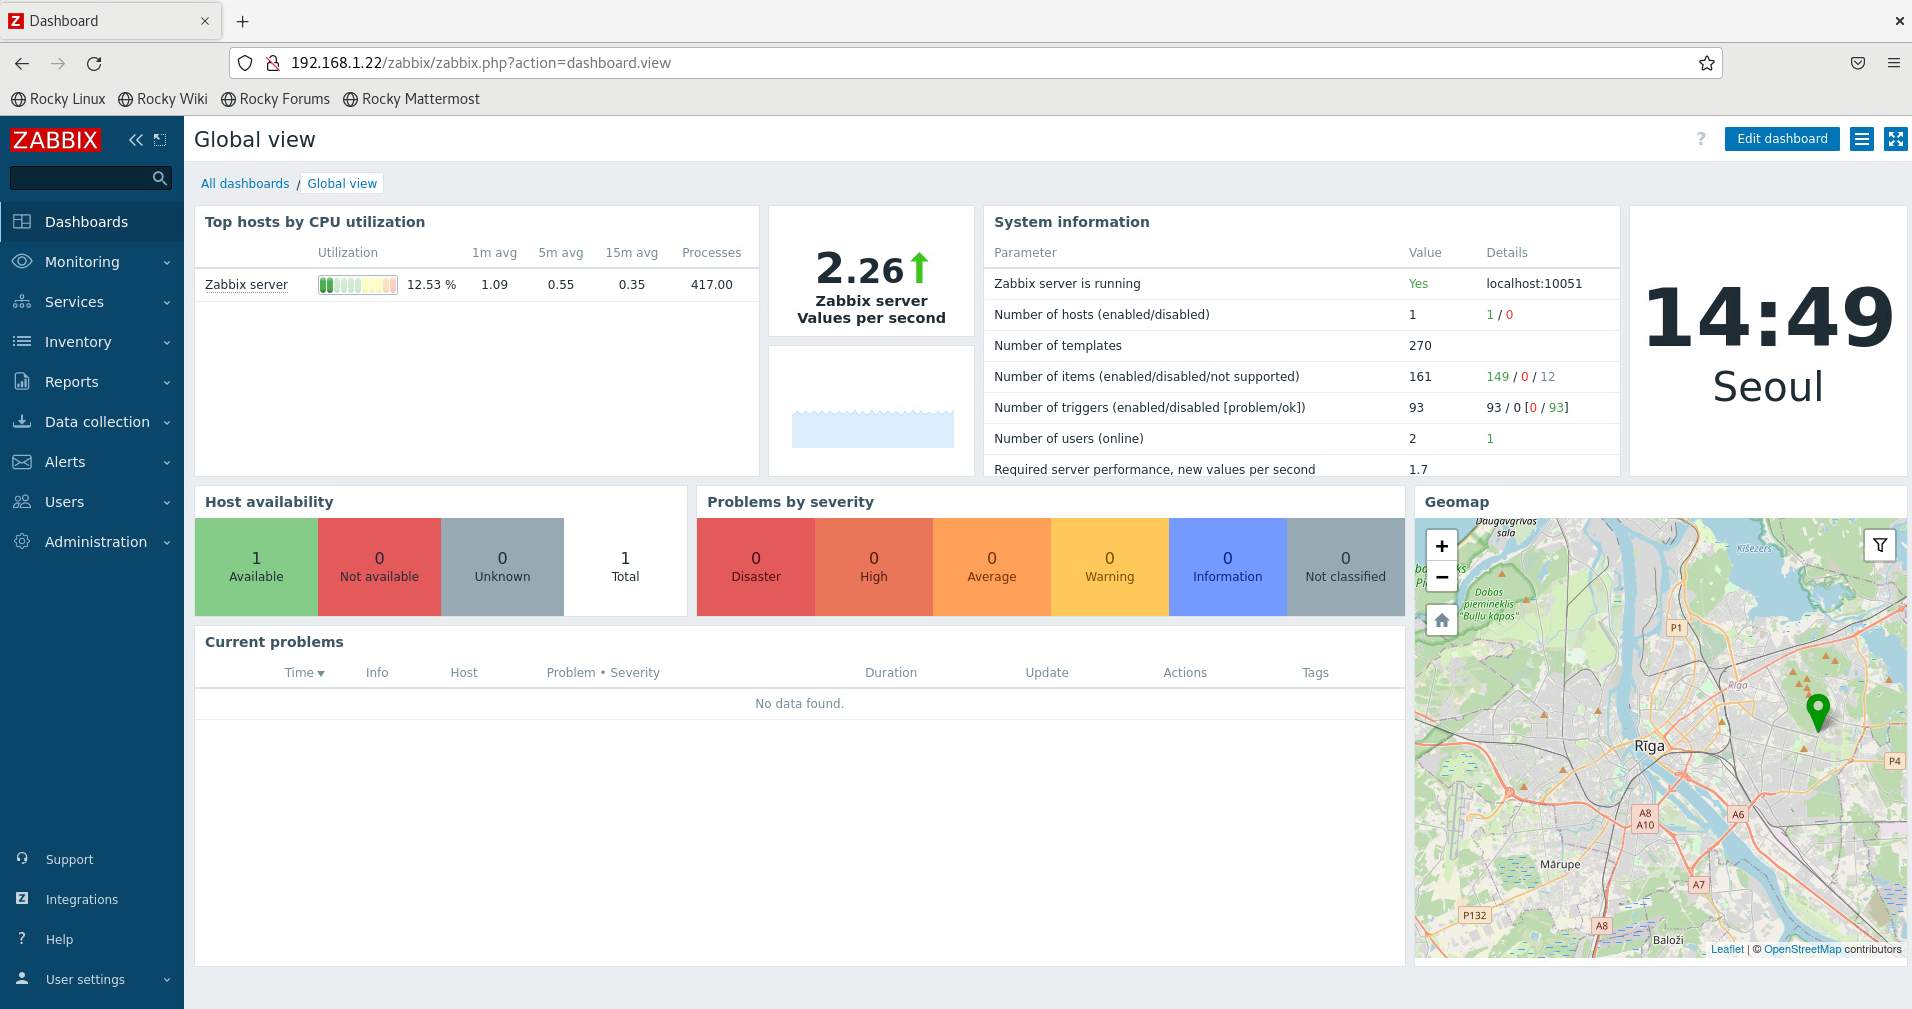
zabbix, MySQL 또는 Apache 서비스를 확인할 때 참고하세요.
Zabbix Server
systemctl <status/restart/start/stop> zabbix-server

MySQL/MariaDB Server
systemctl <status/restart/start/stop> mysql

Apache Server
systemctl <status/restart/start/stop> httpd

PHP FastCGI Process Manager
systemctl <status/restart/start/stop> php-fpm

Zabbix Agent
systemctl <status/restart/start/stop> zabbix-agent