본 내용은 https://docs.djangoproject.com/ 의 튜토리얼을 바탕으로 작성되었습니다.>
Django_tutorial(1)편에서 내온 배용들입니다.
- Creating a project
Django 프로젝트를 만들기 위해 작업을 수행할 새로운 디렉토리(my_site1)를 생성한다.- The development server
- Creating the Polls app
웹사이트(mysite1)dp polls app 을 만들기.- Write your first view & URL
첫 뷰 만들기- Database setup
데이터베이스 생성하기.- Creating models
모델 만들기- Activating models
Project에 app 활성화하기
Project에 Model 활성화하기- API
9.Introducing the Django Admin
관리자 생성하기
관리 사이트에 로그인할 사용자를 만들기 위해 다음 명령어를 실행하고 아래 내용을 입력해야한다.
$ python manage.py createsuperuser

Username: admin
Email address: admin@example.com

Password: **********
Password (again): *********
Superuser created successfully.
개발 서버를 확인 후
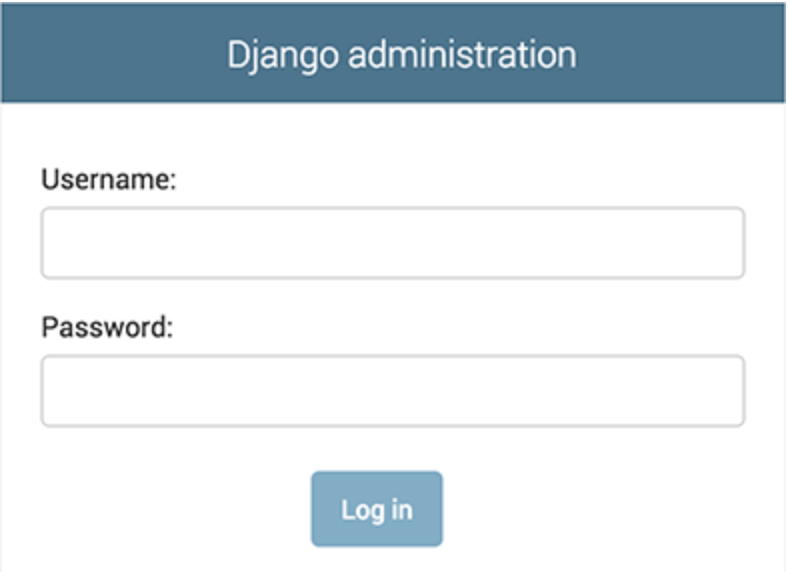
웹브라우저에서 로컬 도메인 (예 : http://127.0.0.1:8000/admin/)으로 이동한다. 관리자 로그인 화면과 관리자 사이트가 나온다.

관리자에서 설문 조사 앱을 수정 가능하게 만들기
polls/admin.py
from django.contrib import admin

from .models import Question

admin.site.register(Question)
10.Writing more views
더 많은 뷰 만들기
뷰는 특정 templates이 있는 Django 애플리케이션의 웹페이지 유형이다.
블로그, 세부사항페이지, 연도,월,일별 기반 아카이브 페이지, 댓글 작업, 질문 페이지, 투표 작업 등을 생성할 수 있다.
더 많은 뷰를 추가하기 위해서는 polls.view.py에 뷰를 만들고 polls.urls.py에 path()호출을 추가하여 모듈에 연결하면 된다.
polls / views.py
def detail(request, question_id):
    return HttpResponse("You're looking at question %s." % question_id)

def results(request, question_id):
    response = "You're looking at the results of question %s."
    return HttpResponse(response % question_id)

def vote(request, question_id):
    return HttpResponse("You're voting on question %s." % question_id)
polls / urls.py
from django.urls import path

from . import views

urlpatterns = [
    # ex: /polls/
    path('', views.index, name='index'),
    # ex: /polls/5/
    path('<int:question_id>/', views.detail, name='detail'),
    # ex: /polls/5/results/
    path('<int:question_id>/results/', views.results, name='results'),
    # ex: /polls/5/vote/
    path('<int:question_id>/vote/', views.vote, name='vote'),
]
실제로 뭔가를 하는 뷰 만들기
뷰는 데이터베이스에서 레코드를 읽기도 한다.
polls / urls.py
from django.http import HttpResponse

from .models import Question


def index(request):
    latest_question_list = Question.objects.order_by('-pub_date')[:5]
    output = ', '.join([q.question_text for q in latest_question_list])
    return HttpResponse(output)

#Leave the rest of the views (detail, results, vote) unchanged
위와 같은 코드도 사용이 가능하나, 하드코딩되어 있어 Django의 템플릿 시스템을 이용해 디자인을 분리할 수 있다.
templates 디렉토리생성 > polls디렉토리 생성 >index.html 파일 만들기
polls / templates / polls / index.html
{% if latest_question_list %}
    <ul>
    {% for question in latest_question_list %}
        <li><a href="/polls/{{ question.id }}/">{{ question.question_text }}</a></li>
    {% endfor %}
    </ul>
{% else %}
    <p>No polls are available.</p>
{% endif %}
index.html 을 view.py 에 연결해주기.
render() 사용하기.
from django.http import HttpResponse
from django.template import loader

from .models import Question

def index(request):
     latest_question_list = Question.objects.order_by('-pub_date')[:5]
    context = {'latest_question_list': latest_question_list}
    return render(request, 'polls/index.html', context)

def detail(request, question_id):
    return HttpResponse("You're looking at question %s." % question_id)

def results(request, question_id):
    response = "You're looking at the results of question %s."
    return HttpResponse(response % question_id)

def vote(request, question_id):
    return HttpResponse("You're voting on question %s." % question_id)
11. 404 오류 발생
Http404 오류는 ID 를 가진 질문이 존재하지 않으면 발생된다.
예외처리를 진행해줘야 함.
polls / views.py
from django.http import Http404
from django.shortcuts import render

from .models import Question
#...
def detail(request, question_id):
    try:
        question = Question.objects.get(pk=question_id)
    except Question.DoesNotExist:
        raise Http404("Question does not exist")
    return render(request, 'polls/detail.html', {'question': question})
그러나 객체가 존재하지 않을 경우에는 get()를 사용하는게 일반적이다.
위 코드를 아래처럼 바꿔준다.
from django.shortcuts import get_object_or_404, render
from .models import Question
#...
def detail(request, question_id):
question = get_object_or_404(Question, pk=question_id)
return render(request, 'polls/detail.html', {'question': question})
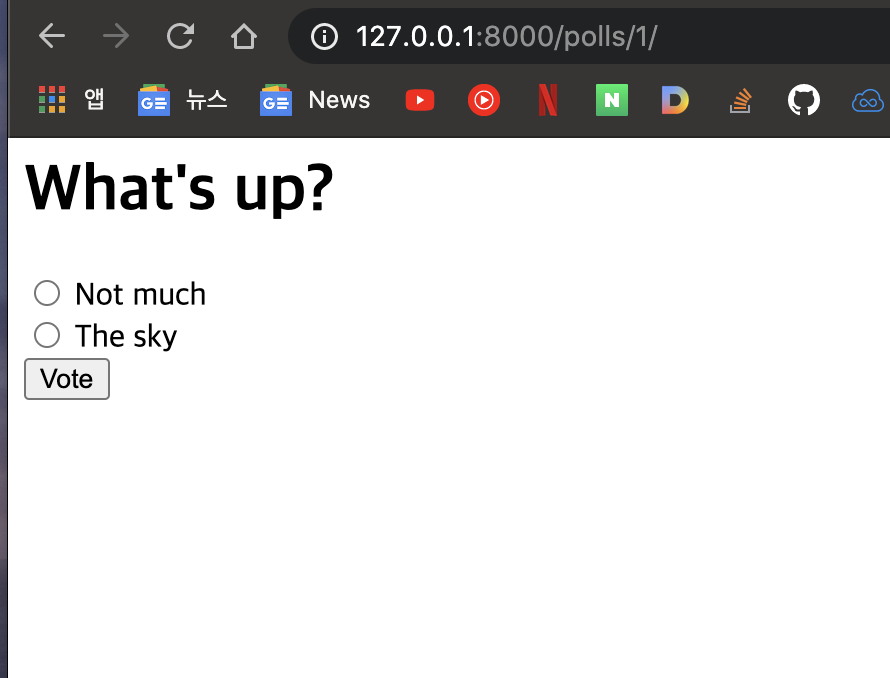
12.Write a minimal form
템플릿에는 최소한의 양식을 작성하여야 한다.
detail.html을 업데이트하여 라디오 버튼을 표시한다.
polls / templates / polls / detail.html
<h1>{{ question.question_text }}</h1>

{% if error_message %}<p><strong>{{ error_message }}</strong></p>{% endif %}

<form action="{% url 'polls:vote' question.id %}" method="post">
{% csrf_token %}
{% for choice in question.choice_set.all %}
    <input type="radio" name="choice" id="choice{{ forloop.counter }}" value="{{ choice.id }}">
    <label for="choice{{ forloop.counter }}">{{ choice.choice_text }}</label><br>
{% endfor %}
<input type="submit" value="Vote">
</form>
해당코드로 제출된 데이터는 작업 수행을 위해 polls/urls.py에 뷰로 만들어줘야 한다.
polls / urls.py
path('<int:question_id>/vote/', views.vote, name='vote'),
더하여 polls/views.py 에 vote()함수를 구현 해준다.
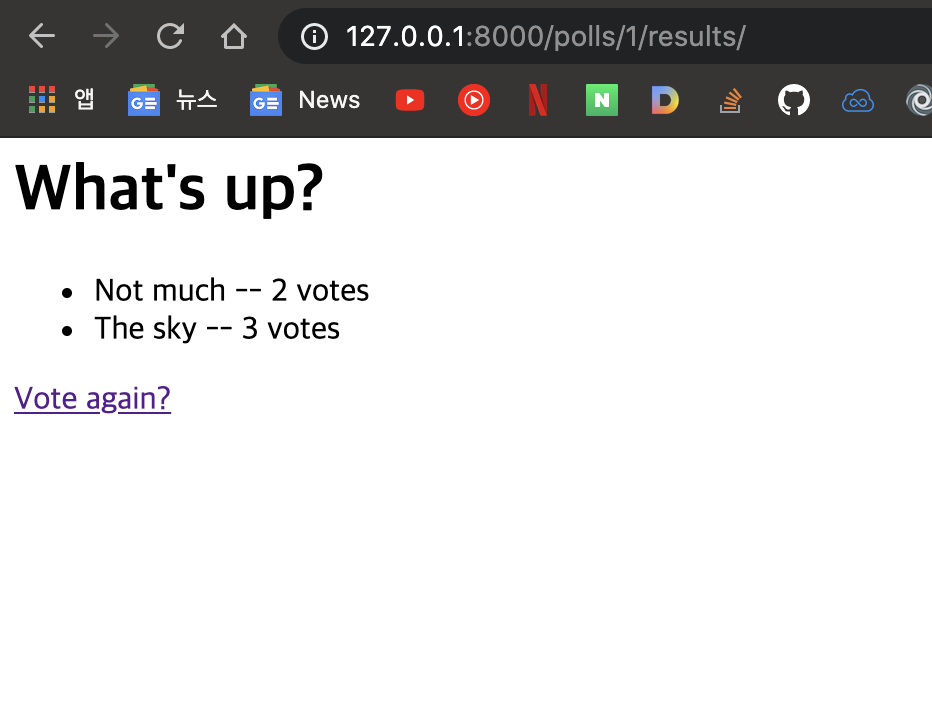
13.Use generic views: Less code is better
코드를 사용할 때는 적은 코드가 좋다.
튜토리얼을 진행하여 일반 뷰 시스템을 기반으로 새로운 뷰를 적어나가는 과정을 진행했다.
이러한 코드셔플을 한 이유는 코드가 평가하면서 리팩토링하면서 튜토리얼을 하여야 도움이 되기 때문이다.
일반적으로는 적은 코드로 뷰를 구성하는게 제일 좋은 방법이다.
따라서 URLconf와 view를 다음과 같이 수정해준다.
URLconf 수정
polls / urls.py
from . import views

app_name = 'polls'
urlpatterns = [
    path('', views.IndexView.as_view(), name='index'),
    path('<int:pk>/', views.DetailView.as_view(), name='detail'),
    path('<int:pk>/results/', views.ResultsView.as_view(), name='results'),
    path('<int:question_id>/vote/', views.vote, name='
view(뷰) 수정
polls/views.py
from django.http import HttpResponseRedirect
from django.shortcuts import get_object_or_404, render
from django.urls import reverse
from django.views import generic

from .models import Choice, Question


class IndexView(generic.ListView):
    template_name = 'polls/index.html'
    context_object_name = 'latest_question_list'

    def get_queryset(self):
        """Return the last five published questions."""
        return Question.objects.order_by('-pub_date')[:5]


class DetailView(generic.DetailView):
    model = Question
    template_name = 'polls/detail.html'


class ResultsView(generic.DetailView):
    model = Question
    template_name = 'polls/results.html'
튜토리얼 결과물
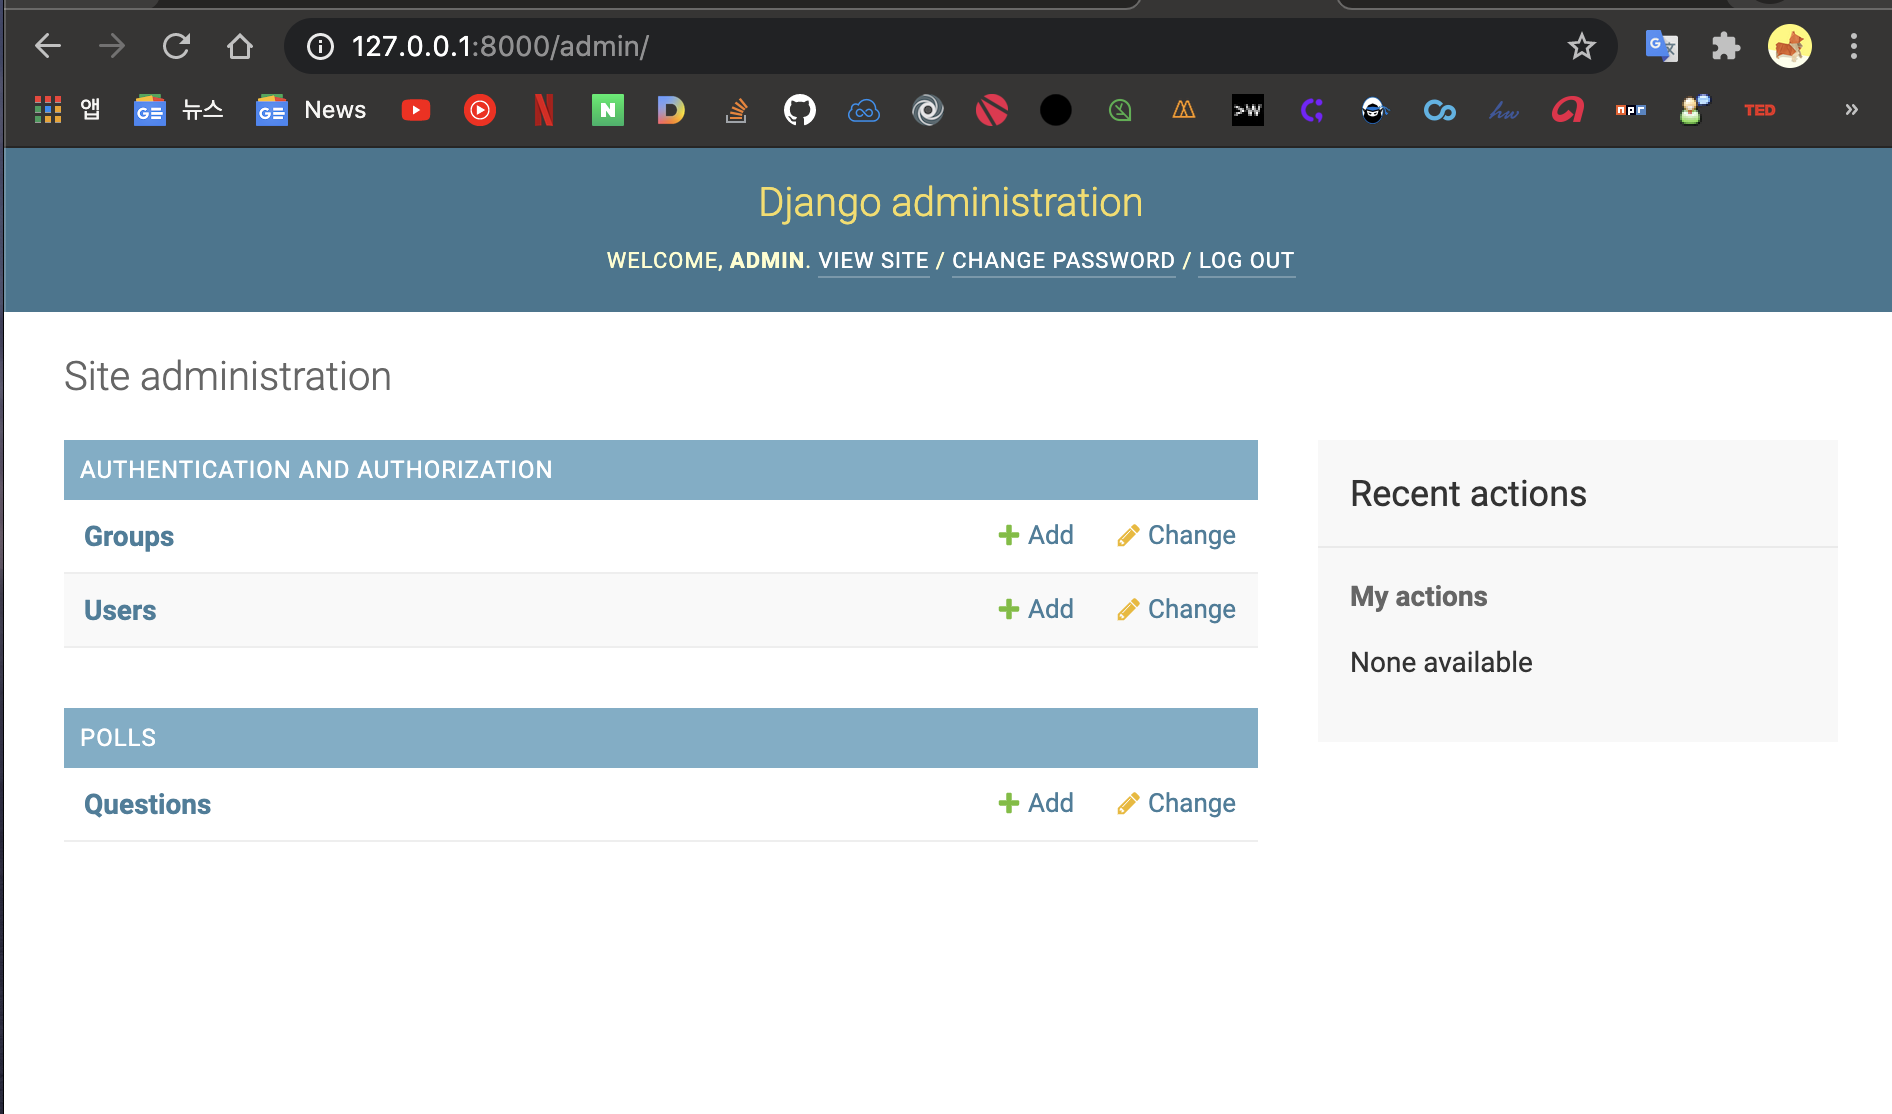
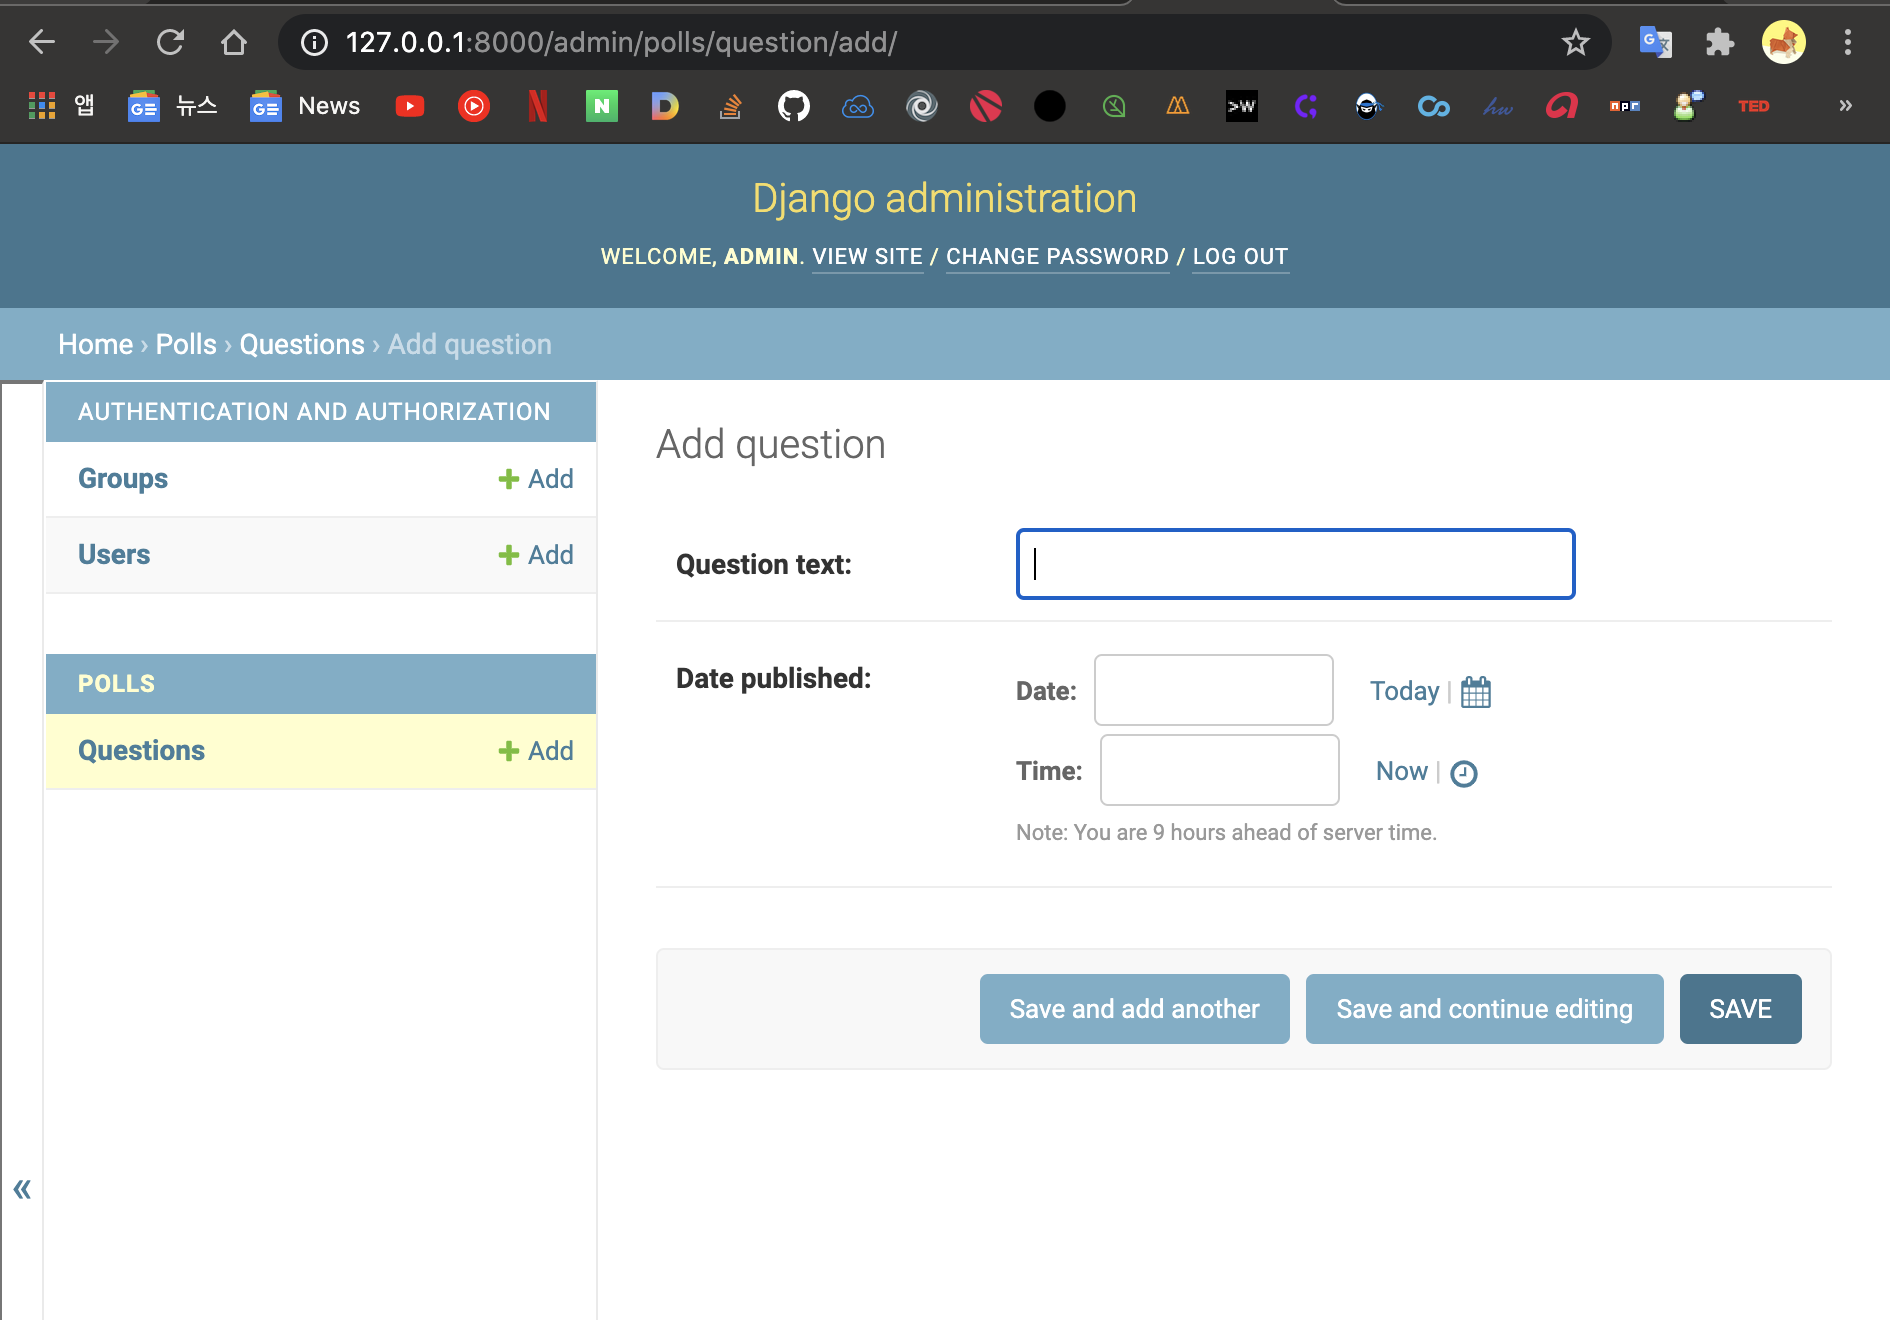
admin page
admin page
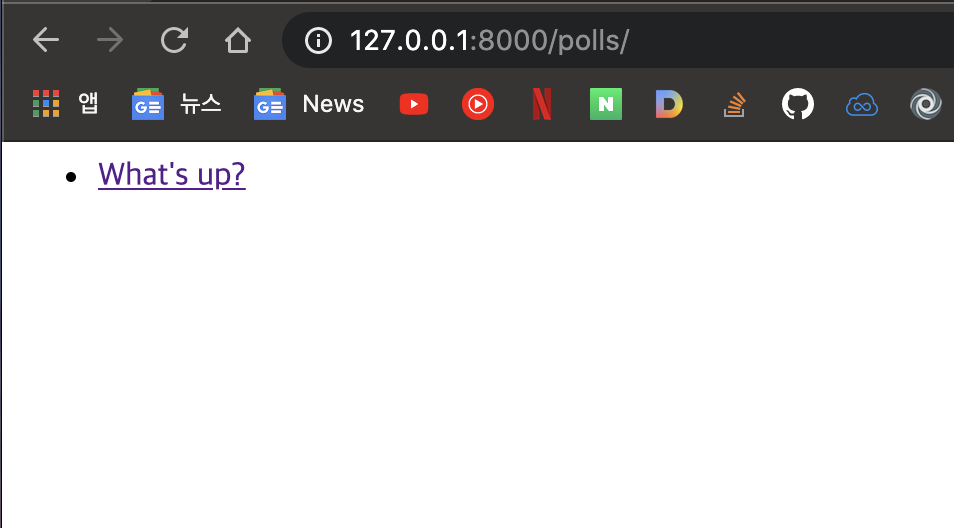
polls page
polls page
polls page
이번 Django 튜토리얼을 통해 배운점.
- Djang 프레임워크의 MVT(Model,View,Templates)구조
- view와 urls 매핑의 중요성
- 데이터베이스를 migrate 해주기
- Model의 구조 설정
- 모델 makemigrations로 활성화하기
Django의 전반적인 틀에 대하여 배웠고, 사용하는 용어와 어떤식으로 구성을 갖고 서로 상호작용하는지 알게 되었다. 실제 프로젝트를 하면서 유기적인 연결 관계 및 urls 호출에 대하여 더 명확한 이해를 해야 겠다.