테이블뷰 셀에 버튼을 눌렀을 때 해당 셀의 숫자가 1씩 올라가게 구현!
-> 테이블뷰와 커스텀셀을 연습하며 추가로 구현 과정 중 delegate까지 연습 할 수 있었습니다.
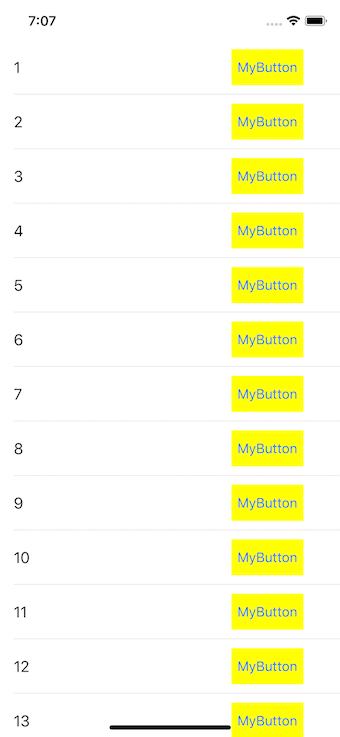
- 일단 1부터 50까지 셀을 만들어 보았습니다.
 class ViewController: UIViewController {

  let tableView = UITableView()
  var data = Array(1...50)

  override func viewDidLoad() {
    super.viewDidLoad()
    tableView.frame = view.frame
    tableView.dataSource = self
    tableView.rowHeight = 60
    view.addSubview(tableView)
    tableView.register(CustomCell.self, forCellReuseIdentifier: "CustomCell")
  }

// MARK: - UITableViewDataSource

extension ViewController: UITableViewDataSource {
  func tableView(_ tableView: UITableView, numberOfRowsInSection section: Int) -> Int {
    return data.count
  }

  func tableView(_ tableView: UITableView, cellForRowAt indexPath: IndexPath) -> UITableViewCell {
    let cell = tableView.dequeueReusableCell(withIdentifier: "CustomCell", for: indexPath) as! CustomCell

    cell.textLabel?.text = "\(data[indexPath.row])"
    return cell
  }
}- 커스텀셀에는 버튼을 만들었습니다.
import UIKit

class CustomCell: UITableViewCell {

  let button = UIButton(type: .system)

  // MARK: Initialize
  override init(style: UITableViewCell.CellStyle, reuseIdentifier: String?) {
    super.init(style: style, reuseIdentifier: reuseIdentifier)
    contentView.addSubview(button)
    button.setTitle("MyButton", for: .normal)
    button.backgroundColor = .yellow
    button.addTarget(self, action: #selector(didTapButton(_:)), for: .touchUpInside)
  }

  @objc func didTapButton(_ sender: UIButton) {
    print("did tap button")
  }

  required init?(coder aDecoder: NSCoder) {
    fatalError("init(coder:) has not been implemented")
  }

  // MARK: Layout
  override func layoutSubviews() {
    super.layoutSubviews()
    button.frame = CGRect(
      x: frame.width - 120, y: 10,
      width: 80, height: frame.height - 20
    )
  }
}
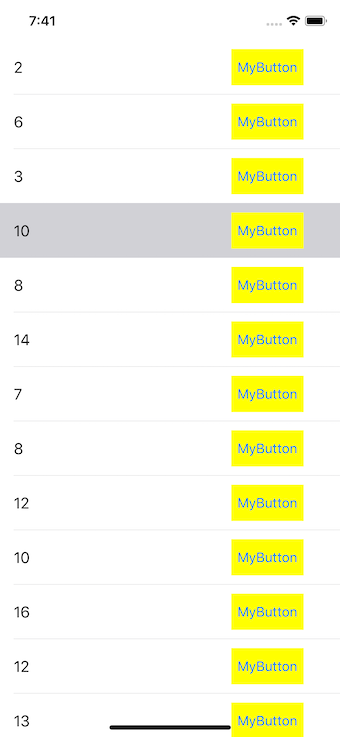
- 셀의 숫자를 1씩 늘리기 위해선 버튼을 눌렀을 때 +1을 해주면 됩니다.
커스텀셀에서 버튼액션을 만들어 delegate로 ViewController에 작업을 위임해 주면 원하는 작동을 하게됩니다.
//CustomCell에 추가할 코드
protocol CustomCellDelegate: class {
  func customCell(_ customCell: CustomCell, didTapButton button: UIButton)
}

class CustomCell: UITableViewCell {

  weak var delegate: CustomCellDelegate?

  @objc func didTapButton(_ sender: UIButton) {
    delegate?.customCell(self, didTapButton: sender)
  }
}

//ViewController에 추가할 코드
override func viewDidLoad() {
    tableView.delegate = self
}

extension ViewController: CustomCellDelegate {
  func customCell(_ customCell: CustomCell, didTapButton button: UIButton) {
    guard let row = tableView.indexPath(for: customCell)?.row else { return }

    let addedNumber = data[row] + 1
    data[row] = addedNumber
    customCell.textLabel?.text = "\(addedNumber)"
  }
}
!!그런데 원하는 동작이 일어나지 않아 깊은 고민을 하게 되었습니다... 무엇을 잘못했는지 자세히 코드를 노려보았습니다😠
!!! 잘못된 부분은 바로 delegate선언 이었습니다! tableView하면 dataSource와 delegate를 정말 많이 사용하기에 당연히 평소대로 선언해주면 될 줄 알았는데 제가 사용할 delegate는 셀에 대한 delegate이기에 cell에서 delegate를 선언해 주어야 했습니다.
// 틀린코드
  tableView.delegate = self
//수정한 코드
  cell.delegate = self
선언해주는 위치도 tableView delegate는 보통 viewDidLoad 이지만 여기서 cell.delegate는 아래의 dataSource에 호출해줘야 합니다.
func tableView(_ tableView: UITableView, cellForRowAt indexPath: IndexPath) -> UITableViewCell {- 이번 예제를 통해 커스텀셀에서 일어날 액션을 delegate를 통해 ViewController에서 일어나도록 넘겨주는 구체적인 방법을 연습 할 수 있었습니다!

iOS 개발자가 되기 위해