- 쇽샥쇽하며 빠른 전환 속도를 자랑하는 fragment를 사용해봅시다.
Activity에서 fragment 여러 개 띄우기
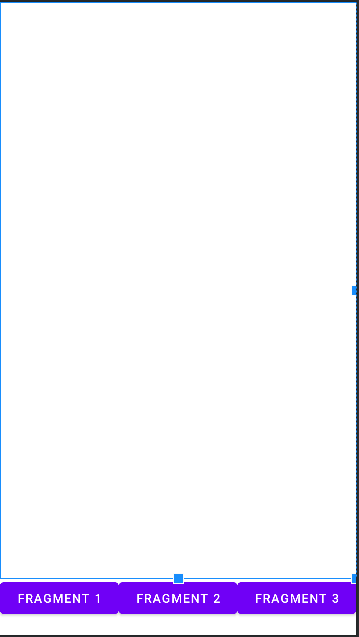
1. Mainactivity의 xml을 작성
- framelayout을 두고 버튼을 눌러가며 여러 fragment를 전환하려고 한다.
<?xml version="1.0" encoding="utf-8"?>
<LinearLayout xmlns:android="http://schemas.android.com/apk/res/android"
    xmlns:app="http://schemas.android.com/apk/res-auto"
    xmlns:tools="http://schemas.android.com/tools"
    android:layout_width="match_parent"
    android:layout_height="match_parent"
    android:orientation="vertical"
    tools:context=".MainActivity">
    <FrameLayout
        android:id="@+id/frameLayout"
        android:layout_width="match_parent"
        android:layout_height="0dp"
        android:layout_weight="10"
        >

    </FrameLayout>

    <LinearLayout
        android:layout_width="match_parent"
        android:layout_height="0dp"
        android:layout_weight="1"
        android:orientation="horizontal"
        >

        <Button
            android:id="@+id/btn1"
            android:layout_width="0dp"
            android:layout_height="wrap_content"
            android:layout_weight="1"
            android:text="fragment 1"
            />
        <Button
            android:id="@+id/btn2"
            android:layout_width="0dp"
            android:layout_height="wrap_content"
            android:layout_weight="1"
            android:text="fragment 2"
            />
        <Button
            android:id="@+id/btn3"
            android:layout_width="0dp"
            android:layout_height="wrap_content"
            android:layout_weight="1"
            android:text="fragment 3"
            />

    </LinearLayout>
</LinearLayout>
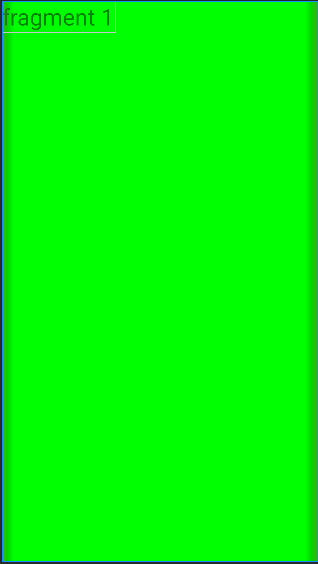
2. fragment layout 작성
- 구분이 되게 배경색과 텍스트를 바꿔주었다
- 3개가 필요하니 똑같이 3개를 만들어준다.
<LinearLayout xmlns:android="http://schemas.android.com/apk/res/android"
    android:layout_width="match_parent"
    android:layout_height="match_parent"
    android:background="#00ff00"
    >

    <TextView
        android:layout_width="wrap_content"
        android:layout_height="wrap_content"
        android:text="fragment 1"
        android:textSize="30sp"
        />

</LinearLayout>
3. Mainactivity 코드 작성
- 버튼과 fragment를 전환하는 코드 작성
- 중요한 점은
AppCompatActivity가 아닌 FragmentActivity를 사용해줘야한다.
public class MainActivity extends FragmentActivity {
Button btn1, btn2, btn3;
MainFragment fragment_main;
MenuFragment fragment_menu;
SettingFragment fragment_setting;
@Override
protected void onCreate(Bundle savedInstanceState) {
super.onCreate(savedInstanceState);
setContentView(R.layout.activity_main);
btn1 = (Button) findViewById(R.id.btn1);
btn2 = (Button) findViewById(R.id.btn2);
btn3 = (Button) findViewById(R.id.btn3);
fragment_main = new MainFragment();
fragment_menu = new MenuFragment();
fragment_setting = new SettingFragment();
btn1.setOnClickListener(new View.OnClickListener() {
@Override
public void onClick(View v) {
getSupportFragmentManager().beginTransaction().replace(R.id.frameLayout, fragment_main).commit();
}
});
btn2.setOnClickListener(new View.OnClickListener() {
@Override
public void onClick(View v) {
getSupportFragmentManager().beginTransaction().replace(R.id.frameLayout, fragment_menu).commit();
}
});
btn3.setOnClickListener(new View.OnClickListener() {
@Override
public void onClick(View v) {
getSupportFragmentManager().beginTransaction().replace(R.id.frameLayout, fragment_setting).commit();
}
});
}
}
4. fragment 작성
- 3개의 fragment를 작성해준다.
- inflate에 layout을 제대로 지정해줬는지 주의!
public class MainFragment extends Fragment {

    @Nullable
    @Override
    public View onCreateView(@NonNull LayoutInflater inflater, @Nullable ViewGroup container, @Nullable Bundle savedInstanceState) {
        ViewGroup rootView = (ViewGroup) inflater.inflate(R.layout.fragment_main,container,false);
        return rootView;
    }
}
끝