Beautiful Soup
- Python 웹 페이지 분석 모듈
Beautiful Soup 모듈 공식 홈페이지
https://www.crummy.com/software/BeautifulSoup/bs4/doc/
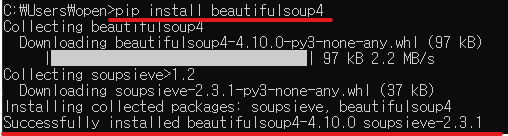
모듈 설치하기
pip install beautifulsoup4- Successfully installed --
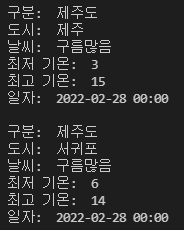
기상청의 전국 날씨 읽어보기
# 모듈을 읽어들입니다.
from urllib import request
from bs4 import BeautifulSoup

# urlopen() 함수로 기상청의 전국 날씨 읽어보기
target = request.urlopen("http://www.kma.go.kr/weather/forecast/mid-term-rss3.jsp?stnId=108")

# BeautifulSoup을 사용해 웹 페이지 분석하기
soup = BeautifulSoup(target, "html.parser")

# location 태그 찾기
for location in soup.select("location"):
    # 구분, 도시, 날씨, 최저*최고 기온, 일자 출력
    print("구분: ", location.select_one("province").string)
    print("도시: ", location.select_one("city").string)
    print("날씨: ", location.select_one("wf").string)
    print("최저 기온: ", location.select_one("tmn").string)
    print("최고 기온: ", location.select_one("tmx").string)
    print("일자: ", location.select_one("tmEf").string)
print()- 제주, 서귀포의 날씨 결과만을 가져왔다.
Flask
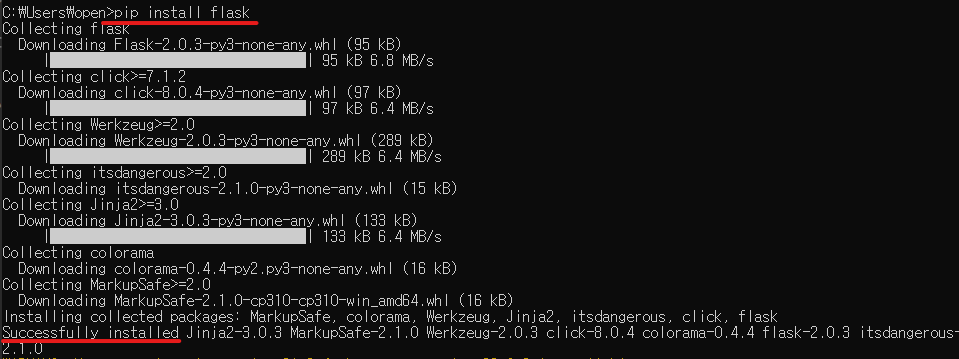
모듈 설치
pip install flask- Successfully installed --
예제 실습해보기
03 / 02 수정
flask 사용 시 에러나던 부분 수정!
-
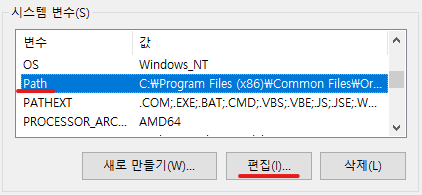
python 환경변수 설정이 되어있는 지 확인한다
- 시스템 변수 > Path > 편집 > python 추가하기
- cmd에서
python입력했을 때 아래 사진과 같이 뜨면 성공!

- 시스템 변수 > Path > 편집 > python 추가하기
-
이 후 실행 코드 입력하기
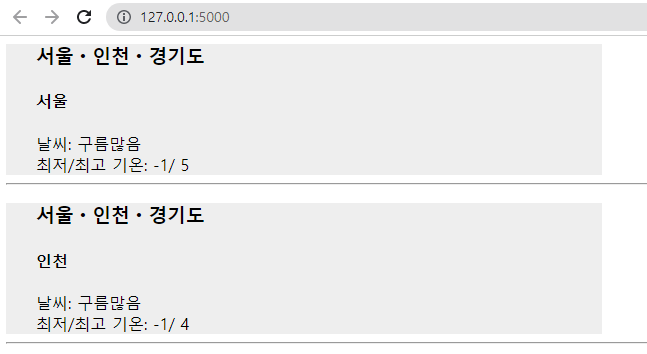
  set FLASK_APP=파일명.py
flask run- 처음 터미널 창 열어서 powershell에서 입력했을 때는 이렇게 경고가 뜨면서 실행이 되지 않았음!!

- 이 후 터미널 모드를 기본
Command Prompt로 변경 후 똑같이 코드 입력
  set FLASK_APP=파일명.py
flask run- 똑같이 경고는 뜨지만 결과를 확인할 수 있는 사이트가 떴다!
- Ctrl + 해당 주소 클릭
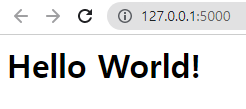
flask_basic.py
from flask import Flask
app = Flask(__name__)

# 데코레이터(decorator)
@app.route("/")
def hello():
    return "<h1>Hello World!</h1>"
app.run()- 원래
app.run()은 없는 코드임.. - 위의 코드가 없으니 실행 시에 오류가 나서
app.run()추가 후Ctrl + F5로 실행함. - 약간 react하는 느낌이라 신기!
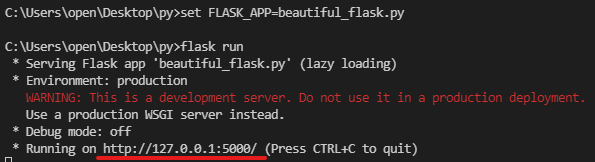
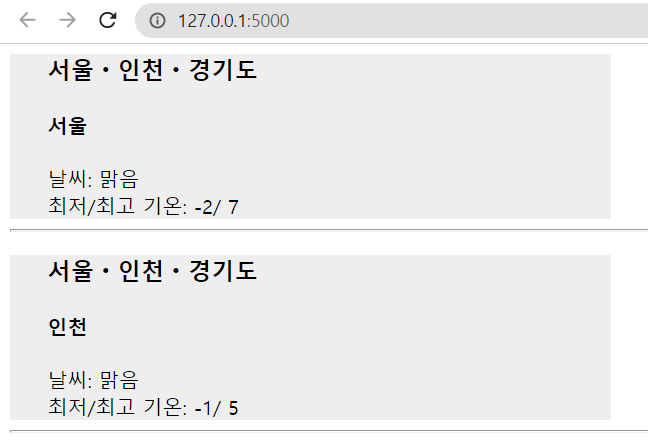
beautiful_flask.py
# 모듈 읽기
from flask import Flask
from urllib import request
from bs4 import BeautifulSoup

# 웹 서버 생성 & route 설정
app = Flask(__name__)
@app.route("/")

def hello():
    # urlopen() 함수로 기상청의 전국 날씨 읽기
    target = request.urlopen("http://www.kma.go.kr/weather/forecast/mid-term-rss3.jsp?stnId=108")

    # BeautifulSoup을 사용해 웹 페이지 분석하기
    soup = BeautifulSoup(target, "html.parser")

    # location 태그 찾기
    # output 변수 선언
    output = ""
    for location in soup.select("location"):
        # 내부의 province, city, wf, tmn, tmx 태그를 찾아 출력
        # 지역 구분을 h3로, 각 도시들은 h4로 나타냄
        # 날씨, 최저, 최고기온을 표시해주고 hr(줄)을 이용하여 다음 출력 내용과 구분
        output += "<div style='width: 30%;background: #eee;padding-left: 30px;'>"
        output += "<h3>{}</h3>".format(location.select_one("province").string)
        output += "<h4>{}</h4>".format(location.select_one("city").string)
        output += "날씨: {}<br/>".format(location.select_one("wf").string)
        output += "최저/최고 기온: {}/ {}"\
            .format(\
                location.select_one("tmn").string,\
                location.select_one("tmx").string\
            )
        output += "</div>"
        output += "<hr/>"
    return output
app.run()- 도시별로 div 태그를 이용하여 구분을 해봄.
- 위의 코드들은
beautiful_weather.py와flask_basic.py코드를 합한 것과 다름없다. - 주의해야 할 부분은
최저/최고 기온을 구하는 부분인 듯 하다.output += "최저/최고 기온: {}/ {}"\ .format(\ location.select_one("tmn").string,\ location.select_one("tmx").string\ )- 최저/최고 기온 뒤에 보이는 {}에 각각의 결과값이 들어가게 된다.
\를 사용하여 임의로 줄을 띌 때마다('Enter를 칠 때마다') 구분을 해준 것 같다..
객체, 클래스, 인스턴스, 생성자, 메소드
클래스
- 특정기능을 하는 함수들과 변수들을 모아서 하나의 뭉텅이로 관리해서 마치 새로운 타입처럼 만들어서 데이터를 관리할 수 있는 개념
- 데이터를 더 쉽고 체계적으로 관리하기 위한 것
객체
- 유사어 :: 인스턴스
- 간단히 '데이터'라고 할 수 있음
- 클래스에 의해서 실체화된 것, 클래스에 의해서 만들어짐
생성자
예시
__init__ 생성자
- 객체를 생성할때, 인스턴스를 생성할때 맨 처음으로 초기화를 해주거나 하는 작업을 수행하는 곳.
class 클래스명:
	def __init__(self, 추가 매개변수):
pass- 클래스 내부 함수의 첫 번째 매개변수는 무조건 self 입력
Method
- 클래스가 가진 함수
class 클래스명:
	def 메소드명(self, 추가 매개변수):
pass- 만드는 방법은 생성자 선언과 동일
- 함수 생성 시 self 입력
클래스 내부에 Method 선언하기
# 클래스 선언
class Student:
    def __init__(self, name, age):
        self.name = name
        self.age = age

    def s_name(self):
        return "{}".format(self.name)

    def s_age(self):
        return "{}".format(self.age)

    def to_string(self):
        return "{}\t{}".format(self.s_name(), self.s_age())

# 학생 리스트 선언
students = [
    Student("Hon", 20),
    Student("Gong", 24),
    Student("Python", 30)
]

# 학생의 이름을 한 명씩 나타냅니다.
print("이름\t나이")
for student in students:
    # 출력
    print(student.to_string())