S3 버킷 생성
버킷 먼저 생성
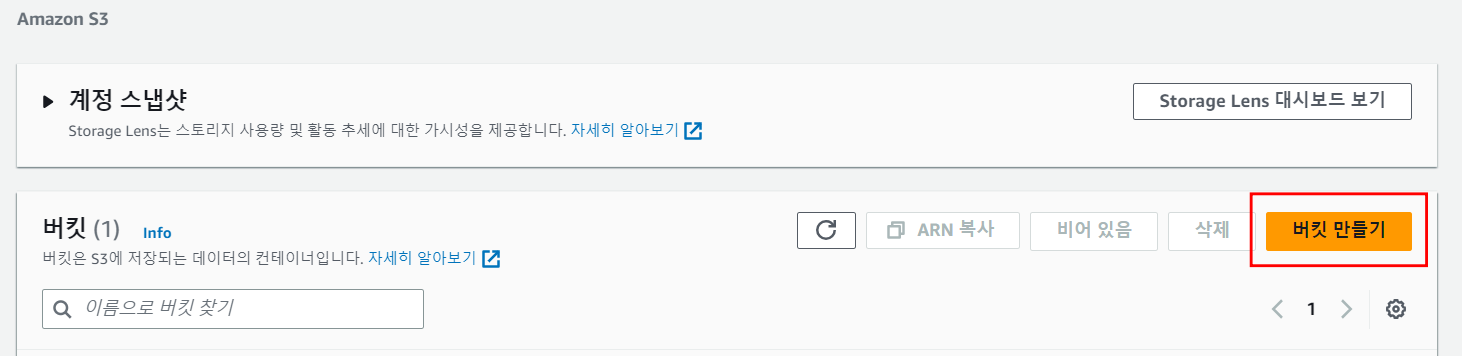
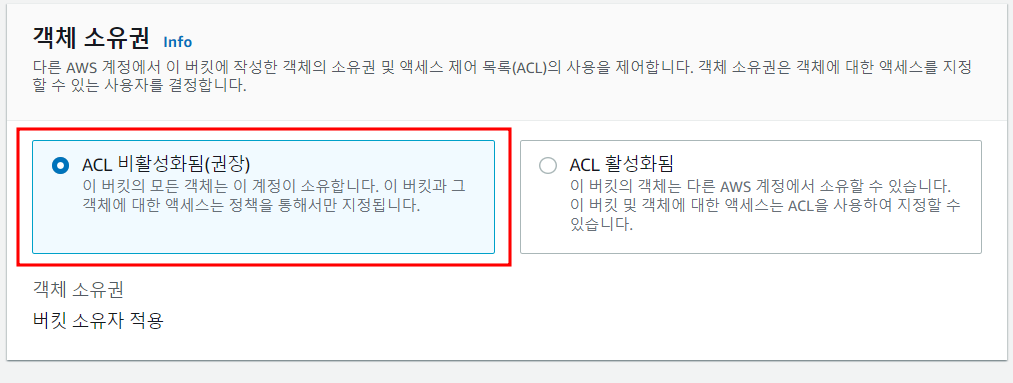
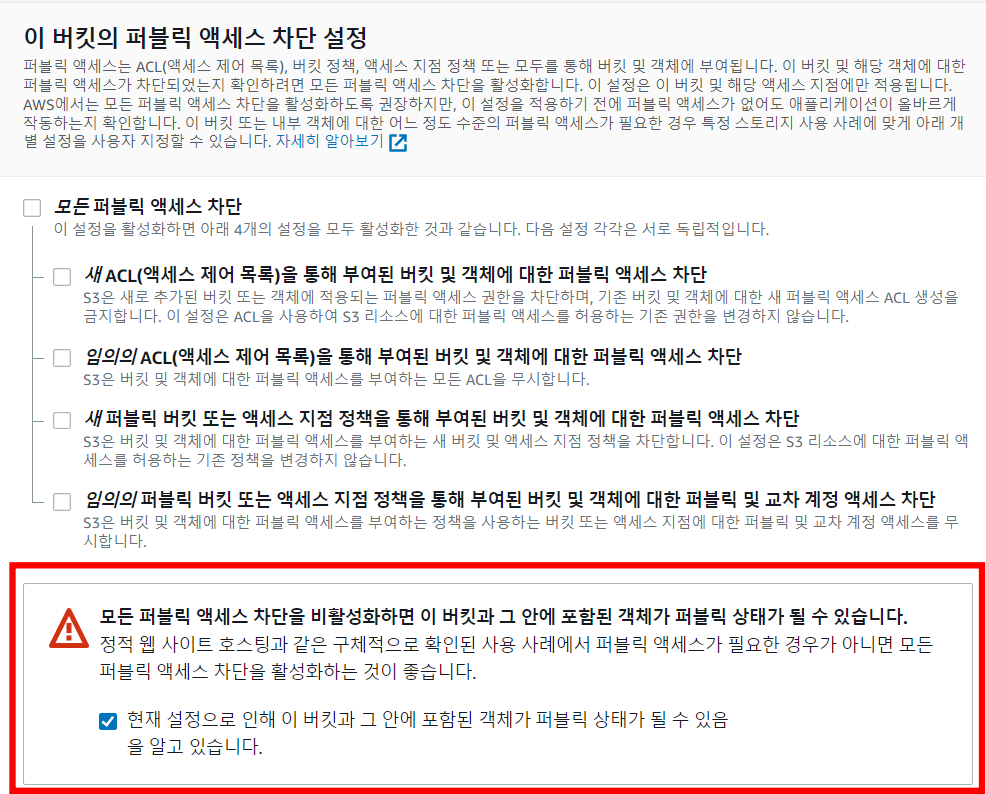
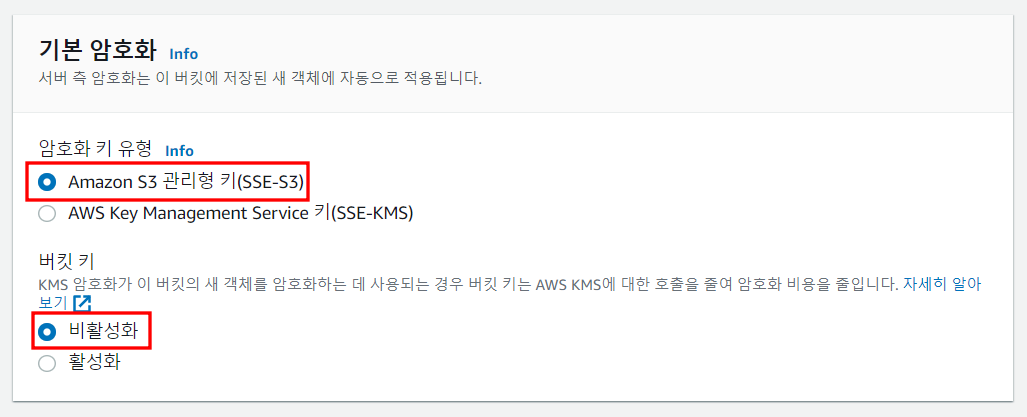
이대로 생성하면 끝
S3 정책 생성
생성한 버킷에 들어간다
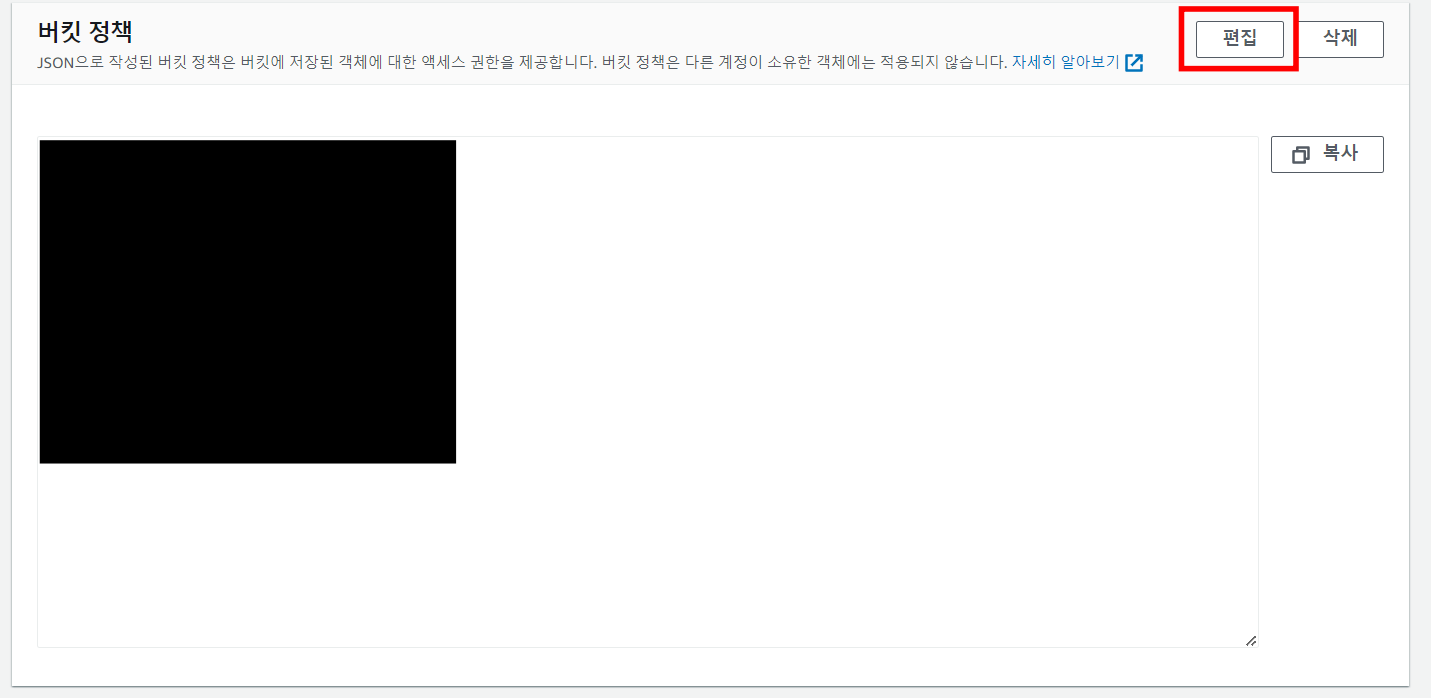
권한 탭

버킷정책부분 편집을 누른다
버킷 ARN 복사
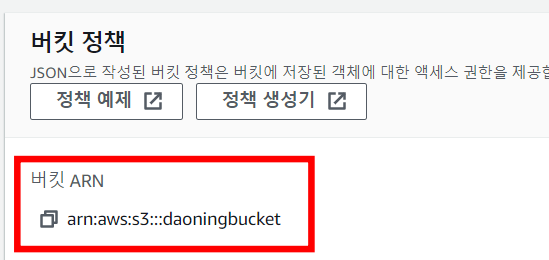
정책 생성기 선택

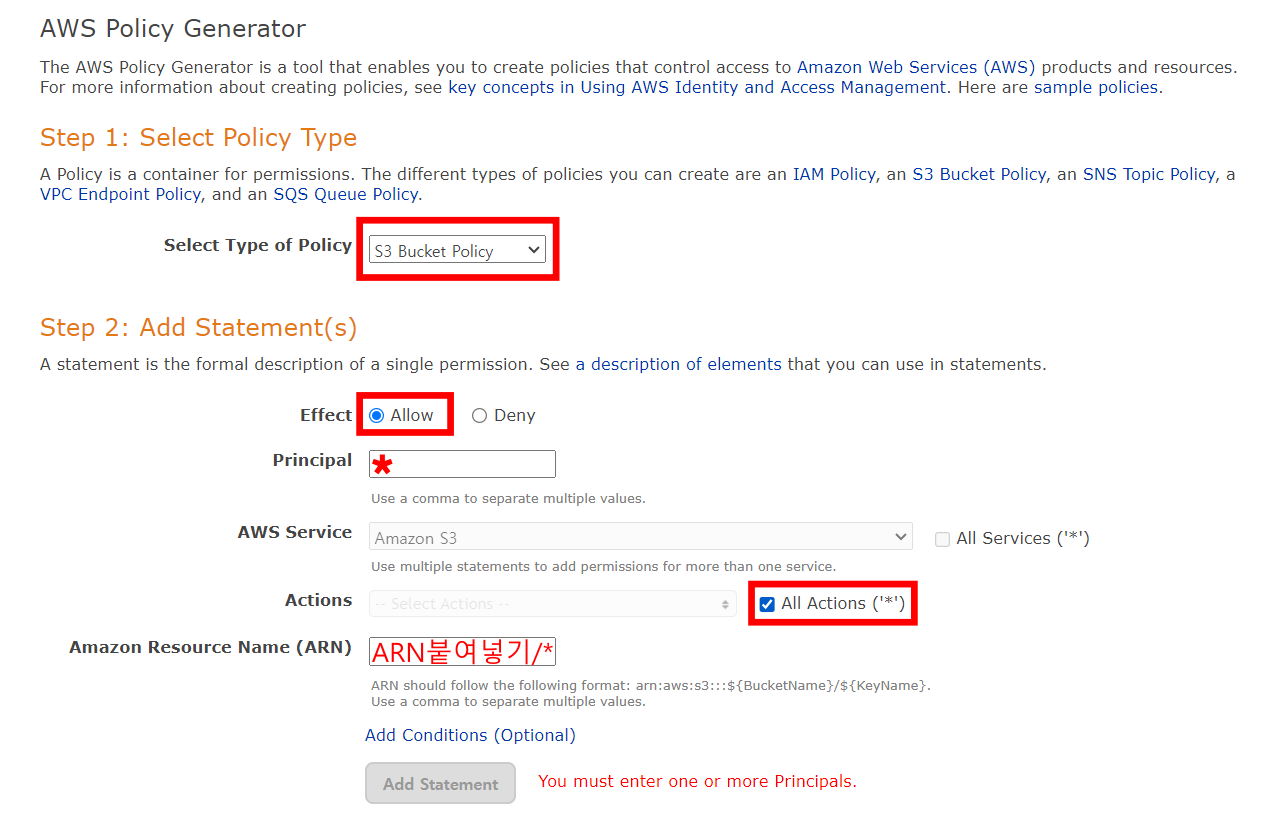
Effect: Allow를 선택해 정책 적용 허용
Principal: 정책이 적용될 대상을 '별표시' (전체) 로 입력
Action: 수행할 액션(나는 전체로 선택함)
Amazon Resource Name: 어떤 리소스에 적용할지 입력하는 부분인데 복사해뒀던 ARN을 붙여넣고 뒤에 '/별표시' 같이 입력
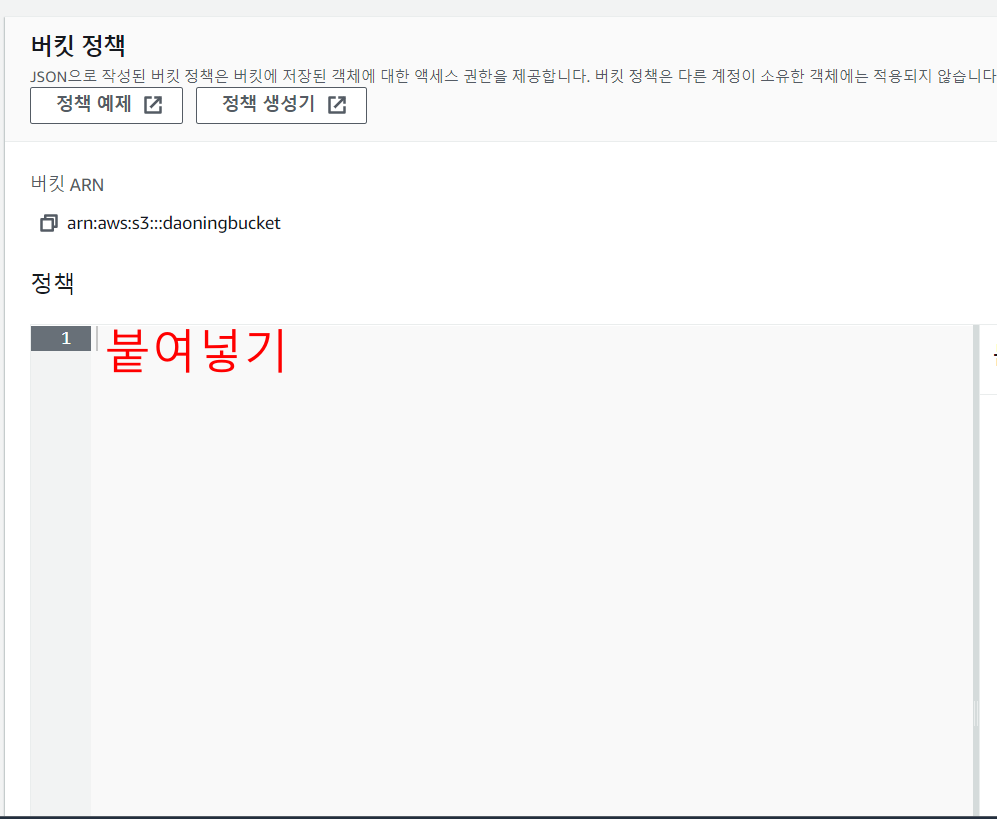
입력 후 Add Statement를 선택한후 Generate Policy 활성화되면 누른 뒤 전체 복사 한다
버킷 정책 부분으로 돌아와 붙여넣은 후 저장
IAM 계정 생성
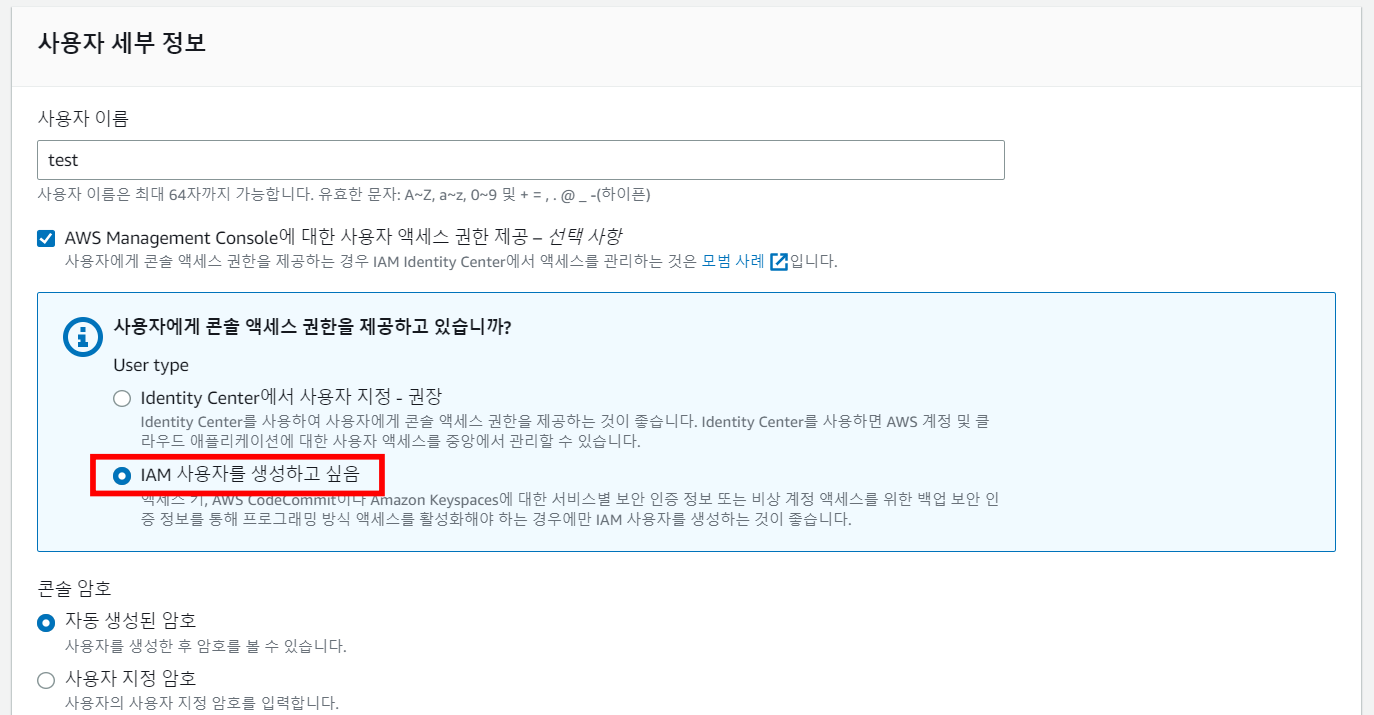
IAM -> 사용자로 들어간다
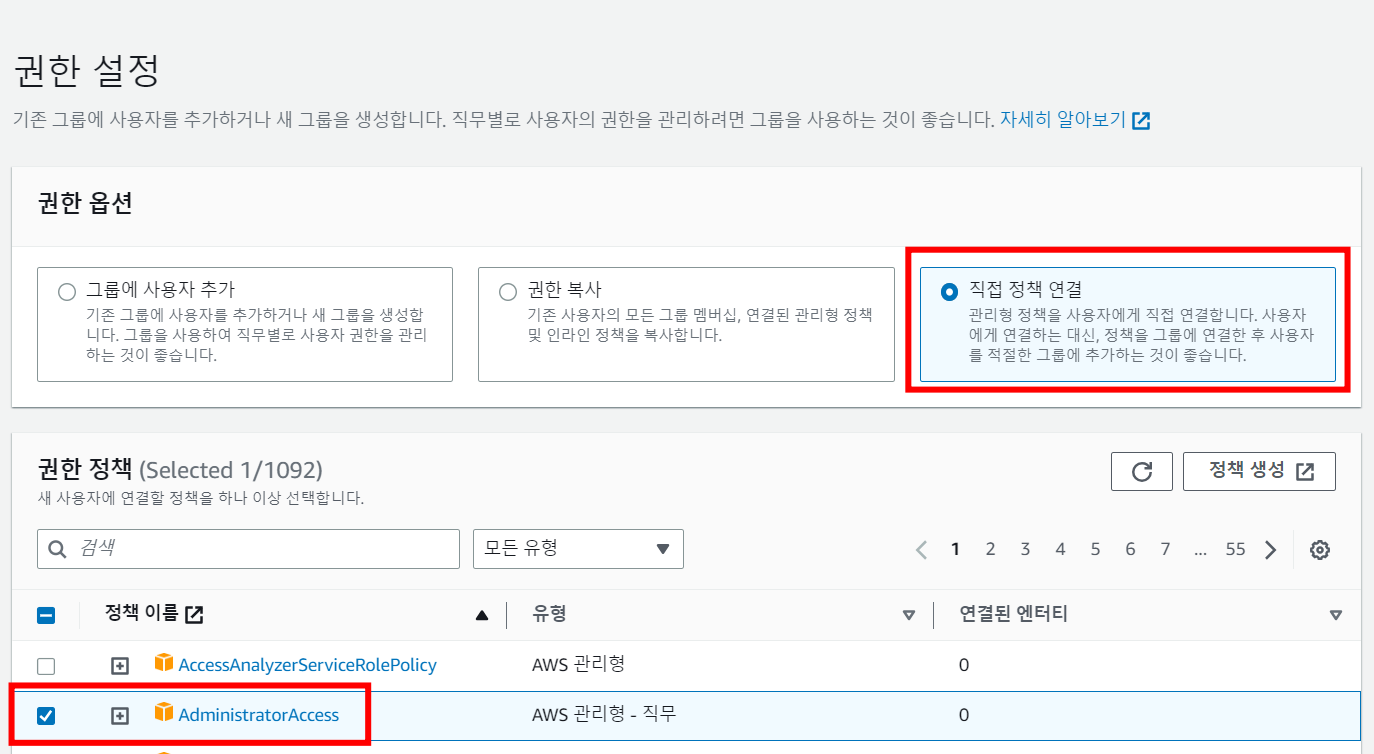
사용자 추가

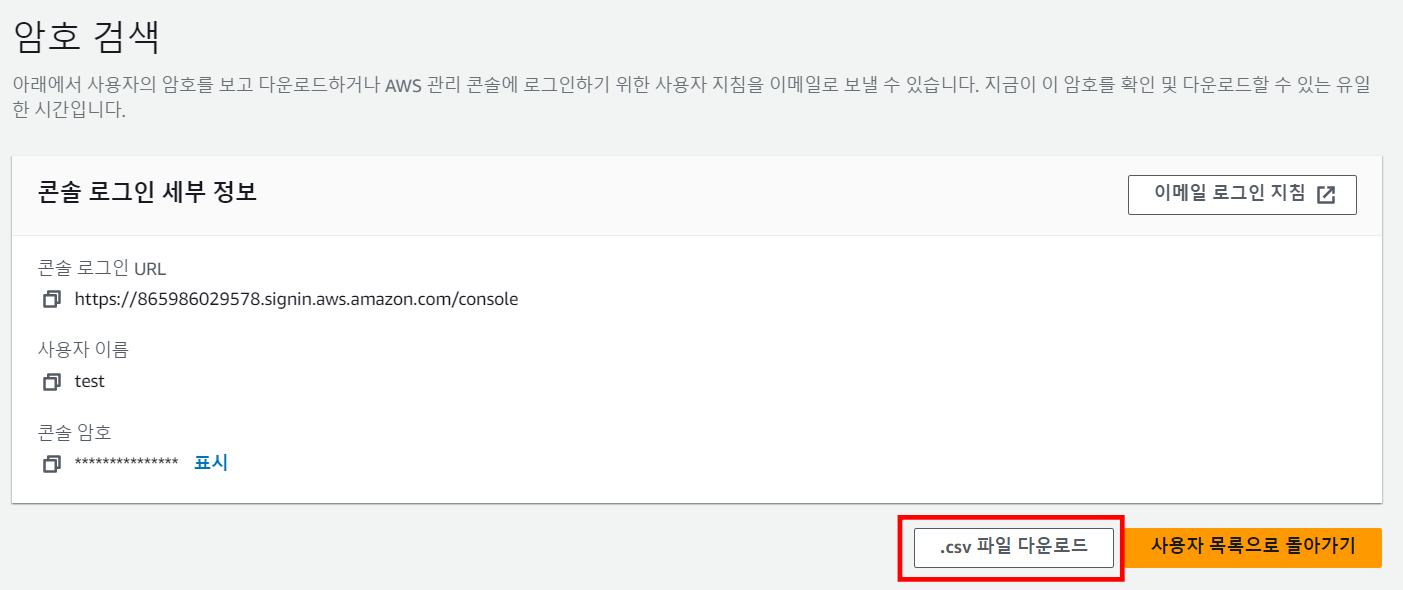
.csv 파일 다운로드
- 잘 저장해둬야한다
생성한 사용자를 누르고 보안 자격 증명 탭에 들어가 액세스 키 생성 - 액세스 키는 매우 중요하며 외부에 노출되면 안됨!(다른 사람이 사용시 용량이 초과돼 과금 발생함)
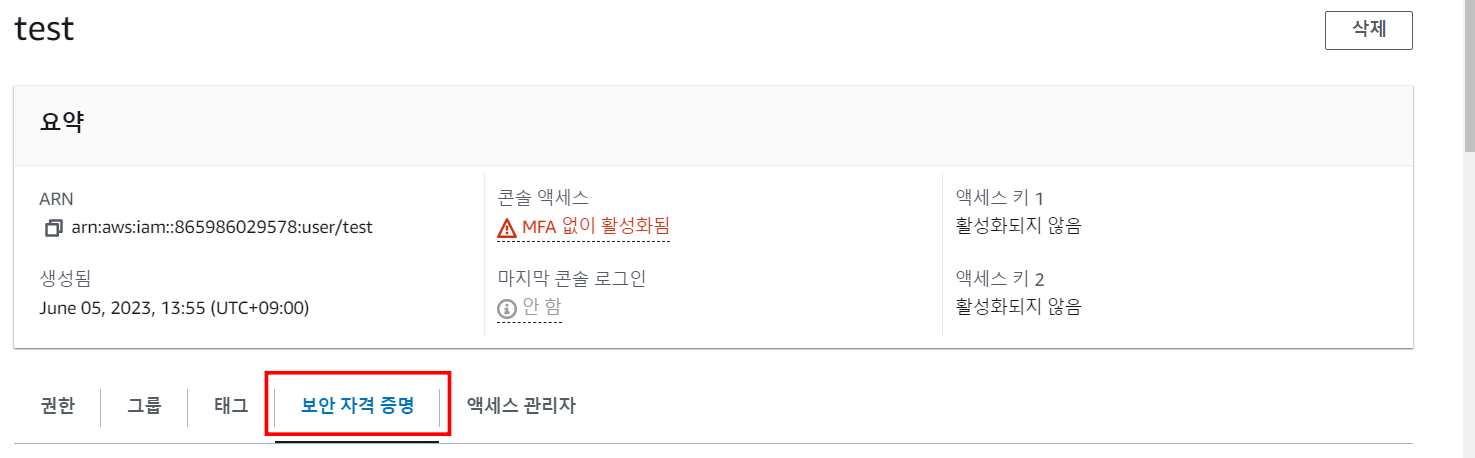
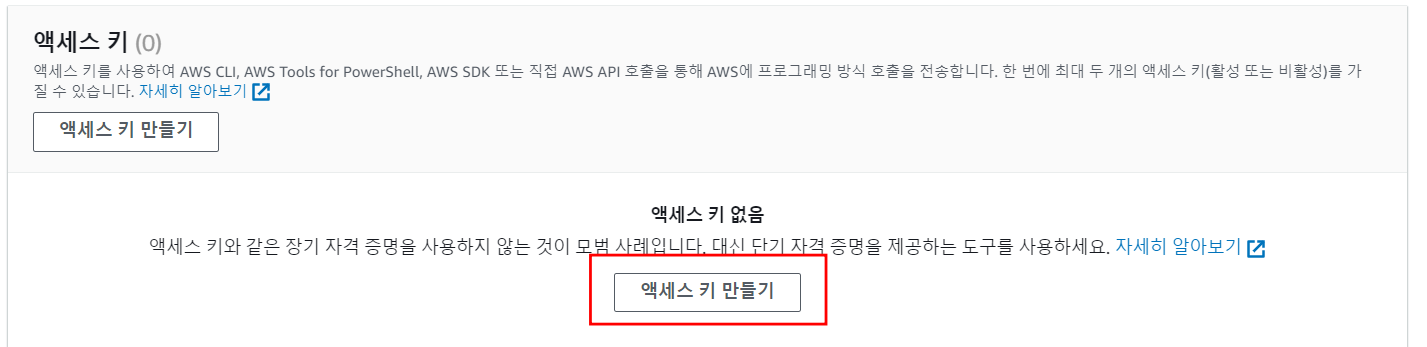
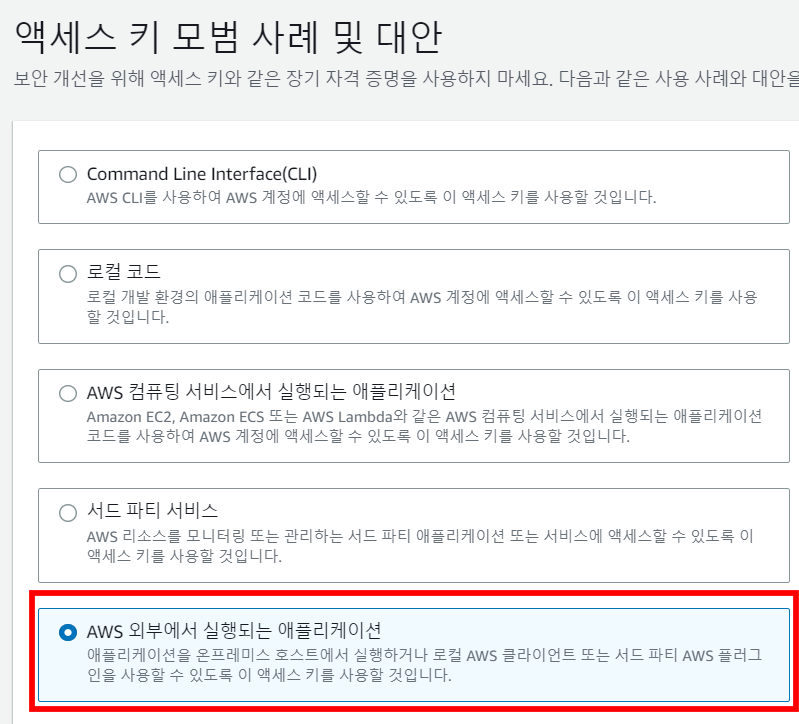
생성완료되면 .csv파일 다운로드가 나오는데 잘 저장해둬야한다 해당 페이지에서만 한 번 다운이 가능하기 때문 - 액세스 키는 STS에서 연결할 때 사용됨
STS 연결
STS pom.xml maven추가
<dependency>
	<groupId>com.amazonaws</groupId>
	<artifactId>aws-java-sdk</artifactId>
	<version>1.12.420</version>
</dependency>
aws패키지 생성
AWSConfiguration.java 생성
package com.shopping.aws;

import org.springframework.beans.factory.annotation.Value;
import org.springframework.context.annotation.Bean;
import org.springframework.context.annotation.Configuration;
import org.springframework.web.multipart.commons.CommonsMultipartResolver;
import org.springframework.web.servlet.config.annotation.EnableWebMvc;
import org.springframework.web.servlet.config.annotation.WebMvcConfigurer;

import com.amazonaws.auth.AWSStaticCredentialsProvider;
import com.amazonaws.auth.BasicAWSCredentials;
import com.amazonaws.regions.Regions;
import com.amazonaws.services.s3.AmazonS3;
import com.amazonaws.services.s3.AmazonS3ClientBuilder;

@Configuration
@EnableWebMvc
public class AWSConfiguration implements WebMvcConfigurer {

    @Value("액세스키 ID")
    private String accessKey;

    @Value("액세스키 암호")
    private String secretKey;

    @Bean
    public AmazonS3 awsS3Client() {
        BasicAWSCredentials credentials = new BasicAWSCredentials(accessKey, secretKey);
        AmazonS3 s3Client = AmazonS3ClientBuilder
                .standard()
                .withRegion(Regions.AP_NORTHEAST_2)
                .withCredentials(new AWSStaticCredentialsProvider(credentials))
                .build();
        return s3Client;
    }

    @Bean(name = "multipartResolver")
    public CommonsMultipartResolver multipartResolver() {
        CommonsMultipartResolver resolver = new CommonsMultipartResolver();
        resolver.setMaxUploadSizePerFile(5242880); // 파일당 최대 업로드 크기(5MB)
        return resolver;
    }
}
AWSS3Service.java 생성
package com.shopping.aws;

import java.io.IOException;

import org.springframework.beans.factory.annotation.Autowired;
import org.springframework.beans.factory.annotation.Value;
import org.springframework.stereotype.Service;
import org.springframework.web.multipart.MultipartFile;

import com.amazonaws.services.s3.AmazonS3;
import com.amazonaws.services.s3.model.PutObjectRequest;

@Service
public class AWSS3Service {

	@Autowired
	private AmazonS3 s3Client;

	@Value("S3bucket이름")
	private String bucketName;

	public  String uploadObject(MultipartFile multipartFile, String storedFileName) throws IOException {
		String filePath = "/"+storedFileName;
		s3Client.putObject(new PutObjectRequest(bucketName, filePath, multipartFile.getInputStream(),null));
		return s3Client.getUrl(bucketName, filePath).toString();
	}

}
컨트롤러에 추가
@Autowired
private AWSS3Service s3Service;

s3Service.uploadObject(product_photo.get(i), filename); // 다중파일 업로드
버킷제 저장된 파일 가져오기위해 jsp 이미지 경로 수정
<img src="https://daoningbucket.s3.ap-northeast-2.amazonaws.com//${row.product_url.split(',')[0]}" width="320px" height="240px"> // 다중파일
초보다옹