Array

- Array는 각 요소마다 index를 가진 자료구조
- 크기가 고정이 되어있다. (요소의 수에 대해 할당을 받아야 함)(Static Memory Allocation)
- 각 요소들은 인접한 메모리 위치에 저장된다.
장점
1. 임의의 액세스가 용이함 (arr[0], arr[4] 등으로 특정 요소에 O(1)의 시간복잡도로 접근 가능)
단점
1. 삽입과 삭제 연산할때, 메모리의 위치가 연속적이고 고정적이기 때문에 많은 시간을 소모한다.
Linked List

- Linked List는 연속적인 메모리 위치에 저장되지 않는 선형 데이터 구조
- 각 노드들이 포인터를 사용해서 연결되는 구조
- 각 노드는 데이터 필드와 다음 노드에 대한 참조를 포함하는 노드로 구성
- 메모리는 새로운 노드가 추가될때 runtime에 할당 -> 동적 메모리 할당(Dynamic Memory allocation)
장점
1. 삽입/삭제 용이
-> 배열에서는 삽입과 삭제를 할때, 공간을 먼저 만들고 기존의 요소를 이동시켜야 한다.
단점
1. 임의로 액세스를 허용할 수 없음. 항상 첫번째 노드부터 순차적으로 요소에 액세스해야함 (이진 검색 수행 불가능) -> 배열은 인덱스로 접근 가능
2. 포인터를 기록할 메모리 공간이 각 요소마다 필요하다.
Linked List의 구현 (JavaScript)
reference : https://www.freecodecamp.org/news/implementing-a-linked-list-in-javascript/

이런 구조의 LinkedList를 JavaScript로 구현해보자
수동 구현
const list = {
    head: {
        data: 6
        next: {
            data: 10
            next: {
                data: 12
                next: {
                    data: 3
                    next: null
                    }
                }
            }
        }
    }
};
이런 형태로 표현할 수 있다. 각각의 데이터가 데이터로 저장되고, 그 다음 연결되는 것을 next에 할당해주면 된다. (가리키는 포인터가 없을 경우 null => 초기값은 null)
node간의 연결
class ListNode {
    constructor(data, next = null) {
        this.data = data
        this.next = next
    }
}
이런 생성자 함수를 만들 수 있다.
이 생성자 함수를 통해, 위의 Linked List를 구현해보면
let node1 = new ListNode(6)
let node2 = new ListNode(10)
let node3 = new ListNode(12)
let node4 = new ListNode(3)

node1.next = node2
node2.next = node3
node3.next = node4
결과 :
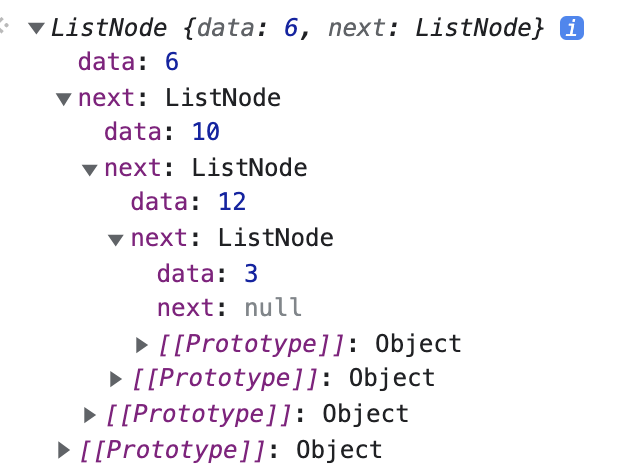
각 노드간의 연결은 구현이 되었으나, 출발점이 어디서 부터 시작되는 Linked list인지는 알 수가 없다. 따라서, 새로운 생성자 함수를 만들어주자.
Linked List 생성
node1을 첫번째 요소로 가지는 List를 만들기 위해, 새로운 class를 만들어주자
class LinkedList {
    constructor(head = null) {
        this.head = head
    }
}

let list = new LinkedList(node1)
비로소, node1에서 출발하는 Linked List가 완성되었다.
console.log(list.head.next.next.data)
// 12
이제 이 List에 사용할 수 있는 method들을 추가해보자
각종 메소드 추가 (size, clear, getLast, getFirst)
class LinkedList {
    constructor(head = null) {
        this.head = head
    }
    size() {
      let count = 0;
      let node = this.head;
      while (node) {
          count++;
          node = node.next
      }
      return count;
    }
    clear() {
      this.head = null
    }
    getLast() {
      let lastNode = this.head;
      if (lastNode) {
          while (lastNode.next) {
              lastNode = lastNode.next
          }
      }
    return lastNode
    }
    getFirst() {
      return this.head;
    }
}

let newList = new LinkedList(node1)

newList.size() // 4
newList.getFirst().data // 6
newList.getLast().data // 3
newList.getLast().next // null
newList.clear() // newList.head === null