[flutter] Your project's Gradle version is incompatible with the Java version that Flutter is using for Gradle.
flutter
✔️ clone 받은 git : https://github.com/enescerrahoglu/template_app_bloc.git
✔️ 프로젝트에서 사용한 flutter version: 3.24.3
✔️ 현재 flutter versionFlutter 3.27.1 • channel stable • https://github.com/flutter/flutter.git Framework • revision 17025dd882 (4 weeks ago) • 2024-12-17 03:23:09 +0900 Engine • revision cb4b5fff73 Tools • Dart 3.6.0 • DevTools 2.40.2
flutter를 처음 시작하고 android studio를 최신 버전 (2024.02)을 다운 받았다. 그리고 이전에 생성된 프로젝트를 clone 받아서 에뮬레이터로 돌려보는데 아래와 같은 에러가 발생하였다.
Launching lib/main.dart on sdk gphone64 arm64 in debug mode...
Running Gradle task 'assembleDebug'...

FAILURE: Build failed with an exception.

* What went wrong:
Could not open cp_settings generic class cache for settings file '/Users/****/Desktop/flutter/template_app_bloc/android/settings.gradle' (/Users/****/.gradle/caches/7.6.3/scripts/2xyixrxr61gad8wnm7u80e9aa).
> BUG! exception in phase 'semantic analysis' in source unit '_BuildScript_' Unsupported class file major version 65

* Try:
> Run with --stacktrace option to get the stack trace.
> Run with --info or --debug option to get more log output.
> Run with --scan to get full insights.

* Get more help at https://help.gradle.org

BUILD FAILED in 313ms

┌─ Flutter Fix ───────────────────────────────────────────────────────────────────────────────────┐
│ [!] Your project's Gradle version is incompatible with the Java version that Flutter is using   │
│ for Gradle.                                                                                     │
│                                                                                                 │
│ If you recently upgraded Android Studio, consult the migration guide at                         │
│ https://flutter.dev/to/java-gradle-incompatibility.                                             │
│                                                                                                 │
│ Otherwise, to fix this issue, first, check the Java version used by Flutter by running `flutter │
│ doctor --verbose`.                                                                              │
│                                                                                                 │
│ Then, update the Gradle version specified in                                                    │
│ /Users/****/Desktop/flutter/template_app_bloc/android/gradle/wrapper/gradle-wrapper.properties  │
│ to be compatible with that Java version. See the link below for more information on compatible  │
│ Java/Gradle versions:                                                                           │
│ https://docs.gradle.org/current/userguide/compatibility.html#java                               │
│                                                                                                 │
│                                                                                                 │
└─────────────────────────────────────────────────────────────────────────────────────────────────┘
Error: Gradle task assembleDebug failed with exit code 1
일단 flutter doctor --verbose를 확인 하니 아래와 같았다. 다른 부분은 크게 문제가 되지 않아 보이나 Android studio에 자바 버전이 21이라고 한다.
...
[✓] Android Studio (version 2024.2)
• Android Studio at /Applications/Android Studio.app/Contents
• Flutter plugin can be installed from:
🔨 https://plugins.jetbrains.com/plugin/9212-flutter
• Dart plugin can be installed from:
🔨 https://plugins.jetbrains.com/plugin/6351-dart
• Java version OpenJDK Runtime Environment (build 21.0.3+-79915917-b509.11)
...
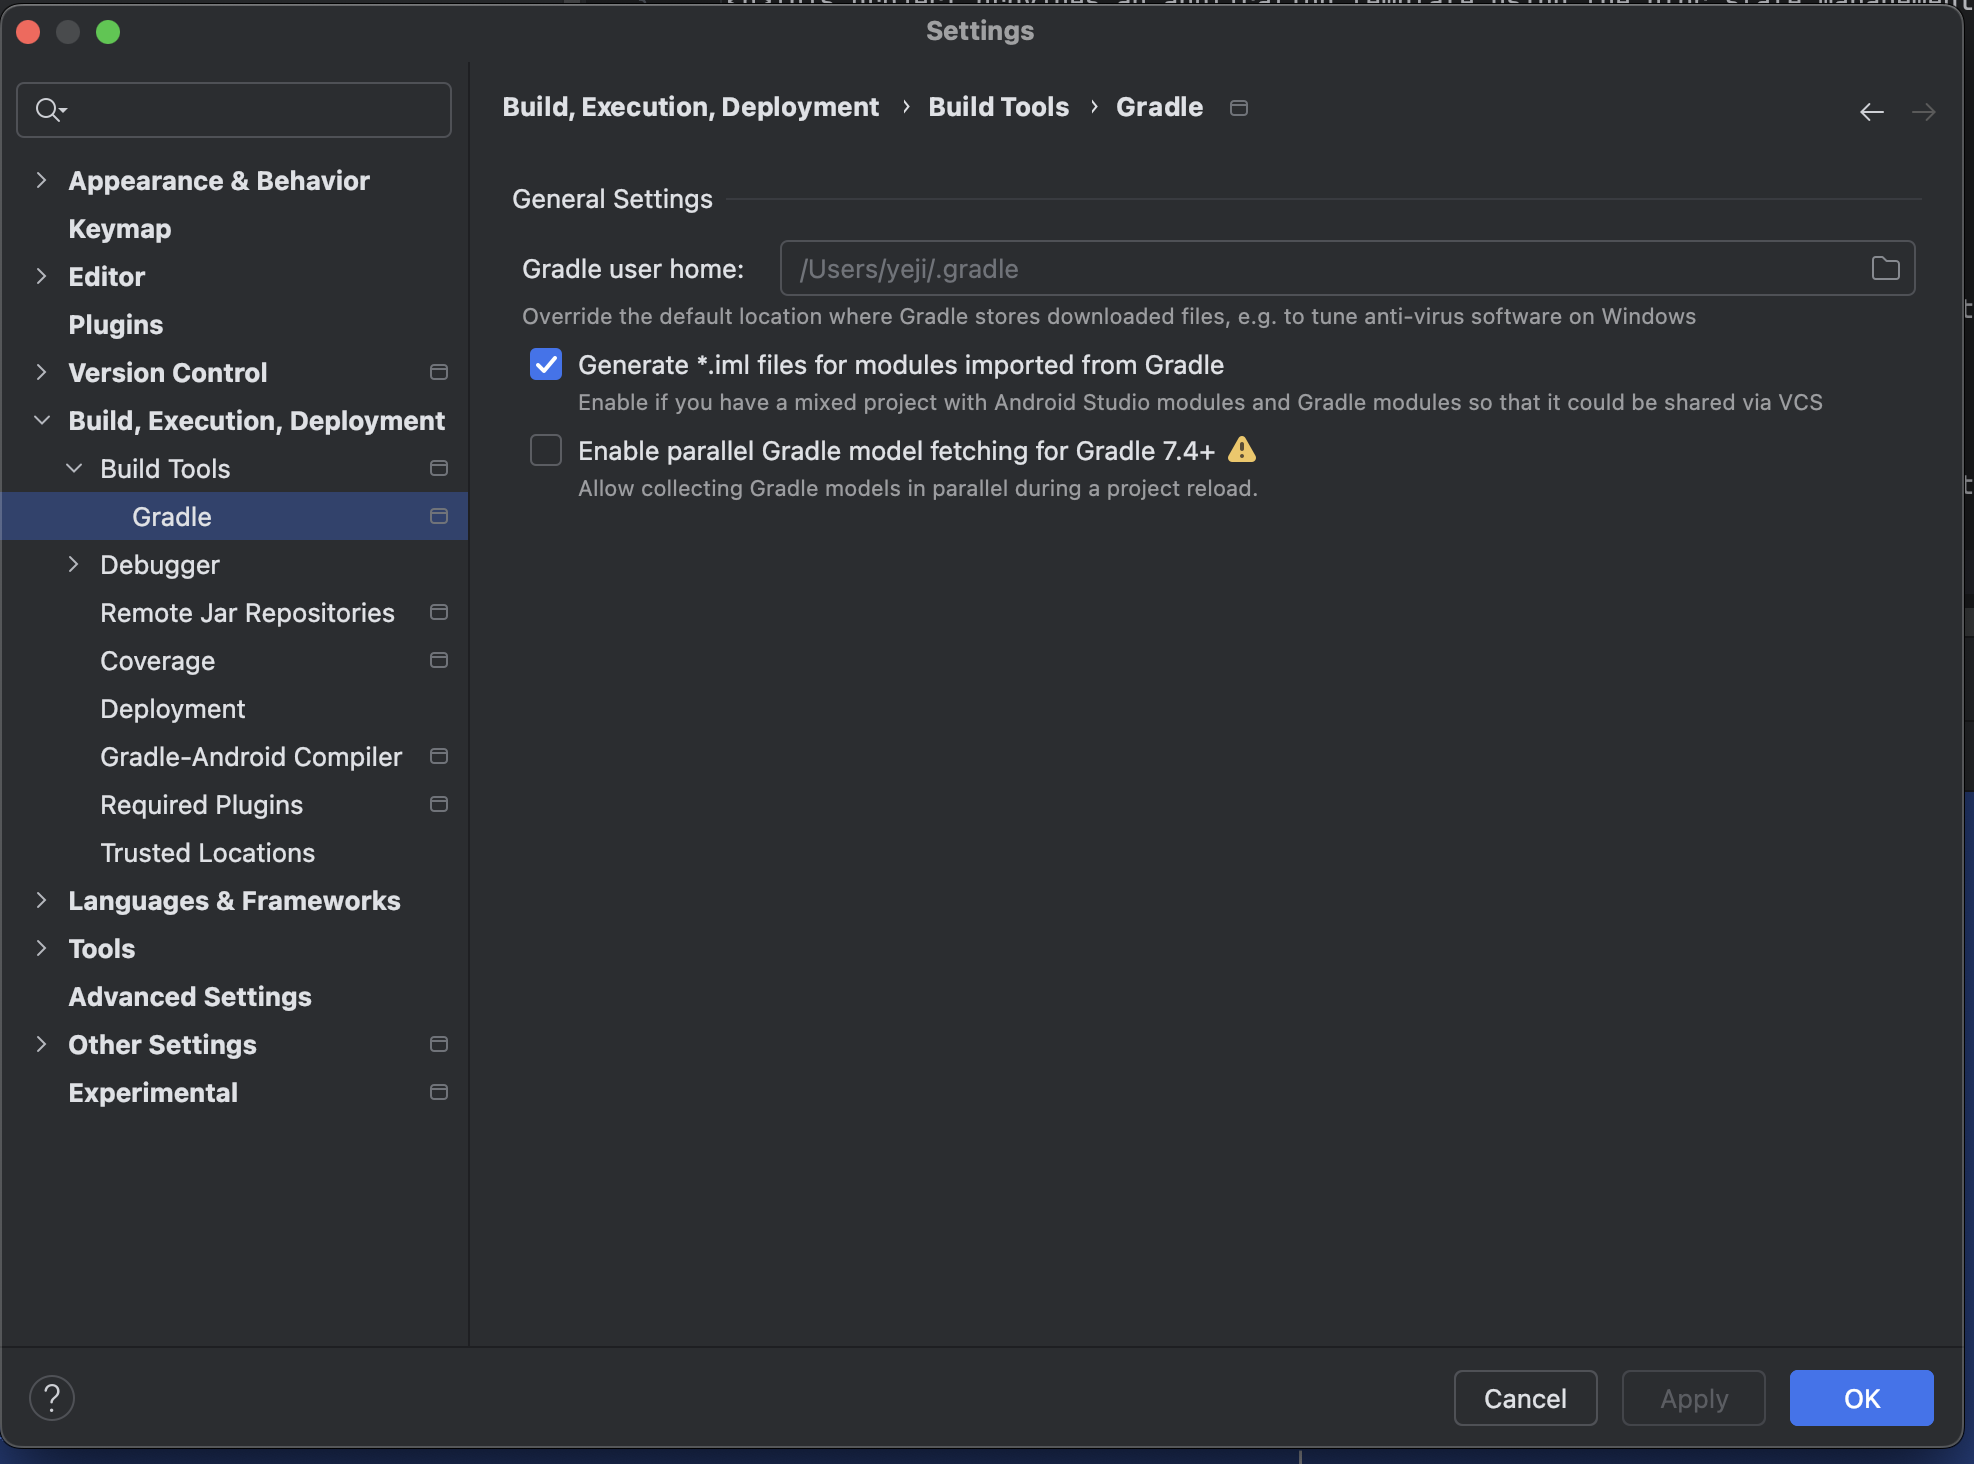
! Doctor found issues in 1 category.그래서 이를 바꾸기 위해 구글링을 하여 설정으로 들어가니 나는 다른 분들의 화면과 달리 jdk를 설정하는 화면이 없다..
그래서 file > project structure에서 아래와 같이 바꿔줬다.
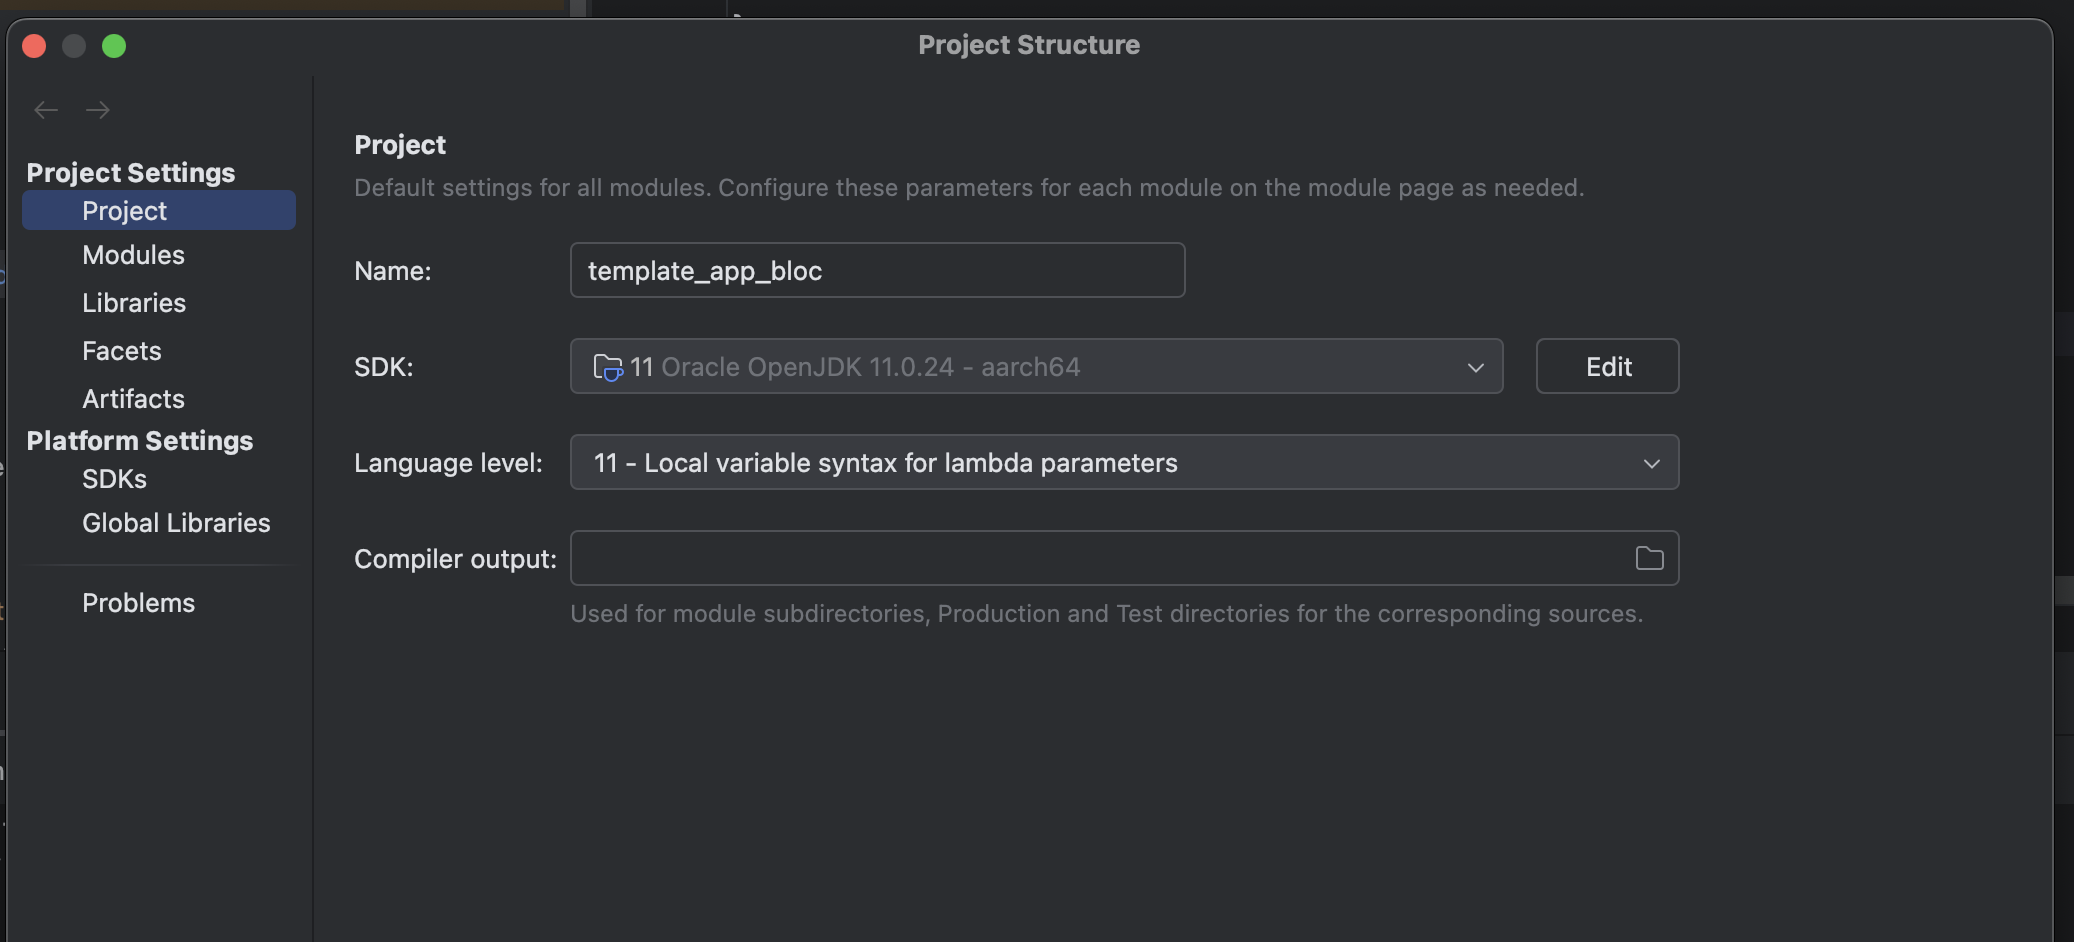
이렇게 해도 flutter doctor로 보면 Java version OpenJDK Runtime Environment (build 21.0.3+-79915917-b509.11)으로 나온다. 그래서 gradle version을 변경해보기로 하였다.
위의 안내문에 나오는대로/Users/****/Desktop/flutter/template_app_bloc/android/gradle/wrapper/gradle-wrapper.properties 에서 gradle 버전을 8.5로 수정하였다. gradle의 버전은 위의 안내문에 나와있는 compatibility matrix를 참고했다.
distributionUrl=https\://services.gradle.org/distributions/gradle-8.5-all.zip다시 실행을 시키니 아래와 같은 에러가 났다..
FAILURE: Build failed with an exception.

* What went wrong:
Execution failed for task ':flutter_plugin_android_lifecycle:compileDebugJavaWithJavac'.
> Could not resolve all files for configuration ':flutter_plugin_android_lifecycle:androidJdkImage'.
   > Failed to transform core-for-system-modules.jar to match attributes {artifactType=_internal_android_jdk_image, org.gradle.libraryelements=jar, org.gradle.usage=java-runtime}.
      > Execution failed for JdkImageTransform: /Users/yeji/Library/Android/sdk/platforms/android-34/core-for-system-modules.jar.
         > Error while executing process /Applications/Android Studio.app/Contents/jbr/Contents/Home/bin/jlink with arguments {--module-path /Users/yeji/.gradle/caches/transforms-3/a963215399fb4fc6843324d4541436d9/transformed/output/temp/jmod --add-modules java.base --output /Users/yeji/.gradle/caches/transforms-3/a963215399fb4fc6843324d4541436d9/transformed/output/jdkImage --disable-plugin system-modules}

* Try:
> Run with --stacktrace option to get the stack trace.
> Run with --info or --debug option to get more log output.
> Run with --scan to get full insights.
> Get more help at https://help.gradle.org.

BUILD FAILED in 3m 33s

┌─ Flutter Fix ────────────────────────────────────────────────────────────────────────────────────┐
│ [!] This is likely due to a known bug in Android Gradle Plugin (AGP) versions less than 8.2.1,   │
│ when                                                                                             │
│   1. setting a value for SourceCompatibility and                                                 │
│   2. using Java 21 or above.                                                                     │
│ To fix this error, please upgrade your AGP version to at least 8.2.1. The version of AGP that    │
│ your project uses is likely defined in:                                                          │
│ /Users/****/Desktop/flutter/template_app_bloc/android/settings.gradle,                           │
│ in the 'plugins' closure (by the number following "com.android.application").                    │
│  Alternatively, if your project was created with an older version of the templates, it is likely │
│ in the buildscript.dependencies closure of the top-level build.gradle:                           │
│ /Users/****/Desktop/flutter/template_app_bloc/android/build.gradle,                              │
│ as the number following "com.android.tools.build:gradle:".                                       │
│                                                                                                  │
│ For more information, see:                                                                       │
│ https://issuetracker.google.com/issues/294137077                                                 │
│ https://github.com/flutter/flutter/issues/156304                                                 │
└──────────────────────────────────────────────────────────────────────────────────────────────────┘
Error: Gradle task assembleDebug failed with exit code 1
다시 또 하라는대로 /Users/yeji/Desktop/flutter/template_app_bloc/android/settings.gradle에서 아래처럼 버전을 수정해주었다.
id "com.android.application" version "8.5.0" apply false그러면 또 이런 에러를 만난다.
FAILURE: Build failed with an exception.

* Where:
Build file '/Users/yeji/Desktop/flutter/template_app_bloc/android/app/build.gradle' line: 2

* What went wrong:
An exception occurred applying plugin request [id: 'com.android.application']
> Failed to apply plugin 'com.android.internal.version-check'.
   > Minimum supported Gradle version is 8.7. Current version is 8.5. If using the gradle wrapper, try editing the distributionUrl in /Users/****/Desktop/flutter/template_app_bloc/android/gradle/wrapper/gradle-wrapper.properties to gradle-8.7-all.zip
다시 하란대로 수정해서 실행한다.

와 됐다ㅜㅜㅜ
느낀 점
결국엔 하라는대로 해서 됐지만, 처음에는 구글링을 엄청 해보았다. 근데 어떻게 바꾸는지는 알겠는데 되지도 않고 돌고 돌아 결국 매뉴얼대로 해서 성공했다. 다시 한번 더 공식문서를 중요성을 깨달은 경험이었다.
추가
flutter SDK의 java version을 바꾸려면 java17을 다운로드 후 flutter sdk에서 사용할 수 있게 설정하면 된다.
1. java17 다운로드
brew install openjkd@17./~zshrc path 설정
export JAVA_HOME="/Library/Java/JavaVirtualMachines/jdk-17.jdk/Contents/Home"
export PATH="$PATH:$JAVA_HOME/bin"
변경사항 적용
source ~/.zshrc
# java 버전 확인
java --verison- flutter sdk에 자바 버전 적용
flutter config --jdk-dir=$JAVA_HOME
# version 확인
flutter doctor --verbose
똑같은 에러로 고생했습니다 감사합니다