이번 노트에서는 데이터를 간단하게 주고 받을 수 있는 NotificationCenter에 대해서 알아보려고한다.
먼저 Apple에서는 NotificationCenter에 대해 이렇게 설명하고 있다.
등록된 관찰자에게 정보를 방송할 수 있도록 하는 알림 발송 메커니즘.
...? 이게 무슨말이냐 역시 직독직해는...
쉽게 말해서 유튜브 구독 알림 설정이라고 생각하면 쉽다. 내가 좋아하는 유튜버의 새로운 영상을 놓치지 않기위해 알림 설정을 하는 우리(구독자)는 NotificationCenter에서는 관찰자 즉 Observer라고 한다. 그럼 새로운 영상을 업로드해서 우리에게 알림을 보내주는 동작을 NotificationCenter에서는 posting Notification이라고 한다.
그럼 어떻게 알고 observer에게 정확히 보내는가? 의문이 들것이다.
다시 유튜브 구독을 보면 유튜브의 채널명이 있다. 우리는 이 채널을 구독 및 알림 설정 하는것이다. 이렇게 각 채널을 구분하는것을 NotificationCenter에서는 Notification.Name이라는 것을 구분할 수 있다.
구구절절 글씨로 설명하는 것 보단 코드를 보는게 더 이해가 빠를 것 같다.
Notification Name 등록
유튜브에 영상을 업로드 하려고 하면 채널 등록이 필요할 것이다. 이와 같이 NotificationCenter에서 구분자의 역할을 하는 Name을 등록한다.
extension Notification.Name {
	static let DataNotificationEvent = Notification.Name("dataNotificationEvent")
}
Notification post로 전달하기
위에서 등록된 이름으로 Observe하고 있는 관찰자에게 알림을 보낸다.
NotificationCenter.default.post(name: .DataNotificationEvent, object: nil, userInfo: nil)- 여기서
default를 보고 알 수 있듯이 NotificationCenter는 싱글톤으로 동작한다. object: Any?oruserInfo: [AnyHasable: Any]?타입으로 데이터를 전달 할 수 있다.
Notification addObserver로 수신하기
post로 전달 된 Notification을 관찰자는 addObserver로 수신한다.
NotificationCenter.default.addObserver(self, action: #selector(anyAction(_:)), name: .DataNotificationEvent, object: nil)post로 데이터를 전달할 때object로 보냈으면action의notification.object데이터를 참조하고,userInfo로 보냈으면notification.userInfo를 참조한다.
NotificationCenter 실제 적용해보기
DataNotificationEvent의 이름을 가진 notificationCenter를 하나 선언한다.PostNotificationViewController에서 데이터를 보내ObserverViewController에 표시되도록 간단하게 구현해본다.- ObserverViewController -> PostNotificationViewController의 navigation 구조이면 자식 VC에서 부모 VC으로 전달한다.
extension Notification.Name {
	static let DataNotificationEvent = Notification.Name("dataNotificationEvent")
}
PostNotificationViewController
class PostNotificationViewController: UIViewController {
	// 데이터를 post할 버튼
	@IBOutlet private weak var postDataButton: UIButton!

    override func viewDidLoad() {
    	super.viewDidLoad()

        self.postDataButton.setTitle("데이터 전달", for: .normal)
        self.postDataButton.addTarget(
	        self,
            action: #selector(self.postDataAction(_:)),
            for: .touchUpInside)
    }

    @objc func postDataAction(_ sender: Any) {
    	// object 형식으로 데이터를 post
    	let postObject: String = "[post with object] Hello world!!"

        NotificationCenter.default.post(name: .DataNotificationEvent, object: postObject)
    }
}
ObserverViewController
class ObserverViewController: UIViewController {
	@IBOutlet private weak var titleLabel: UILabel!
    // 전달 받은 데이터를 표시할 Label
    @IBOutlet private weak var receivedStringLabel: UILabel!

    // PostNotificationViewController로 이동할 Button (편의상)
    @IBOutlet private weak var nextButton: UIButton!

    override func viewDidLoad() {
    	// addObserver
	    NotificationCenter.default.addObserver(
        	self,
            selector: #selector(self.handleObservedData(_:)),
            name: .DataNotificationEvent,
            object: nil)
    }

    @objc func handleObservedData(_ notification: Notification) {
    	guard let data = notification.object as? String else { return }

        self.receivedStringLabel.text = data
    }

	@objc func goNextVC(_ sender: Any) {
    			... 이하 생략 ...
    }
}DataNotificationEvent의 이름으로 addObserve하고 있으면postNotificationViewController에서 Notification을 post하고 수신된다면selector함수인handleObserveredData함수가 호출된다.

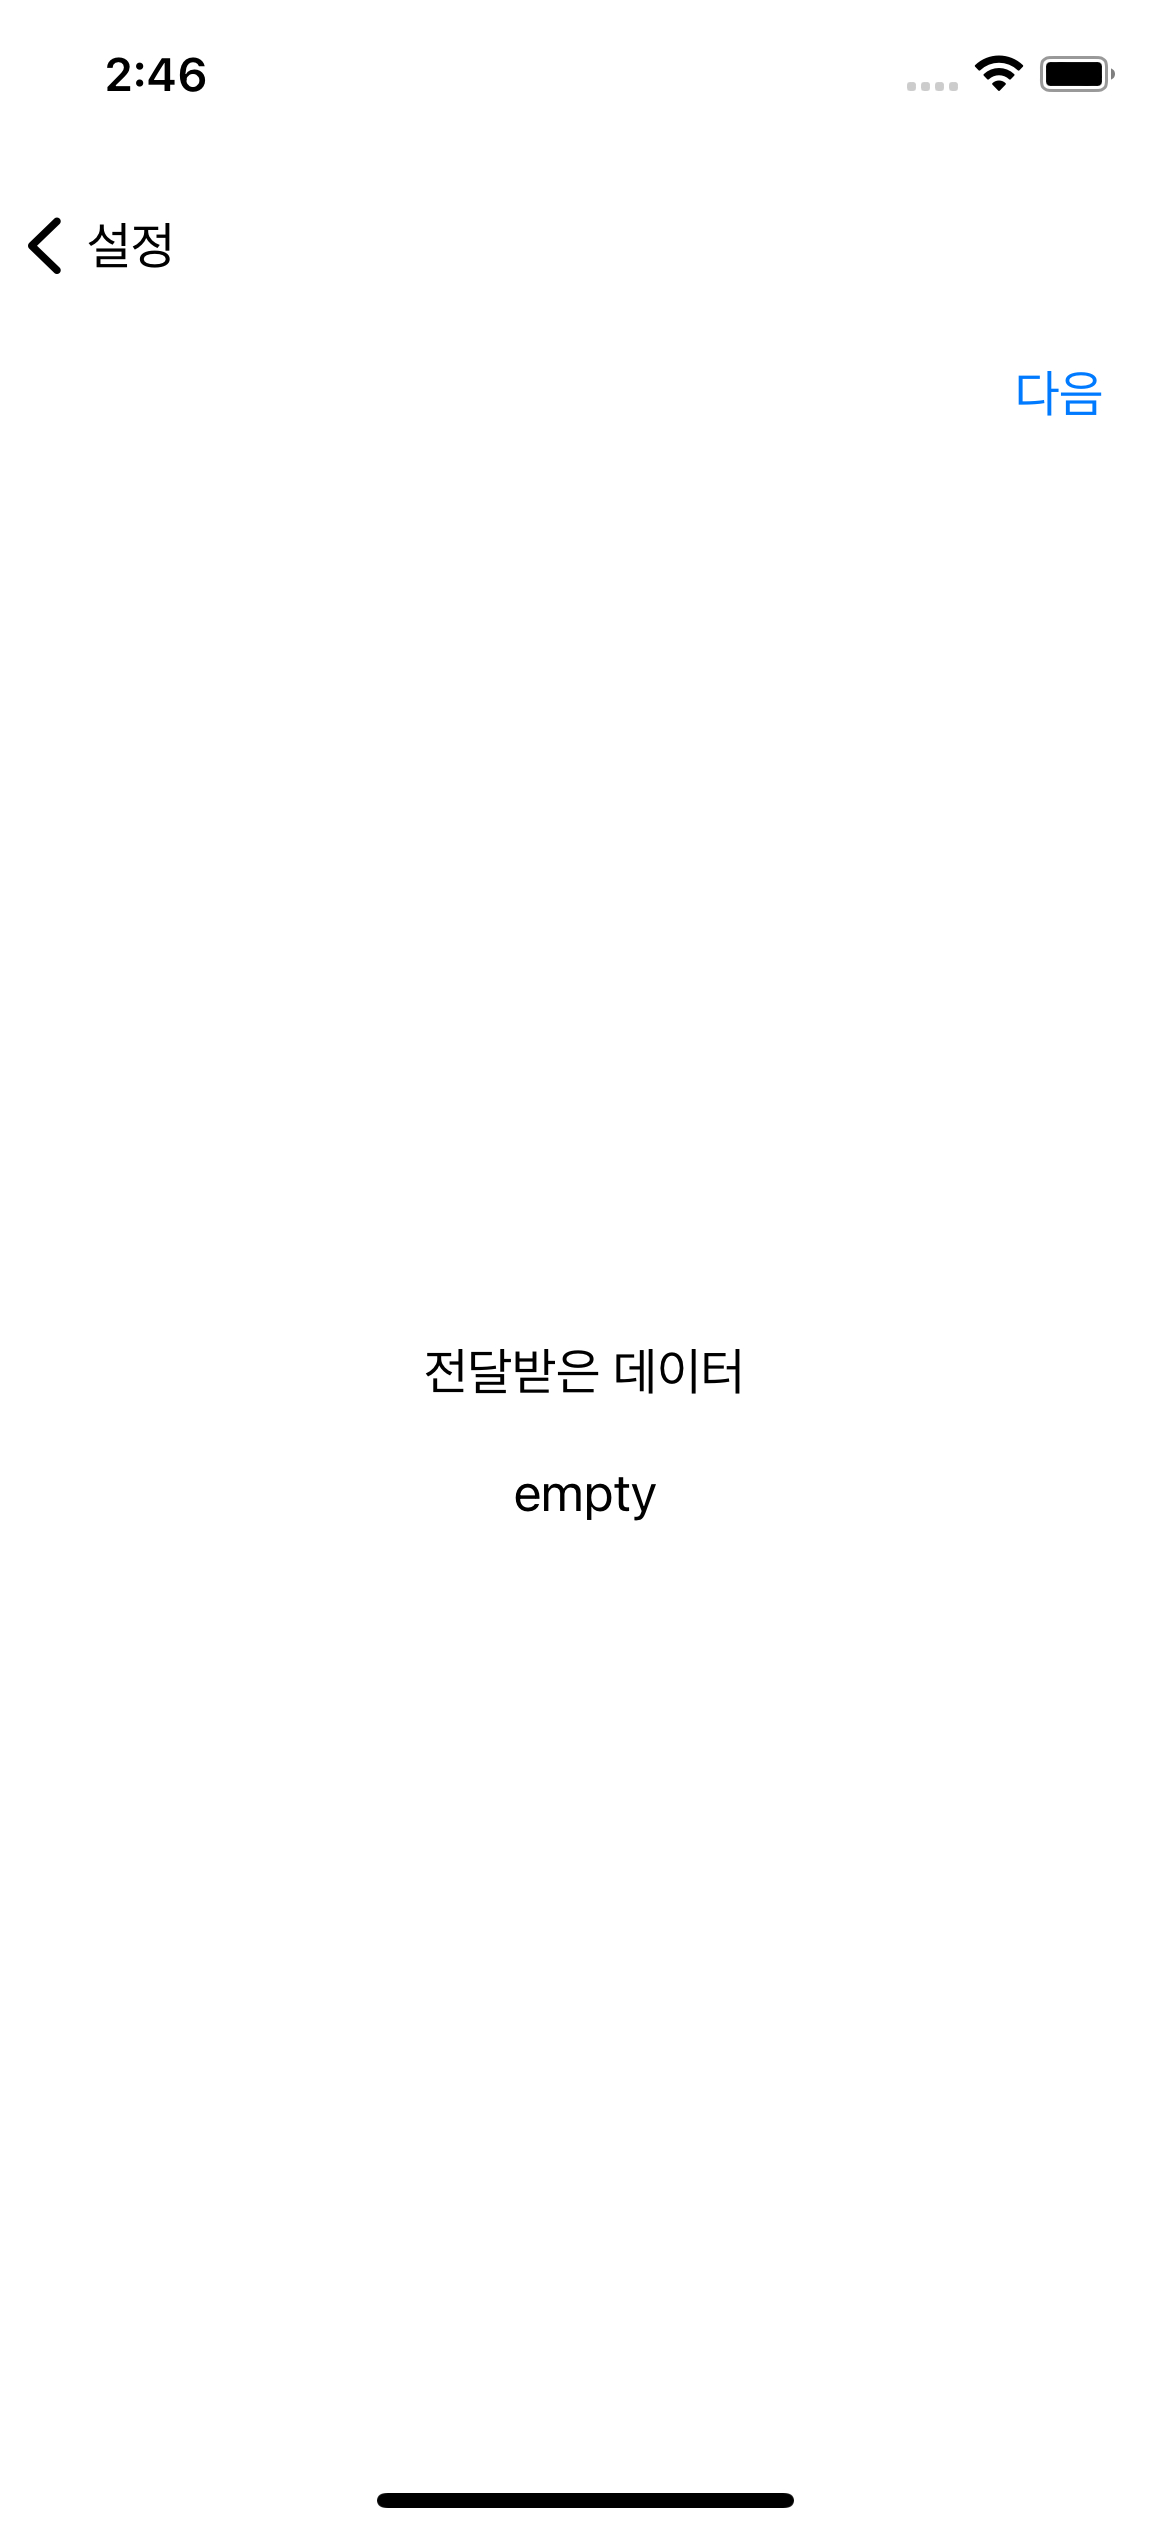
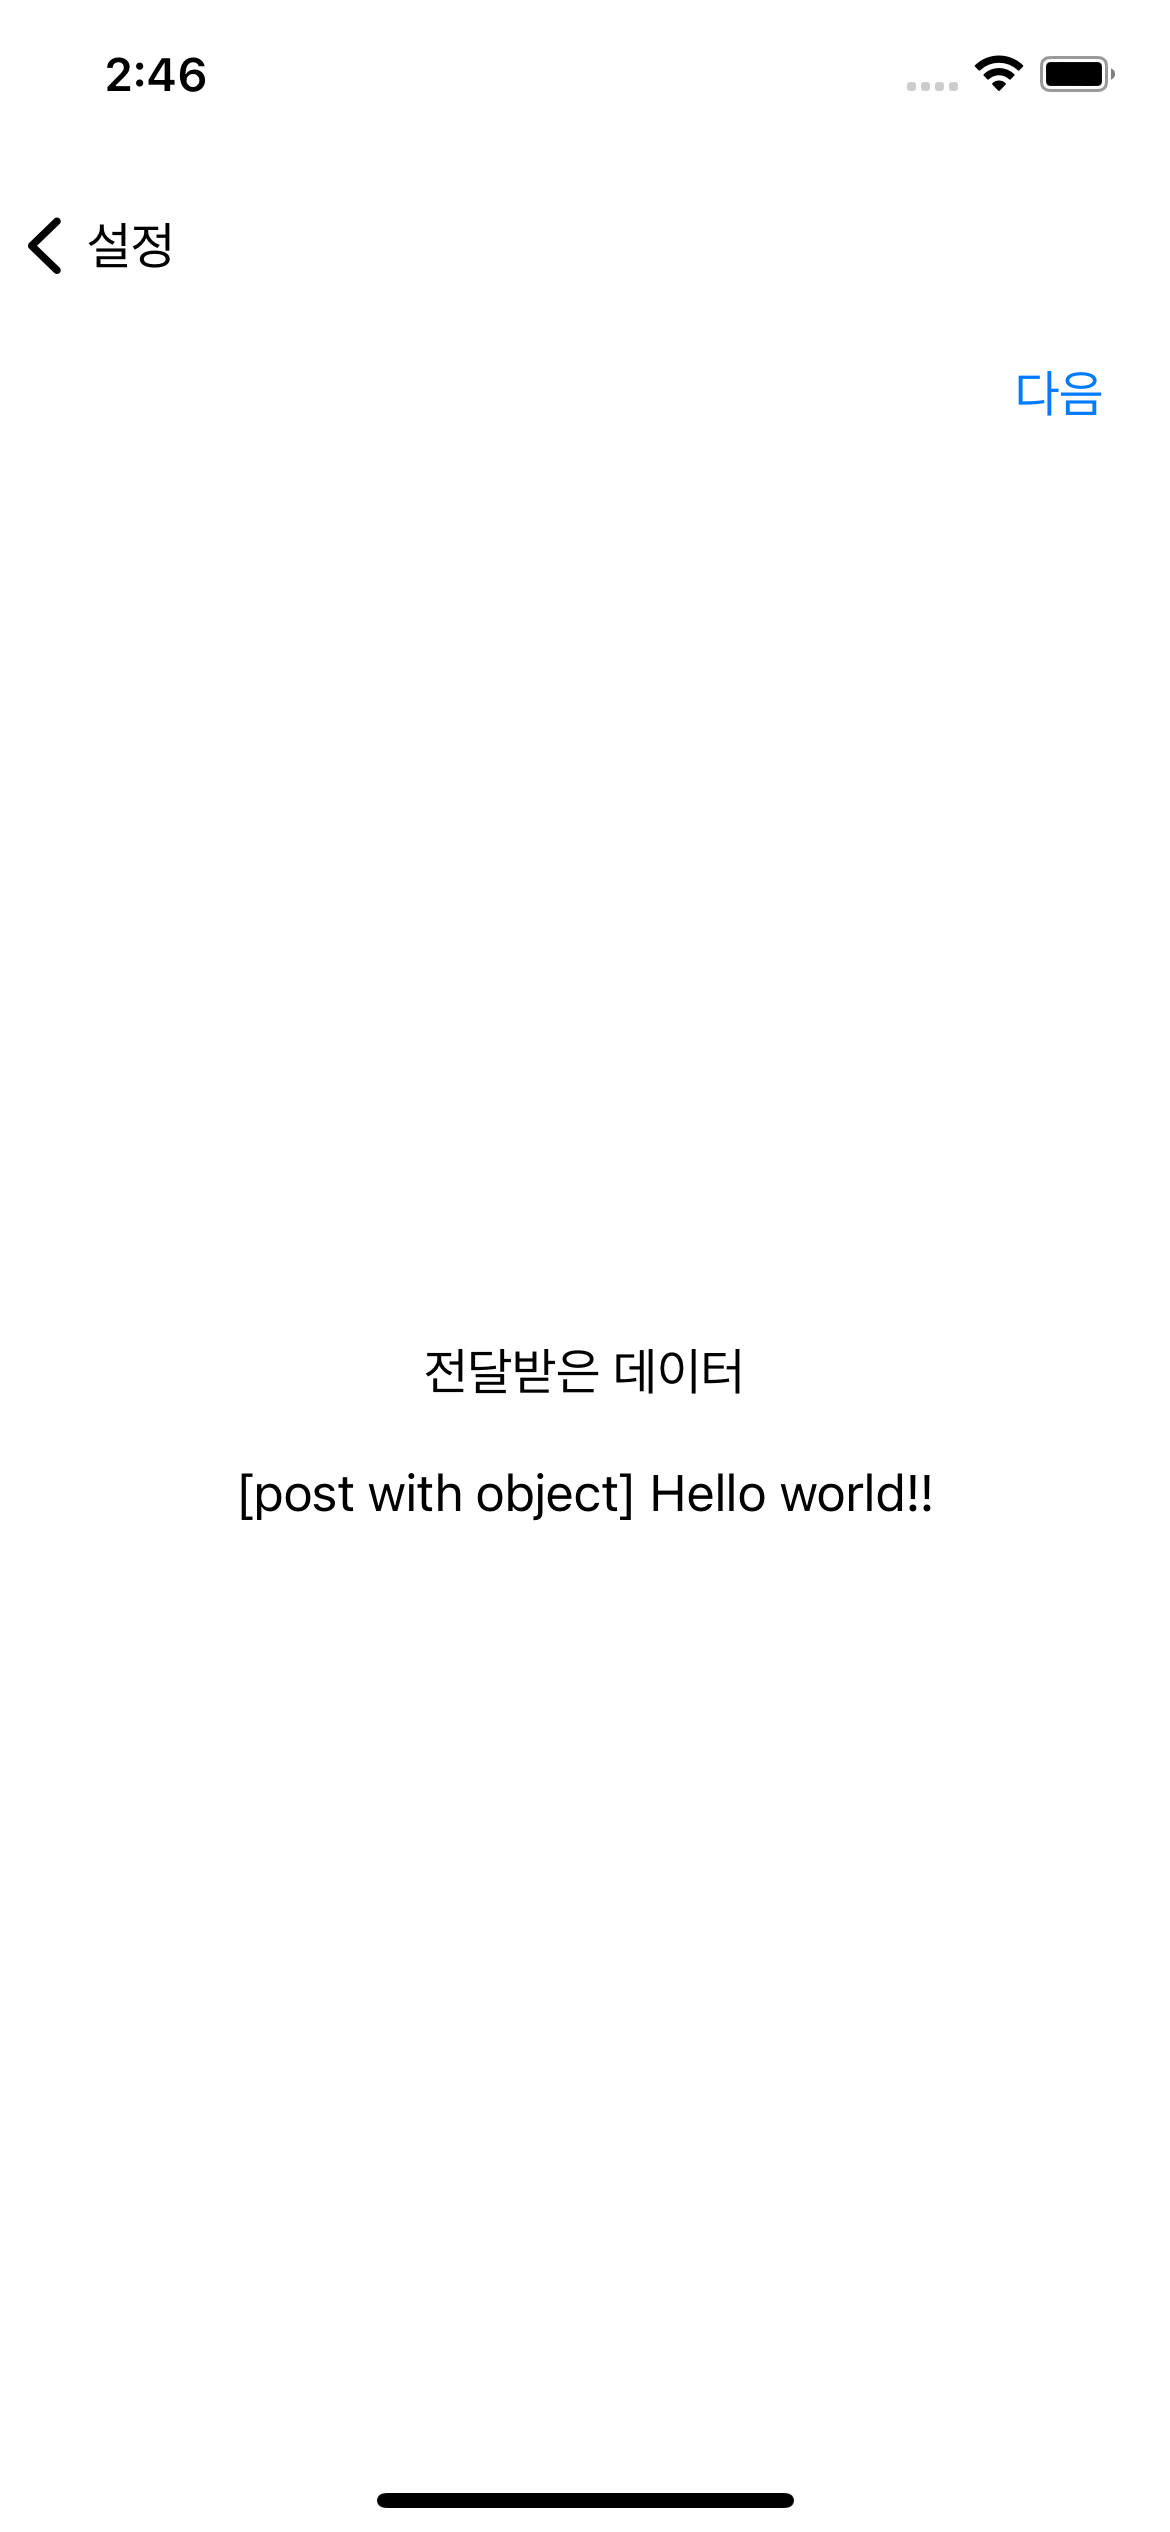
잘 전달되는걸 볼 수 있다.
NotificationCenter의 Notification 송수신은 위의 예처럼 부모자식간에서만 가능한것이 아닌 Name만 observe하고 있다면 global하게 사용가능하다.