Goal
✔️ javascript 함수를 작성해보면서 자주 쓰이는 문법 패턴을 익힌다
✔️ javascript에서 array, object, string의 개념에 대해서 익힌다
✔️ 각각의 method를 익힌다
Check Mission
-
javascript에서 var, let, const를 이용해 변수를 선언하고 각각의 차이점을 조사해보세요(✔️)-> TIL-no.6 참고 -
template literal을 이용해 변수와 string을 동시에 작성해보세요(✔️)->TIL-no.7 참고 -
for문과 while문을 반복문을 작성해보세요
-
if와 else를 이용해 조건문을 작성해보세요(✔️)->TIL-no.7 참고 -
array method 중 slice, splice, push, pop, filter, map 을 활영한 함수를 작성해보세요
-
1주차 때 만든 자기소개 페이지에 javascript로 미니게임 코드를 넣어봐도 좋습니다.(✔️)->TIL-no.12 참고 -
변수 선언하고 수정할 줄 알아야 한다.(✔️)
-
반복문, 조건문 등을 검색해보지 않아도 작성할 수 있을 때까지 반복해서 작성해봐야 한다.->(✔️) 이건 뭐 방법이없는데
-
함수 정의, 호출 등의 차이점을 알아야 한다. (✔️)
참고로 자바스크립트로 간단한 게임을 만들수도 있는데, 전 기수에선 1주차에 만든 자기소개 페이지에
미니 게임을 삽입한 분들도 많았습니다. 참고해주세요!
Function
function(함수)은 무엇일까
const hoonInfo = {
    name:"Hoon",
    age : 33,
    gender : "Male",
    isHandsome: true,
    favMovies: ["Along the gods","LOTR", "OldBoy"],
    favFood: [
        {
            name:"Kimchi",
            fatty: false},
        {
            name:"Cheeseburger",
            fatty: true}
    ]
};
console.log(hoonInfo, console);
console.log == hoonInfo.favFood
두개의 유사점은 "." 이 찍히는것 이게 무엇이냐
console & hoonInfo는 object(객체)라고 보면되는 근거다.
log와 favfood는 각자 object안에 있는 무언가인데
예를 들어 hoonInfo.favFood는 hoonInfo라는 변수안에 존재하는
favFood라는 명을 가진 List다.
그럼 log는 이 컴퓨터 소프트웨어에 있는 console안에 있는 무언가이다.
function은 functional한거임 (내가 원하는 만큼 쓸 수 있는것.)
Arguments
각자에게 인사시키기 다 적는것은 비효율적임
console.log("greeting Hoon");
console.log("gr n");
console.log("Hello Hon");
console.log("Hello oon");
function sayHello(){
console.log("Hello!");
}
sayHello("HOON");
console.log("HI")이렇게 했을 때 원했던 hello Hoon 이 출력되어 나오지 않았다.
이유는 function 이 aruguments(변수같은거)를 받는데 여기서 함수 sayHello가 "Hoon"
이라는 변수를 받을수 있도록 준비를 안시켜줘서 안나옴
아래와 같이 기입하면 됨.
function sayHello(soccer){
    console.log("Hello!", soccer);
}
sayHello("HOON");
console.log("HI")
위와 같은 것이 외부데이터를 함수가 읽을 수 있는 방법이다.
여기서 console.log에 두가지 arguments(hello, soccer가 들어감)arg1,arg2
function sayHello(soccer, football){
    console.log("Hello!", soccer, "you have", football);
}
sayHello("HOON", 15);
위에서 보듯 console.log는 무한한 arguments를 가질 수 있음.
sayHello 함수는 두개의 arguments를 가짐!(soccer = arg1, arg2 = football)
Template literal(`)
function sayHello(soccer, football){
    console.log("Hello!", soccer, "you have", football);
}

sayHello("HOON", 15);
function sayHello(name, age){
console.log("Hello" + name + "you are" + age + "years old")
}원래이런식으로 작성했었다. 못생겼었다.
아래의 방식을 이용하면 (백틱?) 조금더 깔끔하게 사용 가능하다.
인자(arg)를 ${}안에 넣어주는 방식으로 한방에 작성가능하다.
- 약간 파이썬 format.느낌이 난다
function sayHello(name,age){
    console.log(`Hello ${name} you are ${age} years old`);
}

sayHello("Nico", 15);
Return / console.log
console.log와 return의 다른데 돈내면 잔돈받는 개념이 Return
console.log는 그냥 출력의 느낌
코드를 보자면 여기서 greetNicolas 변수는 sayHello function 의 return값이다. 이렇게 해서 돌려보면 undefined가 나올것.
undefined된 값이 console.log로 찍힘 왜 ? 왜냐면 함수 sayhello에서 아무것도 return 하지 않았기 때문이다.
return된 값이 들어가야되는데 return값은 없고 console만 있으니 당연.
저기서 console.log를 하지 않으면 아무것도 console창에 나타나지 않음.
function sayHello(name,age){
    return `Hello ${name} you are ${age} years old`;
}

const greetNicolas = sayHello("Nicolas", 15);

console.log(greetNicolas)
이렇게 하면 Return값을 console.log해주는 것이라 결과 값이 나옴.
console.log는 오브젝트(객체)임.
const calculator = {
    plus: function(a, b){
        return a + b;
    }
}

               //console.log(greetNicolas)
const plus  = calculator.plus(5, 5);
console.log(plus)
여기서 console과 calcualtor는 둘다 objects(객체)이며 둘다 각자 log 함수와 plus 함수를 가진다.
log 함수는 하나의 인자, plus 함수는 두개의 arguments(인자)를 가지는 함수이다.
DOM
JS도 css처럼 일정부분 선택해서 바꿀 수 있다.
css 에 아이디를 #id 로 선택해서 바꾸는 선택자 방법이 있듯, js에도 그런 방식이 있다고 한다.
DOM - > Documents Object Module
얘가 html에 있는 모든 요소를 가지고 와 객체(object)로 만들어 버리는 것이다.
- HTML
<!DOCTYPE html>
<html lang="en">
<head>
    <meta charset="UTF-8">
    <meta name="viewport" content="width=device-width, initial-scale=1.0">
    <title>Something</title>
    <link href="index.css" rel = "stylesheet" type="text/css" />
</head>
<body>
    <h1 id = "title">This works!</h1>
    <script src="index.js"></script>
</body>
</html>- JS
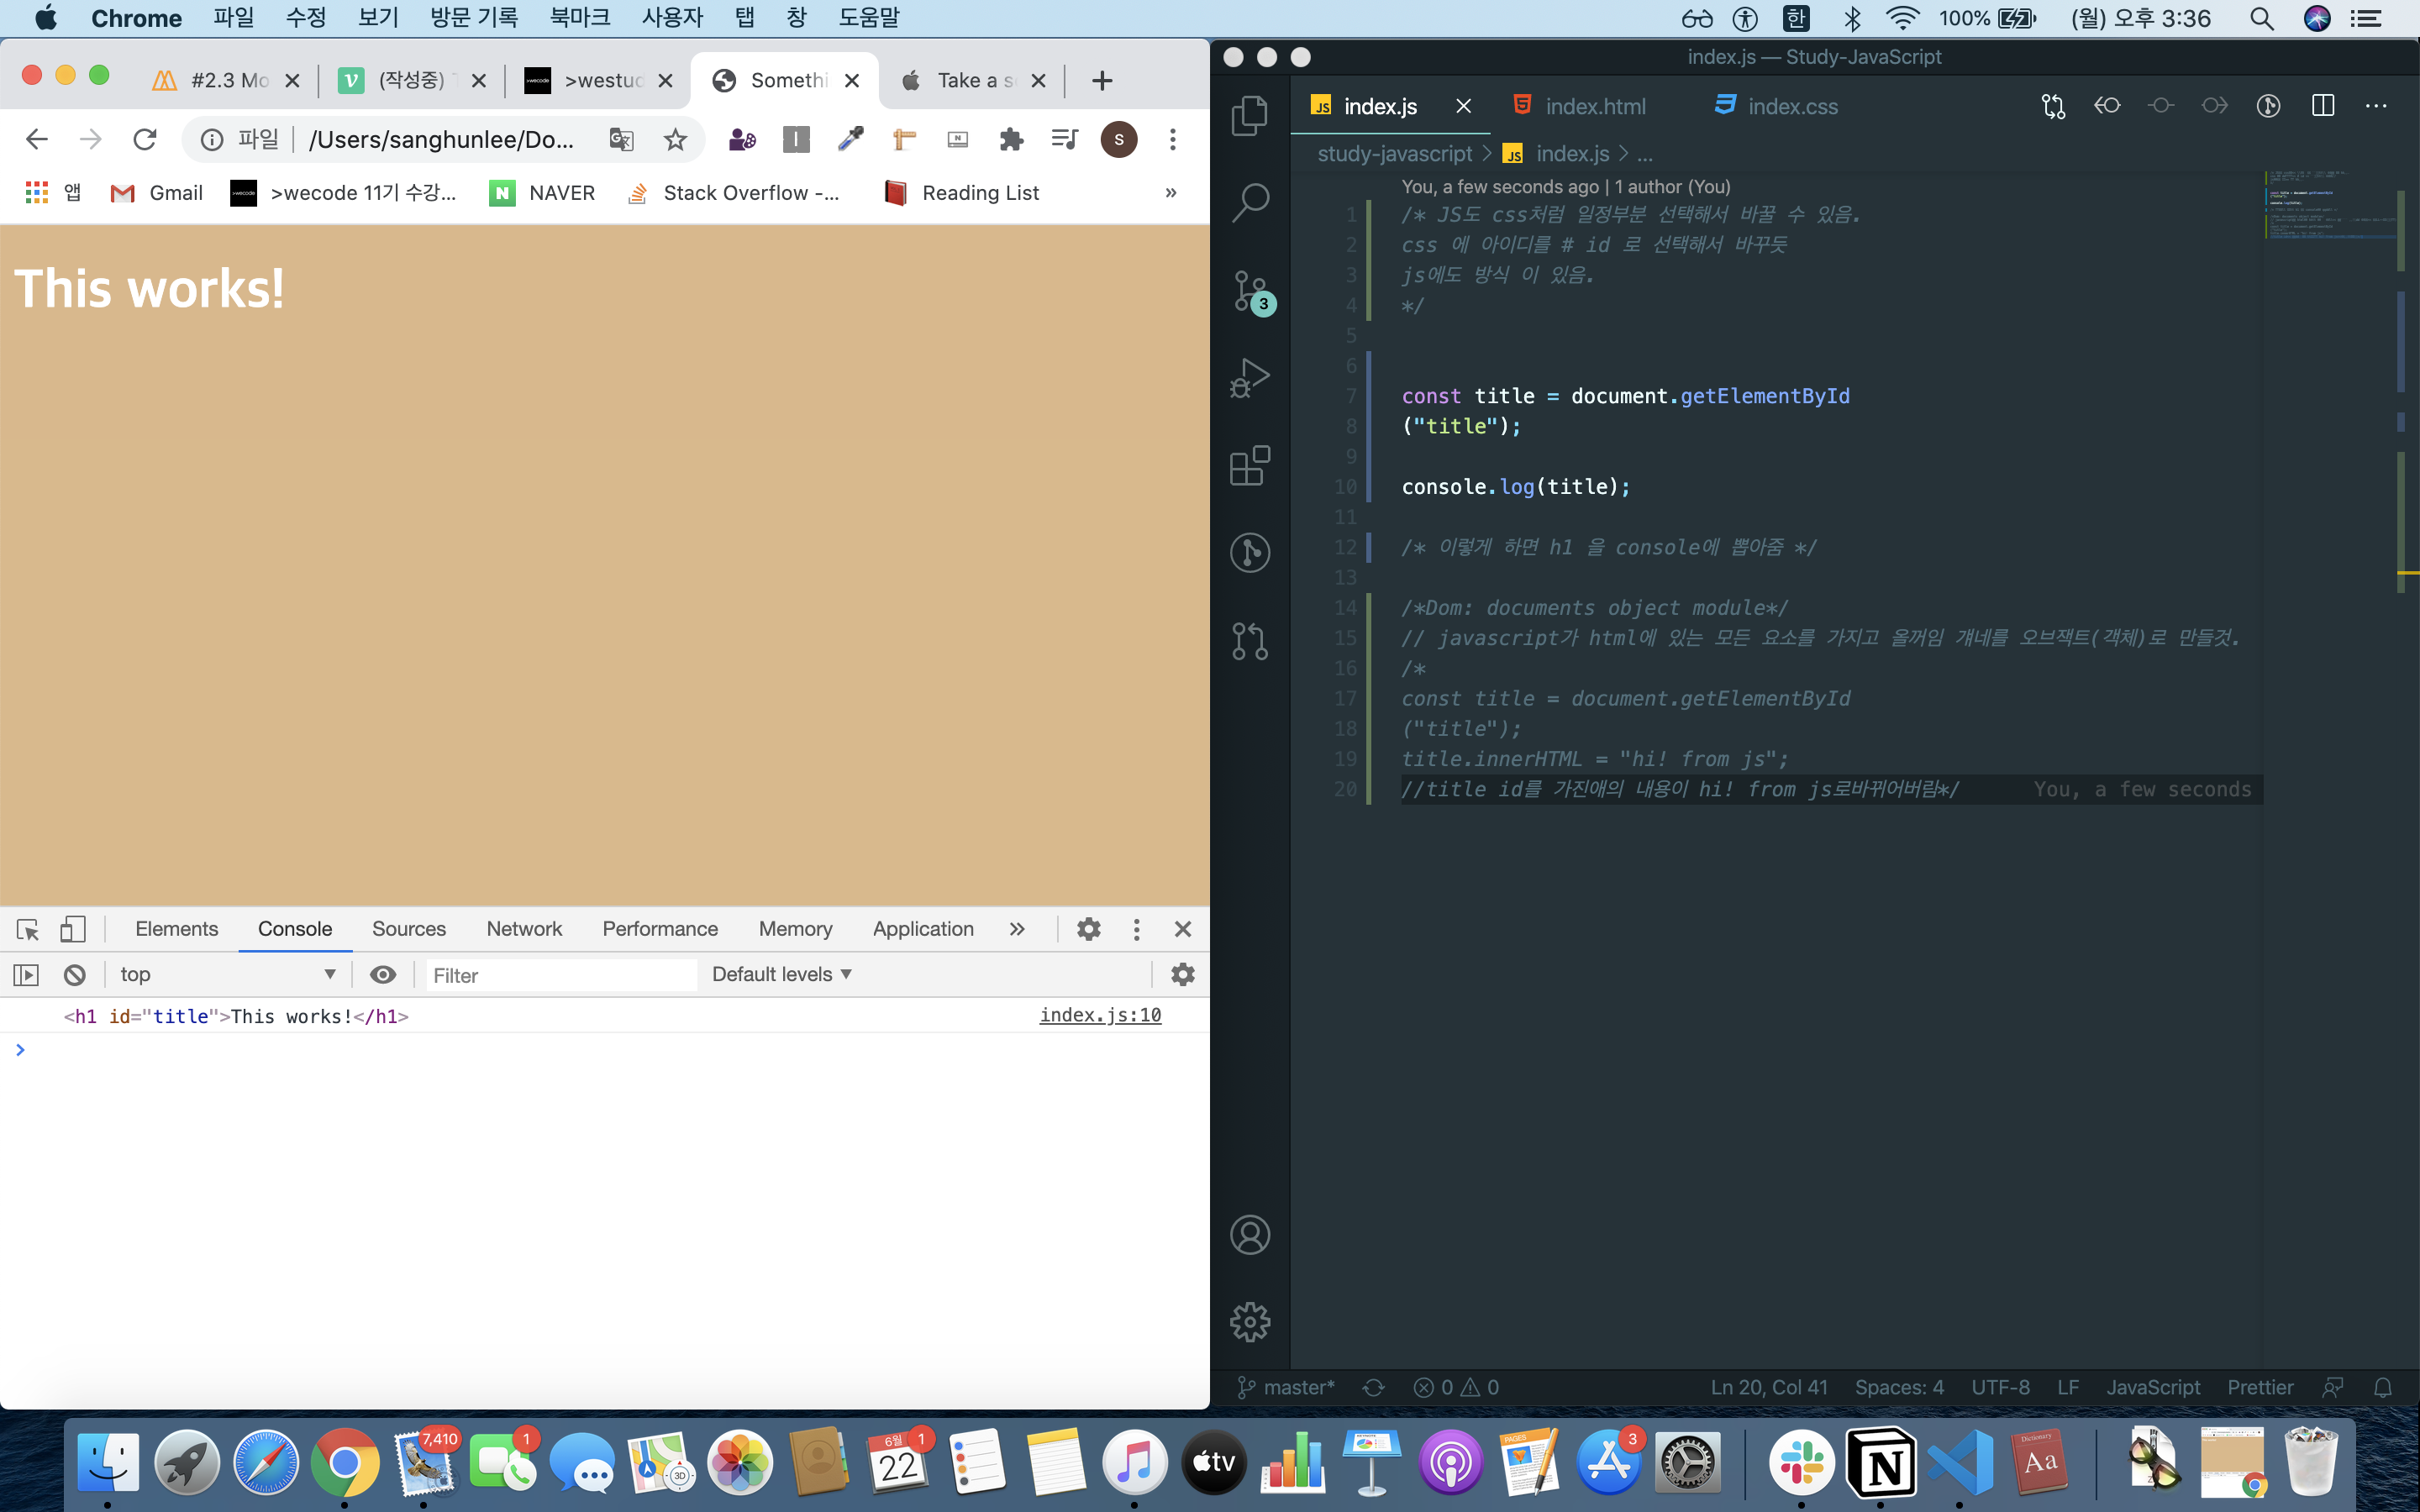
const title = document.getElementById
("title");

console.log(title)
이렇게 하면 h1 을 console 창에 뽑아준다.
const title = document.getElementById
("title");
title.innerHTML = "hi! from js";
title id를 가진애의 내용이 hi! from js로바뀌어버림
Selector
const title = document.getElementById
("title");
title.innerHTML = "hi! from js";
title.style.color = 'red';
console.dir(document);
document.title = " i owe u now"
위와 같이 html에 있는 요소를 바꿔 줄 수 있음..
html 내부의 타이틀 변경이다 서류전체의 title 변경등..
// getElementById도 좋지만 querySelector("");를 이용하면 괄호안에 css 처럼 선택자를 넣기 쉬워 사용하기 편함
console.dir(document);를 사용하면 document객체에 대한 다양한 함수들을 볼 수 있다.
Events and event handlers
event란 웹사이트에서 발생하는 것들을 말하는 것인데click,resize, submit, input, change,print 등..을 말하는 것이다.
const title = document.getElementById
("title");
title.innerHTML = "hi! from js";
title.style.color = 'red';
console.dir(document);
document.title = " i owe u now"
위와 같이 html에 있는 요소를 바꿔 주는 것을 event handler의 일종으로 이해하면된다.
getElementById도 좋지만 querySelector("");를 이용하면 괄호안에 css 처럼 선택자를 넣기 쉬워 사용하기 편함
const title = document.querySelector('#title');
function handelResize(){
console.log("i've been resized")
}
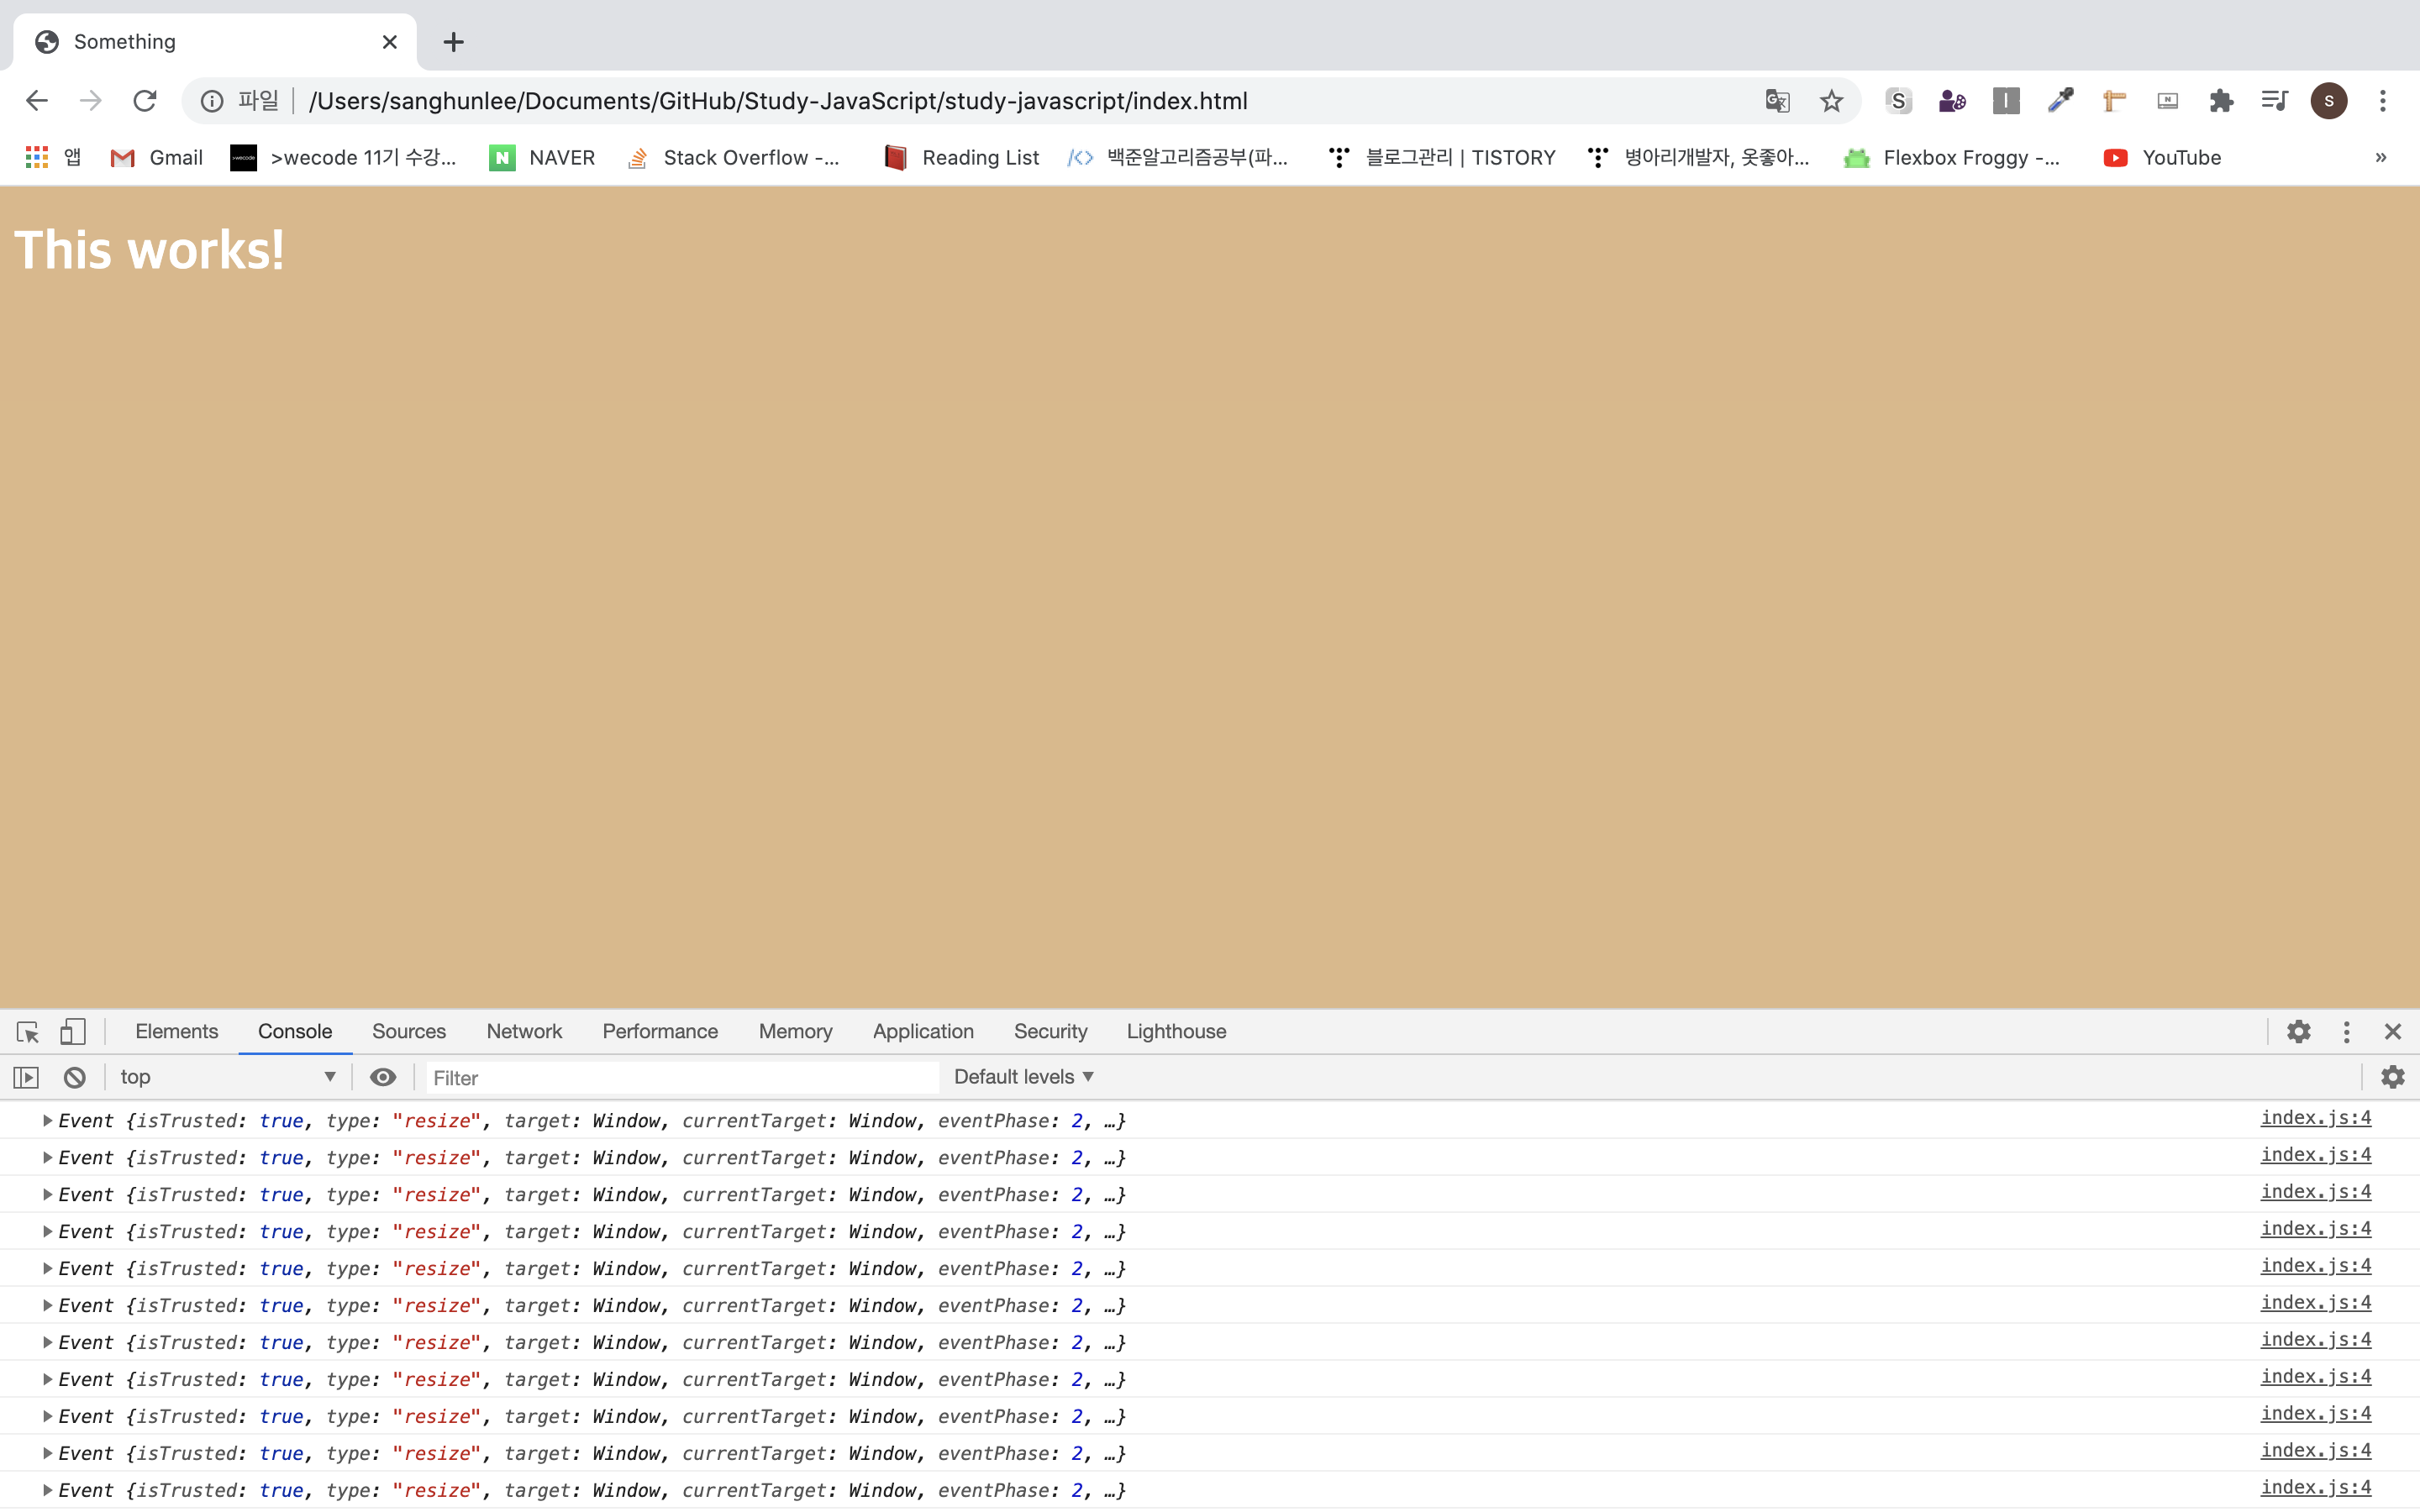
window.addEventListener("resize", handelResize);위 코드에서는 페이지가 resize될때마다 console창에 console.log로 출력한 값이 나옴.
handleResize() 로 표시하면 resizing 하지 않아도 함수가 즉시 실행되어버림
const title = document.querySelector('#title');

function handelResize(event){
    console.log(event);
}

window.addEventListener("resize", handelResize(evnet));
event는 js로 부터 온것임(그니까 따로 뭐 함수만들고 변수설정 안해도된다는 뜻임)
event를 하면 console창에 event가 주르륵 호출됨.
const title = document.querySelector("#title");

function handleClick() {
    title.style.color ="red";
}
title.addEventListener("click", handleClick);
일단 queryselector로 title아이디를 slect함...1
handleclick이라는 함수를 만들었음(title의 color를 바꾸는것) ...2
addeventlistener로 클릭시 함수 작동하게 함.
조건문
if, else, and, or 등을 말함
이렇게 생김
if(condition){
    block
}
else{
    block
}
예시로 이렇게 들 수 있음.
if(10 > 5){
    console.log("HI");
}
else{
    console.log("BYE");
}
if내의 조건이 참이니 console창에 HI라고 뜸.
if(10 === 5){
    console.log("HI");
}
else{
    console.log("BYE");
}
if내의 조건이 거짓이니 console창에 Bye라고 뜸.
if(10 === 5){
    console.log("HI");
}
else if ( "10" === "10"){
    console.log("lalala")
}
else{
    console.log("BYE");
}
이렇게 조건 추가도 가능(파이썬의 elif === js의 else if)
피연산자(and or )
and === &&&
or === ||
로 표기된다.
아래는 간단한 규칙
true && true = true;
true && false = false;
false && false = false;
false && true = false;


true || true = true;
true || false = true;
false || false = false;
false || true = true;
if 문과 and피연산자 사용한 예시
if(20 > 5 && "lee" === "lee"){
    console.log("yes");
}
else{
    console.log("no");
}
if 내의 두가지 조건 만족시 if 내의 명령어 실행해줌
if 문과 or피연산자 사용한 예시
if(20 > 5 || "lee" === "lee"){
    console.log("yes");
}
else{
    console.log("no");
}
if 내의 조건 중 하나라도 만족시 if 내의 명령어 실행해줌
DOM if else fucntion
if else문을 통해 아래와 같이 코드 짜기 가능
먼저 첫번째로 queryselector를 통해서 아이디 값을 불러옴
변수명 설정을 통해 색을 지정해줌 (basecolor and other color)
fucntion명 handleclick을 지정해주고 그안에 if else문을 이용하여
title객체를 사용해준다. 여기서는 title 의 style내의 색을 바꿔줌.
마지막으로 init() fucntion을 설정해줘 eventlistener를 이용해서 event를 등록해줌.
const title = document.querySelector("#title");

const BASE_COLOR = "red";
const OTHER_COLOR = "blue";

function handleClick(){
    const currentColor  = title.style.color;
    if (currentColor === BASE_COLOR){
        title.style.color = OTHER_COLOR;
    }
    else{
        title.style.color = BASE_COLOR;
    }
}

function init(){
    title.style.color = BASE_COLOR;
    title.addEventListener("mouseenter", handleClick);
}

init();
js 에는 init이라는 함수가 따로 존재하지 않아서 init함수를 만들어주고 마지막에 init(); 을 통해 즉시 실행 시켜줬다.
javascript DOM event MDN 이벤트 근원 찾을때 참고하면 좋음.
ex) window offline online(wifi)
function handleOffline(){
    console.log("bye")
}

function handleOnline() {
    console.log("wecome back")
}

window.addEventListener("offline", handleOffline);
window.addEventListener("onlin", handleOnline);
click을 이용한 함수 짜기
css
여기서 선언해준 .clicked를 이용해 js의 clicked-class에 사용한것임.
body{
    background-color: burlywood;
}

h1{
    color: rgb(133, 70, 70);
    transition: color 0.5s ease-in-out;
}

.clicked {
    color: gray;
}

.btn{
    cursor: pointer;
}
JS
const title = document.querySelector("#title");

const CLICKED_CLASS ="clicked";

function handleClick() {
    const currentClass = title.className;
    if(currentClass !== CLICKED_CLASS){
        title.className = CLICKED_CLASS;
       }
    else{
        title.className = "";
    }
}

function init(){
    title.addEventListener("click", handleClick);
}

init();
click할때마다 색바꿔보깅
classList라는것을 MDN에서 찾아 적용해봄.
const title = document.querySelector("#title");

const CLICKED_CLASS ="clicked";

function handleClick() {
    const hasClass = title.classList.contains(CLICKED_CLASS);
    if(!hasClass){
        title.classList.add(CLICKED_CLASS);
       }
    else{
        title.classList.remove(CLICKED_CLASS);
    }
}

function init(){
    title.addEventListener("click", handleClick);
}

init();
toggle이란 녀석을 이용하면 아주 간단하게 사용해버려짐 ㅇㅅㅇ...
const title = document.querySelector("#title");

const CLICKED_CLASS ="clicked";

function handleClick() {
    title.classList.toggle(CLICKED_CLASS);
}

function init(){
    title.addEventListener("click", handleClick);
}

init();
