그림판을 만들어보자
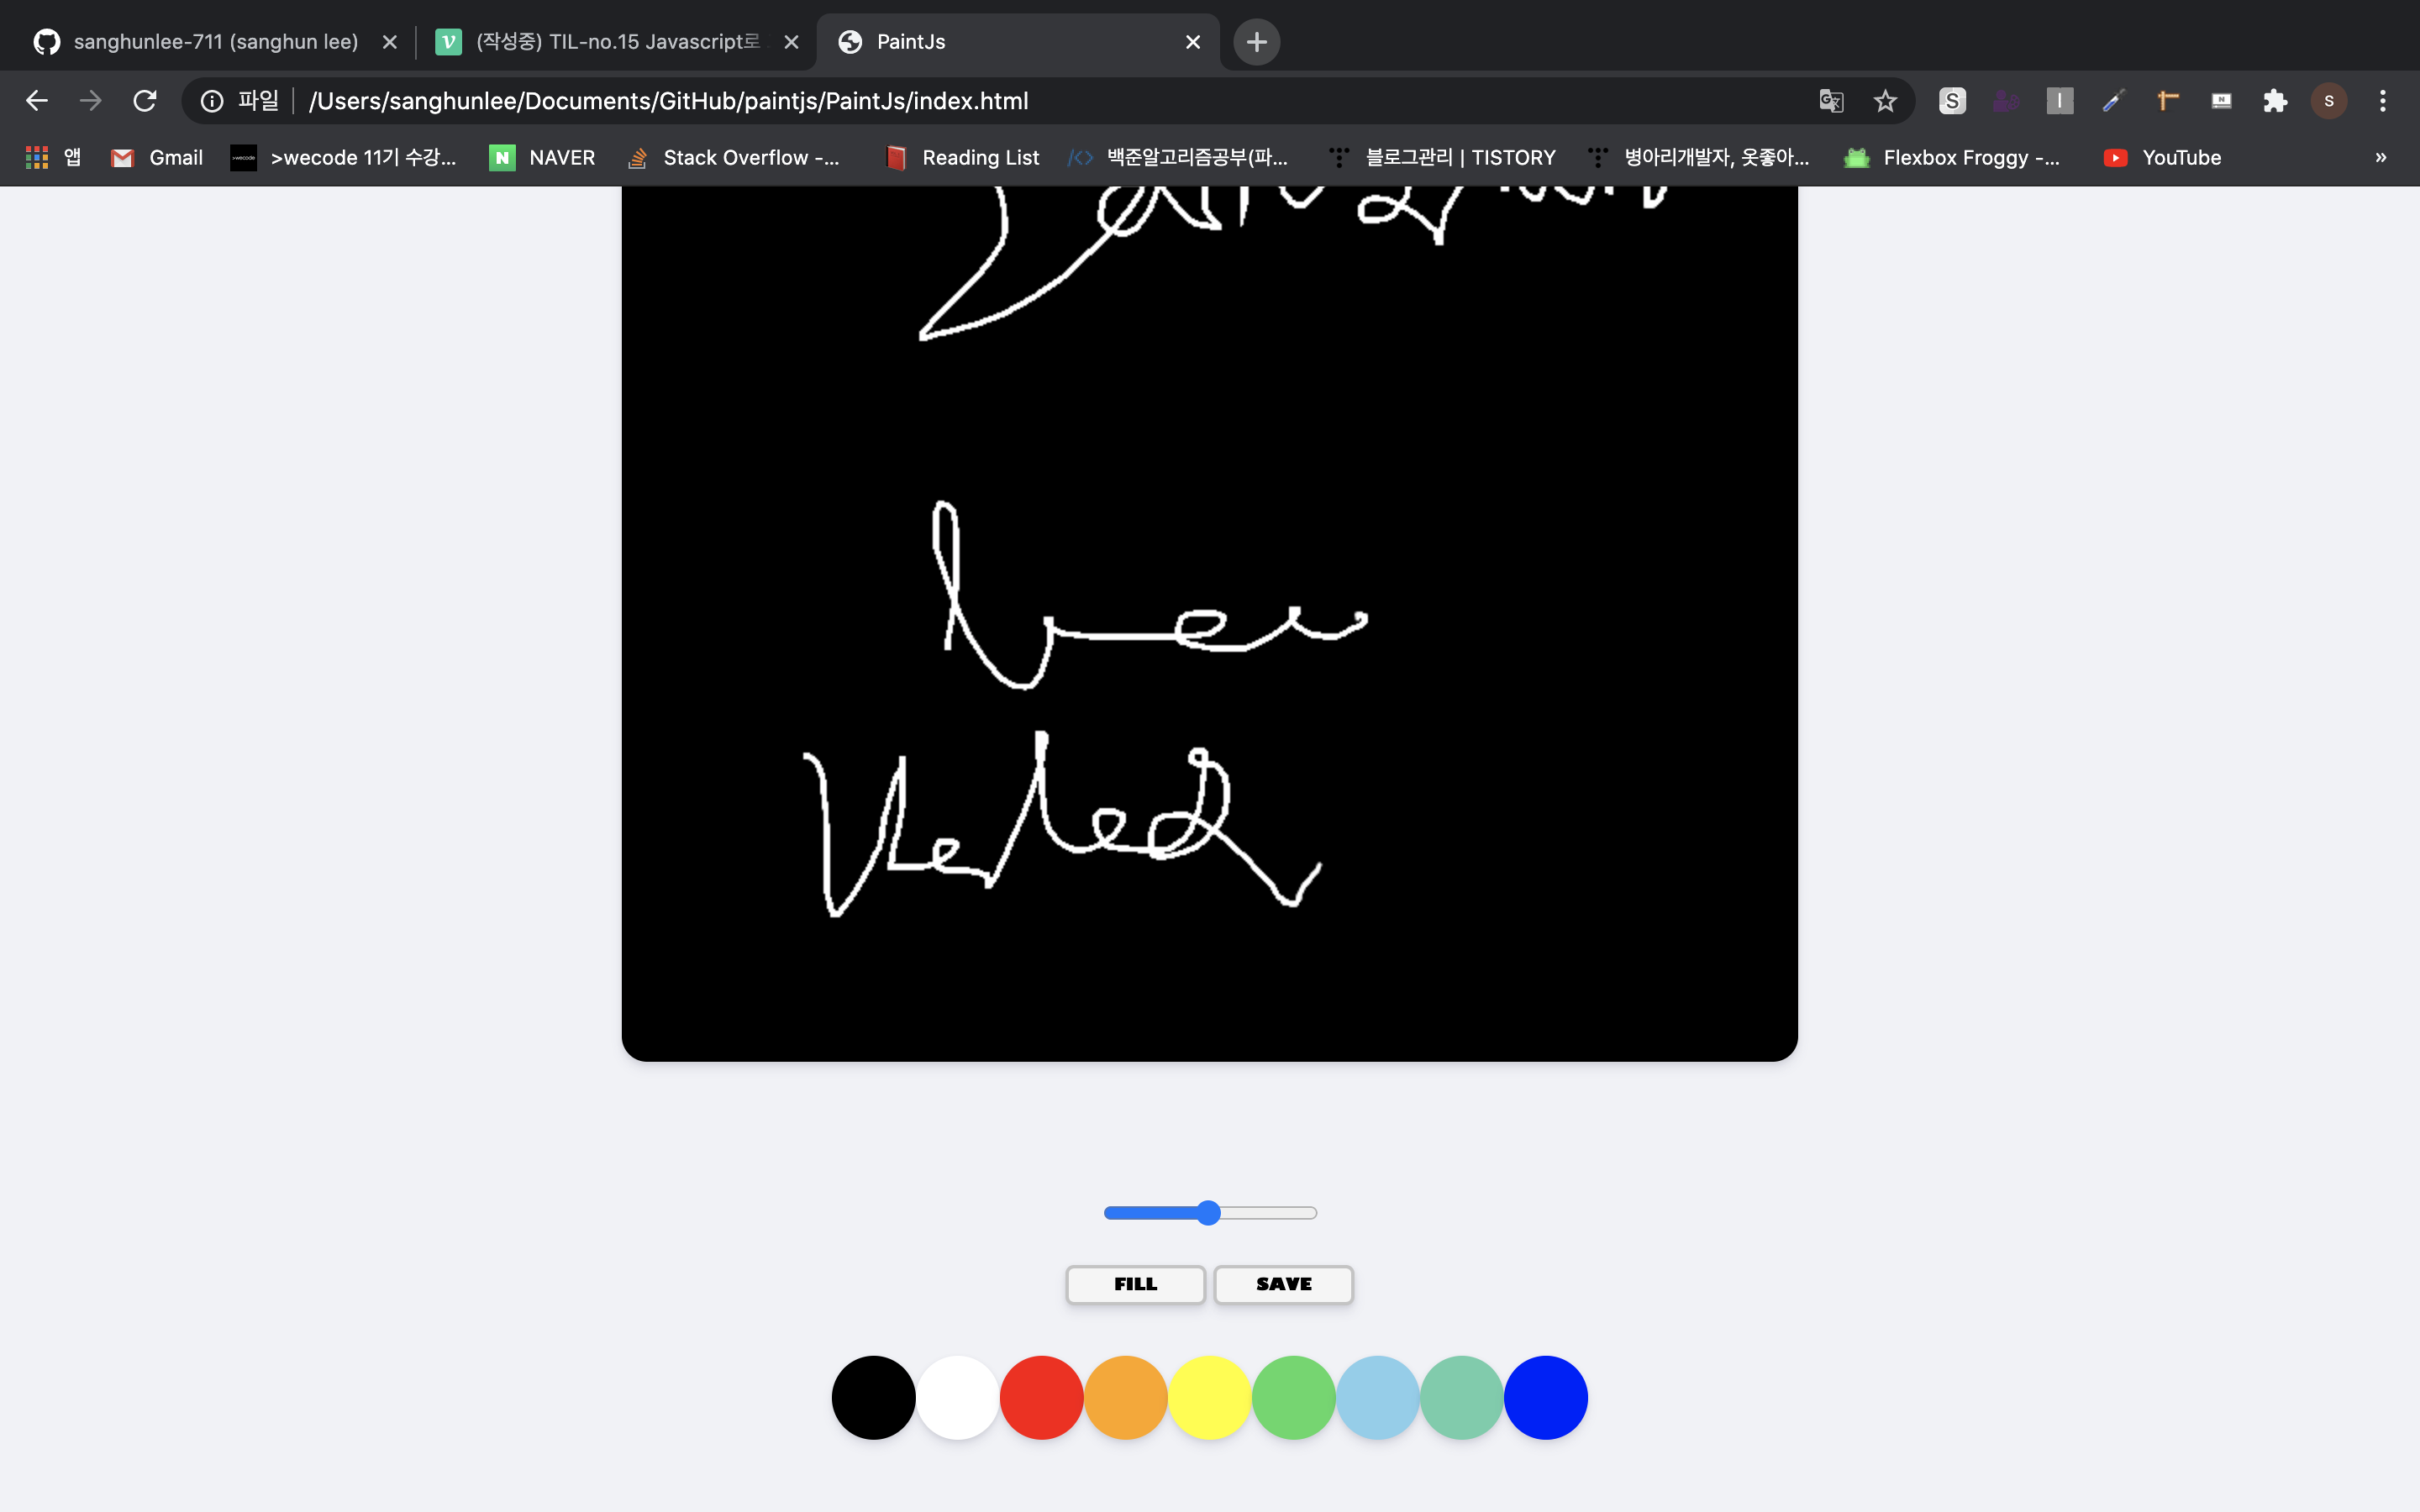
대충 이렇게 생겼다.
1. html
크게 3개의 div와 하나의 canvas로 나뉘어져있고 캔버스에는 캔버스 다른하나에는 레인지 input 다른하나에는 버튼 다른하나에는 색깔(파레트?)들이 있다.
색깔들은 또 각자의 div로 나뉘어졌다.
처음써보는 두가지 것이 있다
1.1 Canvas
웹상에 따로 캔버스 형태의 모양을 만들어주는 용도이다
참고:MDN
1.2 input type = range
input type range 는 range로 조절하는 형태의 모습을 만들어준다.
아래는 캔버스와 ragne type의 input 을 사용할때의 예제이다.
- 여기서 value는 초기 웹을띄웠을때의 값이며 step은 이 range 조절시 한칸에 얼마씩인지를 나타내준다.
    <canvas id="jsCanvas" class="canvas"></canvas>


        <div class="controls_range">
            <input
                type="range"
                id="jsRange"
                min="0.1"
                max="5.0"
                value="2.5"
                step="0.1"
            />
        </div>
2. css
각 각의 색파레트는 Html에서 배경색을 지정해주었으며 각자 크기와 넓이를 지정해주었다.
-
canvas의 경우 width 와 height를 지정해줘야 html에 나타난다.
-
전체 정렬은 Flex를 이용했다.
-
아래의 active 명령은 마우스 왼쪽 클릭시 아래 명령문이 활성화되며 변경을 나타내는 것이며
-
transform: sclae(0.98)은 x축방향 y축방향으로 사알짝 움직인다는 것이다
그냥 반짝 거리는 느낌임
참고:https://developer.mozilla.org/en-US/docs/Web/CSS/transform-function/scale
.controls_btns button:active{
    transform: scale(0.98);
}
3. Javascript를 이용하기 전 그림판 만들기를 위해 필요한것들.
- innerText참고
어떤 객체 내부에 text 를 요청하는 것으로 바꿔주는 것.
HTML
<button id="jsMode">Fill</button>Js
const mode = document.getElementById("jsMode");

let filling = false;

function handleModeClick(){
if (filling == true){
	filling = false;
    mode.innerText = "Fill"
} else{
	filling = true;
    mode.innerText = "Paint"
}
형태로 버튼 내부의 글자를 바꾸는 용도로도 사용 가능하다.
- addEventListener참고
아래와 같이 사용될 수 있으며 내가 알기론 localstorage에 ""에 해당하는 정의 되어있는 행동을 통해 , 이후 명시된 이름으로 이벤트가 생성되는것으로 알고 있다.
canvas.addEventListener("mousemove", onMouseMove); // Mousemoving을 통해 localstorage에 MouseEvent 명목으로 좌표값이 날아가게됨.- getContext참고
canvas의 파라미터이며 아래와 같이 사용 될 수 있다.
const ctx = canvas.getContext("2d");
"2d", 2차원 렌더링 컨텍스트를 나타내는 CanvasRenderingContext2D 객체를 생성하게 합니다.
이런식으로 2차언 캔버스를 생성하는용도로 사용 된다.
4. 만들기
모든 코드를 공유하는 것은 깃허브면 충분하니 사실상 굉장히 크게 와닿았던 코드만 몇가지 분석해보려한다.
const canvas = document.getElementById("jsCanvas");
const ctx = canvas.getContext("2d");


let painting =false;
let filling = false;

function stopPainting(){
    painting = false;
}

function startPainting(){
    painting = true;
}


function onMouseMove(event){
    const x = event.offsetX;
    const y = event.offsetY;
    if(!painting){
            console.log("creating path in",x , y);
        ctx.beginPath();
        ctx.moveTo(x, y); //마우스를 클릭안해도 path는 계속 생성되고 있지만 클릭과 동시에 else로 넘어가서 line to를 실행시킴(이전 path - > else path까지 실행)
    }
    else{
        console.log("creating line in",x , y);
        ctx.lineTo(x, y);
        ctx.stroke()
    }
}

function onmouseDown(event){
    stopPainting();
}
먼저 canvas 와 ctx를 각각 변수로 설정하였으며 Selector를통해 html 로 부터 가져왔다.
Js에는 id css에는 class를 보통 쓴다고 하는데 .. 추후에 알게되지않을까 싶다.
그렇게 각 함수를 stop start 를 나뉘어 painting 시 boolean 값을 변경하게 만들었고
이를 아래의 onMouseMove함수에 이용하였다.
해당함수에는 x, y를 추가로 지정하여 마우스가 움직일때마다의 좌표를 주게 되었다.
그리고 조건문을 이용하여 ctx에 beginpath moveTo lineTo을 통해 좌표를 설정 해놓았다.
stroke 를 통해 그림을 그리게 해놓았다.
참고: https://developer.mozilla.org/en-US/docs/Web/API/CanvasRenderingContext2D/beginPath
PS. 사전스터디라지만 너무 방치되어있어 뭘 어떻게 공부해야할지 도저히 모르겠다.
무엇을 만들면서 모르는것만 겨우겨우 찾아 겨우 이해하며 (아직도 잘 이해가 안가는게 너무 많음)진행해야 하는것인지. 어디에 사용되는지도 모르게 그냥 인강이나 주구장창들으며
아 그렇구나 하며 일주일을 보내야하는 것인지 말이다.
빨리 캠프가 시작해서 이것저것 틀이 갖춰진채로 공부해보고싶다
끝.
