테이블 뷰를 활용한 간단한 예제를 만들어 보았다.
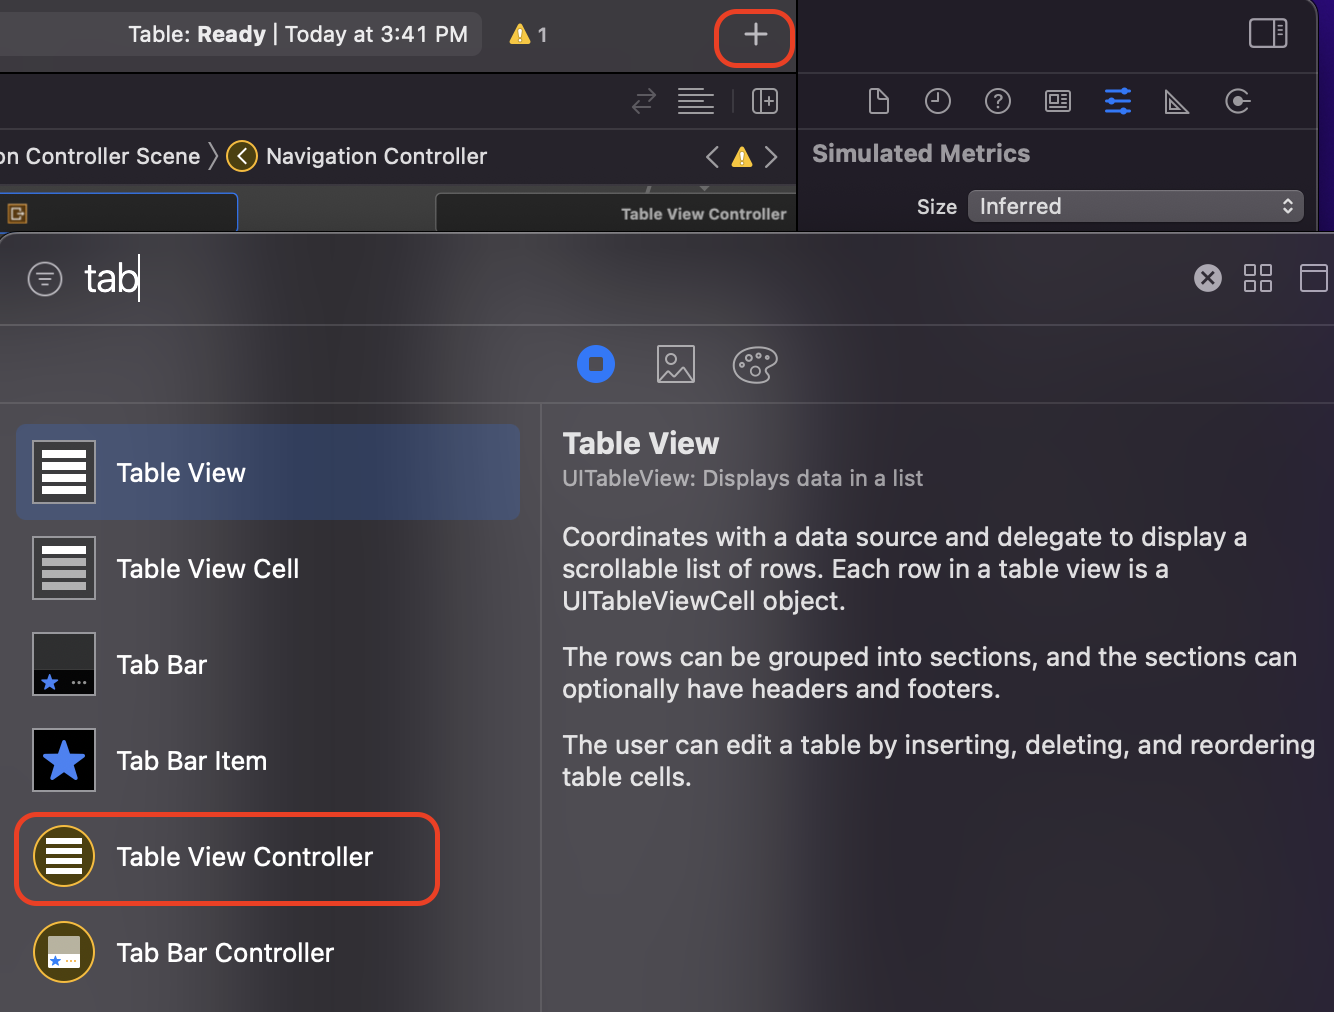
우선 기존의 ViewController를 삭제하고, Table Controller View를 선택해 배치하였다.
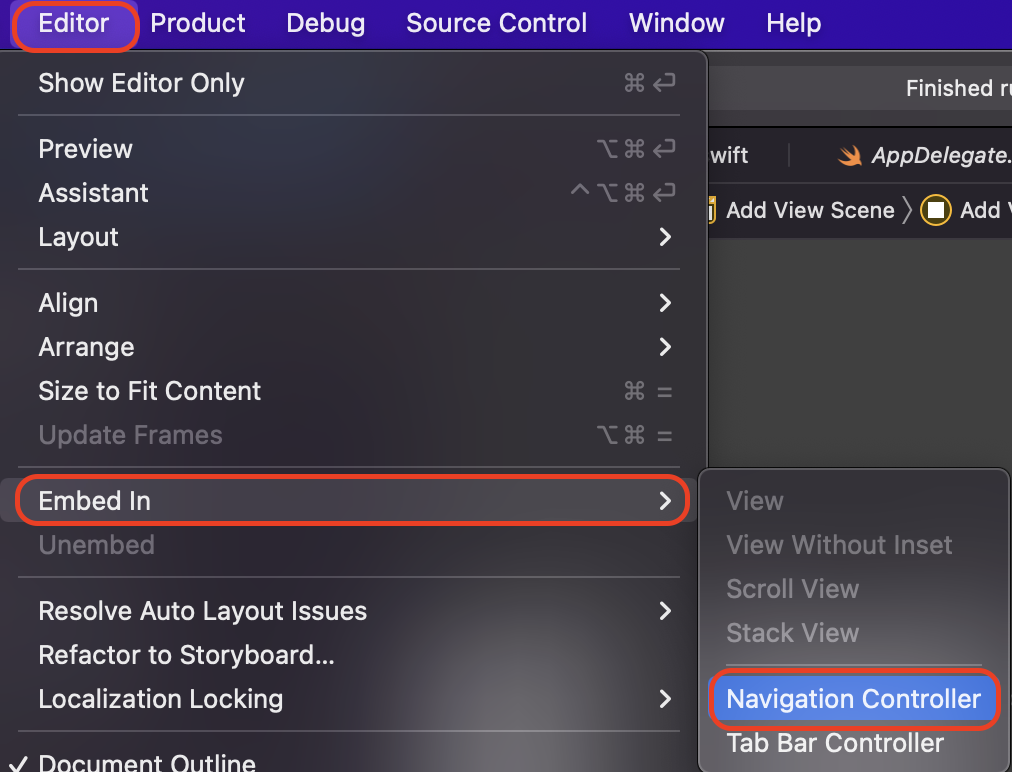
다른 2개의 뷰를 생성하고, 화면을 전환해야 하기 때문에 Navigation Controller를 추가한다.
스토리보드 구성
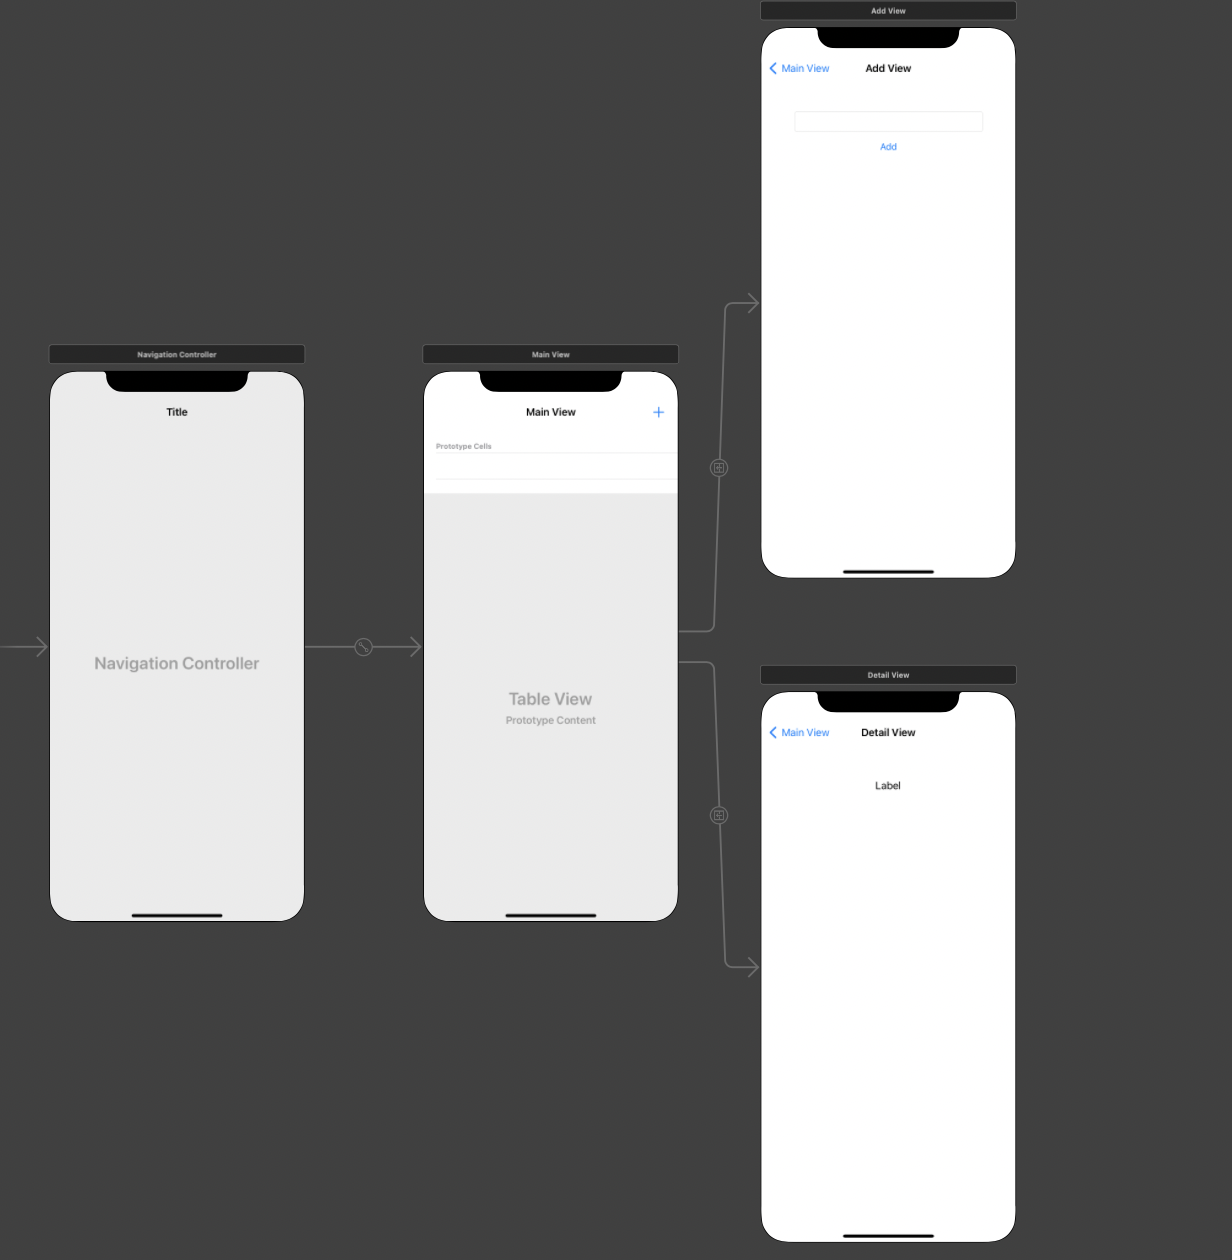
Table Controller View의 옆에 이동할 View Controller를 두개 추가한 뒤 연결을 해 주었다.
오브잭트 옵션
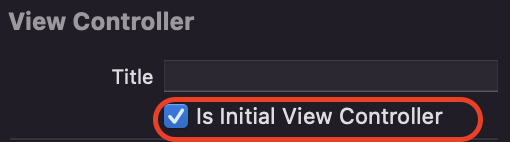
Navigation Controller가 앱 실행시 처음으로 실행 되도록 체크를 해 주었다.
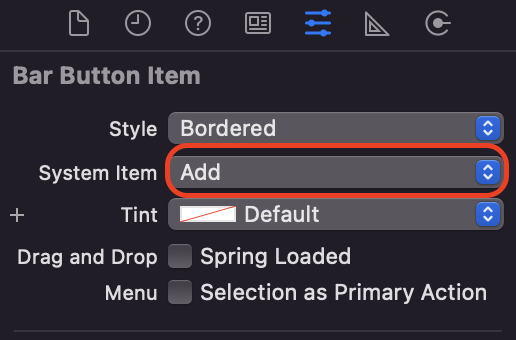
TableControllerView에 추가한 Bar Button의 Item을 Add로 바꿔주었다.
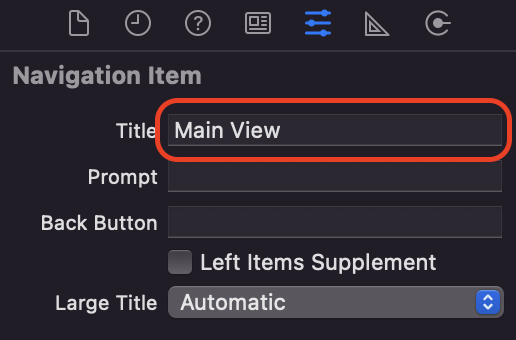
테이블의 상단에 뜰 Navigation Item의 제목을 바꾸어 주었다.
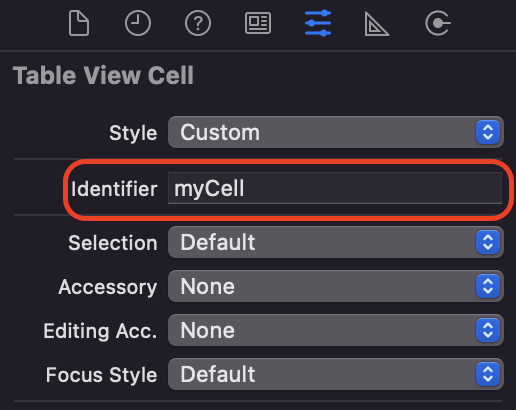
Table View Controller의 이름을 myCell로 설정하였다.
추가 옵션
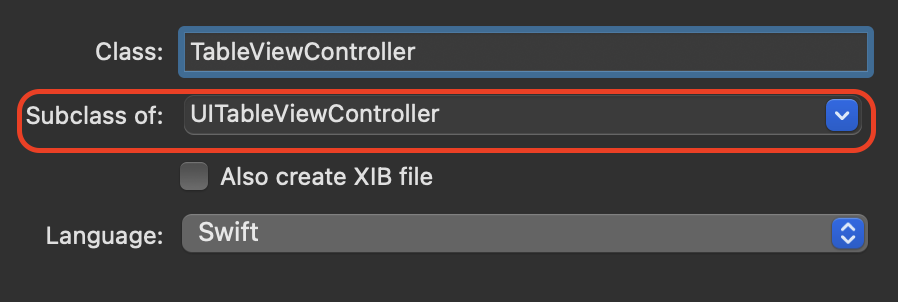
TableViewController를 실행할 파일로, Cocoa Touch Class를 선택하고, Subclass를 뷰에 맞게 설정하였다.
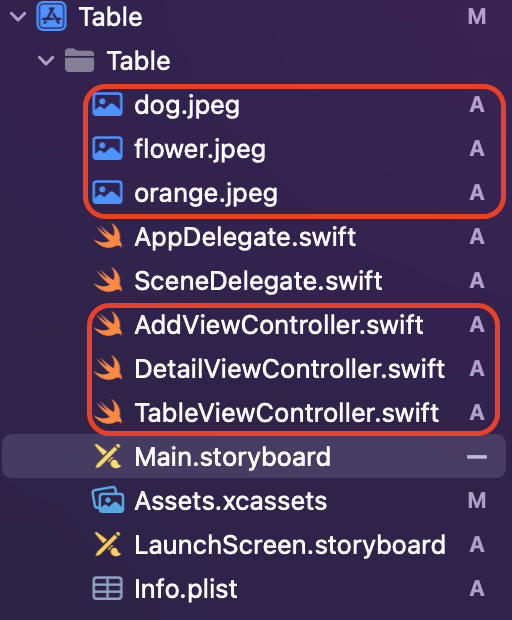
마찬가지로 다른 뷰의 소스파일들을 생성하고, 사용할 사진들을 저장하였다.
코드
TableViewController.swift
import UIKit

//앱 시작 시 기본적으로 나타낼 목록
var items = ["강아지", "꽃", "오랜지"]
var itemsImageFile = ["dog.jpeg", "flower.jpeg", "orange.jpeg"]

class TableViewController: UITableViewController {

    @IBOutlet var tvListView: UITableView!

    override func viewDidLoad() {
        super.viewDidLoad()

        // Uncomment the following line to preserve selection between presentations
        // self.clearsSelectionOnViewWillAppear = false

        // Uncomment the following line to display an Edit button in the navigation bar for this view controller.
        self.navigationItem.leftBarButtonItem = self.editButtonItem
    }

    //뷰가 노출될 때 마다 리스트의 데이터를 다시 불러움
    override func viewWillAppear(_ animated: Bool) {
        tvListView.reloadData()
    }

    // MARK: - Table view data source
	//테이블 안의 섹션 개수를 1로 정함
    override func numberOfSections(in tableView: UITableView) -> Int {
        // #warning Incomplete implementation, return the number of sections
        return 1
    }

    //섹션당 열의 개수를 전달
    override func tableView(_ tableView: UITableView, numberOfRowsInSection section: Int) -> Int {
        // #warning Incomplete implementation, return the number of rows
        return items.count
    }

	//items와 itemsImageFile의 값을 셀에 삽입함
    override func tableView(_ tableView: UITableView, cellForRowAt indexPath: IndexPath) -> UITableViewCell {
        let cell = tableView.dequeueReusableCell(withIdentifier: "myCell", for: indexPath)

        cell.textLabel?.text = items[(indexPath as NSIndexPath).row]
        cell.imageView?.image = UIImage(named: itemsImageFile[(indexPath as NSIndexPath).row])

        return cell
    }

    /*
    // Override to support conditional editing of the table view.
    override func tableView(_ tableView: UITableView, canEditRowAt indexPath: IndexPath) -> Bool {
        // Return false if you do not want the specified item to be editable.
        return true
    }
    */

    // Override to support editing the table view.
    //목록 삭제 함수
    override func tableView(_ tableView: UITableView, commit editingStyle: UITableViewCell.EditingStyle, forRowAt indexPath: IndexPath) {
        if editingStyle == .delete {
            // Delete the row from the data source
            items.remove(at: (indexPath as NSIndexPath).row)
            itemsImageFile.remove(at: (indexPath as NSIndexPath).row)
            tableView.deleteRows(at: [indexPath], with: .fade)
        } else if editingStyle == .insert {
            // Create a new instance of the appropriate class, insert it into the array, and add a new row to the table view
        }
    }

    //"Delete" 대신 "삭제"로 표시
    override func tableView(_ tableView: UITableView, titleForDeleteConfirmationButtonForRowAt indexPath: IndexPath) -> String? {
        return "삭제"
    }


    // Override to support rearranging the table view.
    //목록 순서 바꾸기
    override func tableView(_ tableView: UITableView, moveRowAt fromIndexPath: IndexPath, to: IndexPath) {
        let itemToMove = items[(fromIndexPath as NSIndexPath).row]
        let itemImageToMove = itemsImageFile[(fromIndexPath as NSIndexPath).row]
        items.remove(at: (fromIndexPath as NSIndexPath).row)
        itemsImageFile.remove(at: (fromIndexPath as NSIndexPath).row)
        items.insert(itemToMove, at: (to as NSIndexPath).row)
        itemsImageFile.insert(itemImageToMove, at: (to as NSIndexPath).row)
    }


    /*
    // Override to support conditional rearranging of the table view.
    override func tableView(_ tableView: UITableView, canMoveRowAt indexPath: IndexPath) -> Bool {
        // Return false if you do not want the item to be re-orderable.
        return true
    }
    */

    // MARK: - Navigation

    // In a storyboard-based application, you will often want to do a little preparation before navigation
    //세그웨이를 이용하여 디테일 뷰로 전환
    override func prepare(for segue: UIStoryboardSegue, sender: Any?) {
        // Get the new view controller using segue.destination.
        // Pass the selected object to the new view controller.
        if segue.identifier == "sgDetail" {
            let cell = sender as! UITableViewCell
            let indexPath = self.tvListView.indexPath(for: cell)
            let detailView = segue.destination as! DetailViewController
            detailView.receiveItem(items[((indexPath! as NSIndexPath).row)])
        }
    }

}
AddViewController.swift
import UIKit

class AddViewController: UIViewController {

    @IBOutlet var tfAddItem: UITextField!
    override func viewDidLoad() {
        super.viewDidLoad()

        // Do any additional setup after loading the view.
    }

    //새 목록 추가하기
    @IBAction func btnAddItem(_ sender: UIButton) {
        items.append(tfAddItem.text!)
        itemsImageFile.append("dog.jpeg")
        tfAddItem.text=""
        _ = navigationController?.popViewController(animated: true)
    }

    /*
    // MARK: - Navigation

    // In a storyboard-based application, you will often want to do a little preparation before navigation
    override func prepare(for segue: UIStoryboardSegue, sender: Any?) {
        // Get the new view controller using segue.destination.
        // Pass the selected object to the new view controller.
    }
    */

}
DetailViewController.swift
import UIKit

class DetailViewController: UIViewController {

    var receiveItem = ""

    @IBOutlet var lblItem: UILabel!

    override func viewDidLoad() {
        super.viewDidLoad()

        // Do any additional setup after loading the view.
        lblItem.text = receiveItem
    }

    // Main View에서 변수를 받아옴
    func receiveItem(_ item: String){
        receiveItem = item
    }


    /*
    // MARK: - Navigation

    // In a storyboard-based application, you will often want to do a little preparation before navigation
    override func prepare(for segue: UIStoryboardSegue, sender: Any?) {
        // Get the new view controller using segue.destination.
        // Pass the selected object to the new view controller.
    }
    */

}
실행 결과

오늘도 조금씩 성장하자