ROS2 Realsense Wrapper Install
ros2의 realsense wrapper를 다운로드 받아야 한다. 먼저 본인이 현재 쓰고 있는 realsense sdk의 버전을 모른다면 필히 알아보도록 하자. 모른다면 realsense-viewer를 키면 되겠다.
검색을 해보니 다음과 같은 링크가 나온다.
-
https://github.com/intel/ros2_intel_realsense
 하지만 확인해보면 dashing 까지만 지원해주고 foxy같은 경우에는 설치가 안된다. 그러므로 다음과 같이 정공법으로 승부한다.
위 링크에서 본인의 버전에 맞는 것을 살펴본다. 맞는 버전의 내용에서 ROS(Learn More) 이라고 적혀있는 것을 들어가면 다음과 같은 화면이 나온다.
 이곳에서 원하는 버전을 찾고, 소스코드를 다운받아 본인의 ros2_ws에서 풀면 되겠다. 그 후 dependency나 빌드 방식은 처음의 링크와 동일한 방식으로 해줘도 무방한듯 하다. 해서 다음과 같은 shell파일을 만들었다.
만일 본인의 버전이 나와 다르다면 알아서 능력껏 찾아서 설치하면 되겠다.
#!/bin/bash
INSTALL_DIR=$PWD
source /opt/ros/foxy/setup.bash
cd /usr/include
sudo ln -s opencv4 opencv
cd $INSTALL_DIR
DEFAULTDIR=cjh_ws/ros2_ws
CLDIR="$1"
if [ ! -z "$CLDIR" ]; then
DEFAULTDIR="$CLDIR"
fi
# Check to see if qualified path already
if [ -d "$DEFAULTDIR" ] ; then
echo "Fully qualified path"
else
# Have to add path qualification
DEFAULTDIR=$HOME/$DEFAULTDIR
fi
echo "DEFAULTDIR: $DEFAULTDIR"
# install dependencies
sudo apt-get install ros-foxy-cv-bridge ros-foxy-librealsense2 ros-foxy-message-filters ros-foxy-image-transport
sudo apt-get install -y libssl-dev libusb-1.0-0-dev pkg-config libgtk-3-dev
sudo apt-get install -y libglfw3-dev libgl1-mesa-dev libglu1-mesa-dev
if [ "${DEFAULTDIR: -1}" != "/" ] ; then
DEFAULTDIR=$DEFAULTDIR/
fi
INSTALLDIR="$DEFAULTDIR"src
if [ -e "$INSTALLDIR" ] ; then
echo "Installing realsense-ros in: $INSTALLDIR"
else
echo "$INSTALLDIR does not appear to be a source of a Catkin Workspace"
echo "The source directory src does not exist"
echo "Terminating Installation"
exit 1
fi
echo "Starting installation of realsense-ros"
cd $INSTALLDIR
# Update the dependencies database
rosdep update
echo "Cloning Intel ROS realsense package"
# Prerequisite: ddynamic_reconfigure
# git clone https://github.com/pal-robotics/ddynamic_reconfigure
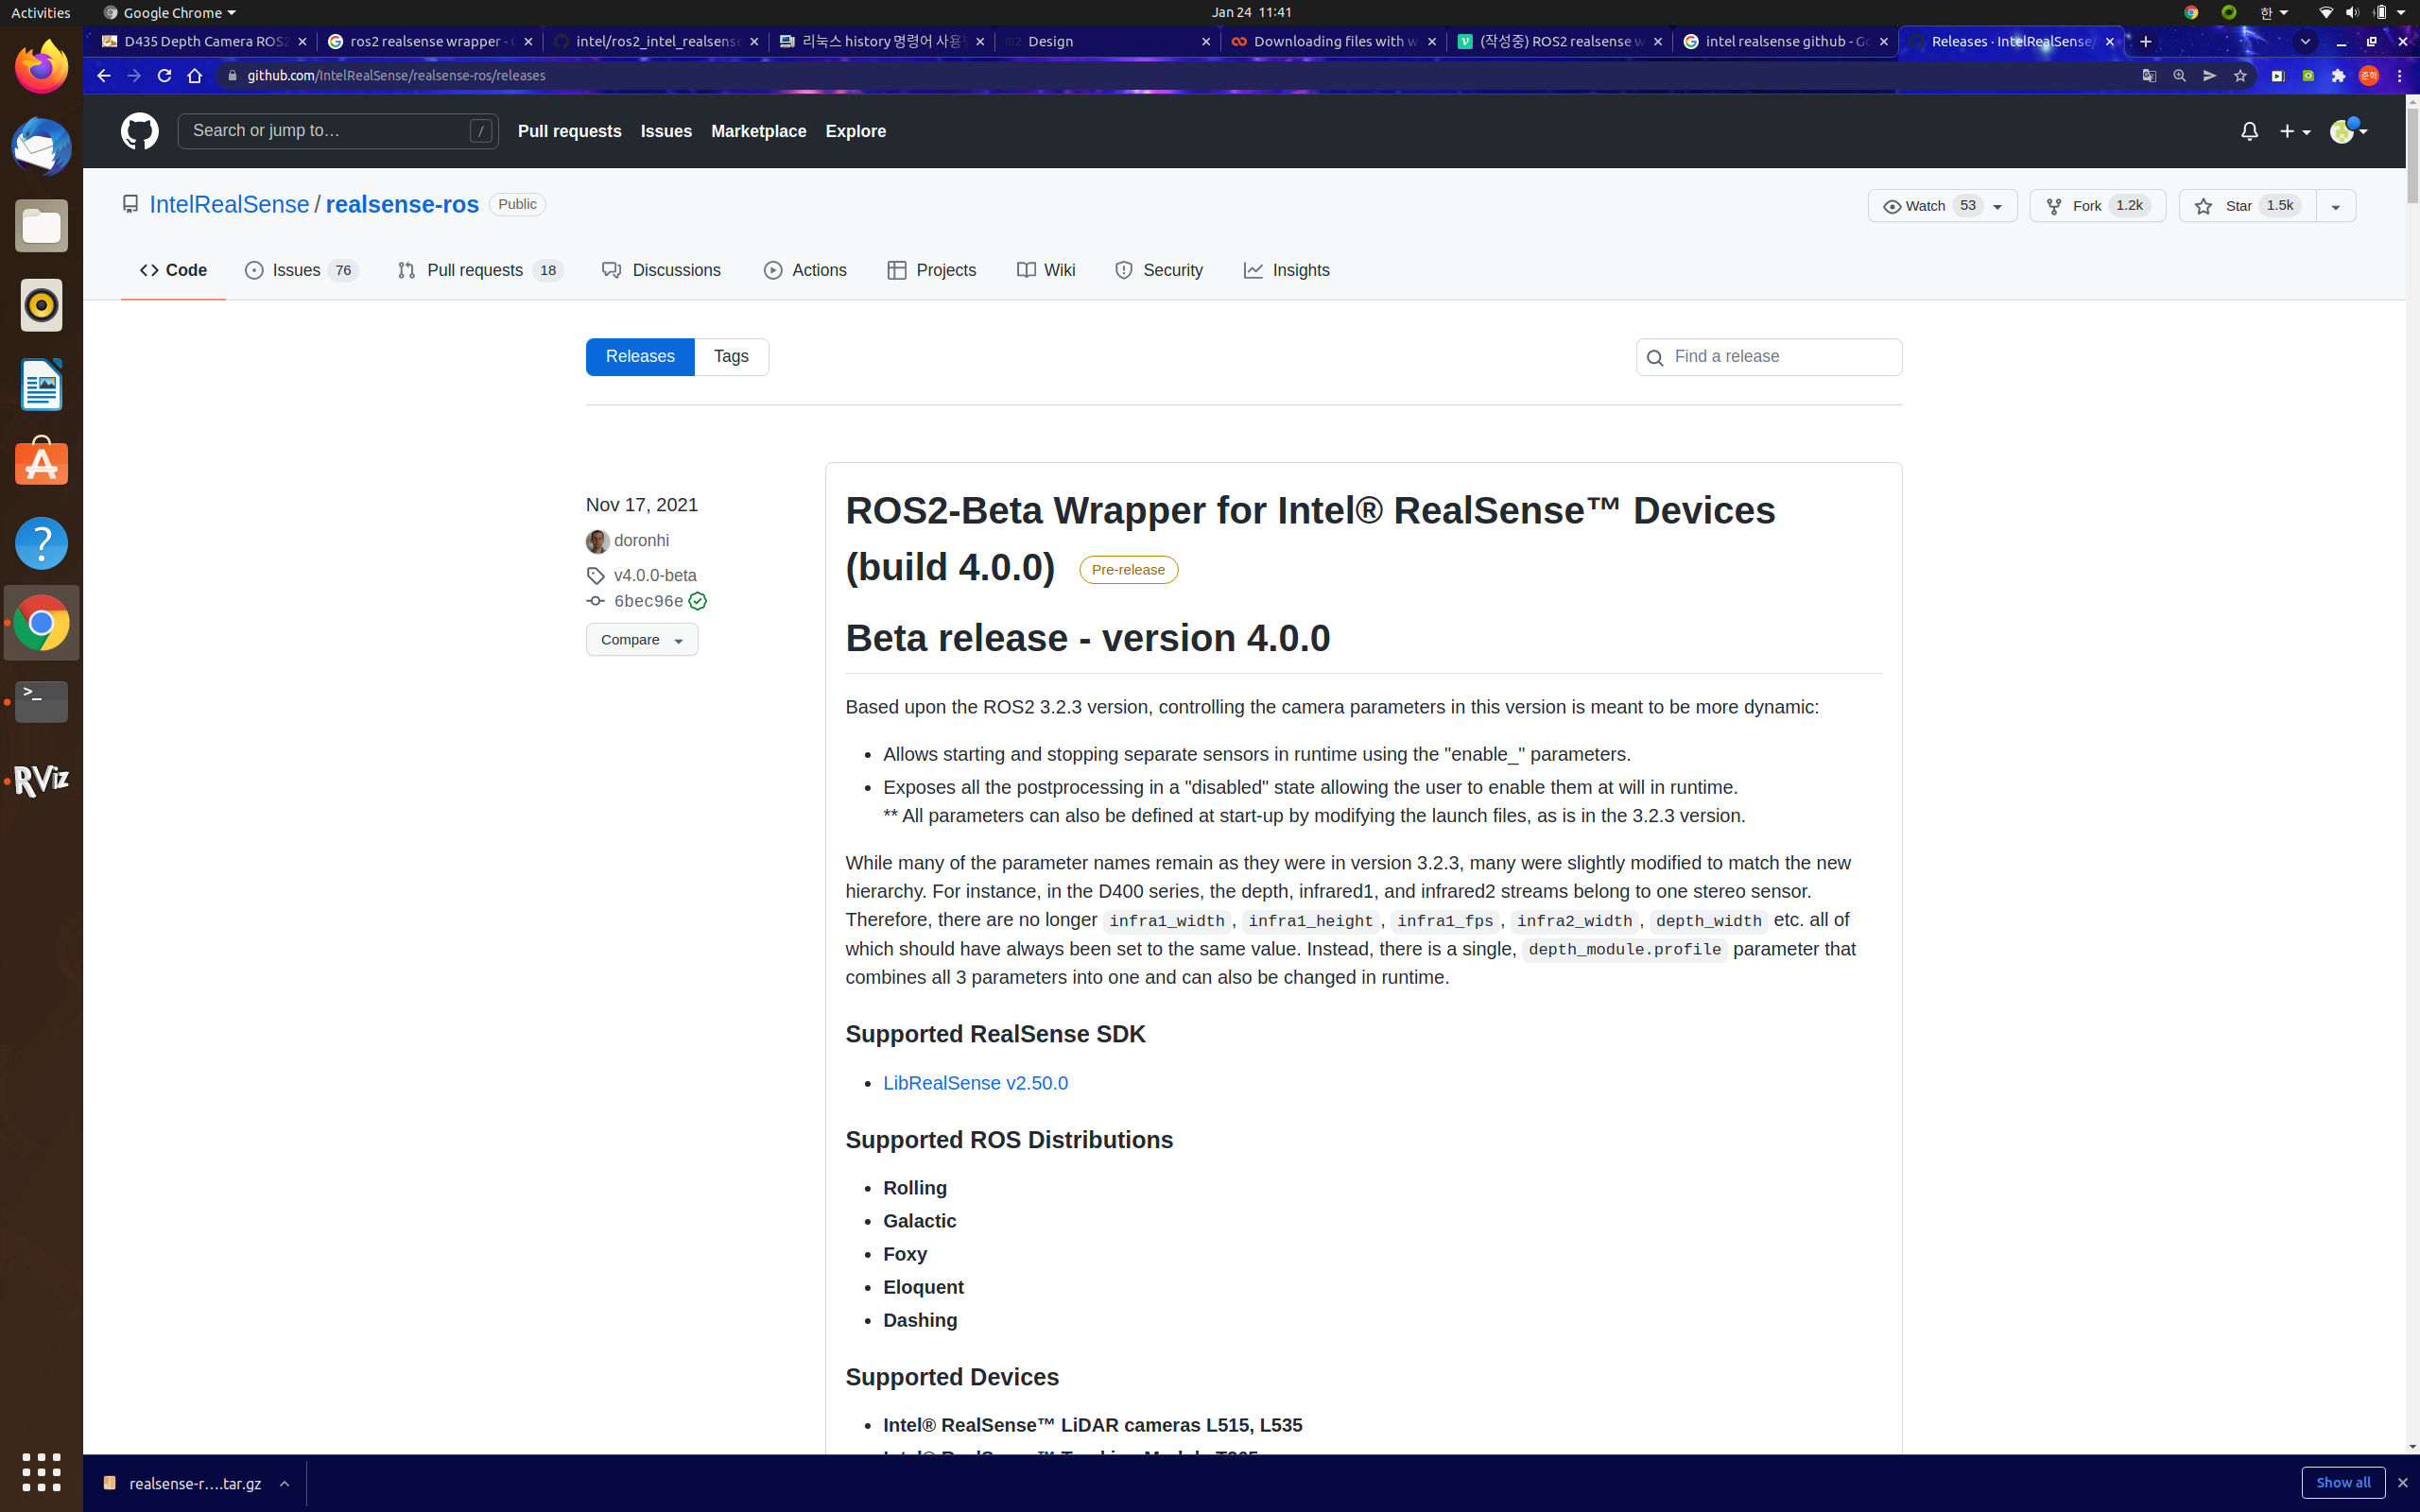
wget https://github.com/IntelRealSense/realsense-ros/archive/refs/tags/3.2.2.tar.gz
tar -xvf 3.2.2.tar.gz
echo "Unzip 3.2.2.tar.gz folder!"
echo "remove zip folder and go to build file"
rm -rf 3.2.2.tar.gz
cd ..
# Remove the librealsense2 package requirement in package.xml
# patch -p1 < $INSTALL_DIR/patches/package.diff
echo $PWD
echo "Making Intel ROS realsense-ros"
# catkin_make -> colcon build
colcon build --base-paths src/ros2_intel_realsense설치가 완료되었다면 다음과 같은 명령어를 실행해보자.
ros2 launch realsense2_camera demo_pointcloud_launch.py그러면 다음과 같은 화면이 나올것이다.
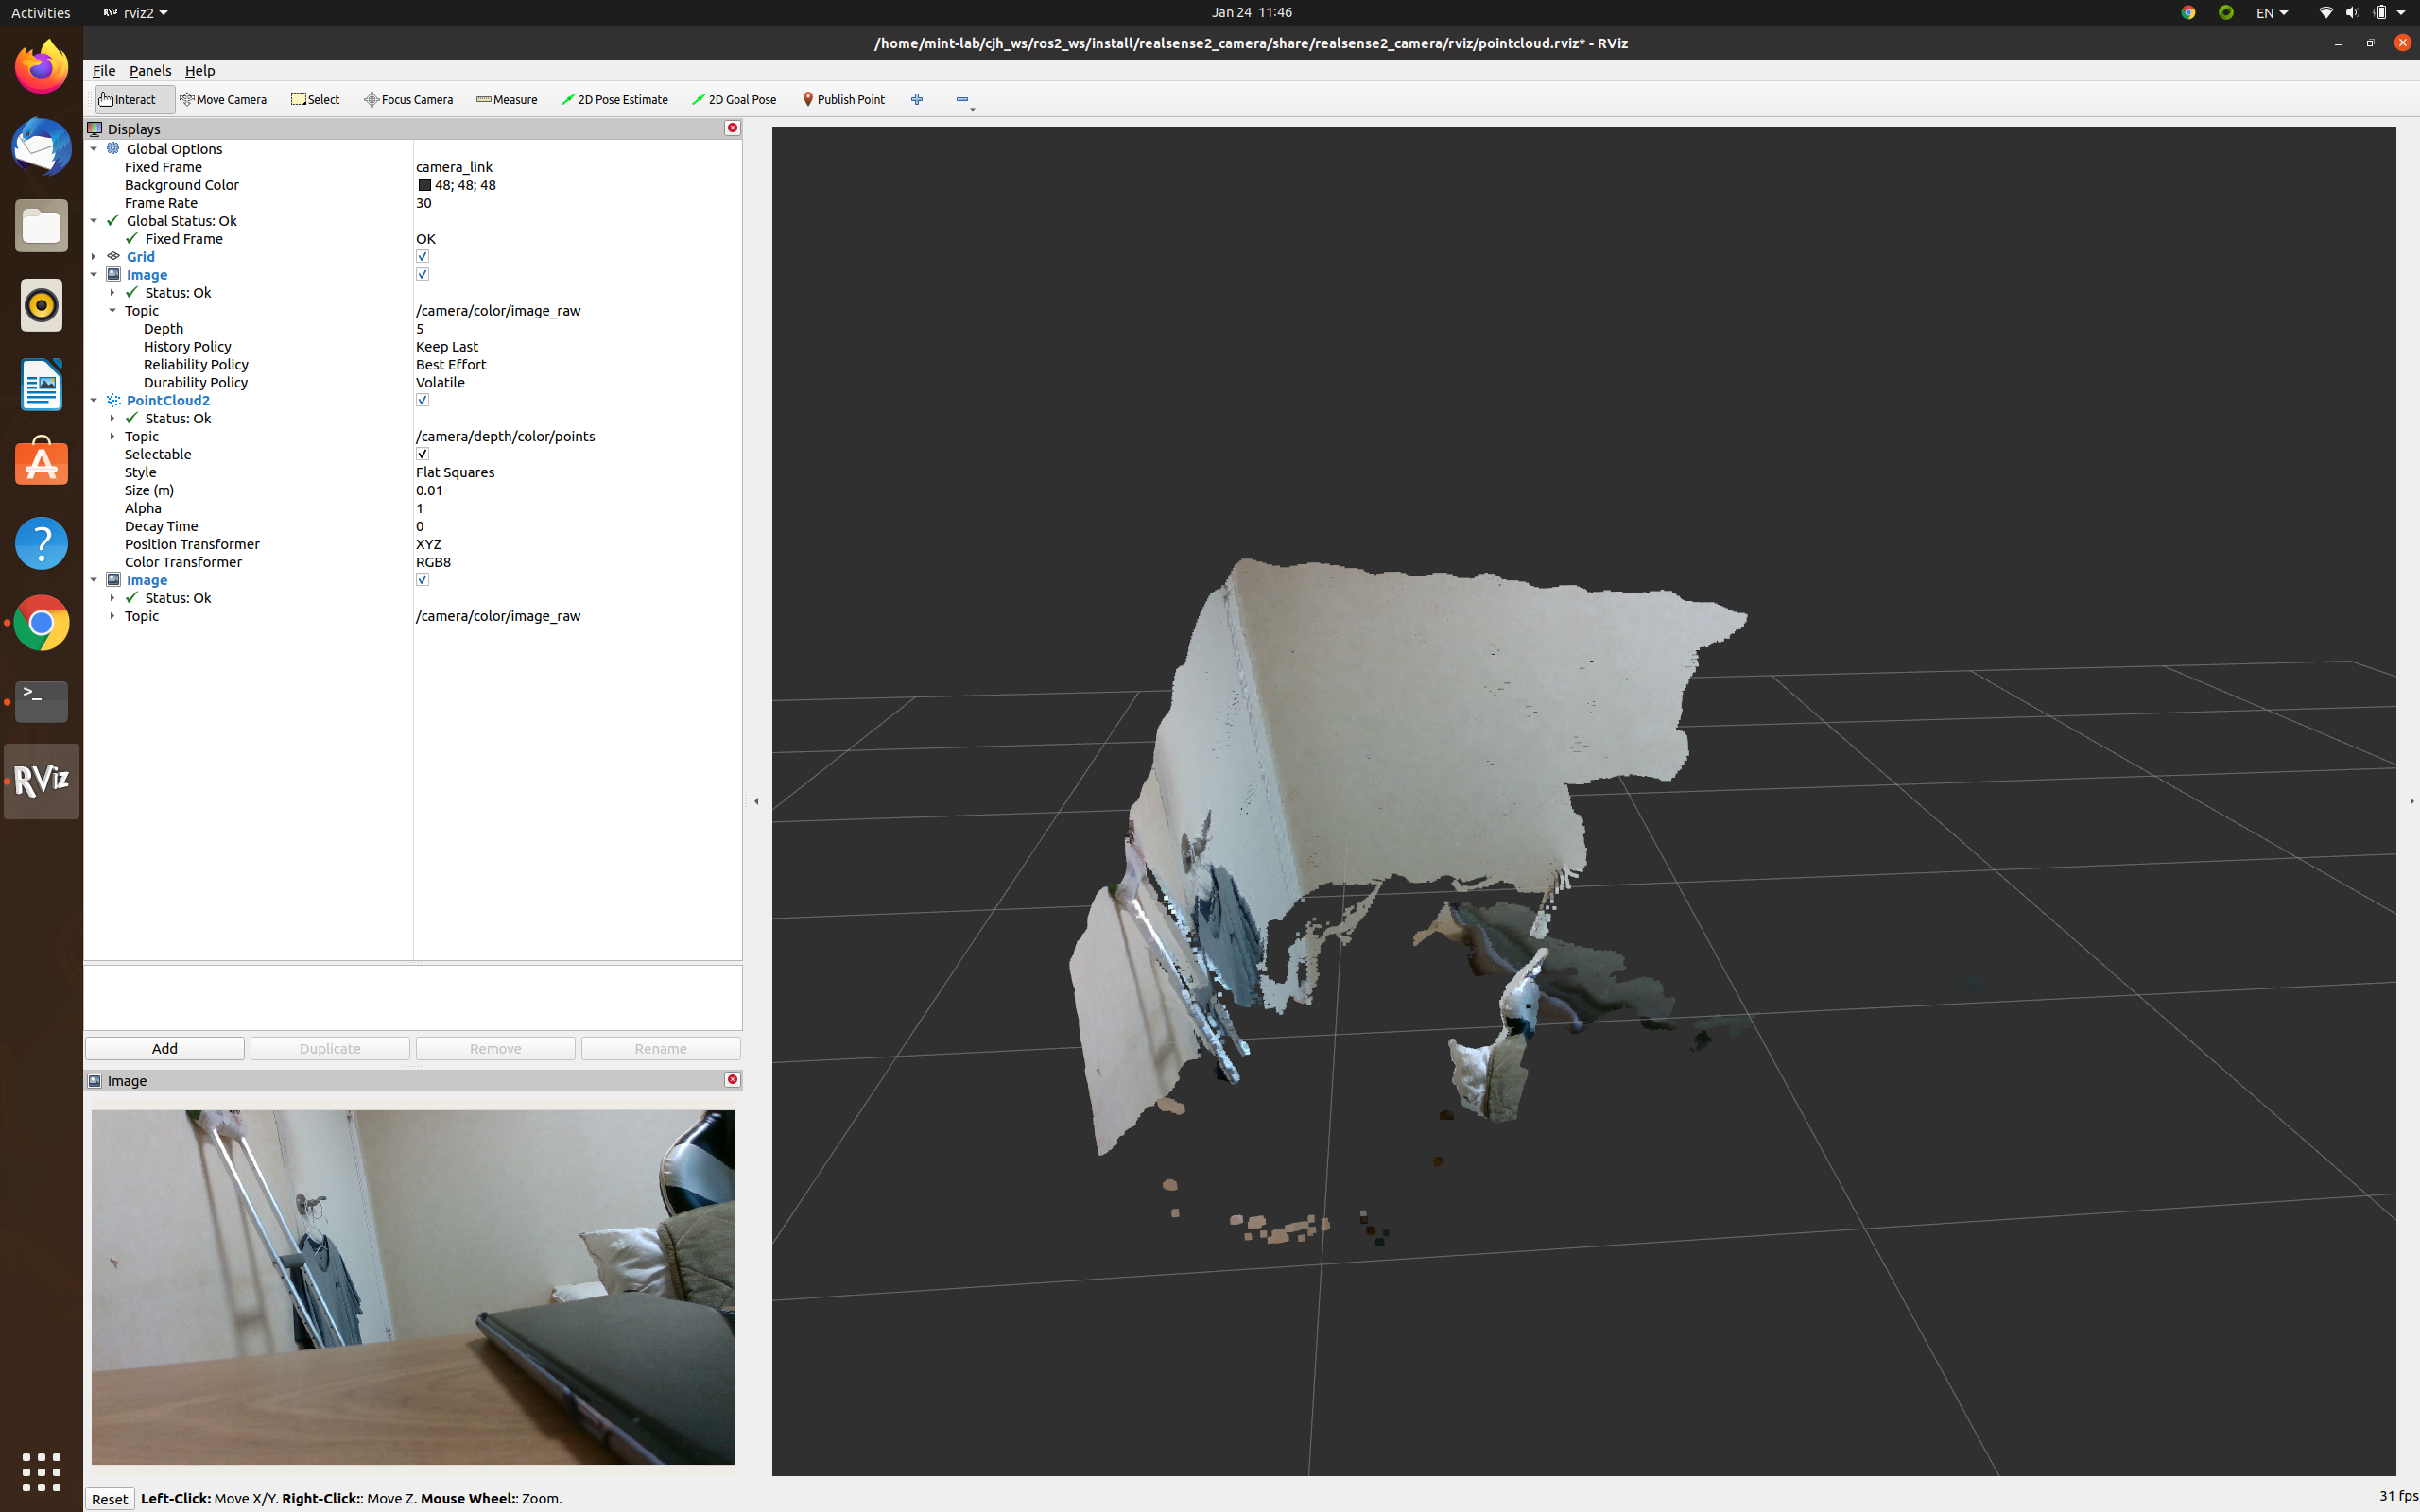
그러면 설치는 완성한 것!
Realsense d435i calibration
d435i에서 imu 데이터를 사용하기 위해선 imu값을 넣어줘야 한다. intel camera는 좋은 점이 calibration데이터를 밖에서 들고있어야 하는것이 아닌, 카메라 내부에 저장이 된다. 반대로 않좋은 점은 calibration 값을 넣어주는 방식이 따로 존재한다는 것. 그래서 왠만하면 intel realsense에서 제공하는 파일을 사용하는 것이 속편하다. 하지만 camera intrinsic mat calibration은 ubuntu 16.04, 18.04에서만 제공함으로 사용하기 까다롭다. 그러니 camera intrinsic은 제외하도록 하자.
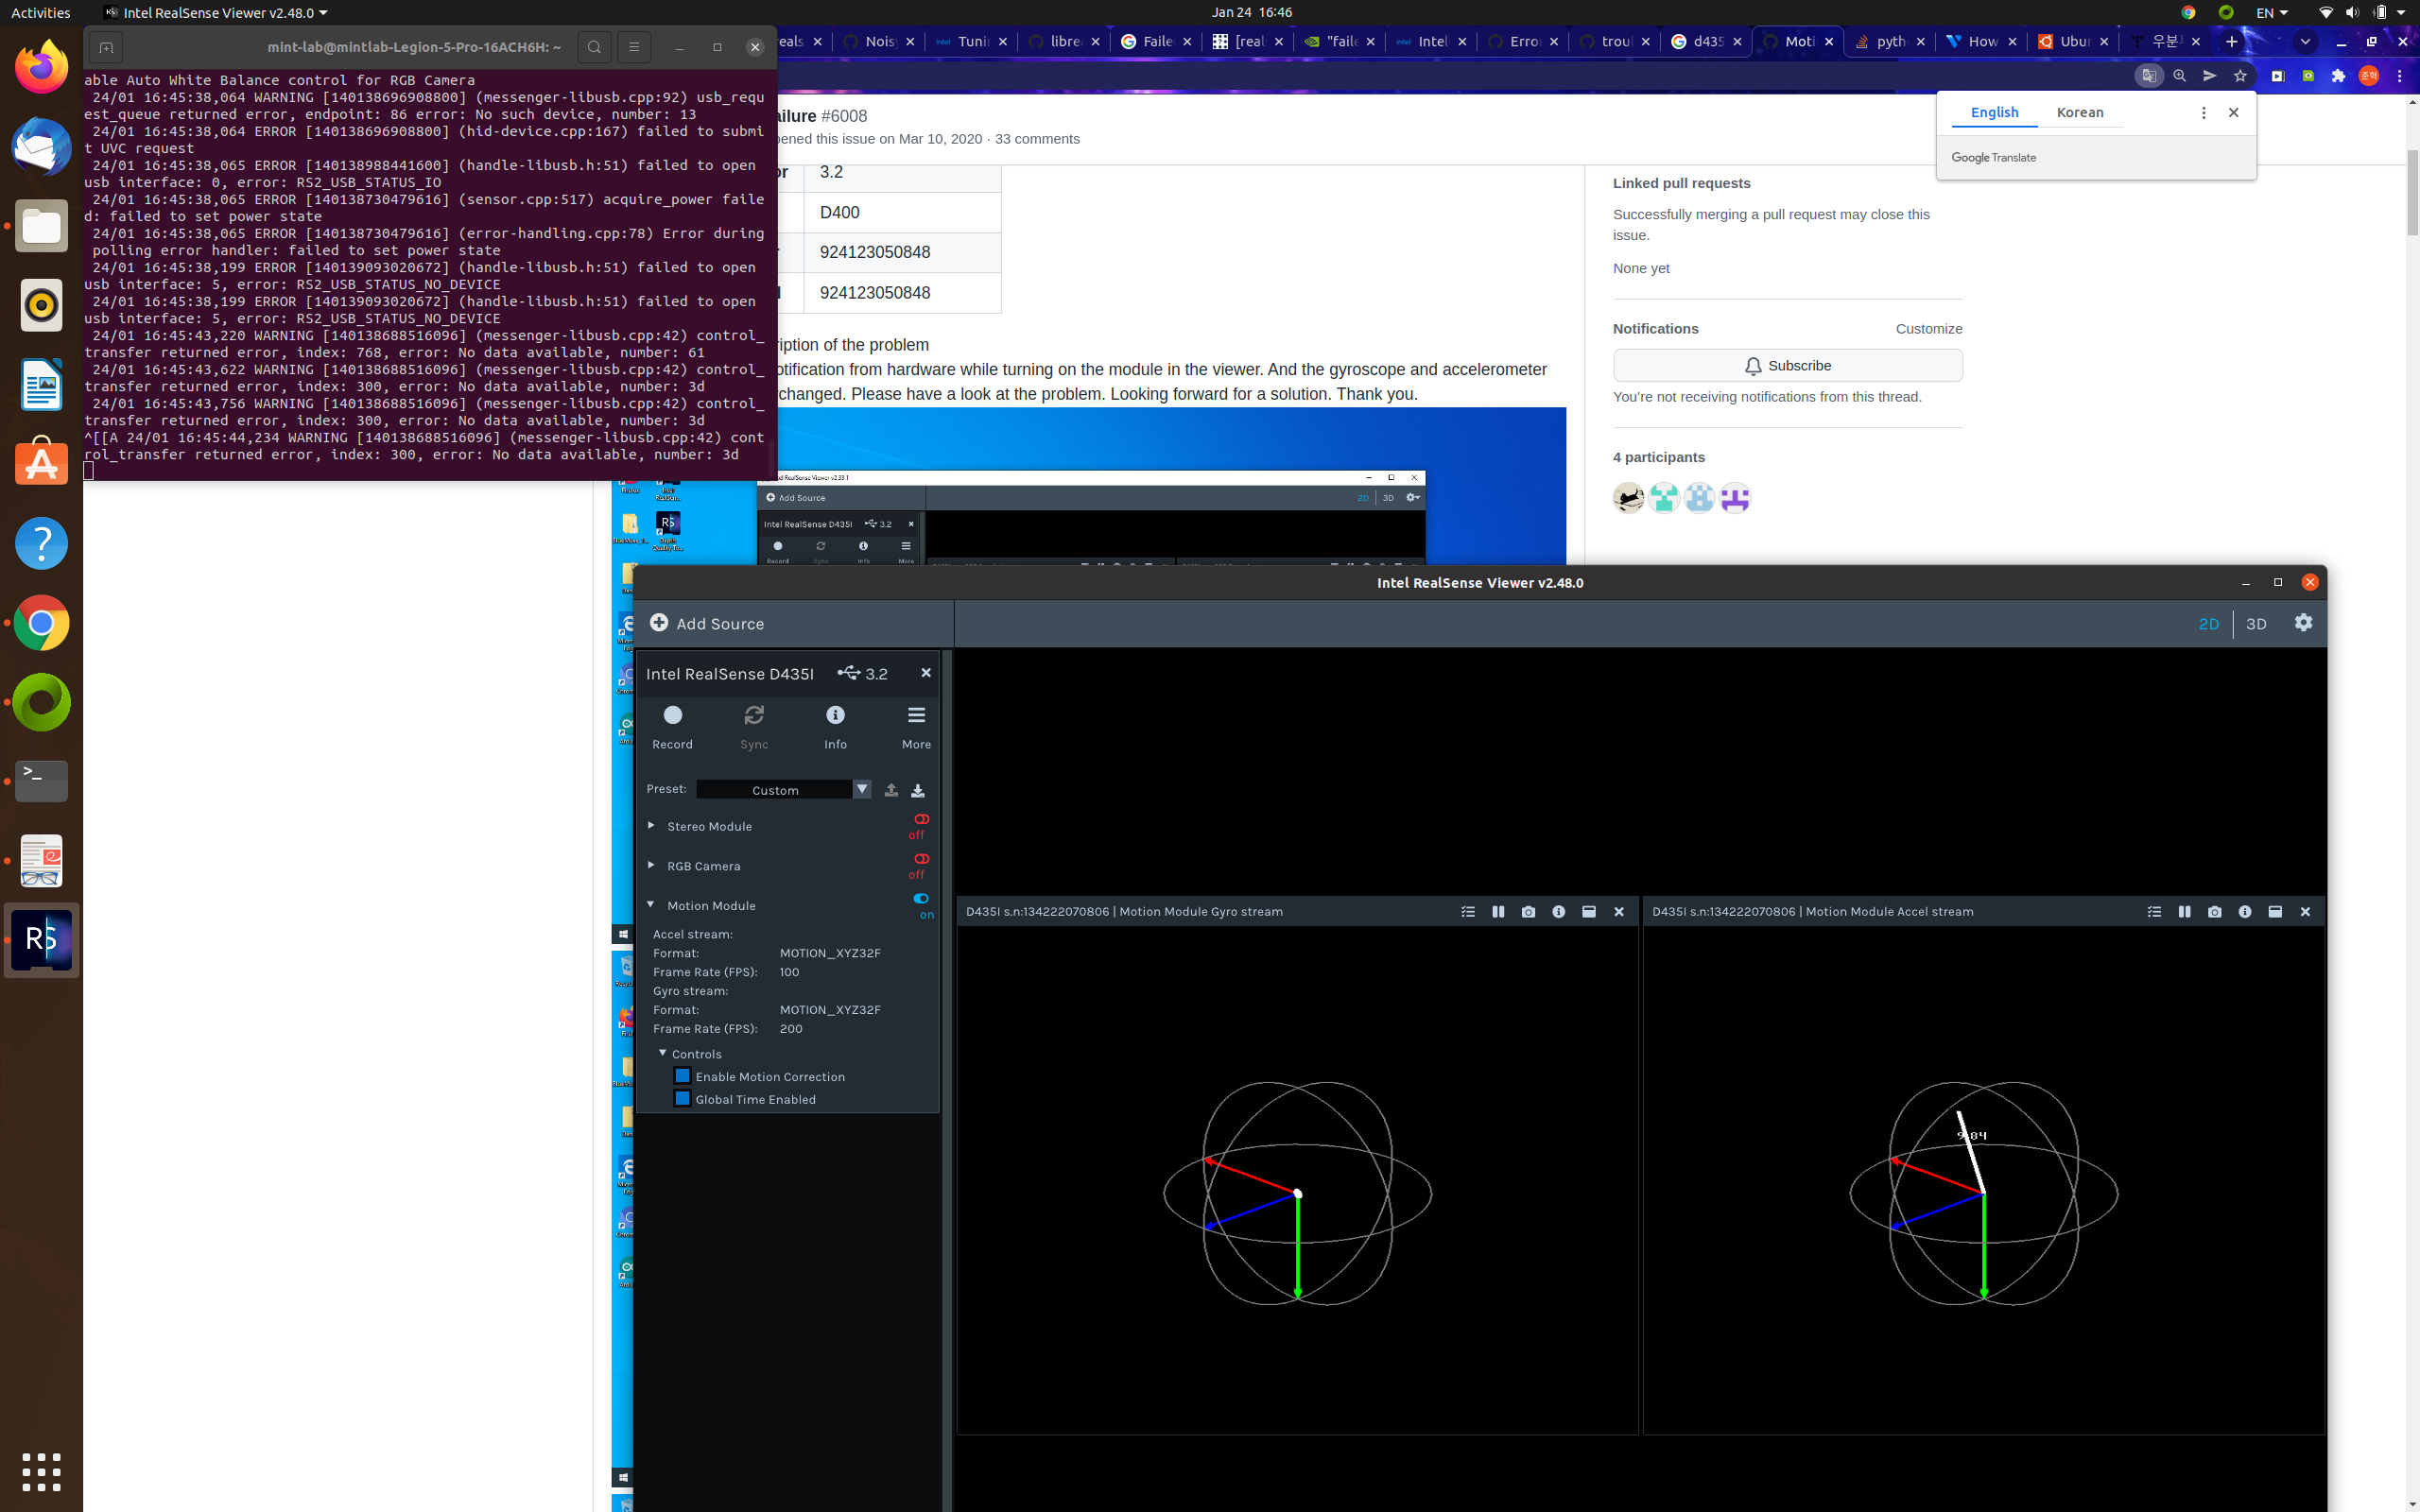
rs-imu-calibration.py 파일을 검색하여 실행하자. 여기서 중요한 점이 있다. 본인이 ubuntu 20.04를 사용한다면, 기본적으로 python3로 실행이 될텐데, 나는 Python3로 실행했을 때 다음과 같은 에러가 계속해서 나왔다.
failed to set power state본래 guide line에서는 Python2로 실행하니, 동일하게 버전 맞추어 python2에 pyrealsense2를 설치해주어 실행시켰다. 해서 Ubuntu 20.04에 python2를 설치하는 법을 보자.
sudo apt update
sudo apt install python2.7
sudo apt install curl
sudo add-apt-repository universe
curl https://bootstrap.pypa.io/pip/2.7/get-pip.py --output get-pip.py # Fetch get-pip.py for python 2.7
python2 get-pip.py
pip --version
pip install numpy
pip install enum34
pip install pyrealsense2
python rs_calibration_imu.py
위 명령어를 실행하면 이제 카메라를 요리조리 돌려서 모양을 맞추면 되겠다. 만일 본인이 이상한 usb 선을 사용한다면 위에서 나온 에러를 볼 수 있다. 꼭 usb 3를 사용하도록 하자.
결과를 카메라에 저장했다면 realsense-viewer에서 다음과 같이 motion module을 볼 수 있다.
Realsense d435i launch
ros2 launch realsense2_camera rs_launch.py위의 명령어만 실행하면 카메라 pcl 과 imu를 볼 수 없다. 그러니 다음과 같은 옵션을 넣어주도록 하자.
ros2 launch realsense2_camera rs_launch.py enable_gyro:=true enable_accel:=true enable_pointcloud:=true혹은 본인이 launch file을 수정해서 사용해도 되겠다.
import copy
from launch import LaunchDescription
from launch.actions import IncludeLaunchDescription
from launch_ros.actions import Node
from launch.substitutions import LaunchConfiguration, ThisLaunchFileDir
from launch.launch_description_sources import PythonLaunchDescriptionSource
from ament_index_python.packages import get_package_share_directory
import os
import sys
import pathlib
sys.path.append(str(pathlib.Path(__file__).parent.absolute()))
import rs_launch


local_parameters = [{'name': 'enable_pointcloud', 'default': 'true', 'description': 'enable pointcloud'},
		{'name': 'enable_gyro', 'default':'true', 'description':'enable gyro'},
        	{'name': 'enable_accel', 'default': 'true', 'description':'enable_accel'},
                   ]

def set_configurable_parameters(local_params):
    return dict([(param['original_name'], LaunchConfiguration(param['name'])) for param in local_params])

def generate_launch_description():
    rviz_config_dir = os.path.join(get_package_share_directory('realsense2_camera'), 'rviz', 'pointcloud.rviz')
    rviz_node = Node(
        package='rviz2',
        executable='rviz2',
        name='rviz2',
        output = 'screen',
        arguments=['-d', rviz_config_dir],
        parameters=[{'use_sim_time': False}]
        )


    return LaunchDescription(
        rs_launch.declare_configurable_parameters(local_parameters) +
        [
            IncludeLaunchDescription(
                PythonLaunchDescriptionSource([ThisLaunchFileDir(), '/rs_launch.py']),
                launch_arguments=rs_launch.set_configurable_parameters(local_parameters).items(),
                ),
            rviz_node
        ])