모바일용 퀴즈 페이지를 제작해보자!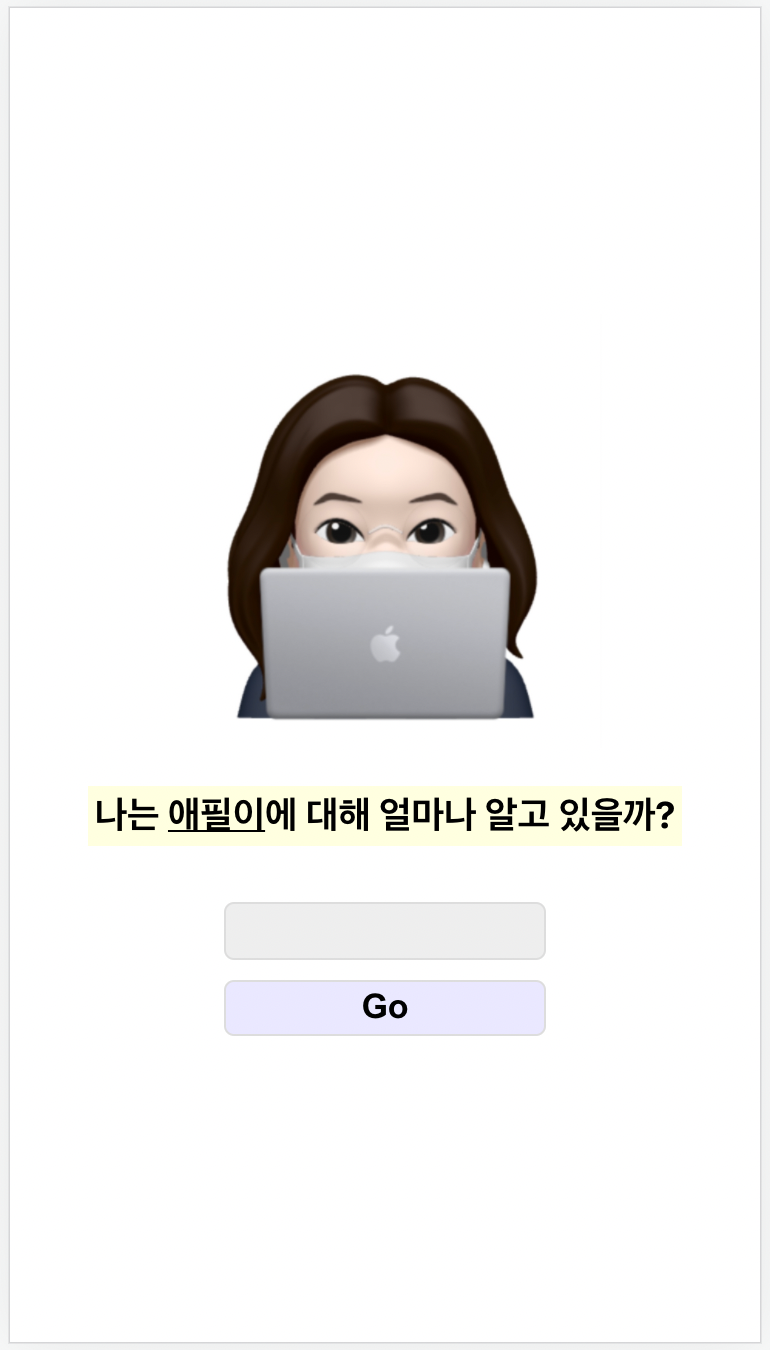
정답코드
App.js
import React from "react";
import Cinephile from "./Cinephile";

function App() {
  const [name, setName] =   React.useState("애필이");

  return (
    <div className="App"
      style={{
        maxWidth: "350px",
        margin: "auto"
      }}>
      <Cinephile name={name}/>
    </div>
  );
}

export default App;
Cinephile.js
import React from "react";
import profile from "./profile.jpg";

const Cinephile = (props) => {
    console.log(props);
    return (
        <div style={{
            display: "flex",
            height: "100vh",
            flexDirection: "column",
            padding: "20px",
            boxSizing: "border-box",
            alignItems: "center",
            justifyContent: "center"
        }}>
            <img src={profile} style={{
                width: "70%"
            }}/>
            <h3 style={{
                backgroundColor: "lightyellow",
                padding: "3px"
                }}>
                나는 <span style={{textDecoration: "underline"}}>{props.name}</span>
                    에 대해 얼마나 알고 있을까?</h3>
            <input type="text"
                style={{
                    width: "50%",
                    borderRadius: "5px",
                    border: "1px solid #ddd",
                    backgroundColor: "#eee",
                    height: "25px",
                    margin: "10px"
                }}/>
            <button style={{
                width: "52%",
                padding: "3px",
                backgroundColor: "#eae8ff",
                border: "1px solid #ddd",
                borderRadius: "5px",
                fontWeight: "bold",
                fontSize: "17px",
            }}>Go</button>
        </div>
    );
}

export default Cinephile;
오답노트
Ⅰ. App.js 에서 Return에 <Cinephile /> 불러오기
import React from "react";
import Cinephile from "./Cinephile";

function App() {

  return (
    <div className="App">
      ✅
    </div>
  );
}

export default App;
Cinephile.js를 업로드 하려면 import 후에 Return에 <Cinephile />을 넣어줘야 하는데 빼먹었다. 이렇게 하면 import Cinephile from "./Cinephile"; 역시 흐릿한 글씨로 뜨면서 출력이 되질 않는다.
Ⅱ. PC버전 크기 조절
function App() {
    return (
    <div className="App"
      style={{
        width: "100vw", ✅
        height: "100vh", ✅
        display: "flex", ✅
        flexDirection: "column", ✅
      }}>
      <Cinephile />
    </div>
  );
}
PC버전에서 웹페이지가 지나치게 크게 나오는 것을 방지하기 위해 maxWidth: "350px"로 길이를 제한한다. 세부 스타일은 App.js가 아닌 Cinephile.js에서 작성한다. PC버전을 App.js에서 수정하는 이유는 App.js가 Cinephile.js를 포괄하고 있는 최상위 요소이기 때문이다.
Ⅲ. style
const Cinephile = (props) => {
    console.log(props);
    return (
        <div style={{
            display: "flex",
            height: "100vh",
            flexDirection: "column", ✅
            padding: "20px",
            boxSizing: "border-box", ✅
            alignItems: "center", ✅
            justifyContent: "center" ✅
        }}>
	    ...
        </div>
    );
}
display: "flex"를 사용하면 컨텐츠가 가로로 정렬된다. 📌 flexDirection: "column"을 사용해서 세로정렬로 바꿔준다.
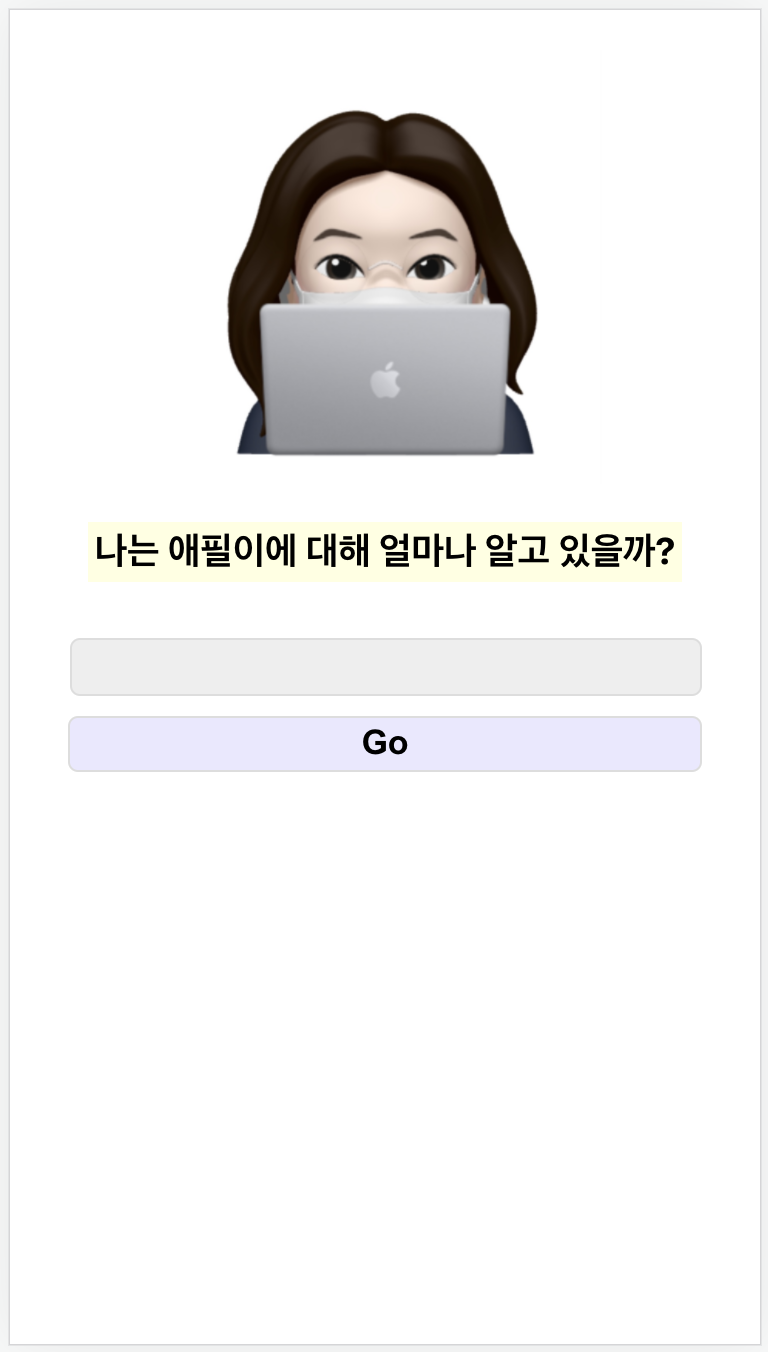 세로로 정렬하는 것까지는 성공했지만 하단에 공간이 많이 남게 된다. 예시대로 구현하려면 컨텐츠가 세로 기준으로 가운데정렬이 되어야 한다.
우선 height: "100vh"로 전체 세로길이를 잡는다. 그래야 가운데정렬이 전체 세로길이 기준으로 적용되기 때문이다. 이 상태에서 justifyContents와 alignItems를 적용한다. 이 둘은 display: "flex"를 사용할 때 정렬을 담당하는 2가지 속성이다. 속성에 따른 자세한 정렬의 변화는 노션에 정리했다. justifyContents와 alignItems를 사용하면 하위 컨텐츠의 길이가 줄어들기 때문에 컨텐츠의 사이즈를 임의로 지정해야 한다.
📌 boxSizing 박스 사이즈를 어디까지 줄 건지 정해주는 속성이다. 테두리를 주면 박스의 크기가 테두리 넓이만큼 증가하는데, boxSizing은 박스 사이즈에 테두리를 포함시킬지 안시킬지를 결정한다.
Ⅳ. state로 관리하기
App.js
function App() {
  const [name, setName] =   React.useState("애필이");

    return (
    <div className="App">
      ...
      <Cinephile name={name}/>
    </div>
  );
}
Cinephile.js
const Cinephile = (props) => {
    console.log(props);
    ...
            <h3 style={{
                backgroundColor: "lightyellow",
                padding: "3px"
                }}>
                나는 <span style={{textDecoration: "underline"}}>{props.name}</span>
                    에 대해 얼마나 알고 있을까?</h3>
            ...
}
'애필이' 부분을 state로 관리해주는 작업이다. 일단 App.js에서 React.useState를 사용한다. const [name, setName] = React.useState("애필이");에서 name은 state 값, setName은 name을 변경하는 함수이다. useState에 들어오는 값은 state의 초기값이다. 이 state를 Return에서 Cinephile.js에게 보내준.
Cinephile.js는 state를 props로 받는다. console.log(props);로 확인하면 초기값인 "애필이"가 콘솔창에 찍히는 것을 확인할 수 있다. 애필이를 태형이로 바꾸면 태형이가 찍히게 된다. 이제 이 state를 '애필이'의 자리에 {props.name}로 받아오면 된다.
✔️ style 적용시 카멜케이스 꼭 지켜서 작성할 것.