네모칸 만들기
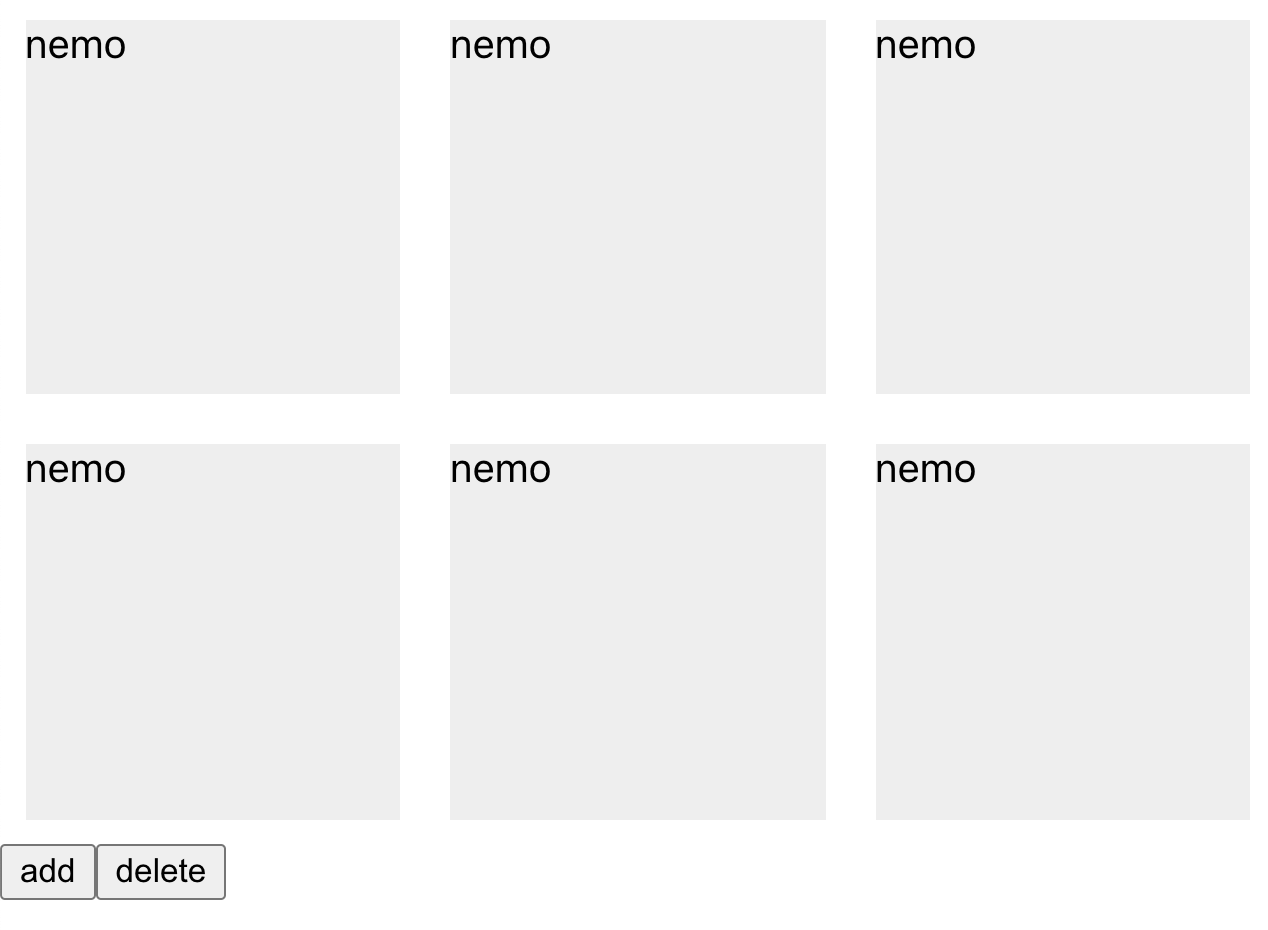 state에 넣은 값만큼 네모칸을 출력하고, add/delete 버튼으로 네모를 추가/삭제 해보자.
0.시작하기 전에 - 단방향 데이터 흐름
단방향 데이터 흐름'이란?
데이터를 부모에서 자식에게로 넘겨주는 것.
단방향 데이터를 써야하는 이유
라이프 사이클 메소드에서 수정(Update)을 생각해보자.
- 부모의 state를 자식에게 props를 넘겨주는 경우
➊ 부모의 state가 변했기 때문에 리렌더링
➋ 부모가 변했으므로 자식도 리렌더링
- 자식이 부모에게 props나 state에 영향을 주는 데이터를 넘겨주는 경우
➊ 부모의 state가 변했기 때문에 리렌더링
➋ 부모가 변했으므로 자식도 리렌더링
➌ 자식이 리렌더링 되면서 다시 한 번 부모의 데이터에 관여
➍ 무한루프(➊~➌ 반복)첫 렌더링 후 자식이 부모의 props와 state를 바꾸는 행동을 유발하지 않는다면 무한루프에 빠지지 않는다.
ex) button click 설정
1.클래스형 컴포넌트 - setState()
완성코드
import React from "react";

class App extends React.Component{
  constructor(props){
    super(props);

    this.state ={
      count: 3,
    };
  }

  componentDidMount() {}

  addNemo = () => {
    this.setState({count: this.state.count + 1});
  }

  deleteNemo = () => {
    if(this.state.count > 0){
      this.setState({count: this.state.count - 1});
    }else{
      window.alert("enough.");
    }
  }

  render(){
    const nemo_count = Array.from({length: this.state.count}, (v, i)=> i);

    console.log(this.state);

    return (
      <div className="App" style={{width: "80vw"}}>
        {nemo_count.map((n, i) => {
          return (
            <div
            key={i}
            style={{
              width: "150px",
              height: "150px",
              backgroundColor: "#eee",
              margin: "10px",
              display: "inline-block",
            }}>
              nemo
            </div>
          )
        })}

        <div>
          <button onClick={this.addNemo}>add</button>
          <button onClick={this.deleteNemo}>delete</button>
        </div>
      </div>
    );
  }
}

export default App;
➊ CRA 생성
yarn create react-app nemo
➋ App.js를 클래스형 컴포넌트로 변환
import React from 'react';

class App extends React.Component {

  constructor(props){
    super(props);

    this.state = {}
  }

  componentDidMount(){

  }

  render(){

    return (
      <div className="App">

      </div>
    );
  }
}

export default App;
➌ state에 변수 count 추가
    this.state ={
      count: 3,
    };
➍ ➌을 배열화 하기 이전에 네모칸 한 개 먼저 생성
  render(){

    return (
      <div style={{
      	      width: "150px",
              height: "150px",
              backgroundColor: "#eee",
              margin: "10px",
            }}>
      </div>
    );
  }
➎ Array.from을 사용한 배열 생성
  render(){
    const nemo_count = Array.from({length: this.state.count}, (v, i)=> i);
    }
배열화과 제대로 이루어졌는지
console.log(this.state);를 사용해서 확인해본다.
➏ map을 사용해서 네모 출력하기
 render(){
    return (
      <div className="App" style={{width: "80vw"}}>
        {nemo_count.map((n, i) => {
          return (
            <div
            key={i}
            style={{
              width: "150px",
              height: "150px",
              backgroundColor: "#eee",
              margin: "10px",
              display: "inline-block",
            }}>
              nemo
            </div>
          )
        })}
{nemo_count.map((n, i) => { ~ })}에다가 ➍에서 만든 스타일을return안에 잘라넣는다.
key는 가상돔의 바뀐 내용이 진짜돔과 비교할 때 기준이 되는 대상이다. 실제로 돔에 들어가는 속성이 아니라 리액트 요소로서만 존재하기 때문에 Elements에선 확인할 수 없다.key값은 리액트의 각 요소에 자동으로 랜덤 생성되기 때문에 중복될 수 없다.
함수를 돌리면return하면서 새로운 랜덤키가 생성되기 때문에 Warning이 뜬다.key={i}로 임의로 지정해주면 더 이상 Warning이 뜨지 않는다.index는 중복되는key값이 들어올 수 없기 때문이다.

➐ add 버튼 생성
        <div>
          <button>add</button>
        </div>
render하단에 add button을 생성한다.
  addNemo = () => {
    this.setState({count: this.state.count + 1});
  }
componentDidMount()아래에 화살표 함수를 추가한다.
setState는 기존의 state를 바꿔주는 함수다. 즉, ➌에서 설정한 state를 바꿔주는 역할이다.
<button onClick={() => {
	this.addNemo();
    }}>add</button>
콘솔에서 오류가 나지 않는 것을 확인하면 add button에 함수를 달아준다. 화살표 함수는
<button onClick={this.addNemo}>add</button>로 더 간단하게 바꿔쓸 수 있다. addNemo 다음에 소괄호()를 적으면 함수가 즉시 실행되기 때문에 이 부분을 유의해야 한다.
ex)<button onClick={this.addNemo()}>add</button>
render에서console.log(this.state);로 찍어보면 add를 누를 때마다 콘솔창의 count가 증가하는 것을 확인할 수 있다.
➑ delete 버튼 생성
deleteNemo = () => { this.setState({count: this.state.count - 1}); }<div> <button onClick={this.addNemo}>add</button> <button onClick={this.deleteNemo}>delete</button> </div>➐에서 했던 과정을 마이너스로 바꿔서 적용하면 된다. 그러나 이 상태에서 마무리하면 네모가 없는 상태에서 delete를 누를 시 콘솔창의 count가 마이너스가 된다. 이렇게 되면 add를 눌러도 네모가 바로 추가 되질 않는다.
  deleteNemo = () => {
    if(this.state.count > 0){
      this.setState({count: this.state.count - 1});
    }else{
      window.alert("enough.");
    }
  }
이 경우에는 if문을 사용해서 count가 0보다 클 때만
deleteNemo가 작동하도록 한다. 여기에 else를 추가해서 0에서 delete를 실행시 alert이 뜨도록 설정했다. if문이 0보다 큰 경우이므로 else문은 0일때가 된다.
2.함수형 컴포넌트 - useState()
완성코드
import React from "react";

const Nemo = (props) => {
    const [count, setCount] = React.useState(3);
    console.log(count);
    const nemo_count = Array.from({ length: count }, (v, i) => i);

    const addNemo = () => {
        setCount(count + 1);
    }
    const deleteNemo = () => {
        if(count > 0){
            setCount(count - 1);
        }else{
            window.alert("enough!");
        }

    }

    return (
        <>
            {nemo_count.map((n, i) => {
                 return (
                    <div
                        key={i}
                        style={{
                            width: "150px",
                            height: "150px",
                            backgroundColor: "#eee",
                            margin: "10px",
                            display: "inline-block",
                        }}>
                        nemo
                    </div>
                )
            })}

            <div>
                <button onClick={addNemo}>add</button>
                <button onClick={deleteNemo}>delete</button>
            </div>

        </>
    );
}

export default Nemo;
➊ src - 함수형 컴포넌트 Nemo.js 생성
import React from "react";

const Nemo = (props) => {
	return null;
    }

export default Nemo;
➋ App.js에
<Nemo/>불러오기import Nemo from "./Nemo"; . . . return ( <div className="App" style={{width: "80vw"}}> <Nemo/> </div> );기존에 있던 style과 add/delete 버튼은 Nemo.js로 옮기기 위해 잘라낸다.
➌ Nemo.js에 기존 컴포넌트 불러오기
const Nemo = (props) => {
    const nemo_count = Array.from({ length: this.state.count }, (v, i) => i);

    return (
            {nemo_count.map((n, i) => {
                 return (
                    <div
                        key={i}
                        style={{
                            width: "150px",
                            height: "150px",
                            backgroundColor: "#eee",
                            margin: "10px",
                            display: "inline-block",
                        }}>
                        nemo
                    </div>
                )
            })}

            <div>
                <button>add</button>
                <button>delete</button>
            </div>
    );
  }
기존에 있던
null을 삭제하고 ➋에서 잘라냈던 style과 버튼을 붙여넣는다. 아직 버튼 함수를 작성하기 전이므로 버튼의onClick함수는 삭제한다.return위에는 App.js에서 생성한nemo_count변수를 가져온다.여기까지 작성 후 새로고침 하면 콘솔창에 Parsing error가 뜬다.
return은 반드시 1개를 가져야 하고,return안에는 React 요소와 string만 올 수 있기 때문이다.return ( <> {nemo_count.map((n, i) => { return ( ... ) })} <div> ... </div> </> );이 문제는 공백 태그
<></>로 기존의 코드를 감싸주면 해결된다. 이렇게 적으면 공백 태그 1개만 Return 하는 것으로 인식한다.그러나 이대로 끝내면 새로고침시 Cannot read property 'state' of undefined라는 에러가 뜬다.
const nemo_count = Array.from({ length: this.state.count }, (v, i) => i);에 있는state와count로 지정된 게 아무것도 없기 때문이다. 임시방편으로this.state.count대신 아무 숫자를 넣는다.
➍ useState()를 사용해서 state 생성
const Nemo = (props) => {
    const [count, setCount] = React.useState(3);
    console.log(count);
    const nemo_count = Array.from({ length: count }, (v, i) => i);
    ...
}
const [count, setCount] = React.useState(3);에서count는 state 값,setCount는count를 변경하는 함수가 들어간다. 클래스형 컴포넌트로 치면setState같은 역할이다.useState(3)에 오는 숫자는 state의 초기값을 설정한다. ➌에서 임시방편으로 써놨던 숫자를count로 바꾸면 state 값이 들어간다.이제
console.log(count);로 확인시 초기값인 3이 뜬다. 이때 App.js의render();에서 찍어준console.log(this.state);을 삭제해야 중복으로 찍히지 않는다.
➎ add 버튼 생성
    const addNemo = () => {
        setCount(count + 1);
    }
함수형 컴포넌트에서는 화살표 함수를 단독으로 사용할 수 없으므로
addNemo함수를 선언해줘야 한다. 선언은const와let모두 사용할 수 있다.<div> <button onClick={addNemo}>add</button> <button>delete</button> </div>
➏ delete 버튼 생성
const deleteNemo = () => { if(count > 0){ setCount(count - 1); }else{ window.alert("enough!"); } }<div> <button onClick={addNemo}>add</button> <button onClick={deleteNemo}>delete</button> </div>클래스형 컴포넌트와 마찬가지로 콘솔창에서 마이너스 이하로 내려가지 않도록 if문과 else문을 사용했다.
어떤 순서로 처리했는지 유념하기!