
메인페이지 슬라이드
게시글에 사진이 여러장일 경우 화살표가 뜨게 되고 눌렀을 때 자연스럽게 슬라이드가 되도록 만들어야한다!
슬라이드 기능
먼저 이미지를 담고 있는 ul태그의 width 크기를 가져와야한다 어떻게 가져와야할까...
state = {
imgUlWidth : null
}
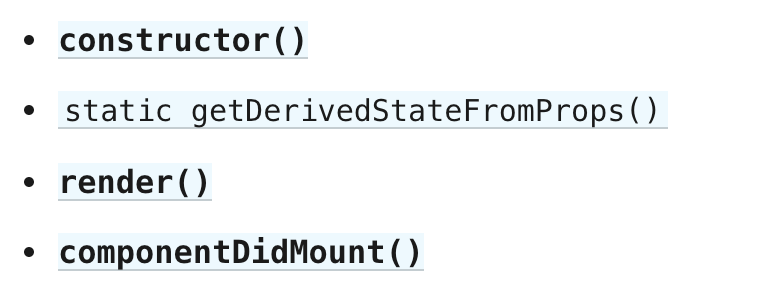
componentDidMount() {
this.setState({
imgUlWidth : this.getWidth.offsetWidth,
imgListSumWidth: this.getWidth.offsetWidth * this.props.contentMainImgList.length,
});
}
return (
<ul className="list-main-img-ul" ref={(e) => this.getWidth = e}>
)먼저 render()가 완료가 되고 DOM 트리에 삽입된 직후에 호출해서 ul태그의 크기를 가져와야한다. 그리고 이미지의 리스트만큼의 width 폭을 알아야하기 때문에 this.getWidth.offsetWidth * this.props.contentMainImgList.length를 곱해서 총 width 값을 구해야한다.
render() {
    const { contentMainImgList, contentMainName } = this.props;
    const { slideX } = this.state;
    return (
      <div className="content-list-main">
        <div className="list-main-img">
          <ul className="list-main-img-ul" ref={( e ) => this.getWidth = e}>
            {contentMainImgList.length > 1 ? (
              <>
                {contentMainImgList.map(( imgList ) => (
                  <li className="img-list" style={{ transform: `translateX(${slideX}px)` }}>
                    <div className="list-main-img-arrow">
                      <i className="fas fa-arrow-circle-left" name="left" onClick={this.actionSlide}></i>
                      <i className="fas fa-arrow-circle-right" name="right" onClick={this.actionSlide}></i>
                    </div>
                    <img src={imgList} alt={contentMainName}/>
                  </li>
                ))}
              </>
            ) : (
              <li className="img-list">
                <img src={contentMainImgList} alt={contentMainName}/>
              </li> )}
          </ul>
        </div>
      </div>
    );
  }
그리고 이미지 리스트가 1개일 경우에는 사진에 hover 됐을 때 화살표가 표시될 필요가 없도록 삼항연산자를 사용해서 분류해줬다.
리스트가 1개 이상일 경우네는 이미지 리스트를 map()을 돌려서 li 태그를 이미지 수만큼 돌려준다. 이때 .scss 값으로 display:flex를 주게되면 이미지는 계속해서 옆으로 붙게된다.


이것을 이제 li태그를 transform: translateX() 로 오른쪽 마우스 클릭시 -slideX 이동 왼쪽 마우스 클릭시 +slideX 만큼 이동시키면 된다.
생각해야 할 것
- 이미지가 0번째에서 왼쪽 화살표 클릭시 리스트의 맨 마지막으로 이동하게 한다.
- 이미지가 끝에있을때 오른쪽 화살표 클릭시 리스트의 맨 처음으로 이동하게 한다.
로직은 아래와 같이 짰다. 우선 this.setState() 비동기로 작동하기 때문에 값이 한 박자씩 늦게 들어오는 것을 생각해서 imgListSumWidth(전체 width) - imgUlWidth(이미지 width) 를 해줬다.
로직은 아래와 같이 구현했다.
  actionSlide = ( e ) => {
    const { slideX, imgUlWidth, imgListSumWidth } = this.state;
    if (e.target.className === 'fas fa-arrow-circle-right') {
      if (Math.abs(slideX) < imgListSumWidth-imgUlWidth) {
        this.setState({ slideX: slideX - imgUlWidth });
      } else {
        this.setState({ slideX: 0 });
      }
    }
    if (e.target.className === 'fas fa-arrow-circle-left') {
      if (slideX === 0) {
        this.setState({ slideX: (imgListSumWidth-imgUlWidth)*-1 });
      } else {
        this.setState({ slideX: slideX + imgUlWidth });
      }
    }
  };

와우.. 대박.. 저랑 다른 프로젝트 진행 중이신 것 같은데요.. 🤓