개요 및 Database 선택
- Firebase에는 두 종류의 Database가 있다. (Cloud firestore , real-time database)
- 기존 DB가 real-time database이고 뒤에 나온게 Cloud firestore다
- 두 종류 다 클라우드 기반 데이터베이스 솔루션을 제공한다.
- Cloud Firestore는 모바일 앱 개발을 위한 Firebase의 최신 데이터베이스로서 실시간 데이터베이스의 성공을 바탕으로 더욱 직관적인 새로운 데이터 모델을 선보인다. real-time database보다 풍부하고 빠른 쿼리와 원활한 확장성을 제공한다.
- real-time database는 여러 클라이언트에서 실시간으로 상태를 동기화해야 하는 모바일 앱을 위한 효율적이고 지연 시간이 짧은 솔루션이다.
두 DB 중 나에게 맞는 것은?
두 솔루션 모두 다음 기능을 제공한다.
- 배포 및 유지 관리할 서버가 없는 클라이언트 우선 SDK
- 실시간 업데이트
- 무료 등급(이후 사용한 만큼만 비용 지불)
주요 고려사항에 따라 내가 선택해야할 DB가 결정된다.
아래 링크는 Firebase 공식 홈페이지에서 제공하는 고려사항이다. 읽고 결정한다.
데이터베이스 선택: Cloud Firestore 또는 실시간 데이터베이스 | Firebase Documentation
데이터베이스 구조화
- 모든 Firebase 실시간 데이터베이스 데이터는 JSON 객체로 저장된다.
- SQL 데이터베이스와 달리 테이블이나 레코드가 없으며, JSON 트리에 추가된 데이터는 연결된 키를 갖는 기존 JSON 구조의 노드가 된다.
- 사용자 ID 또는 의미 있는 이름과 같은 고유 키를 직접 지정할 수도 있고,
push()를 사용하여 자동으로 지정할 수도 있다.
💡 키를 직접 만드는 경우 키는 UTF-8로 인코딩되어야 하고 768바이트 이하여야 하며
.,$,#,[,],/, ASCII 제어문자 0~31 또는 127을 포함할 수 없다. 값 자체에도 ASCII 제어 문자를 사용할 수 없다.
데이터 구조 권장사항
-
데이터 중첩 배제
-
Firebase Real-Time Database는 최대 32단계의 데이터 중첩을 허용하지만, 실제 구현에서는 데이터 구조를 최대한 평면화하는 것이 좋다.
-
중첩을 한다면, 데이터베이스의 특정 위치에서 데이터를 가져오면 모든 하위 노드가 함께 검색되고, 사용자에게 데이터베이스의 특정 노드에 대한 읽기 또는 쓰기 권한을 부여하면 해당 노드에 속한 모든 데이터에 대한 권한이 함께 부여된다.
-
데이터를 중첩한 예시 (이렇게 하면 안된다!)
{
  // This is a poorly nested data architecture, because iterating the children
  // of the "chats" node to get a list of conversation titles requires
  // potentially downloading hundreds of megabytes of messages
  "chats": {
    "one": {
      "title": "Historical Tech Pioneers",
      "messages": {
        "m1": { "sender": "ghopper", "message": "Relay malfunction found. Cause: moth." },
        "m2": { ... },
        // a very long list of messages
      }
    },
    "two": { ... }
  }
}
- 데이터를 평면화한 예시 (이렇게 해라!)
{
  // Chats contains only meta info about each conversation
  // stored under the chats's unique ID
  "chats": {
    "one": {
      "title": "Historical Tech Pioneers",
      "lastMessage": "ghopper: Relay malfunction found. Cause: moth.",
      "timestamp": 1459361875666
    },
    "two": { ... },
    "three": { ... }
  },

  // Conversation members are easily accessible
  // and stored by chat conversation ID
  "members": {
    // we'll talk about indices like this below
    "one": {
      "ghopper": true,
      "alovelace": true,
      "eclarke": true
    },
    "two": { ... },
    "three": { ... }
  },

  // Messages are separate from data we may want to iterate quickly
  // but still easily paginated and queried, and organized by chat
  // conversation ID
  "messages": {
    "one": {
      "m1": {
        "name": "eclarke",
        "message": "The relay seems to be malfunctioning.",
        "timestamp": 1459361875337
      },
      "m2": { ... },
      "m3": { ... }
    },
    "two": { ... },
    "three": { ... }
  }
}
-
- 확장 가능한 데이터 만들기
- 특정 사용자가 속하는 그룹을 나열하고 해당 그룹의 데이터만 가져오게 하는
그룹 색인지정// An index to track Ada's memberships { "users": { "alovelace": { "name": "Ada Lovelace", // Index Ada's groups in her profile "groups": { // the value here doesn't matter, just that the key exists "techpioneers": true, "womentechmakers": true } }, ... }, "groups": { "techpioneers": { "name": "Historical Tech Pioneers", "members": { "alovelace": true, "ghopper": true, "eclarke": true } }, ... } }
- 특정 사용자가 속하는 그룹을 나열하고 해당 그룹의 데이터만 가져오게 하는
Real-time Database 연동 및 테스트
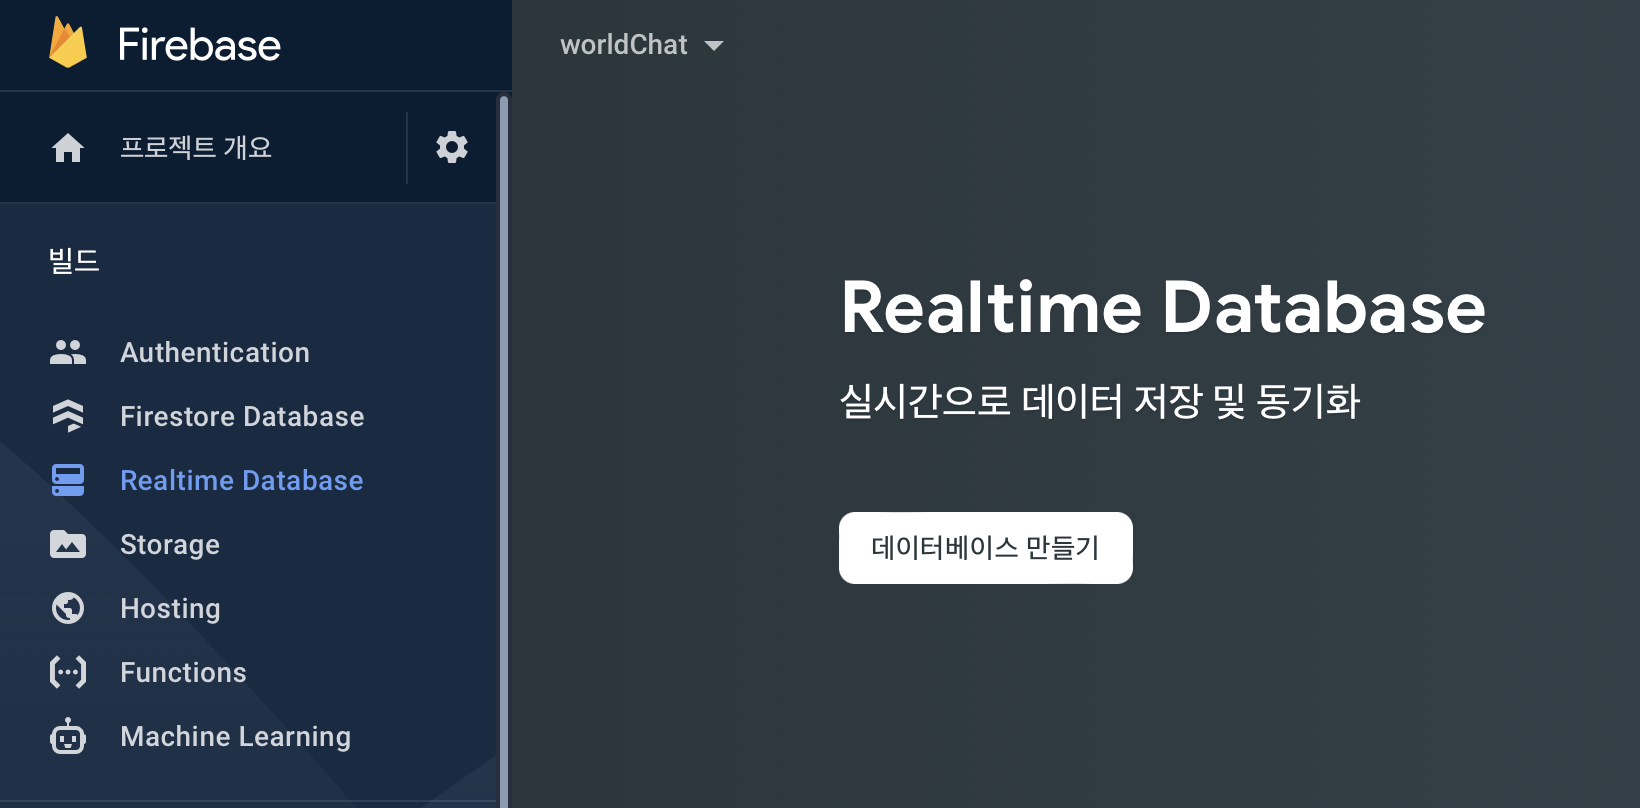
Database 추가
- 해당 프로젝트의 Realtime Database 클릭 후 데이터베이스 만들기 클릭
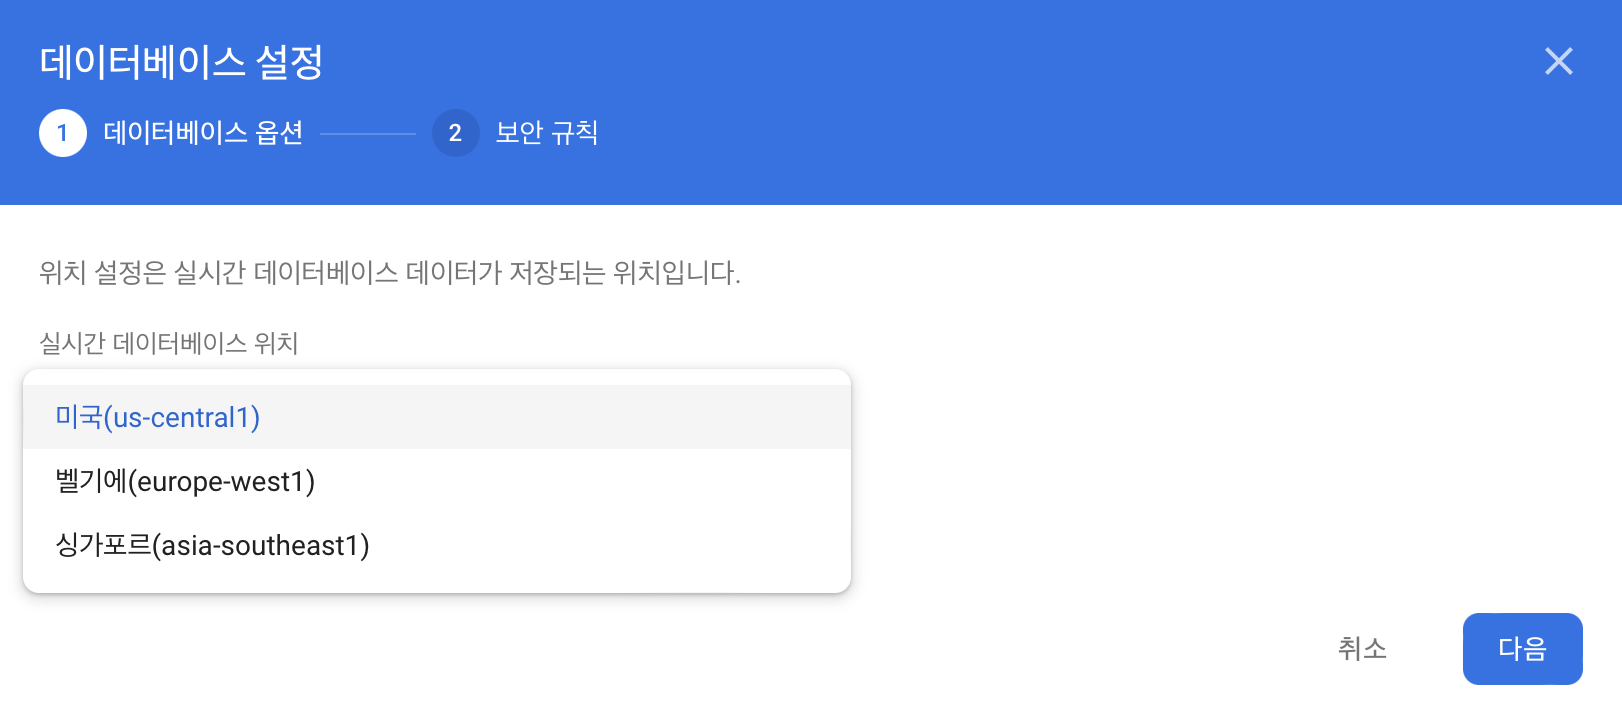
- 데이터베이스의 위치 선택
싱가포르선택 후 다음 (이유는 우리나라랑 위치상 가깝기 때문, 순전히 내 생각)
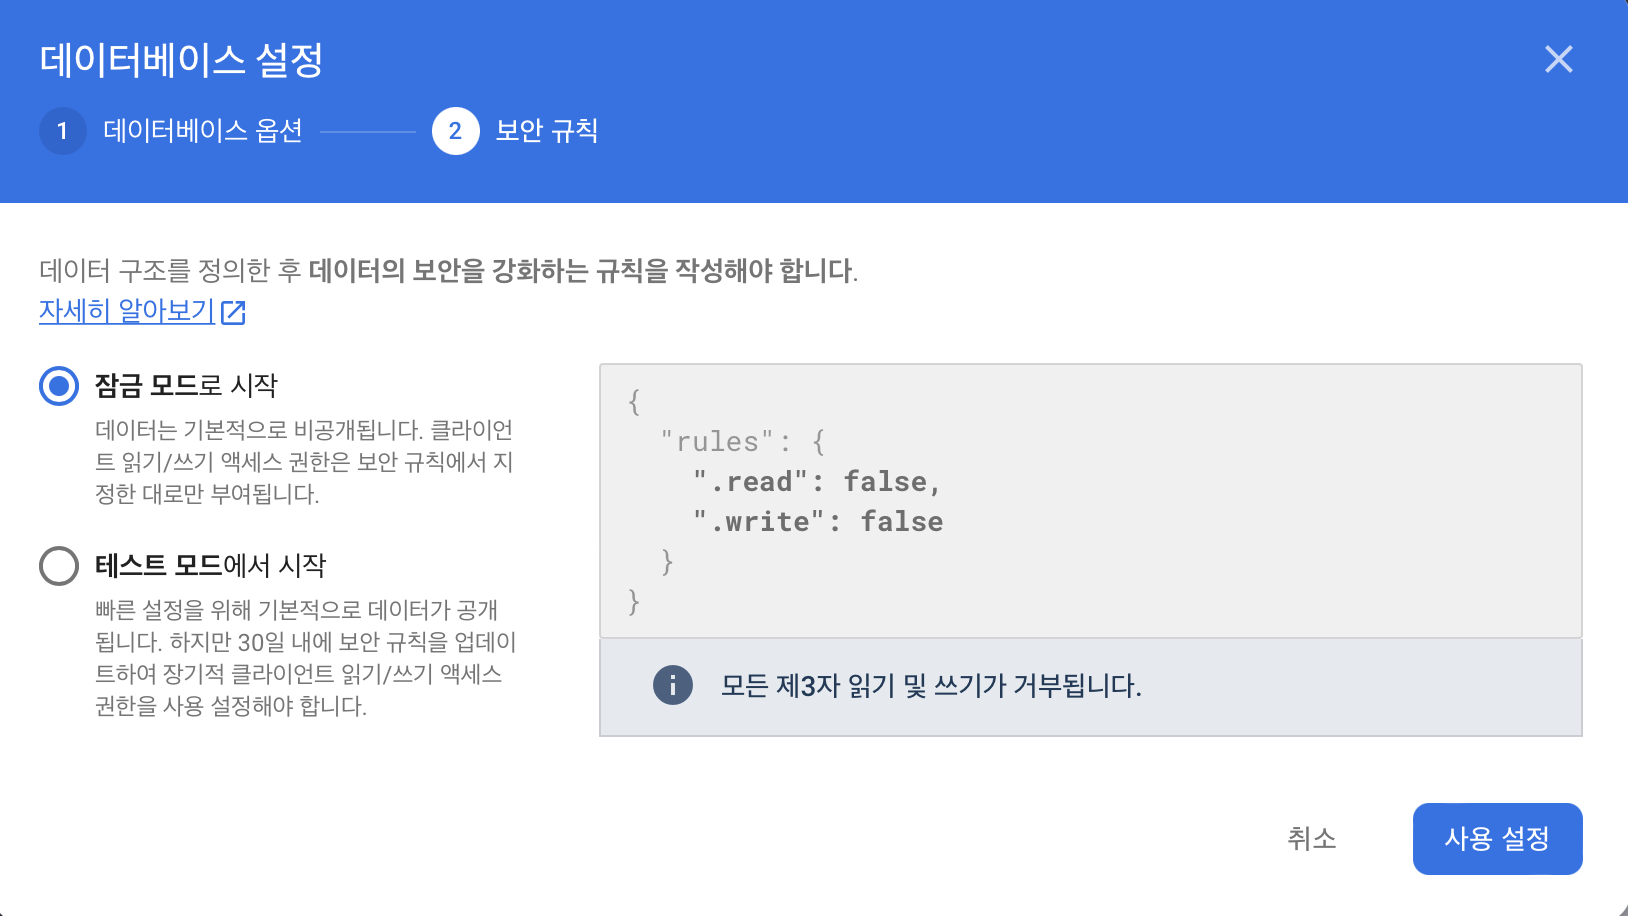
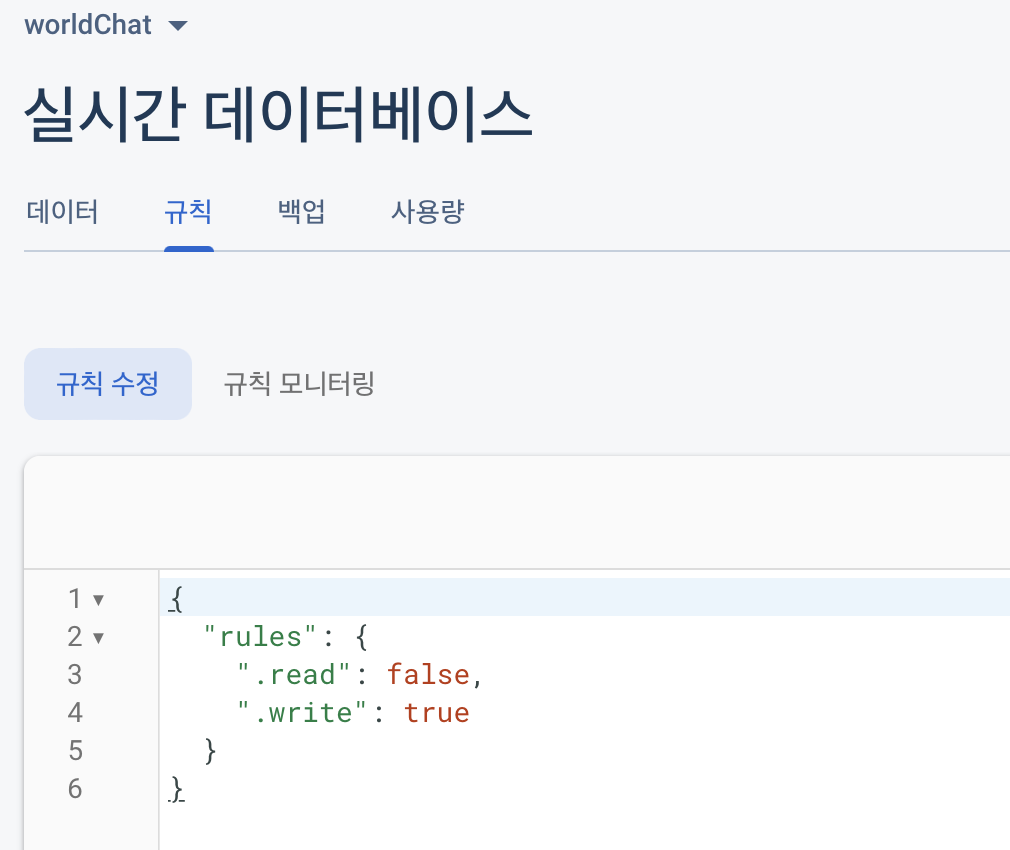
- Firebase 보안 규칙의 시작 모드를 선택
잠금모드선택 후 설정
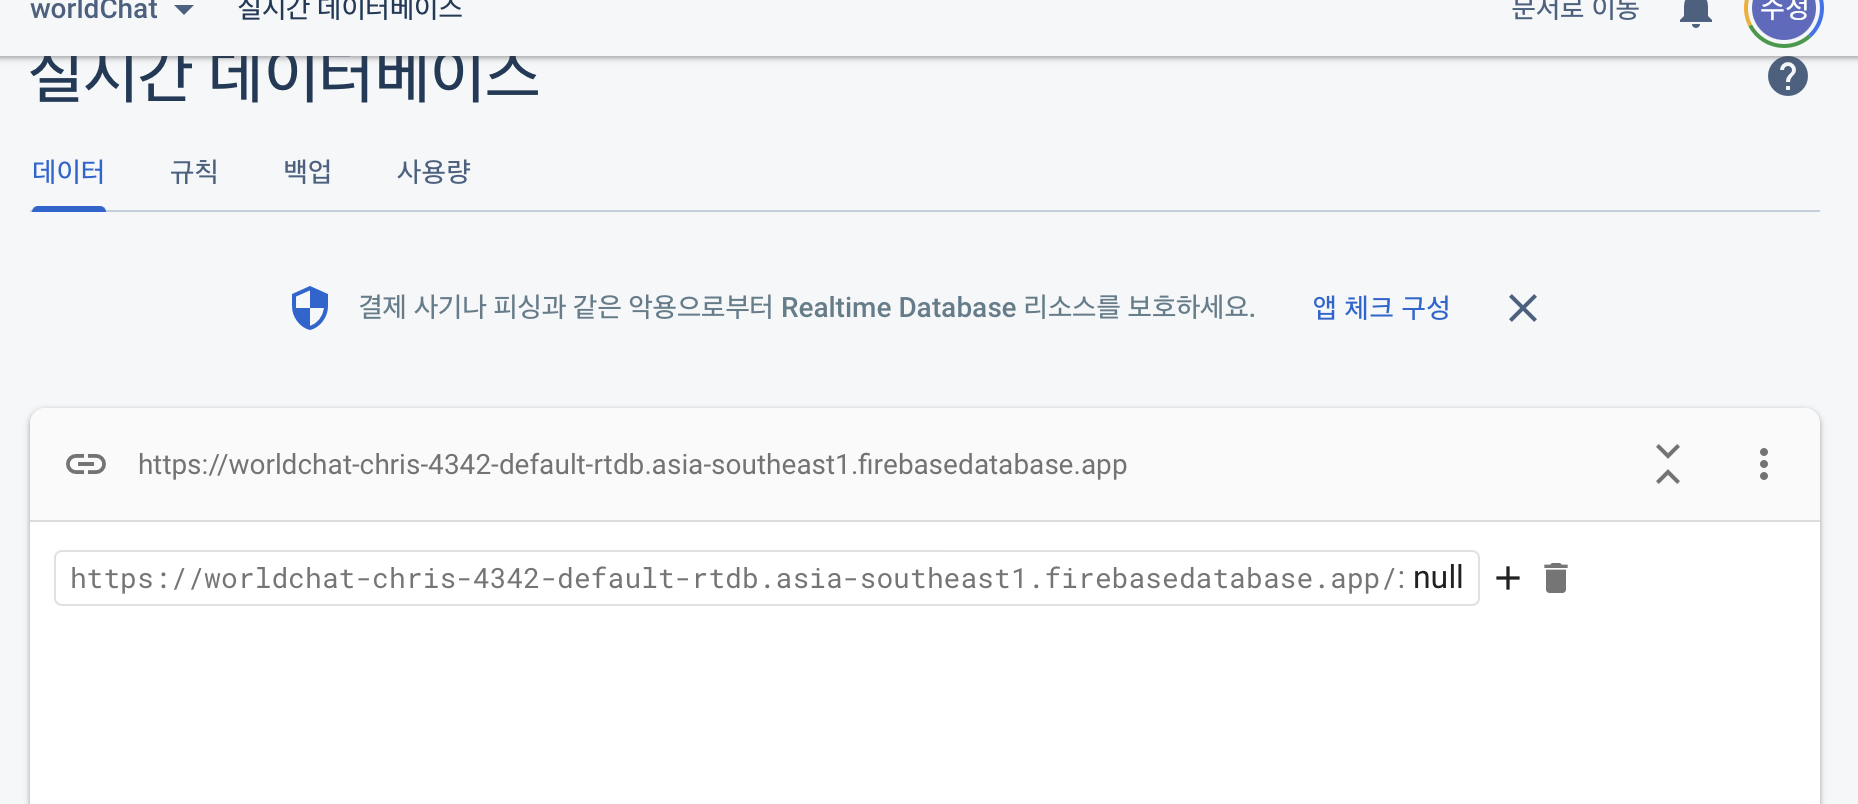
- 결과
막 만들어진 DB는 비어있으며 마우스를 올리면 아래 사진처럼 + , 쓰레기통이 보인다.
+는 데이터 추가, 쓰레기통 아이콘은 데이터 삭제다.
+추가 적용 사항
- 잠금 모드로 시작하게 되면 규칙을 설정해주어야 콘솔이 아닌 다른데서 DB에 접근 쓰기가 가능하다.
- wirte를 true로 설정해서 아래에 있는 안드로이드 프로젝트에서 테스트할 수 있다.
Android Studio에서 설정
-
app/build.gradle(Module:..)의 dependencies에 firebase-database 추가 후
Sync now...kotlin 이라 ktx가 붙음
dependencies {
    ...
    implementation 'com.google.firebase:firebase-database-ktx:20.0.4'
}
-
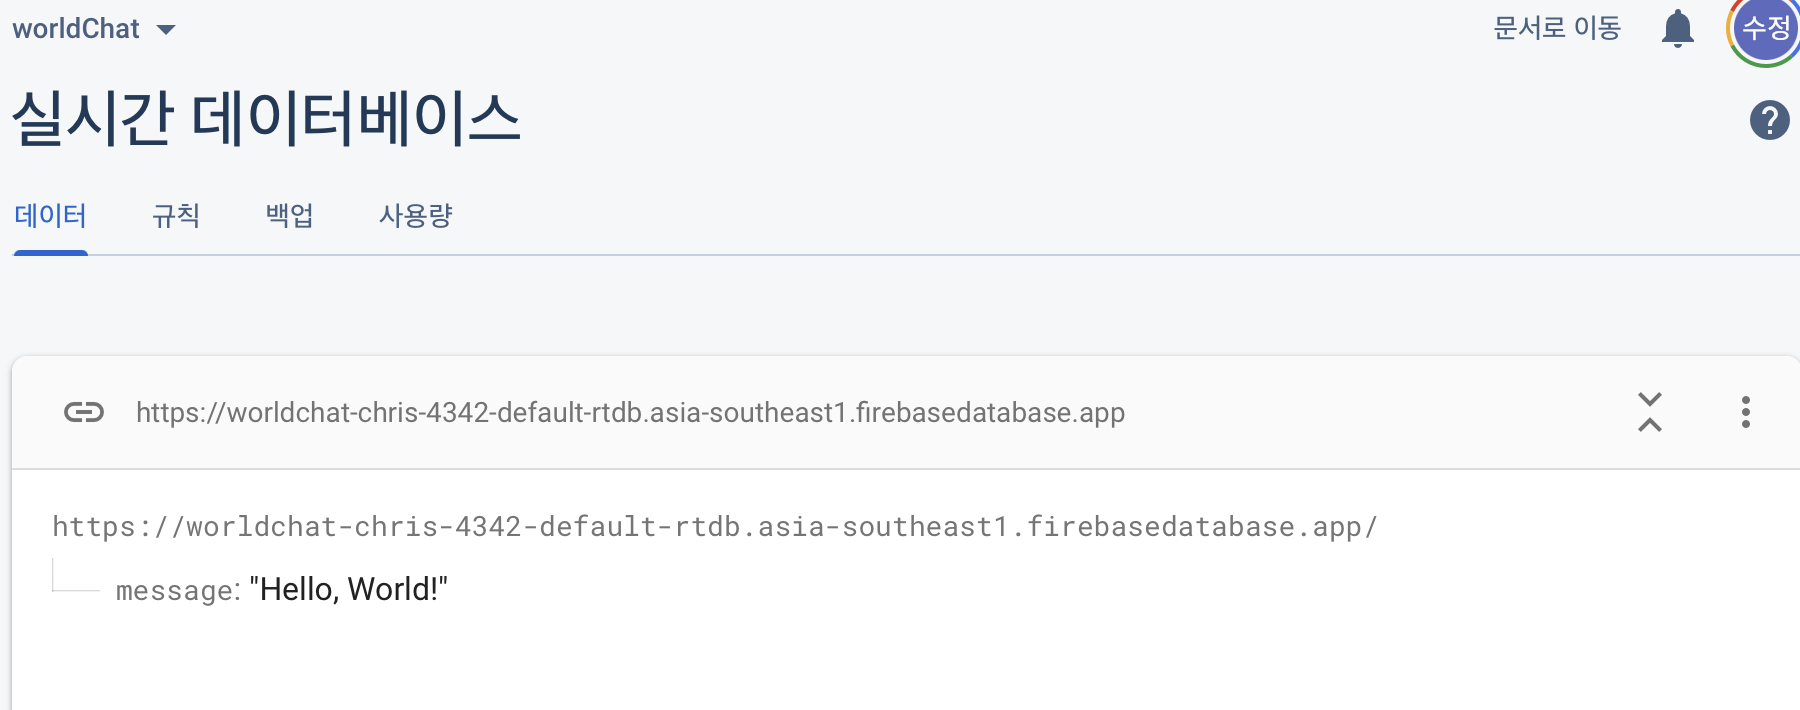
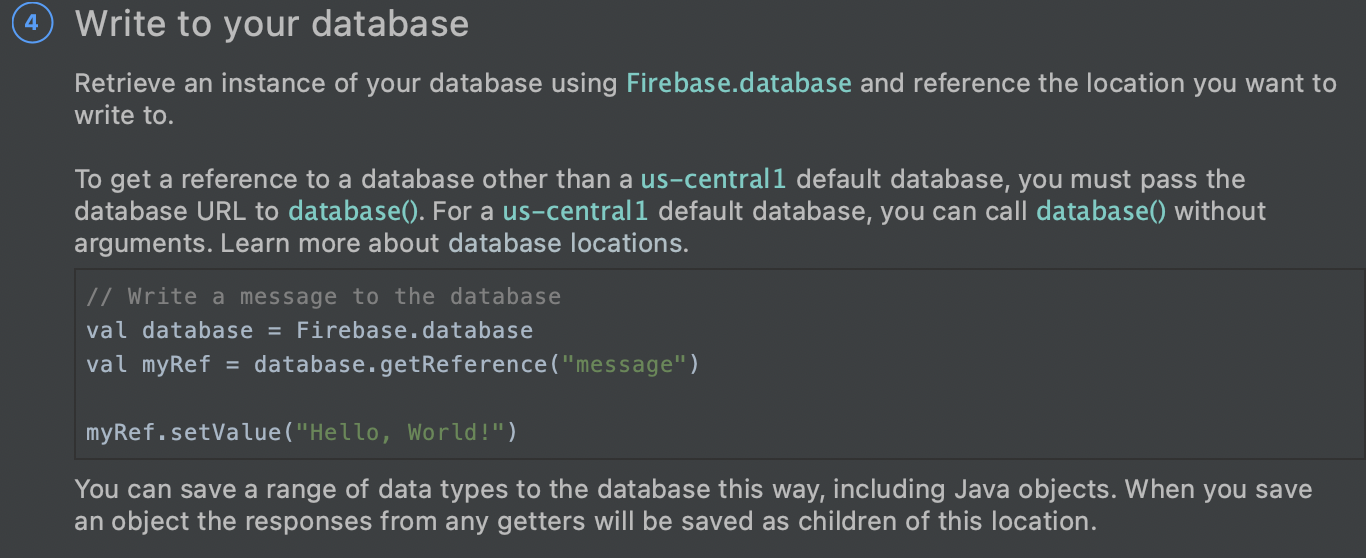
DB 선언 후 접속 테스트
Database Region이 US가 아닐 경우 database의 url을 추가적으로 넣어줘야함(이유는 이 페이지의 error에서 참고)
class RegistrationActivity : AppCompatActivity() {

    override fun onCreate(savedInstanceState: Bundle?) {
        super.onCreate(savedInstanceState)

// Region이 US일 경우
        val database = Firebase.database
        val myRef = database.getReference("message")
        myRef.setValue("Hello, World!")

// Region이 US가 아닐 경우 (ex: 벨기에, 싱가포르)
        val database = Firebase.database("https://worldchat-chris-4342-default-rtdb.asia-southeast1.firebasedatabase.app")
        val myRef = database.getReference("message")
        myRef.setValue("Hello, World!")

    }
}
-
결과
+DB 추가 명령어
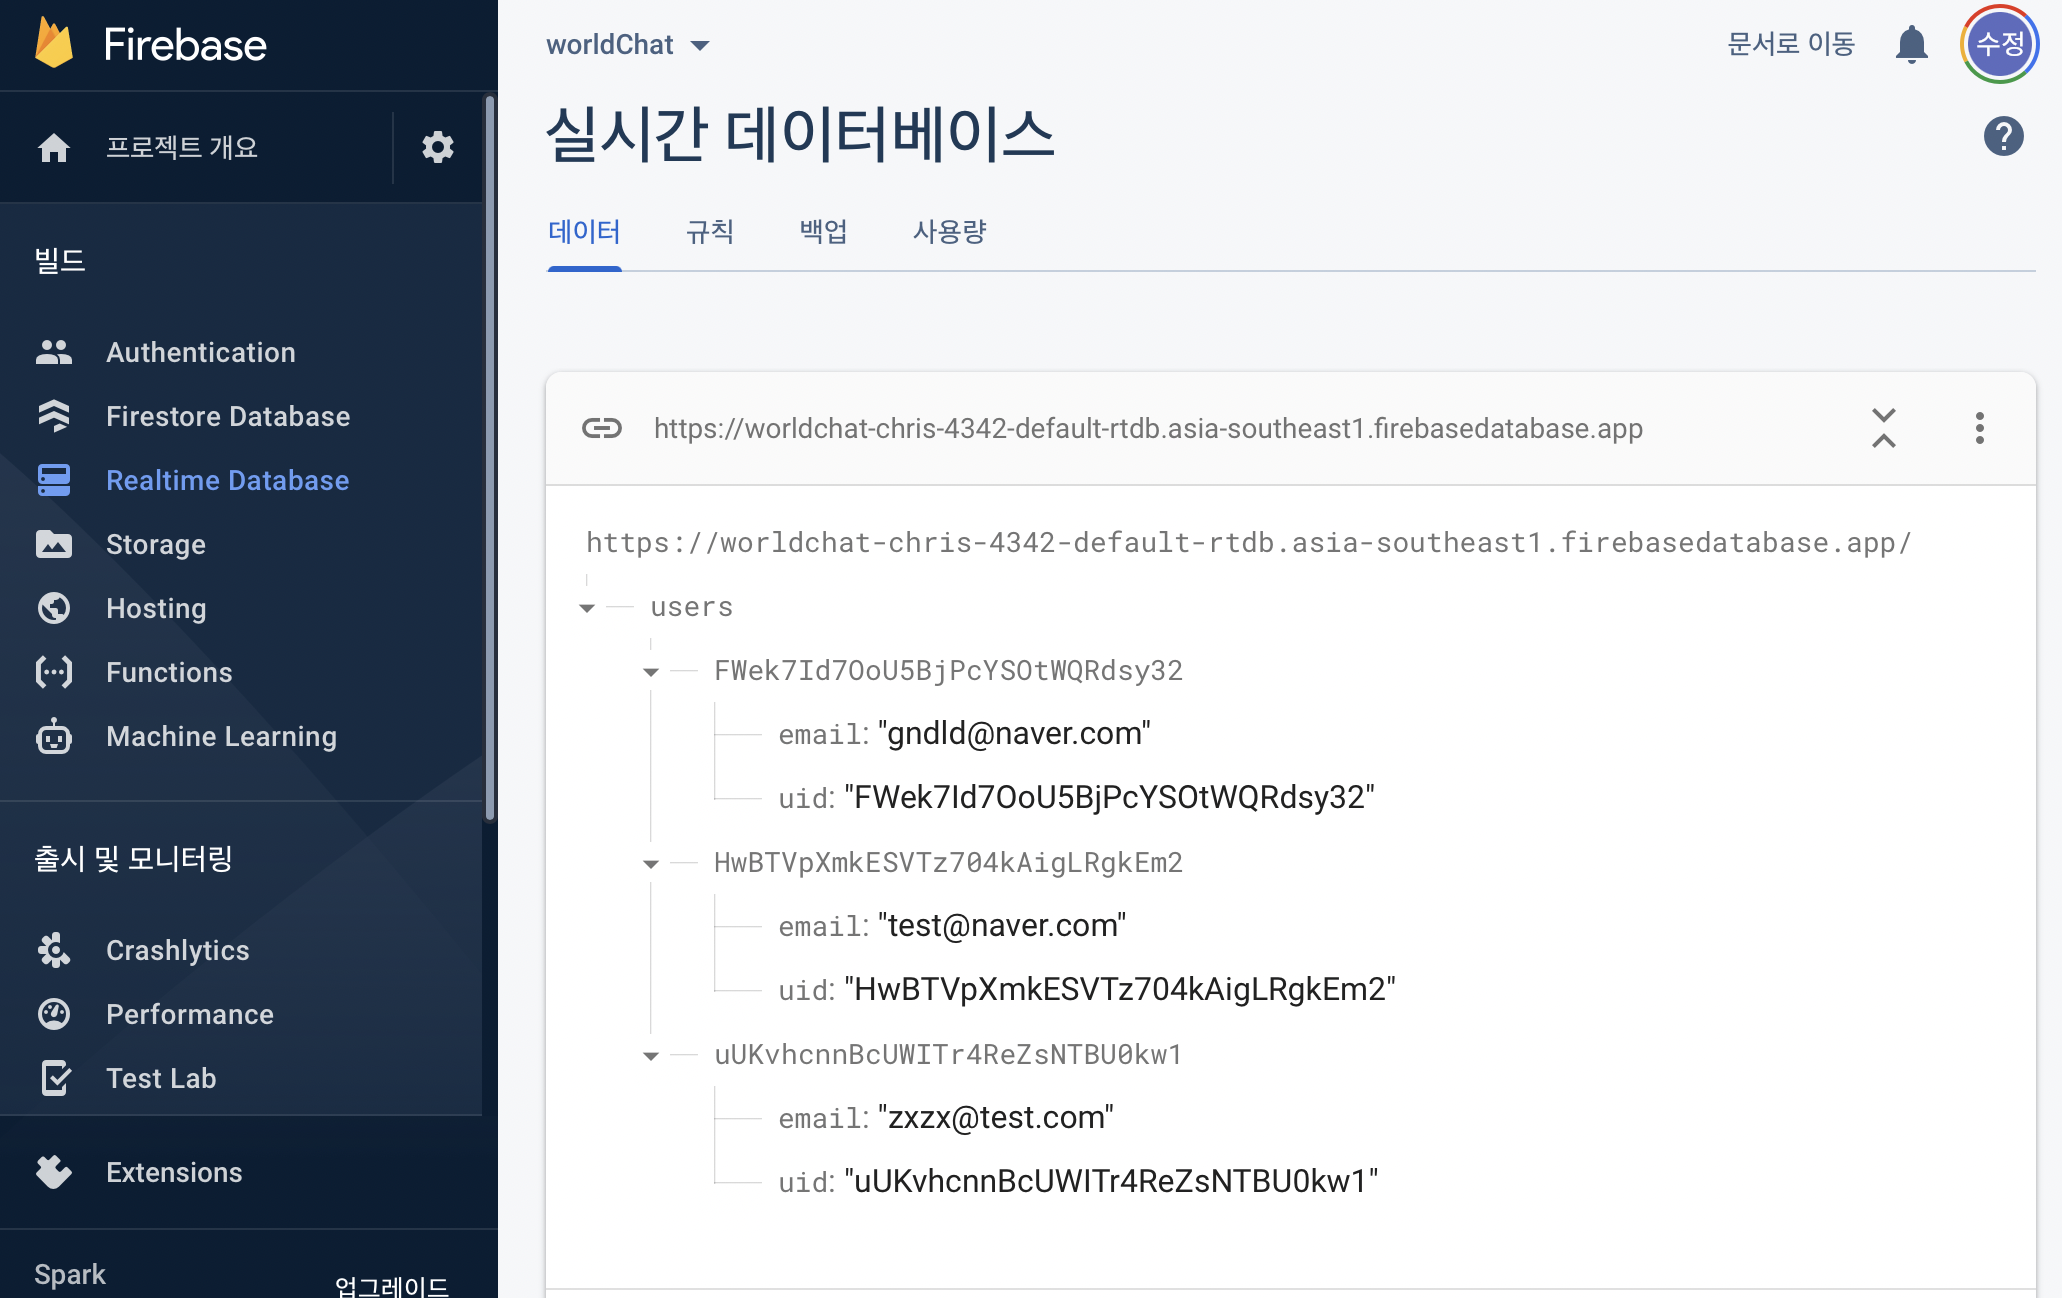
Firebase Authentication의 userId를 받아서 내용 저장private val database: DatabaseReference = Firebase.database("https://worldchat-chris-4342-default-rtdb.asia-southeast1.firebasedatabase.app").reference // user 라는 경로에 변수 userId에 해당하는 값(user라는 데이터 클래스의 값)을 넣는다 fun addUser(userId: String, user: User) { database.child("users").child(userId).setValue(user) }+결과
email, uid는 setValue(user) 내용
Error
Error message
Firebase Database connection was forcefully killed by the server. Will not attempt reconnect. Reason: Database lives in a different region. Please change your database URL to https://worldchat-chris-4342-default-rtdb.asia-southeast1.firebasedatabase.app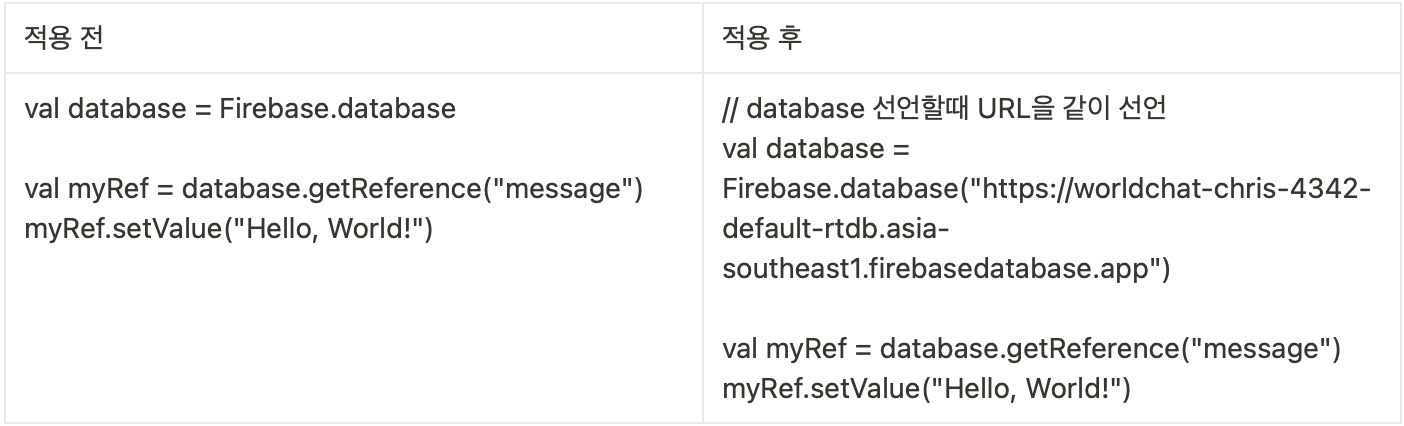
2022-04-28 14:32:21.520 8589-8623/com.crystal.worldchat V/FA: Inactivity, disconnecting from the service- 만약 Database가 US Region이 아니고 다른 리전이라면 database에 해당하는 database url을 넣어줘야한다.
- 해당 내용에 관련된 Firebase의 조언
조언 적용 전 / 후
Real-Time Database Command
Firebase 데이터는 FirebaseDatabase 참조에 기록되고, 참조에 비동기 리스너를 연결하여 검색할 수 있다. 리스너는 데이터의 초기 상태가 확인될 때 한번 트리거 된 후 데이터가 변경될 때마다 다시 트리거된다.
데이터 읽기 및 쓰기
DatabaseReference 가져오기
- 데이터베이스에서 데이터를 읽거나 쓰려면
DatabaseReference의 인스턴스가 필요하다.
	private lateinit var database: DatabaseReference
	// ...
	database = Firebase.database.reference
Data 쓰기
1. 기본 쓰기 작업 : setValue() 코드를 사용하여 지정된 참조에 데이터를 저장하고 해당 경로의 기존 데이터를 모두 바꿈
- 사용가능한 JSON 유형에 해당하는 다음과 같은 유형 전달
- String
- Long
- Double
- Boolean
- Map<String, Object>
- List
  @IgnoreExtraProperties
  data class User(val username: String? = null, val email: String? = null) {
      // Null default values create a no-argument default constructor, which is needed
      // for deserialization from a DataSnapshot.
  }
fun writeNewUser(userId: String, name: String, email: String) { val user = User(name, email)database.child("users").child(userId).setValue(user ) }
2. 위 방법으로 setValue()를 사용하면 지정된 위치에서 하위 노드를 포함하여 모든 데이터를 덮어쓴다. 그러나 전체 객체를 다시 쓰지 않고도 하위 항목을 업데이트하는 방법이 있다.
database.child("users").child(userId).child("username").setValue(name)
References
- Firebase Real-time Database docs (Android) Android에서 설치 및 설정 | Firebase Documentation