
오늘은 API 개발자에게 숙명과도 같은 API 명세를 도와주는 Swagger라는 녀석에 대해 알아보도록 하겠다.
1. 개요
Back-End 개발자.. 그 중에도 API 개발자라면 doc으로 API 문서를 만들어본 경험이 한번 쯤은 있을 것이다. 그리고... 내가 만든 혹은 팀원이 만든 api를 모두 취합해서 하나의 문서에 작성하기란 쉬운 작업이 아니다.
이러한 부분에 있어 불편한 부분을 긁어주기 위한 녀석이 나타났고 그 이름이 Swagger이다.
코드 상에 어노테이션만을 통해 API 명세서를 자동 완성시켜주는 Swagger에 대해 알아보도록 하자.
2. Swagger란?
Swagger는 Open Api Specification(OAS)를 위한 프레임워크이다.
즉, 간단히 말해 API 스펙을 명세, 관리할 수 있는 프로젝트/문서라고 정의할 수 있다.
Swagger는 Java나 Spring에 기본 종속된 라이브러리가 아니다.
이 말은 다시 말해 Dependency를 직접 주입해줘야 하며 버전을 자동 관리해주는 SpringBoot라 할지라도 Swagger는 버전을 직접 명시해줘야 한다는 것을 의미한다.
Swagger 공식 사이트
https://swagger.io
3. Swagger 사용법 (Spring boot)
이론적인 부분은 이정도로 거두절미하고 실제 코드에서 Swagger를 사용하는 법에 대해 알아보도록 하겠다.
3-1. pom.xml 수정
앞서 언급한 것처럼 Swagger 라이브러리에 대한 의존성 주입이 필요하다.
본인의 pom.xml에 들어가 아래 내용을 추가 기재하도록 하자.
<!-- springfox-swagger2 -->
<dependency>
	<groupId>io.springfox</groupId>
	<artifactId>springfox-swagger-ui</artifactId>
	<version>2.9.2</version>
</dependency>

<!-- springfox-swager-ui -->
<dependency>
	<groupId>io.springfox</groupId>
	<artifactId>springfox-swagger2</artifactId>
	<version>2.9.2</version>
</dependency>
현재 위 소스 상, Swagger 버전은 2.9.2 버전이다.
3-2. Controller
이제 Swagger를 사용하기 위한 설정은 모두 끝났다고 볼 수 있다.
직접 본인이 만든 Controller에 Swagger를 적용해보도록 하자.
package com.example.swaggerStudy.controller;

import org.springframework.http.ResponseEntity;
import org.springframework.web.bind.annotation.GetMapping;
import org.springframework.web.bind.annotation.RequestMapping;
import org.springframework.web.bind.annotation.RequestParam;
import org.springframework.web.bind.annotation.RestController;

import io.swagger.annotations.Api;
import io.swagger.annotations.ApiOperation;
import io.swagger.annotations.ApiParam;

@RestController
@Api(value="ApiController v1")
@RequestMapping("/")
public class ApiController {

	@ApiOperation(value="덧셈", notes="덧셈 사칙연산")
	@GetMapping(value = "/add")
	public ResponseEntity<Integer> add(
			@ApiParam(value="첫째 값", required=true, example="1")
			@RequestParam(value = "num1", required = true) int num1,
			@ApiParam(value="두번째 값", required=true, example="2")
			@RequestParam(value = "num2", required = true) int num2) {

		int sum = num1 + num2;

		return ResponseEntity.ok(sum);
	}

	@ApiOperation(value="뺄셈", notes="뺄셈 사칙연산")
	@GetMapping(value = "/minue")
	public ResponseEntity<Integer> minue(
			@ApiParam(value="첫째 값", required=true, example="3")
			@RequestParam(value = "num1", required = true) int num1,
			@ApiParam(value="두번째 값", required=true, example="4")
			@RequestParam(value = "num2", required = true) int num2) {

		int minus = num1 + num2;

		return ResponseEntity.ok(minus);
	}

	@ApiOperation(value="곱셈", notes="곱셈 사칙연산")
	@GetMapping(value = "/multiply")
	public ResponseEntity<Double> multiply(
			@ApiParam(value="첫째 값", required=true, example="5")
			@RequestParam(value = "num1", required = true) int num1,
			@ApiParam(value="두번째 값", required=true, example="6")
			@RequestParam(value = "num2", required = true) int num2) {

		double res = num1 * num2;

		return ResponseEntity.ok(res);
	}

	@ApiOperation(value="나눗셈", notes="나눗셈 사칙연산")
	@GetMapping(value = "div")
	public ResponseEntity<Double> div(
			@ApiParam(value="첫째 값", required=true, example="3")
			@RequestParam(value = "num1", required = true) int num1,
			@ApiParam(value="두번째 값", required=true, example="2")
			@RequestParam(value = "num2", required = true) int num2) {

		double res = num1 / num2;

		return ResponseEntity.ok(res);
	}
}
3-3. Swagger 어노테이션 분석
- @Api(value="~", tags="~"): 해당 클래스가
Swagger리소스임을 명시
value: 사용자 지정 이름 기재,tags사용 시, 무시되게 된다.
tags: 태그에 여러 이름을 콤마(,) 단위로 기재 시, 여러 태그 정의 가능
- @ApiOperation(value="~", notes="~"): 해당 api에 대한 명세
value: 현재 api에 대한 정의
notes: 현재 api에 대한 Comment
- @ApiParam(value="~", required="~", example="~"): 파라미터에 대한 명세
value: 현재 파라미터에 대한 설명
required: 필수 여부
example: 파라미터 예시
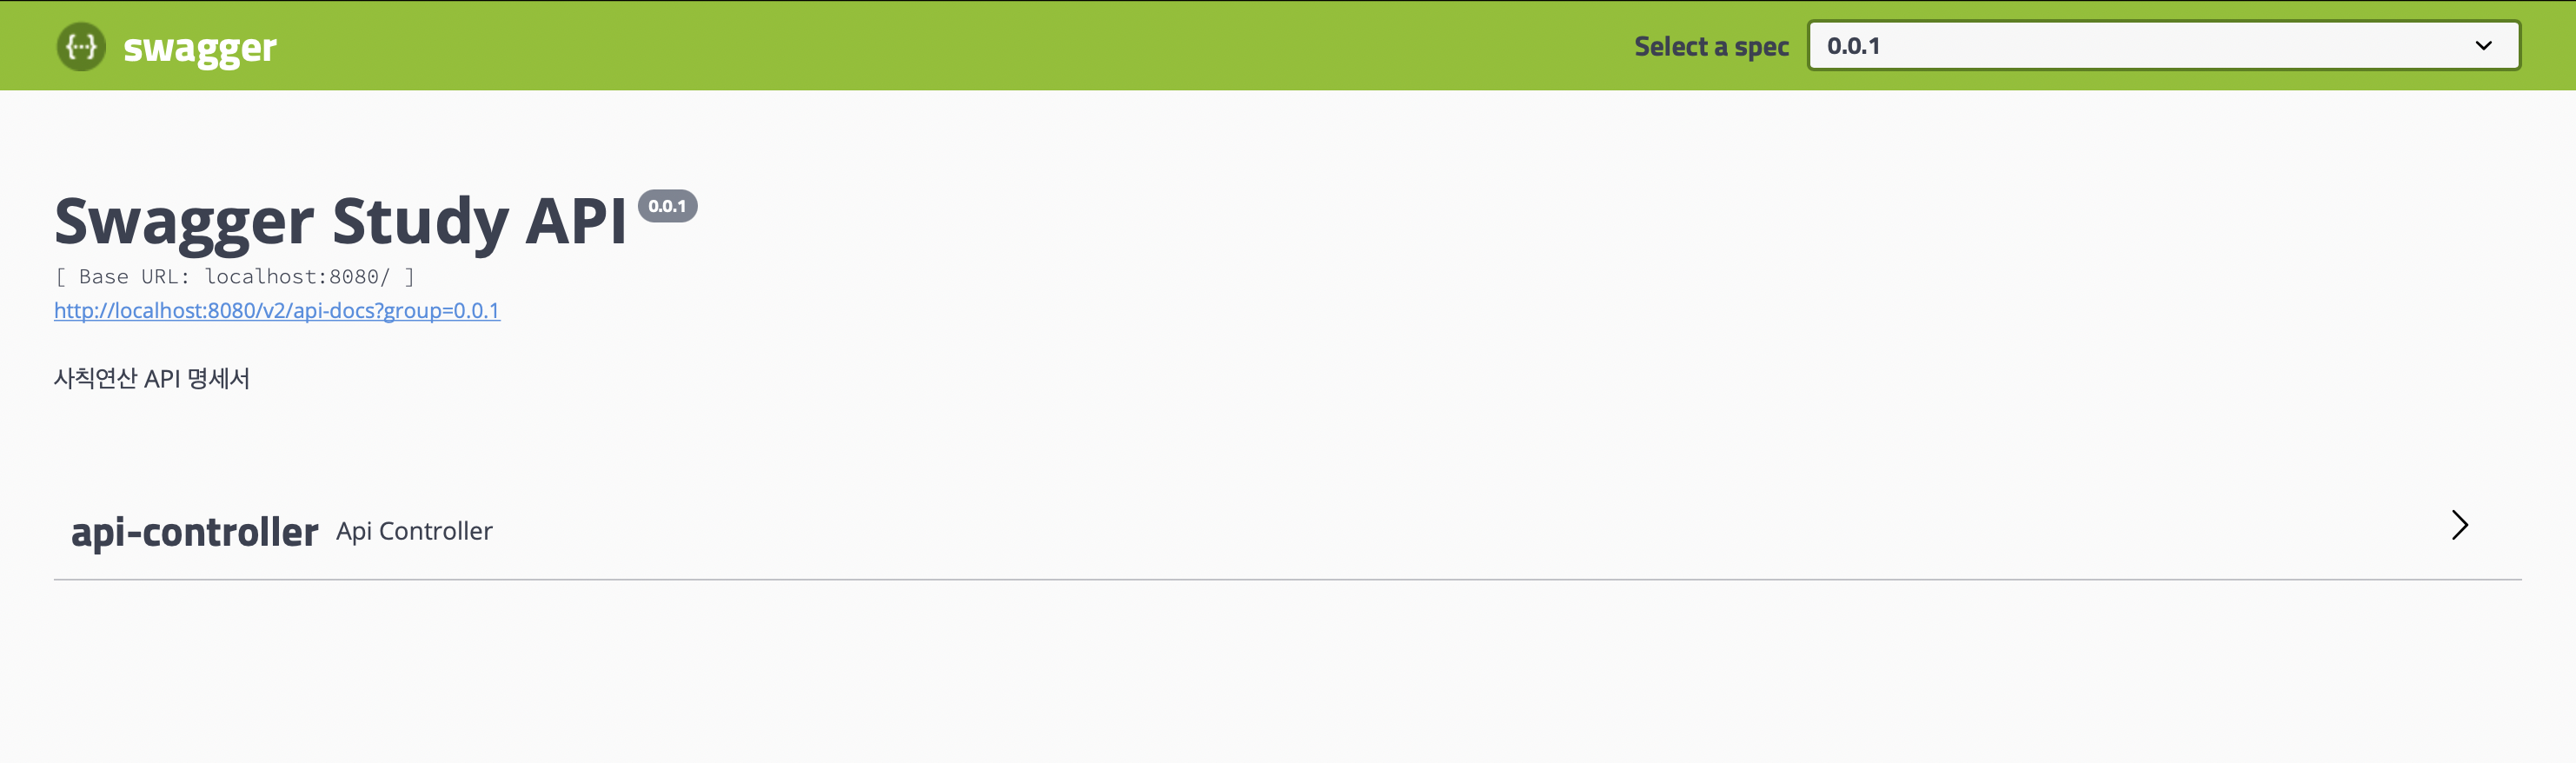
3-4. 결과 확인
이제 위 소스에 대한 Swagger ui를 확인해볼 차례이다.
Local에서 서버를 띄웠다는 가정 하에 url은 다음과 같다.
- swagger ui 주소
localhost:8080/swagger-ui.html
- 메인
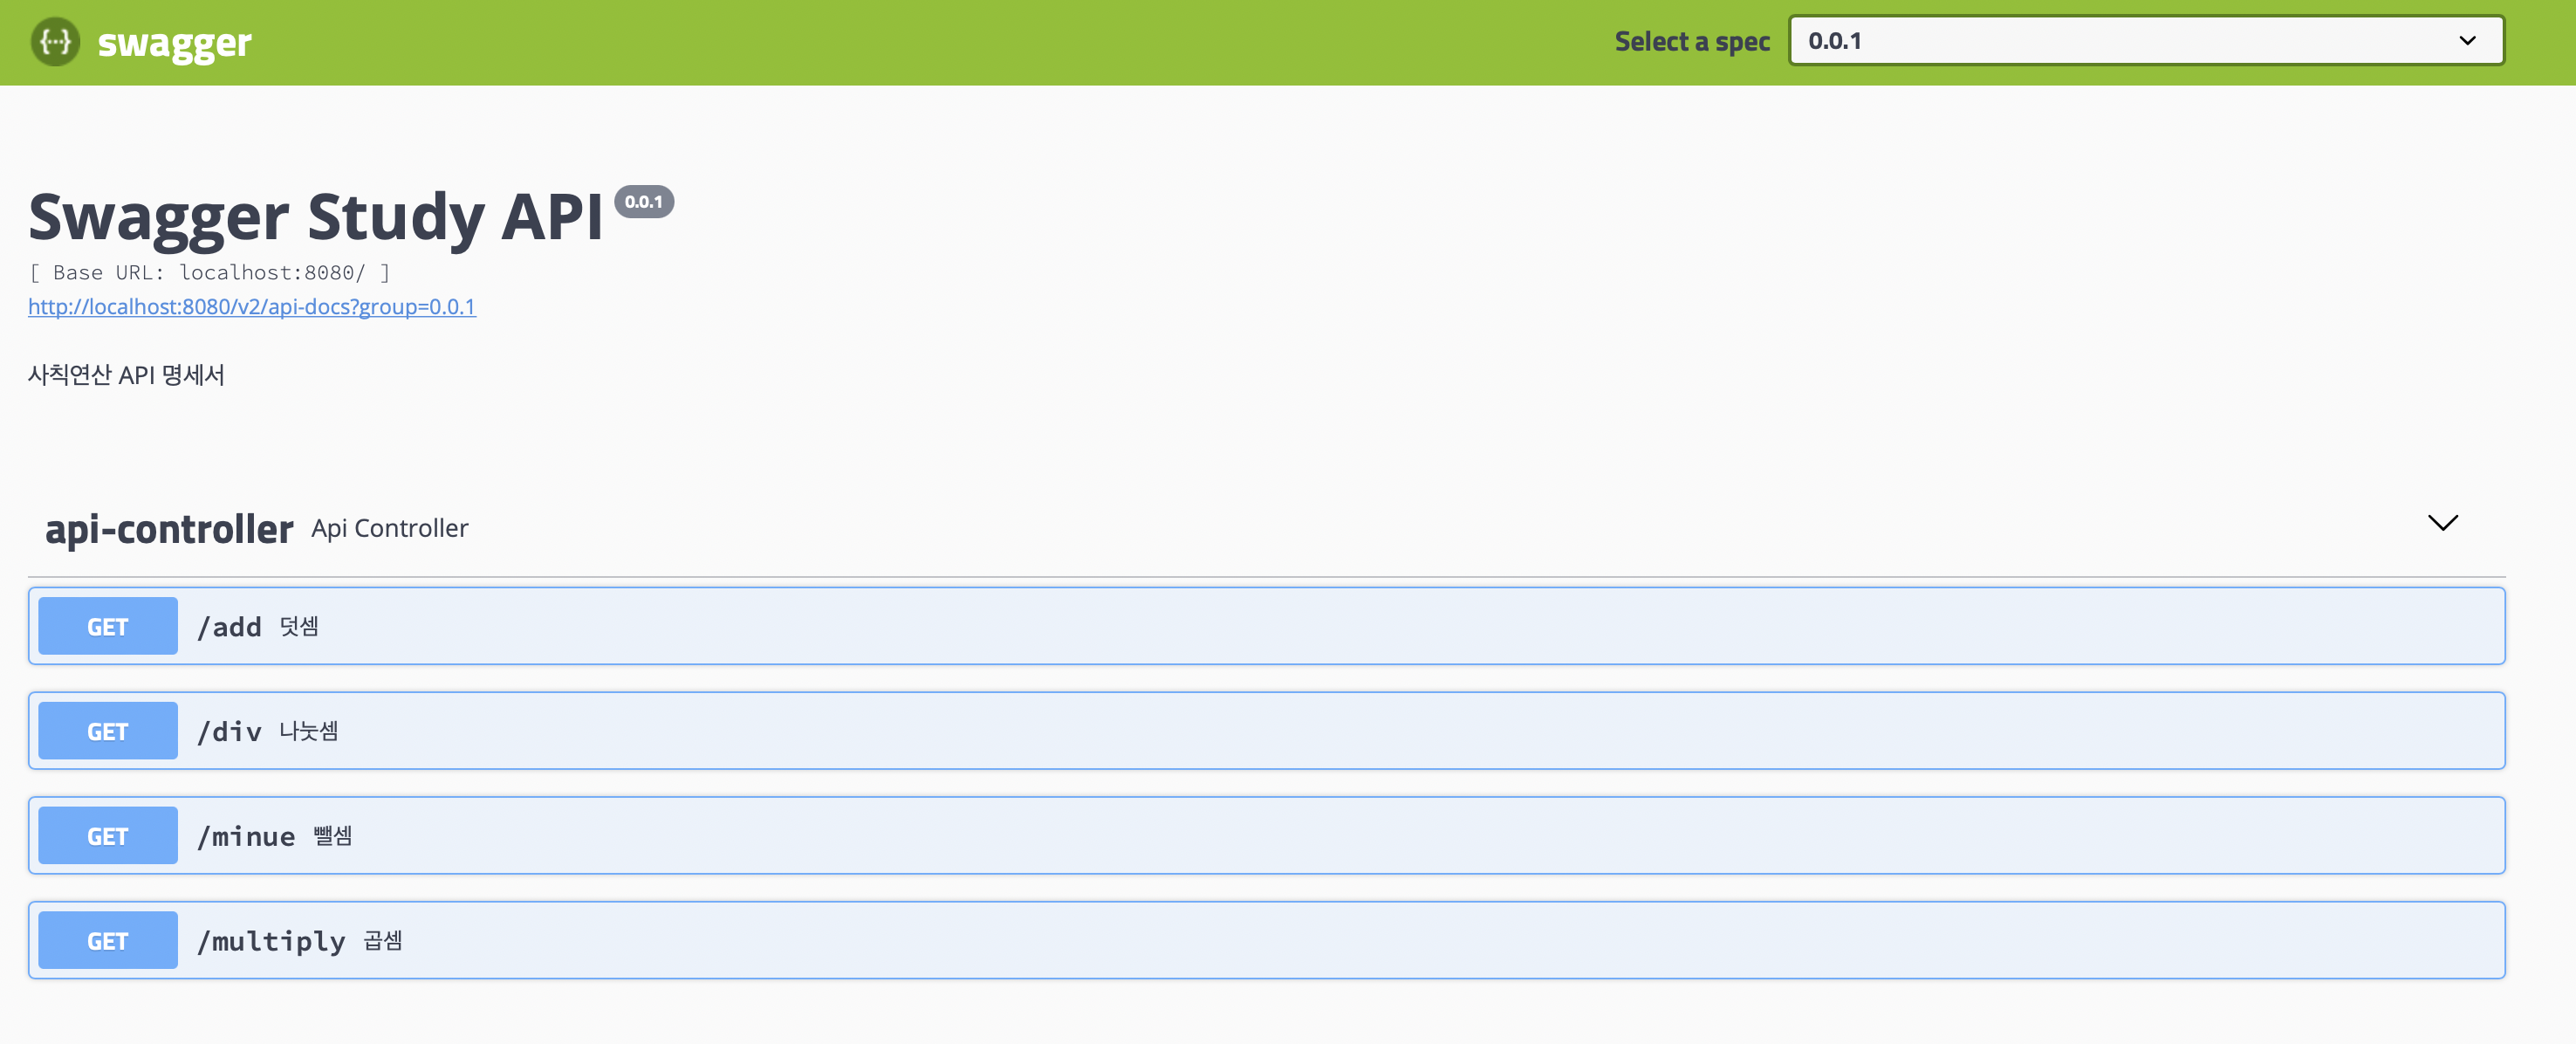
- api 리스트
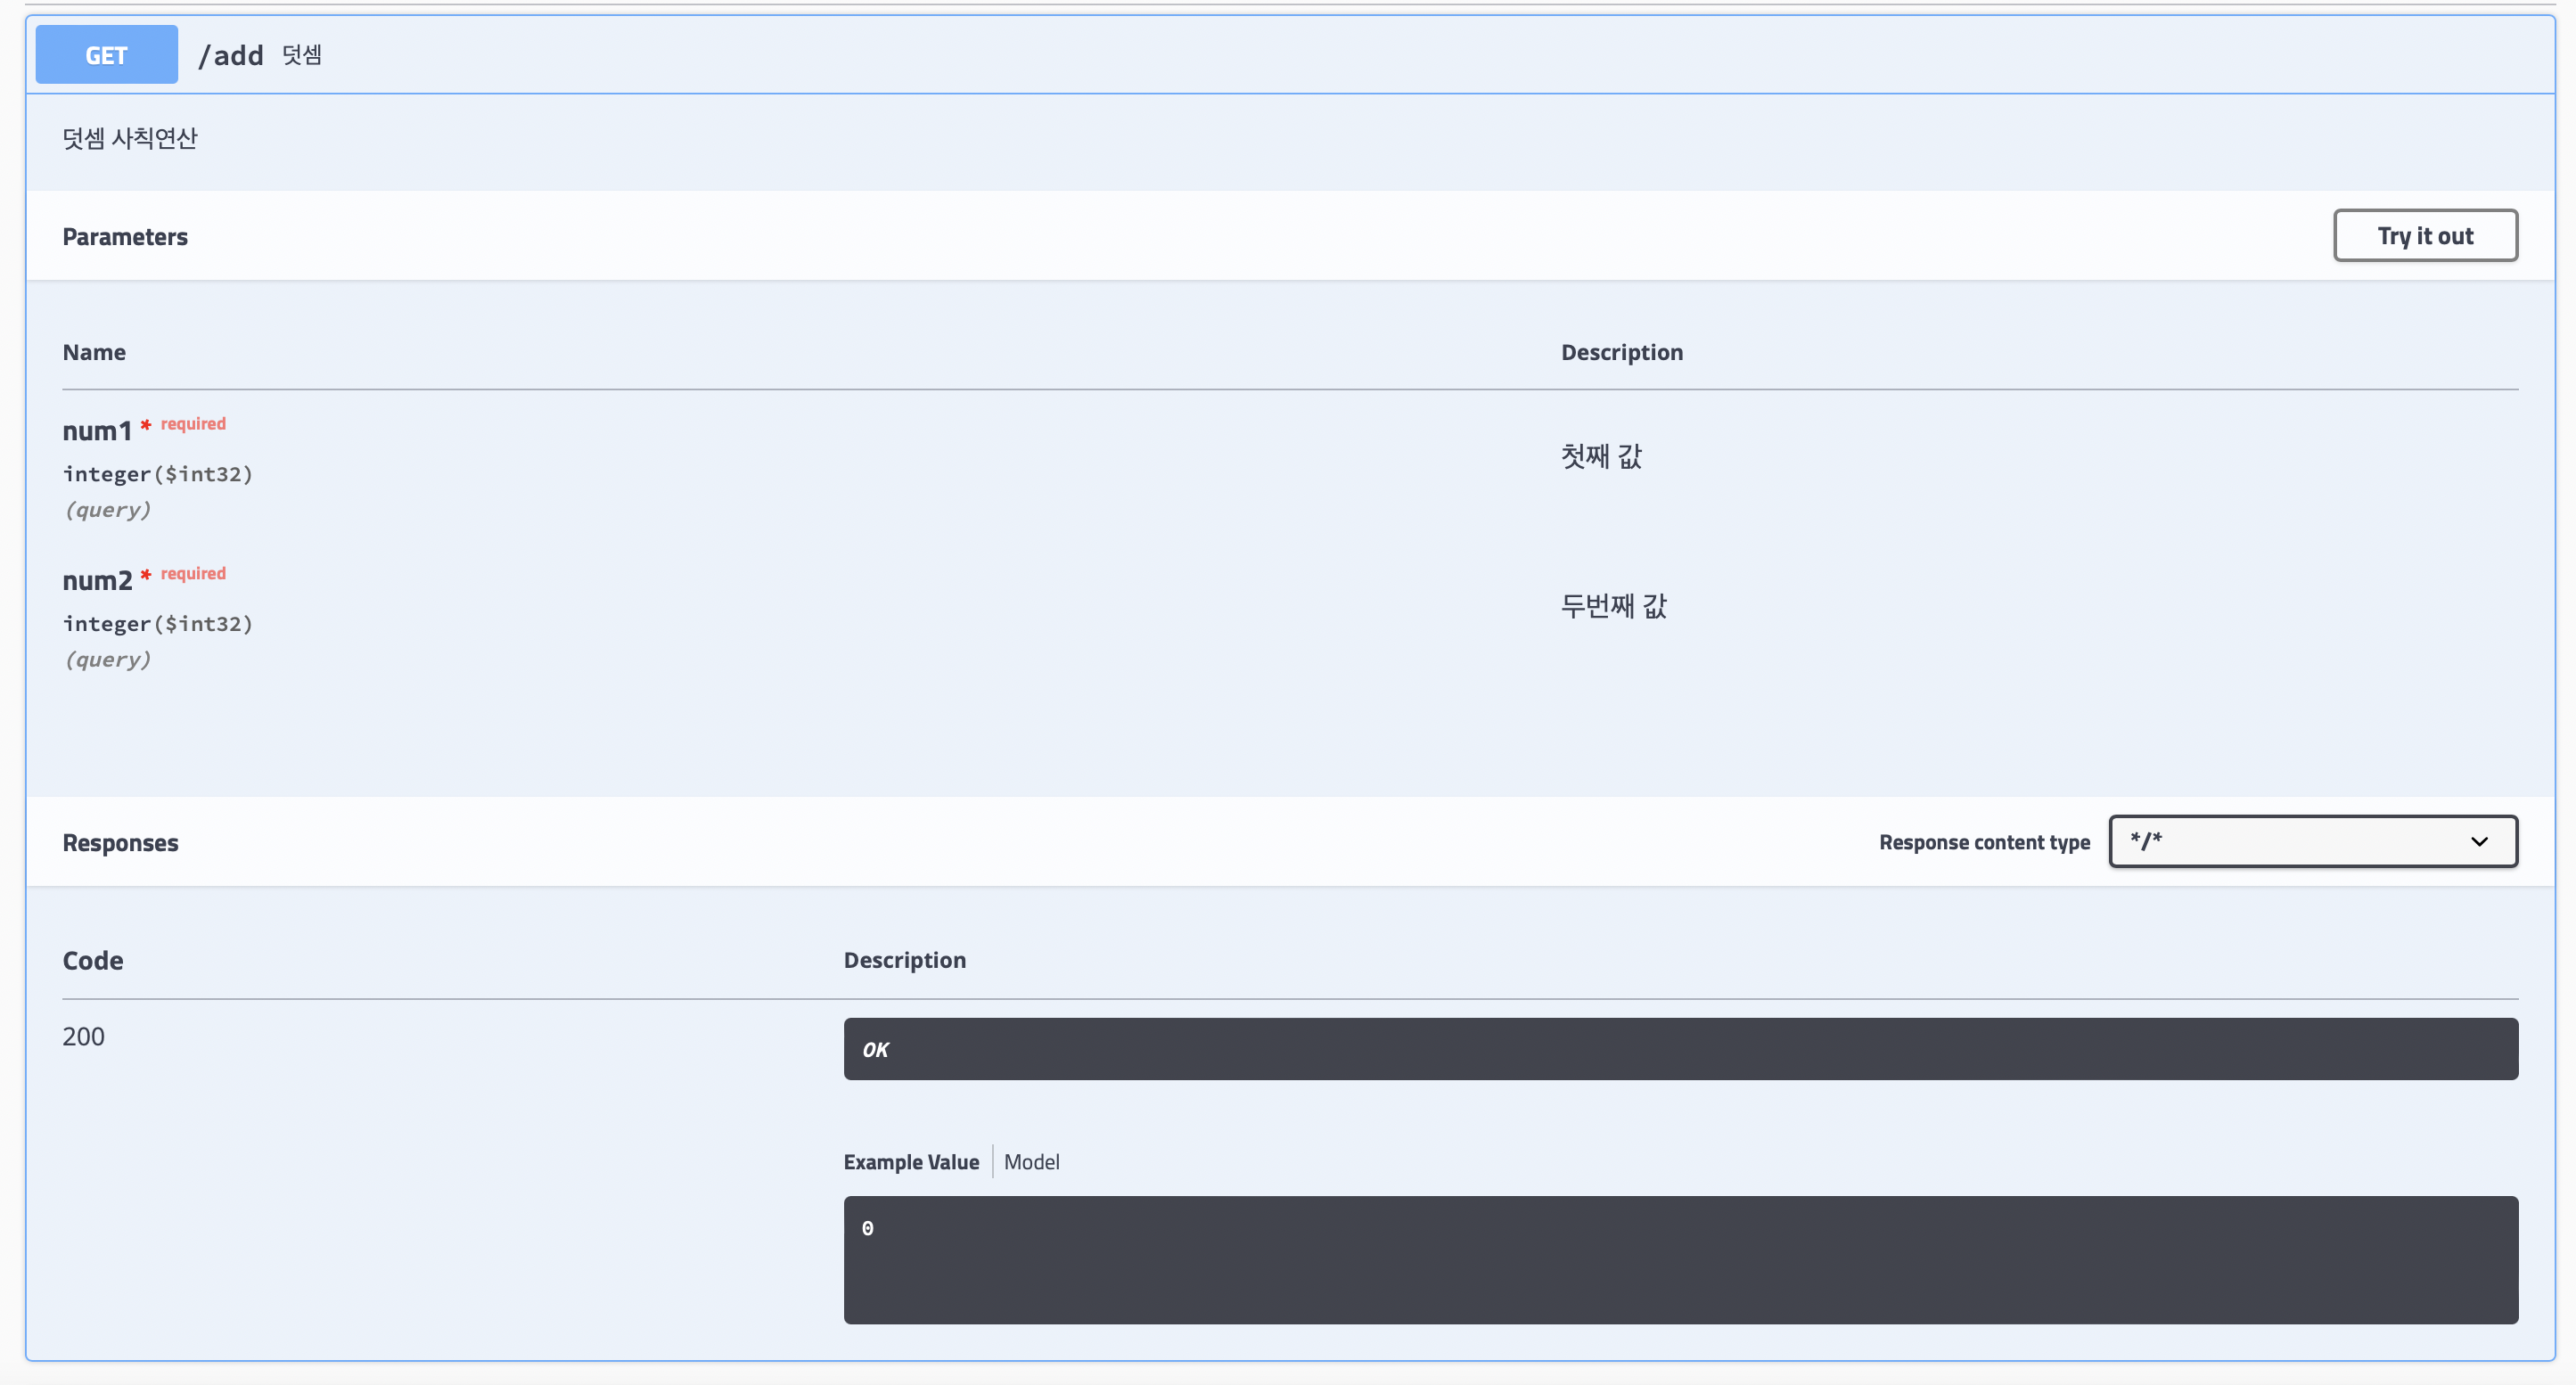
- request, response 세부 상세
전체 소스 git 링크
https://github.com/cho876/Study/tree/master/swaggerStudy