
스플래쉬 스크린 (Splash Screen)이란?
스플래쉬 스크린이란 일반적으로 애플리케이션 실행 시 페이지의 컨텐츠가 로딩되기까지 일시적으로 보여주는 화면을 말한다.
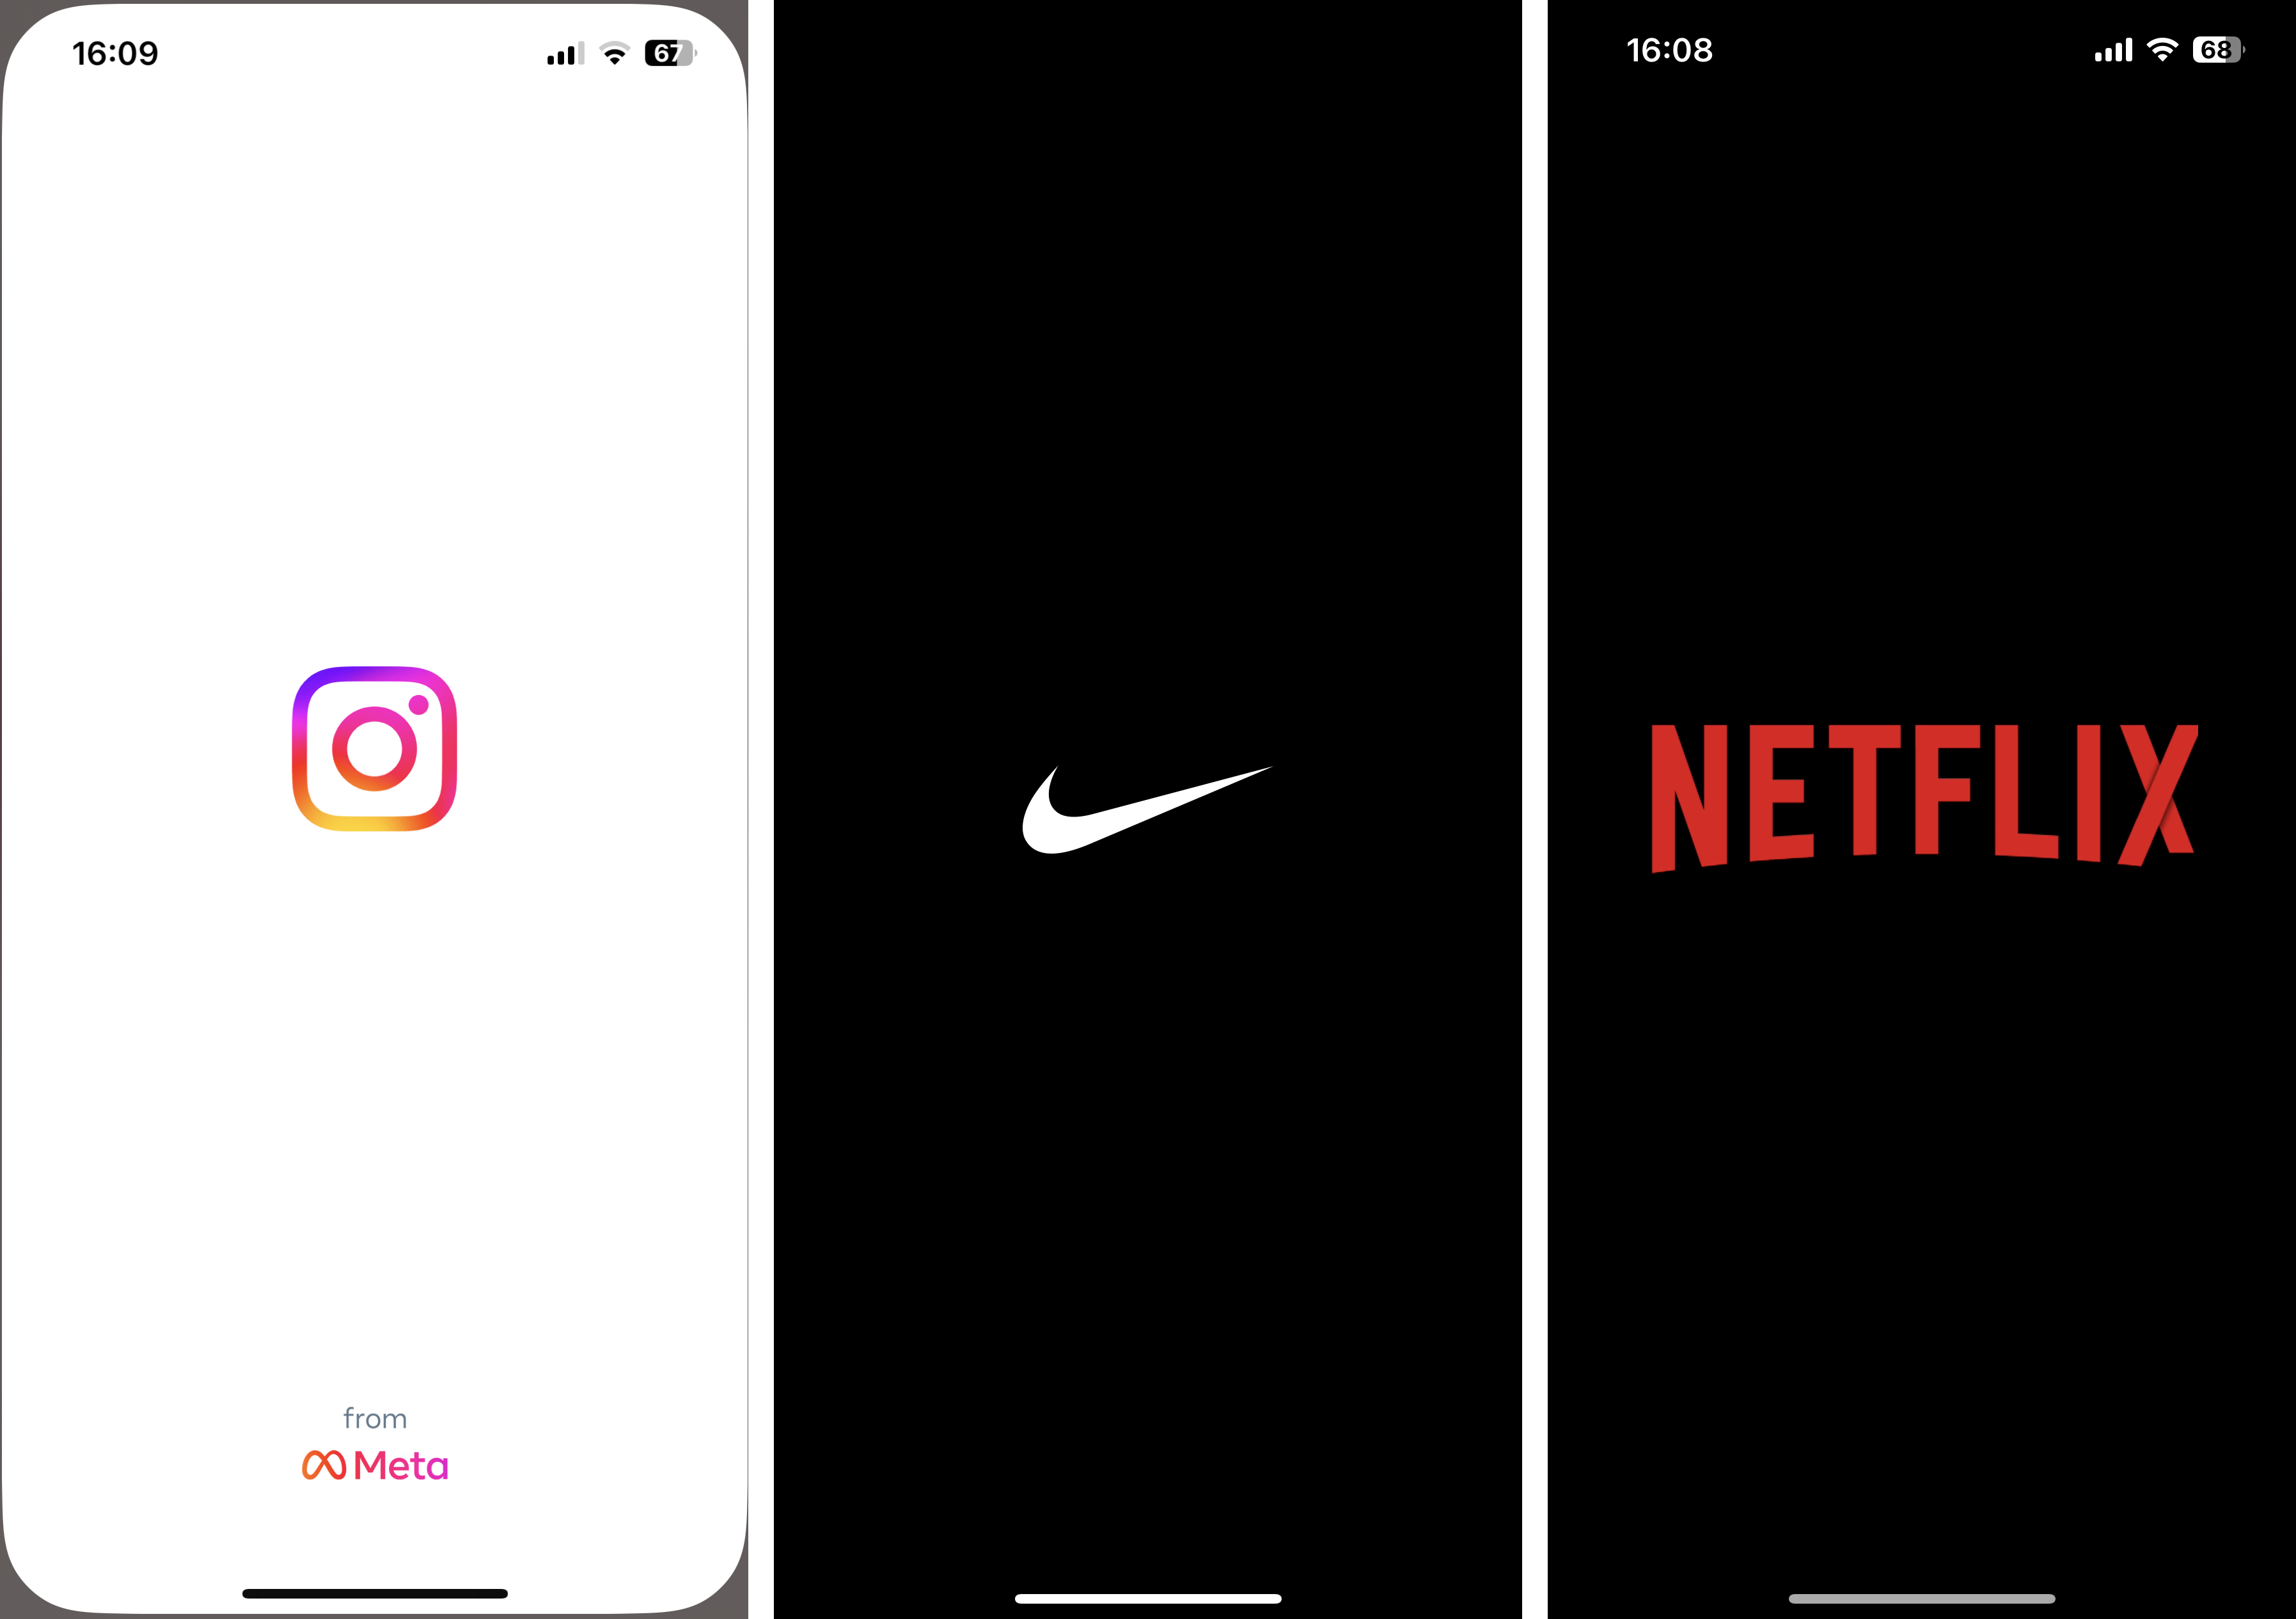
회원정보를 불러오거나 보여주기 싫은 처리를 하고 있을 때 스플래쉬 스크린을 띄어서 감추기도 한다.
리액트 네이티브에서는 iOS와 안드로이드 OS에 맞게 설정을 해줘야한다.
설치
먼저 라이브러리를 설치해보자
npm i react-native-splash-screen --save설치가 완료됐다면 ios에서는 cocoapod 실행 필수
cd ios
pod install
App.tsx
import SplashScreen from "react-native-splash-screen";

  useEffect(() => {
    setTimeout(() => {
      SplashScreen.hide();
    }, 1000); //스플래시 활성화 시간
  });
iOS
Image set
진행 중인 프로젝트의 ios 폴더를 xcode로 열어서 들어간다.
[프로젝트명]/[프로젝트명]/Images 를 클릭한 후 왼쪽 하단에 + 버튼을 클릭해서 Image set을 만든다.
준비한 이미지(png) 파일을 Image set에 아래와 같이 넣고
(세가지 사이즈(300px, 600px @x2, 900px @x3)의 png 파일을 끌어넣을 수 있다.)

LauchScreen
LaunchScreen으로 이동해 이미지 위치를 조정한다. 디바이스에 상관없이 중앙 정렬하려면 Align 에서 Horizontally in container와 Vertically in container를 체크하여 추가한다.
(이미지는 오른쪽 상단에 위치한 + 버튼을 클릭해서 가져온다.)

AppDelegate.m
AppDelegate.m으로 이동해 아래와 같이 코드를 추가한다.
기존 코드는 아래와 같이 되어 있을 것이다.
{
  self.moduleName = @"FirstApp";
  // You can add your custom initial props in the dictionary below.
  // They will be passed down to the ViewController used by React Native.
  self.initialProps = @{};

  return [super application:application didFinishLaunchingWithOptions:launchOptions];
}
위 코드를 아래와 같이 바꿔야 오류가 안난다.
{
  self.moduleName = @"FirstApp";
  // You can add your custom initial props in the dictionary below.
  // They will be passed down to the ViewController used by React Native.
  self.initialProps = @{};

  [super application:application didFinishLaunchingWithOptions:launchOptions];
  [RNSplashScreen show];  // 추가

  return YES; // 수정
}

실행
cmd + shift + k (clean), cmd + r(build) 실행하면 빌드가 완료되고 스플래시 스크린이 뜬다.
Android
MainActivity.java
[프로젝트명]/android/app/src/main 경로로 이동해서 MainActivity.java 파일에 아래와 같이 코드를 추가한다.
package com.firstapp;

import android.os.Bundle; // 추가

import com.facebook.react.ReactActivity;

import org.devio.rn.splashscreen.SplashScreen; // 추가


public class MainActivity extends ReactActivity {

  // 추가
  @Override
  protected void onCreate(Bundle savedInstanceState) {
    SplashScreen.show(this);
    super.onCreate(savedInstanceState);
  }


  (...)
}
launch_screen.xml
[프로젝트명]/android/app/src/main/res 폴더 안에 layout 폴더를 생성하고 launch_screen.xml 파일을 생성한다. 아래 코드를 추가한다.
<?xml version="1.0" encoding="utf-8"?>
<RelativeLayout xmlns:android="http://schemas.android.com/apk/res/android"
    android:orientation="vertical" android:layout_width="match_parent"
    android:layout_height="match_parent">
    <ImageView android:layout_width="match_parent" android:layout_height="match_parent" android:src="@drawable/launch_screen" android:scaleType="centerCrop" />
</RelativeLayout>
drawableXX/launch_screen.png
준비된 splash 이미지들을 [프로젝트명]/android/app/src/main/res 폴더 안에 아래와 같이 넣는다. 생성된 이미지 파일을 res/의 적절한 하위 디렉터리에 배치하면 시스템에서 앱이 실행되는 기기의 픽셀 밀도에 따라 자동으로 알맞은 크기를 선택한다.
- Image set은 여기서 만들면 된다.
- 안드로이드 픽셀 밀도
(❗️ 기존 가지고 있던 이미지들 파일명은 launch_screen.png로 변경해야한다.)
    res/
      drawable-xxxhdpi/
        awesome-image.png
      drawable-xxhdpi/
        awesome-image.png
      drawable-xhdpi/
        awesome-image.png
      drawable-hdpi/
        awesome-image.png
      drawable-mdpi/
        awesome-image.png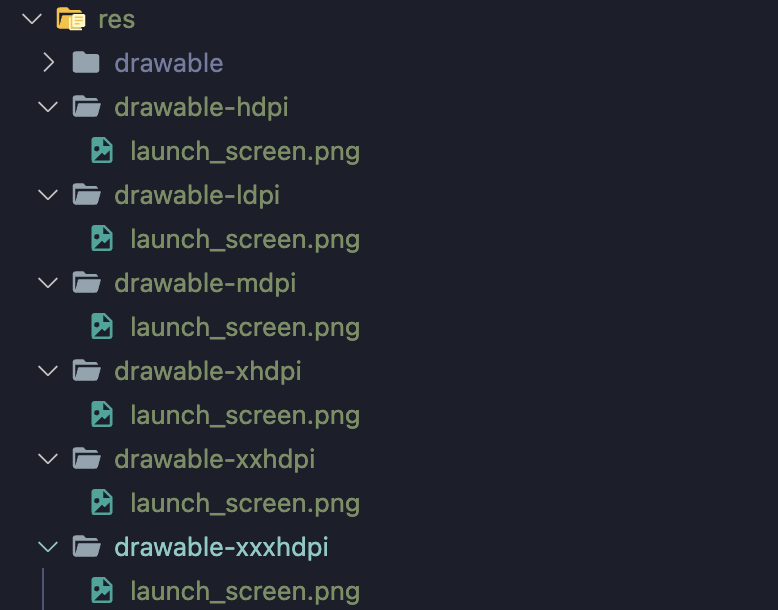
실행
cd android && ./gradlew clean
npm run android
Reference

2개의 댓글

!추가로 AppDelegate에서
최상단에 밑에 로직 추가해야 하는 말은 안나와 있어서 xcode에서 컴파일 에러 뜨시는 분들 아래 코드 추가해주세요
#import "RNSplashScreen.h"
좋은 정보 감사합니다.
저는 RN 0.73.6 이고 react-native-splash-screen 은 3.3.0 인데
스플래시 이미지가 나온 다음 없어지지 않는 현상이 있었습니다.
찾아보니 0.72.* 부터 인지 작동이 안된다고 하네요.
AppDelegate.mm 파일의 리턴값을 바꿔야 하나 봅니다.
https://github.com/crazycodeboy/react-native-splash-screen/issues/71#issuecomment-1743383657