부트스트랩, 제이쿼리 사용
이전에 PostsApiController에 등록, 수정, 읽기 api를 다 만들어놨으니 이제는 화면을 만들겠다.
부트스트랩을 이용해서 좀 더 이쁘게 만들어 보겠다.
부트스트랩, 제이쿼리 등 프론트엔드 라이브러리 사용 방법
1. CDN으로 받아오기
2. 직접 라이브러리 다운
나는 귀찮으니 CDN을 쓰겠다. 원래는 이전에 머스테치로 만들었던 거에 직접 추가하면 되지만 레이아웃 방식으로 추가해 보겠다.(쓸 때마다 코드 추가는 귀찮으니까~)
- 레이아웃 방식
공통 영역을 별도의 파일로 분리해 필요한 곳에서 가져다 쓰는 방식
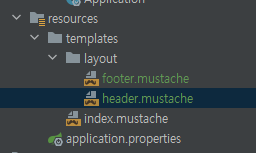 레이아웃 폴더를 만들고 따로 헤더와 푸터에 공통적으로 들어갈 수 있도록 파일 추가
-
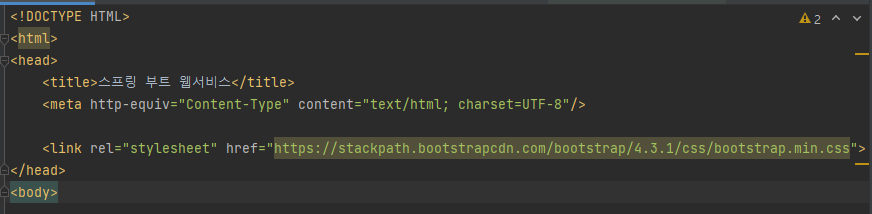
header
-
footer

페이지 로딩속도를 높이기 위해 css는 header에 js는 footer에 넣었다.
(헤더 로딩이 늦어질수록 화면에 아무것도 안 뜨는 시간이 길어지기 때문)
bootstrap.js의 경우 제이쿼리가 꼭 있어야 하기 때문에 제이쿼리를 먼저 선언했다.
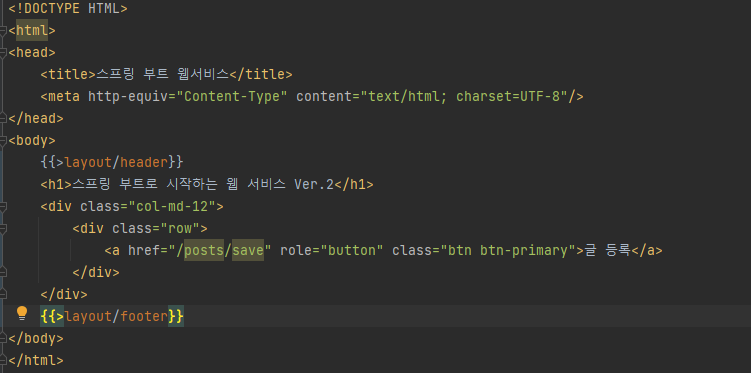
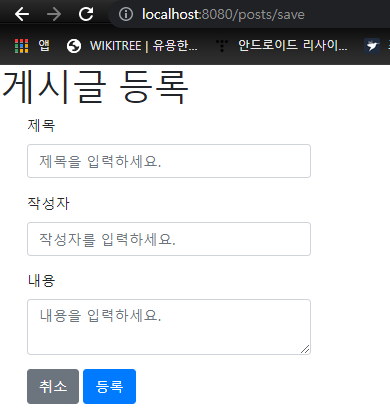
- index.mustache
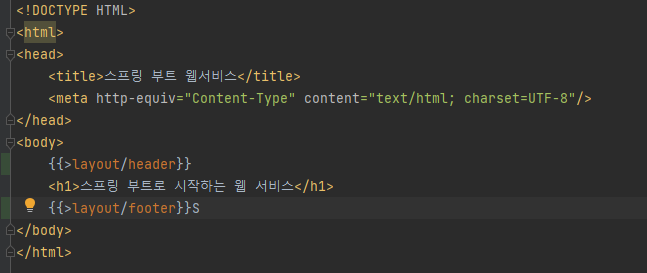
등록
-
index.
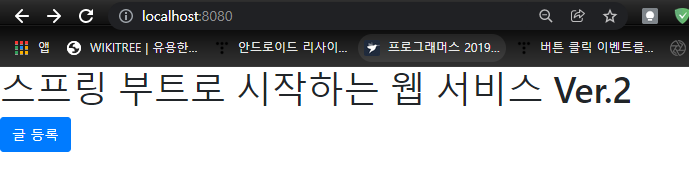
등록버튼을 추가해보았다.
-
IndexController
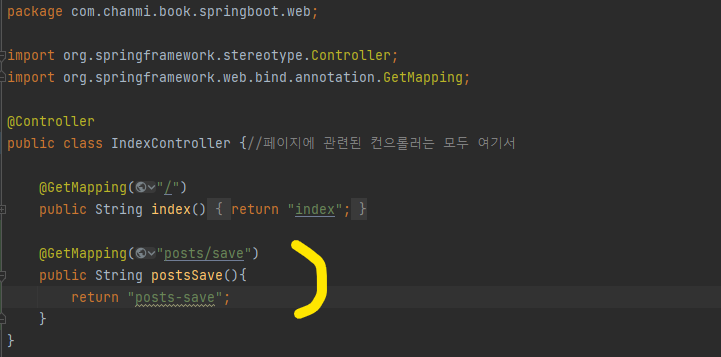 posts/save 주소로 접근하면 posts-save 화면을 반환해준다.
 -
post-save.mustache
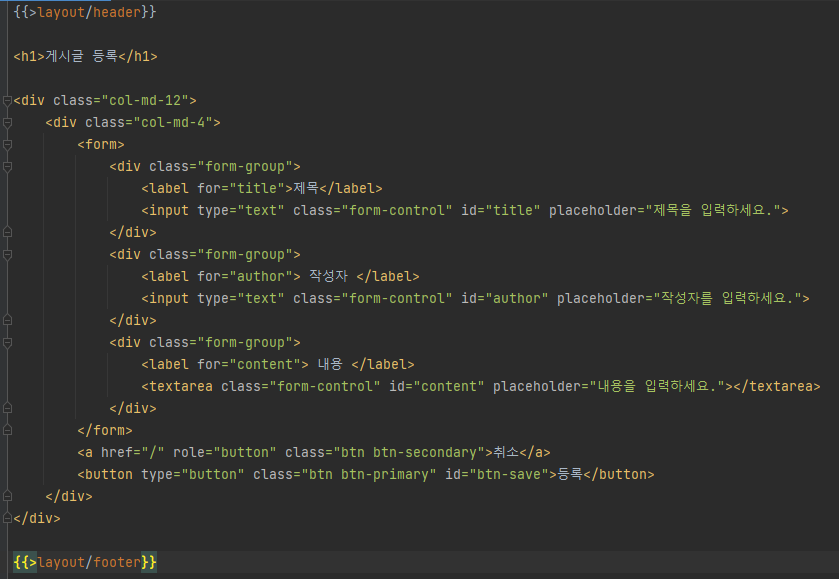
지금은 화면만 만들었지 아직 기능이 없음
js 쓰기 위해서 src/main/resources에 static/js/app 생성
그 안에 index.js를 생성한다.
- index.js
var main = {
    init : function (){
        var _this = this;
        $('#btn-save').on('click', function(){
            _this.save();
        })
    },
    save : function () {
        var data = {
            title: $('#title').val(),
            author:$('#author').val(),
            content:$('#content').val()
    };

        $.ajax({
            type: 'POST',
            url: '/api/v1/posts',
            dataType: 'json',
            contentType: 'application/json; charset=utf-8',
            data: JSON.stringify(data)
        }).done(function(){//글 등록이 성공하면 메인페이지(/)로 이동
            alert('글이 등록되었습니다.');
            window.location.href = '/';
        }).fail(function (error){
            alert(JSON.stringify(error));
        });
    }
};

main.init();

//TIP!!!!!!!!!!!!!!!!!!!!!!!!!!!!!
//왜 굳이 var main = {...}를 통해 index라는 변수의 속성으로 function에 추가했을까?
//여러 function이 있을 때 이름이 겹치면 먼저 로딩된 js의 function이 이전 거를 덮어쓰게 될 수 있다.
//그렇다고 사람들이 다 function 이름을 확인하면서 만들 수 없기 때문에 자신만의 유효범위를 만드는 것이다.
//여기서는(index.js) var main을 만들어 해당 객체에 필요한 모든 function을 선언하여 유효범위를 만들었다.
이제 js에서는 화면에서 등록 버튼을 누르면 /api/v1/posts로(등록 api-PostsApiController) 호출하여 실제 등록처리가 되도록 한다.
이렇게 생성된 index.js를 머스테치 파일이 쓸 수 있게 footer.mustache에 추가한다.
- footer
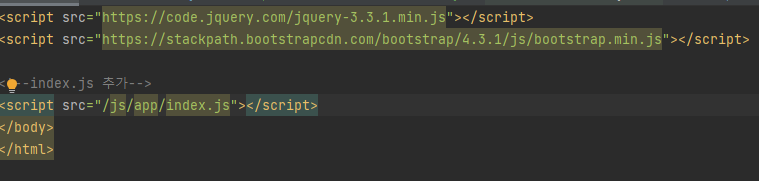
스프링부트에서는 기본적으로 src/main/resources/static에 위치한 자바스크립트, CSS, 이미지 등 정적 파일들을 URL에서 '/'로 설정된다.
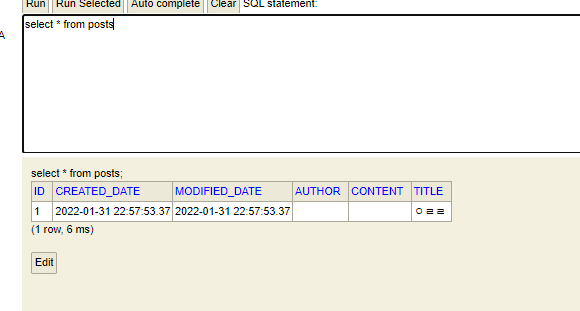 실제로 등록해봄
전체 조회
<!DOCTYPE HTML>
<html>
<head>
    <title>스프링 부트 웹서비스</title>
    <meta http-equiv="Content-Type" content="text/html; charset=UTF-8"/>
</head>
<body>
    {{>layout/header}}
    <h1>스프링 부트로 시작하는 웹 서비스 Ver.2</h1>
    <div class="col-md-12">
        <div class="row">
            <div class="col-md-6">
                <a href="/posts/save" role="button" class="btn btn-primary">글 등록</a>
            </div>
        </div>
    </div>
    <br>
    <!-- 목록 출력 영역 -->
    <table class="table table-horizontal table-bordered">
        <thead class="thead-strong">
        <tr>
            <th>게시글번호</th>
            <th>제목</th>
            <th>작성자</th>
            <th>최종수정일</th>
        </tr>
        </thead>
        <tbody id="tbody">
        {{#posts}}
            <tr>
                <td>{{id}}</td>
                <td>{{title}}</td>
                <td>{{author}}</td>
                <td>{{modifiedDate}}</td>
            </tr>
        {{/posts}}
        </tbody>
    </table>
    {{>layout/footer}}
</body>
</html>
전체 조회를 위해 코드를 좀 바꿨다.
- 머스테치 문법
- {{#posts}}
posts라는 List를 순회
Java의 for문과 동일- {{id}} 등의 {{변수명}}
List에서 뽑아낸 객체의 필드 사용
- PostsRepository

전체 셀렉트 해서 리스트로 반환하는 메소드
SpringDataJpa에서 제공하지 않는 메소드는 위처럼 쿼리로 작성해도 된다.
SpringDataJpa에서 제공하는 메소드만으로 해결 가능하나 선택 사용 가능
- PostsService
package com.chanmi.book.springboot.service.posts;

import com.chanmi.book.springboot.domain.posts.Posts;
import com.chanmi.book.springboot.domain.posts.PostsRepository;
import com.chanmi.book.springboot.web.dto.PostsListResponseDto;
import com.chanmi.book.springboot.web.dto.PostsResponseDto;
import com.chanmi.book.springboot.web.dto.PostsSaveRequestDto;
import com.chanmi.book.springboot.web.dto.PostsUpdateRequestDto;
import lombok.RequiredArgsConstructor;
import org.springframework.stereotype.Service;
import org.springframework.transaction.annotation.Transactional;

import java.util.List;
import java.util.stream.Collectors;

@RequiredArgsConstructor
@Service
public class PostsService {
    private final PostsRepository postsRepository;

    @Transactional
    public Long save(PostsSaveRequestDto requestDto){
        return postsRepository.save(requestDto.toEntity()).getId();
    }

    @Transactional
    public Long update(Long id, PostsUpdateRequestDto requestDto){
        Posts posts = postsRepository.findById(id).orElseThrow(() -> new IllegalArgumentException("해당 게시글이 없습니다. id=" + id));

        posts.update(requestDto.getTitle(), requestDto.getContent());

        return id;
    }

    public PostsResponseDto findById(Long id){
        Posts entity = postsRepository.findById(id).orElseThrow(() -> new IllegalArgumentException("해당 게시글이 없습니다. id=" + id));

        return new PostsResponseDto(entity);
    }

    //트랜잭션 범위는 유지하되, 조회 기능만 남겨두어 조회 속도가 개선 => 등록/수정/삭제 기능이 전혀 없는 서비스 메소드에서 사용
    @Transactional(readOnly = true)
    public List<PostsListResponseDto> findAllDesc(){
        return postsRepository.findAllDesc().stream()
                //람다식 >> map(posts -> new PostsListResponseDto(posts))
                //postsRepository 결과로 넘어온 Posts의 Stream을 map을 통해 PostsListResponseDto 변환 -> List로 반환
                .map(PostsListResponseDto::new)
                .collect(Collectors.toList());
    }
}- PostsListResponseDto
package com.chanmi.book.springboot.web.dto;

import com.chanmi.book.springboot.domain.posts.Posts;
import lombok.Getter;

import java.time.LocalDateTime;

@Getter
public class PostsListResponseDto {
    private Long id;
    private String title;
    private String author;
    private LocalDateTime modifiedDate;

    public PostsListResponseDto(Posts entity){
        this.id = entity.getId();
        this.title = entity.getTitle();
        this.author = entity.getAuthor();
        this.modifiedDate = entity.getModifiedDate();
    }
}- IndexController
package com.chanmi.book.springboot.web;

import com.chanmi.book.springboot.service.posts.PostsService;
import lombok.RequiredArgsConstructor;
import org.springframework.stereotype.Controller;
import org.springframework.ui.Model;
import org.springframework.web.bind.annotation.GetMapping;

@RequiredArgsConstructor
@Controller
public class IndexController {//페이지에 관련된 컨으롤러는 모두 여기서

//    @GetMapping("/")
//    public String index(){
//        return "index";
//    }

    private final PostsService postsService;

    @GetMapping("/")
    public String index(Model model){
        model.addAttribute("posts", postsService.findAllDesc());

        return "index";
    }

    @GetMapping("posts/save")
    public String postsSave(){
        return "posts-save";
    }
}
여기서 Model은 서버 템플릿 엔진에서 사용할 수 있는 객체를 저장하는 거
postsService.findAllDesc()로 가져온 결과를 posts로 index.mustache에 전달
indexController에 /로 호출하면 postsService에서 findAllDesc() 호출하고 거기서는 postsRepository에서 셀렉트 해온 값 반환 -> 서비스에서 다시 리스트로 반환 -> 컨트롤러에서 반환받은 값 모델에 넣어서 화면에 뿌려줌

근데 왜 등록된 내용이 사라진거 같지,,?(나중에 알아보기)
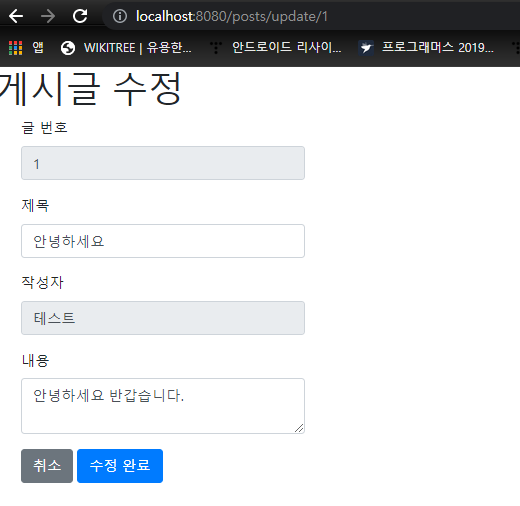
수정
게시글 수정은 이미 전에 api 만들어놓음
- posts-update
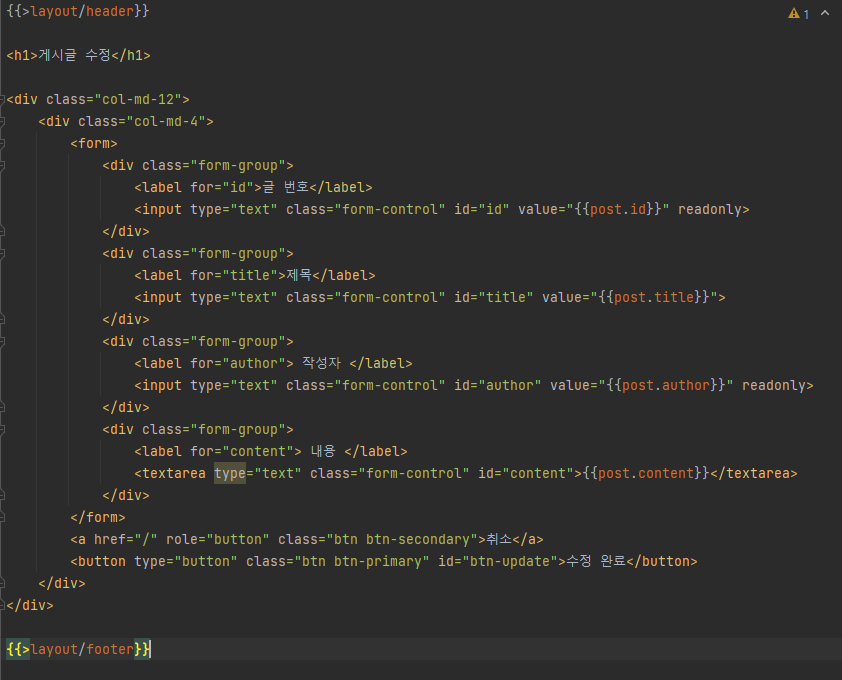
수정 화면은 끝!
js에 수정 api를 호출하는 걸 추가하자
- index.js
var main = {
init : function (){
var _this = this;
$('#btn-save').on('click', function(){
_this.save();
})
$('#btn-update').on('click', function(){
_this.update();
})
},
save : function () {
var data = {
title: $('#title').val(),
author:$('#author').val(),
content:$('#content').val()
};
$.ajax({
type: 'POST',
url: '/api/v1/posts',
dataType: 'json',
contentType: 'application/json; charset=utf-8',
data: JSON.stringify(data)
}).done(function(){//글 등록이 성공하면 메인페이지(/)로 이동
alert('글이 등록되었습니다.');
window.location.href = '/';
}).fail(function (error){
alert(JSON.stringify(error));
});
},
update : function () {
var data = {
title: $('#title').val(),
content: $('#content').val()
};
var id = $('#id').val();
$.ajax({
type: 'PUT',
url: '/api/v1/posts/'+id,
dataType: 'json',
contentType: 'application/json; charset=utf-8',
data: JSON.stringify(data)
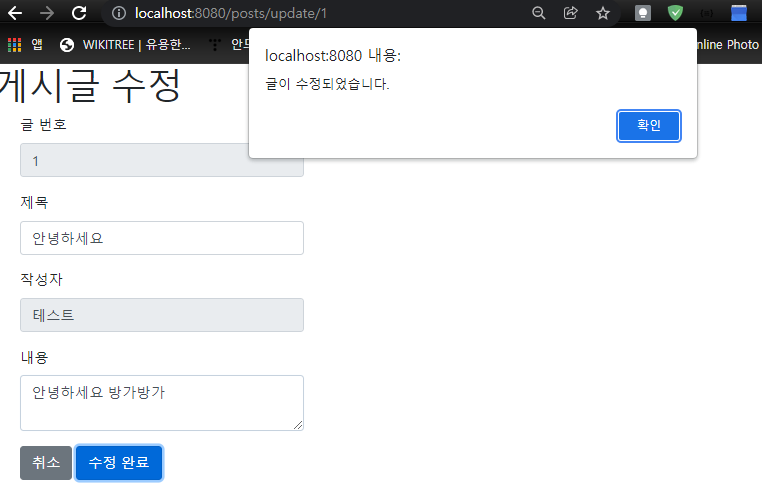
}).done(function(){
alert('글이 수정되었습니다.');
window.location.href = '/';
}).fail(function(error){
alert(JSON.stringify(error));
});
}
};
main.init();
//왜 굳이 var main = {...}를 통해 index라는 변수의 속성으로 function에 추가했을까?
//여러 function이 있을 때 이름이 겹치면 먼저 로딩된 js의 function이 이전 거를 덮어쓰게 될 수 있다.
//그렇다고 사람들이 다 function 이름을 확인하면서 만들 수 없기 때문에 자신만의 유효범위를 만드는 것이다.
//여기서는(index.js) var main을 만들어 해당 객체에 필요한 모든 function을 선언하여 유효범위를 만들었다.
컨트롤러에서 매핑을 PutMapping으로 했기 때문에 PUT으로 맞춰줘야함
-
index.mustache 수정
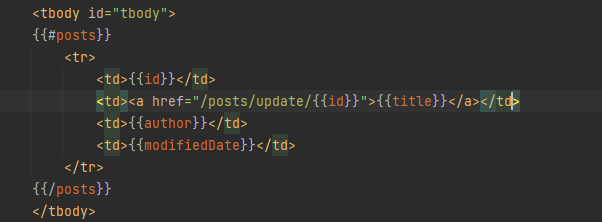
제목을 클릭하면 수정 화면으로 넘어가도록 -
IndexController
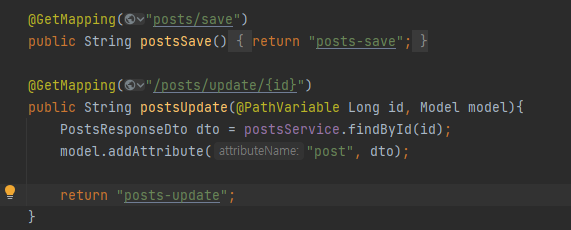
업데이트 url로 들어오면 아이디에 따라 dto 받아와서 model에 넣어주고 update 화면으로 넘어가 뿌려준다.
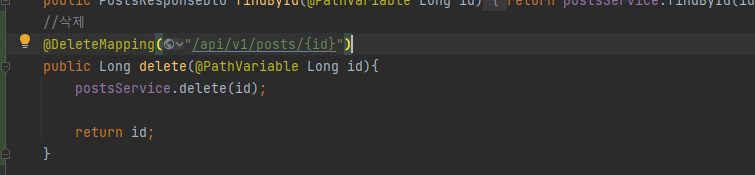
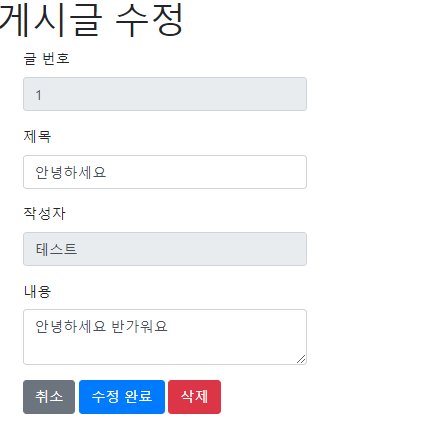
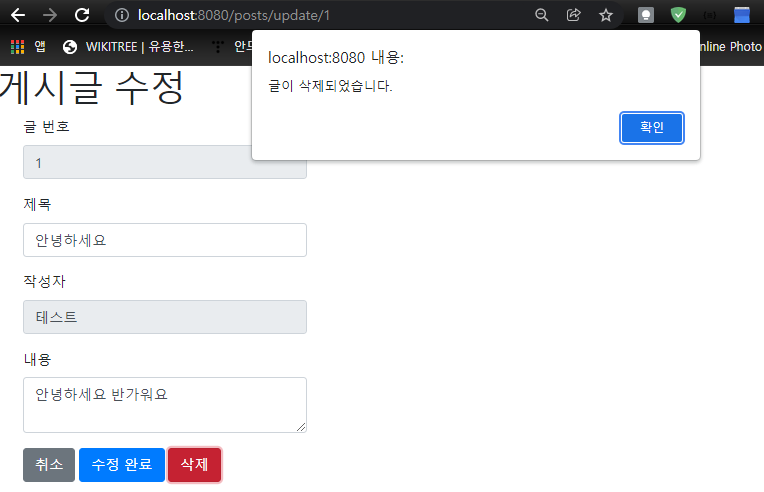
삭제
-
posts-update 수정
 밑에 삭제 추가
 -
index.js 추가
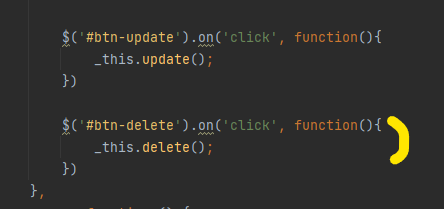
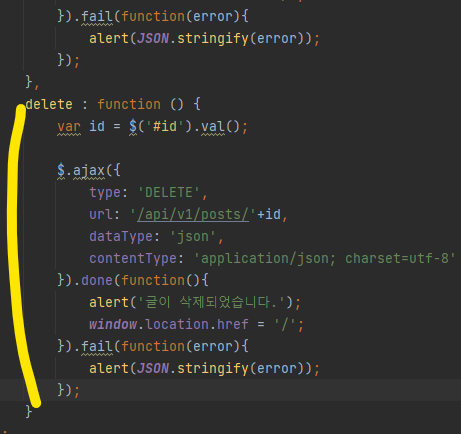
-
PostsService 추가
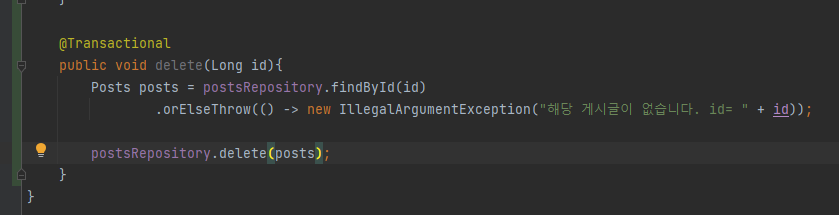
-
PostsApiController 추가