프로젝트 생성
gradle 프로젝트를 이용하고 lombok, spring web, jpa, mysql을 추가한다.
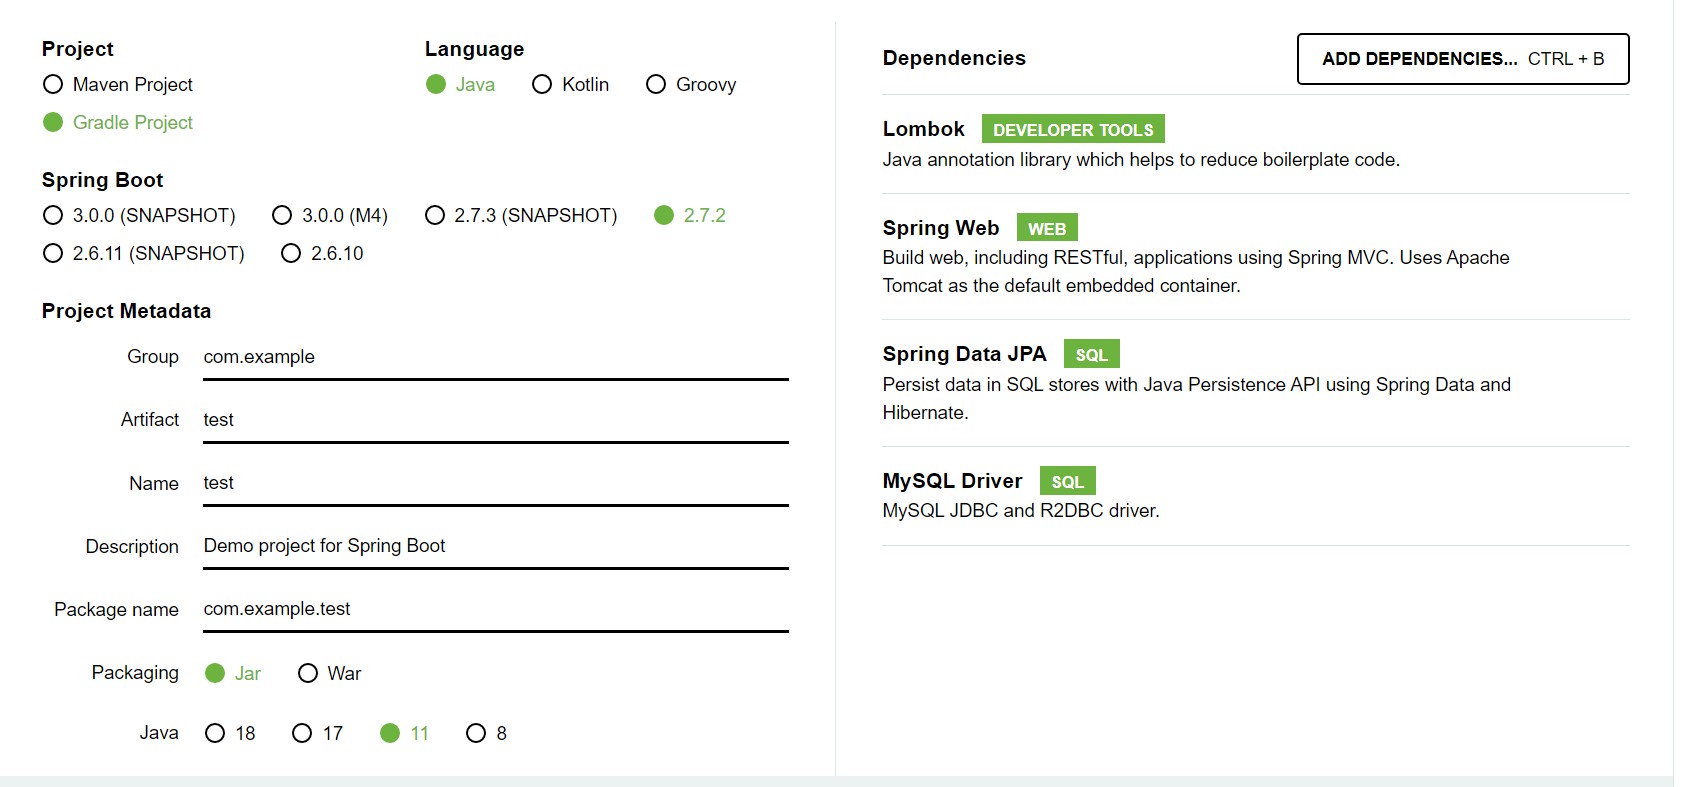
이전 포스트들을 보면 알 수 있다시피 IDE는 IntelliJ IDEA를 사용한다.
application.properties
JPA 설정
spring.jpa.open-in-view=true
spring.jpa.hibernate.ddl-auto= create
spring.jpa.hibernate.naming.physical-strategy=org.hibernate.boot.model.naming.PhysicalNamingStrategyStandardImpl
spring.jpa.hibernate.use-new-id-generator-mappings=false
spring.jpa.show-sql=true-
ddl-auto
DDL 사용하여 데이터베이스에 대한 동작 처리
-update: 기존 테이블이 삭제되지 않고 유지
-create: 프로젝트가 재실행 될 때마다 기존 테이블이 삭제되고 새로 생성된다. -
use-new-id-generator-mappings
-true인 경우 : JPA가 제공하는 기본 넘버링 전략을 사용한다는 뜻
-false인 경우 : 위와 반대 -
show-sql=true
콘솔창에 적히는 sql문을 정렬하여 보여줄지에 대한 설정
true로 설정해야 보기 편하게 출력된다
Datasource 설정
spring.datasource.driver-class-name=com.mysql.cj.jdbc.Driver
spring.datasource.url=jdbc:mysql://localhost:3306/User
spring.datasource.username= MySql 계정
spring.datasource.password= MySql 비밀번호
기타 설정
server.servlet.context-path=/board
server.servlet.encoding.charset=UTF-8
server.servlet.encoding.enabled=true
server.servlet.encoding.force=true
server.port=8812
spring.mvc.pathmatch.matching-strategy=ant_path_matcher
spring.mvc.pathmatch.matching-strategy=ant_path_matcher
-swagger를 사용하기 위한 설정 추후에 다시 설명합니다!
