목표: 브라우저의 confirm을 대신할 modal을 직접 만들어보자
참고 링크
https://stackabuse.com/how-to-create-a-confirmation-dialogue-in-vue-js (vue2)
구현 (Vue 3)
https://codesandbox.io/s/bidonggi-modal-4in0z
필요 컴포넌트 (자식 > 부모 순)
- Modal.vue
- ConfirmationModal.vue
- App.vue
- App.vue
- components
	- Modal.vue
	- ConfirmationModal.vue
구현 코드
Modal.vue
모달의 공통 요소를 갖고 있는 BaseComponent
<template>
  <!-- teleport: 렌더링 시 위치를 지정합니다. -->
  <teleport to="body">
    <!-- Modal의 열리고 닫힘을 관리합니다. -->
    <div class="backdrop" v-if="isVisible">
      <div class="modal-container">
        <!-- slot을 통해 BaseComponent를 확장시킵니다. -->
        <slot></slot>
      </div>
    </div>
  </teleport>
</template>

<script>
import { ref } from "vue";
export default {
  name: "Modal",
  setup() {
    const isVisible = ref(false);

    // 부모 컴포넌트에서 접근하기 위한 함수를 선언합니다.
    const open = () => {
      isVisible.value = true;
    };

    const close = () => {
      isVisible.value = false;
    };

    // setup 함수에서 리턴해주어야, 부모 컴포넌트에서 접근이 가능합니다.
    return {
      isVisible,
      open,
      close,
    };
  },
};
</script>

<style lang="scss" scoped>
.backdrop {
  z-index: 999;
  display: flex;
  position: fixed;
  align-items: center;
  justify-content: center;
  top: 0;
  left: 0;
  width: 100%;
  height: 100%;
  background: rgba($color: #000000, $alpha: 0.2);

  .modal-container {
    background: white;
    max-width: 320px;
    width: 100%;
    padding: 1.5rem;
  }
}
</style>
ConfirmationModal.vue
Modal을 확장키신 컴포넌트로 App.vue에 렌더링됩니다.
<template>
  <Modal ref="baseModal">
    <div class="content-container">
      <p v-for="text in content" :key="text">
        {{ text }}
      </p>
    </div>
    <div class="buttons-container">
      <button class="btn confirm" @click="confirm">확인</button>
      <button class="btn cancel" @click="cancel">취소</button>
    </div>
  </Modal>
</template>

<script>
import Modal from "@/components/Modal.vue";
import { ref } from "vue";

export default {
  name: "ConfirmationModal",
  components: {
    Modal,
  },
  // 렌더링할 텍스트를 가져옵니다.
  props: {
    content: Array,
  },
  setup() {
    // 자식 컴포넌트를 핸들링하기 위한 ref
    const baseModal = ref(null);
    // Promise 객체를 핸들링하기 위한 ref
    const resolvePromise = ref(null);

    const show = () => {
      // baseModal을 직접 컨트롤합니다.
      baseModal.value.open();
      // Promise 객체를 사용하여, 현재 모달에서 확인 / 취소의
      // 응답이 돌아가기 전까지 작업을 기다리게 할 수 있습니다.
      return new Promise((resolve, _) => {
        // resolve 함수를 담아 외부에서 사용합니다.
        resolvePromise.value = resolve;
      });
    };

    const confirm = () => {
      baseModal.value.close();
      resolvePromise.value(true);
    };

    const cancel = () => {
      baseModal.value.close();
      resolvePromise.value(false);
    };
    return { baseModal, show, confirm, cancel };
  },
};
</script>
App.vue
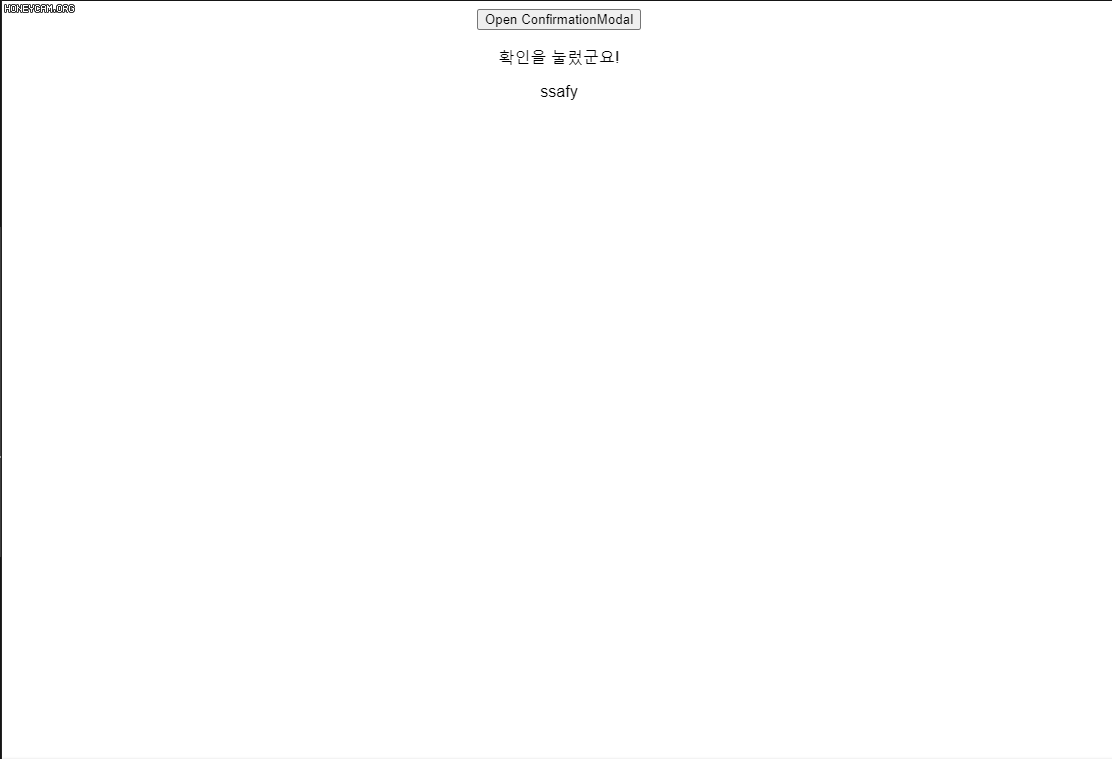
<template>
  <div>
    <button @click="handleClick">Open ConfirmationModal</button>
    <p>{{ result }}</p>
    <p>ssafy</p>
    <ConfirmationModal ref="modal" :content="modalContent" />
  </div>
</template>

<script>
import { ref } from "vue";
import ConfirmationModal from "./components/ConfirmationModal.vue";
export default {
  name: "App",
  components: {
    ConfirmationModal,
  },
  setup() {
    const modal = ref(null);
    const modalContent = ref([
      "확인/취소를 누르고",
      "배경에 결과가 출력되는 것을",
      "확인해보세요",
    ]);
    const result = ref("");

    // async-await을 사용하여, Modal로부터 응답을 기다리게 된다.
    const handleClick = async () => {
      const ok = await modal.value.show();
      if (ok) {
        result.value = "확인을 눌렀군요!";
      } else {
        result.value = "취소를 눌렀네요?";
      }
    };
    return {
      modal,
      modalContent,
      result,
      handleClick,
    };
  },
};
</script>

<style>
#app {
  font-family: Avenir, Helvetica, Arial, sans-serif;
  text-align: center;
  box-sizing: border-box;
}
</style>
알게된 내용
vue template refs
- 템플릿 ref로 연결시킨 자식 컴포넌트의 setup에 선언한 값도 접근할 수 있구나!
<!-- ChildComponent -->
<template>
  <div></div>
<template>
<script>
import {ref} from "vue"
export default {
  name: "ChildComponent",
  setup() {
    const text = ref("이 값도 볼 수 있다구")
    return {text}
  }
}
</script>
<!-- ParentComponent -->
<template>
<ChildComponent ref="child" />
</template>
<script>
import {ref} from "vue"
import ChildComponent from "@/components"
export default {
name: "ParentComponent",
components: {ChildComponent},
setup() {
const child = ref(null)
console.log(child.value.text) // 이 값도 볼 수 있다구
return {child}
}
}
</script>- Promise를 이용해, alert 창이 떴을 때 이후 동작을 정지시키는 것을 구현할 수 있구나!
- Promise 객체의 resolve, reject를 변수에 담아 객체 외부에서 동작시킬 수도 있다!
<script>
import {ref} from "vue"
export default {
  setup() {
    const resolvePromise = ref(null)

    // 실제로는 show가 끝나기를 기다리고 있지만,
    const show = () => {
      return new Promise((resolve, reject) => {
        // ...
        resolvePromise.value = resolve
      })
    }

    // show 함수가 끝날 수 있도록 하는 건 confirm이다.
    const confirm = () => {
      resolvePromise.value(true)
      // ...
    }
  }
}
</script>
재밌는 걸 만드는 것을 좋아하는 메이커