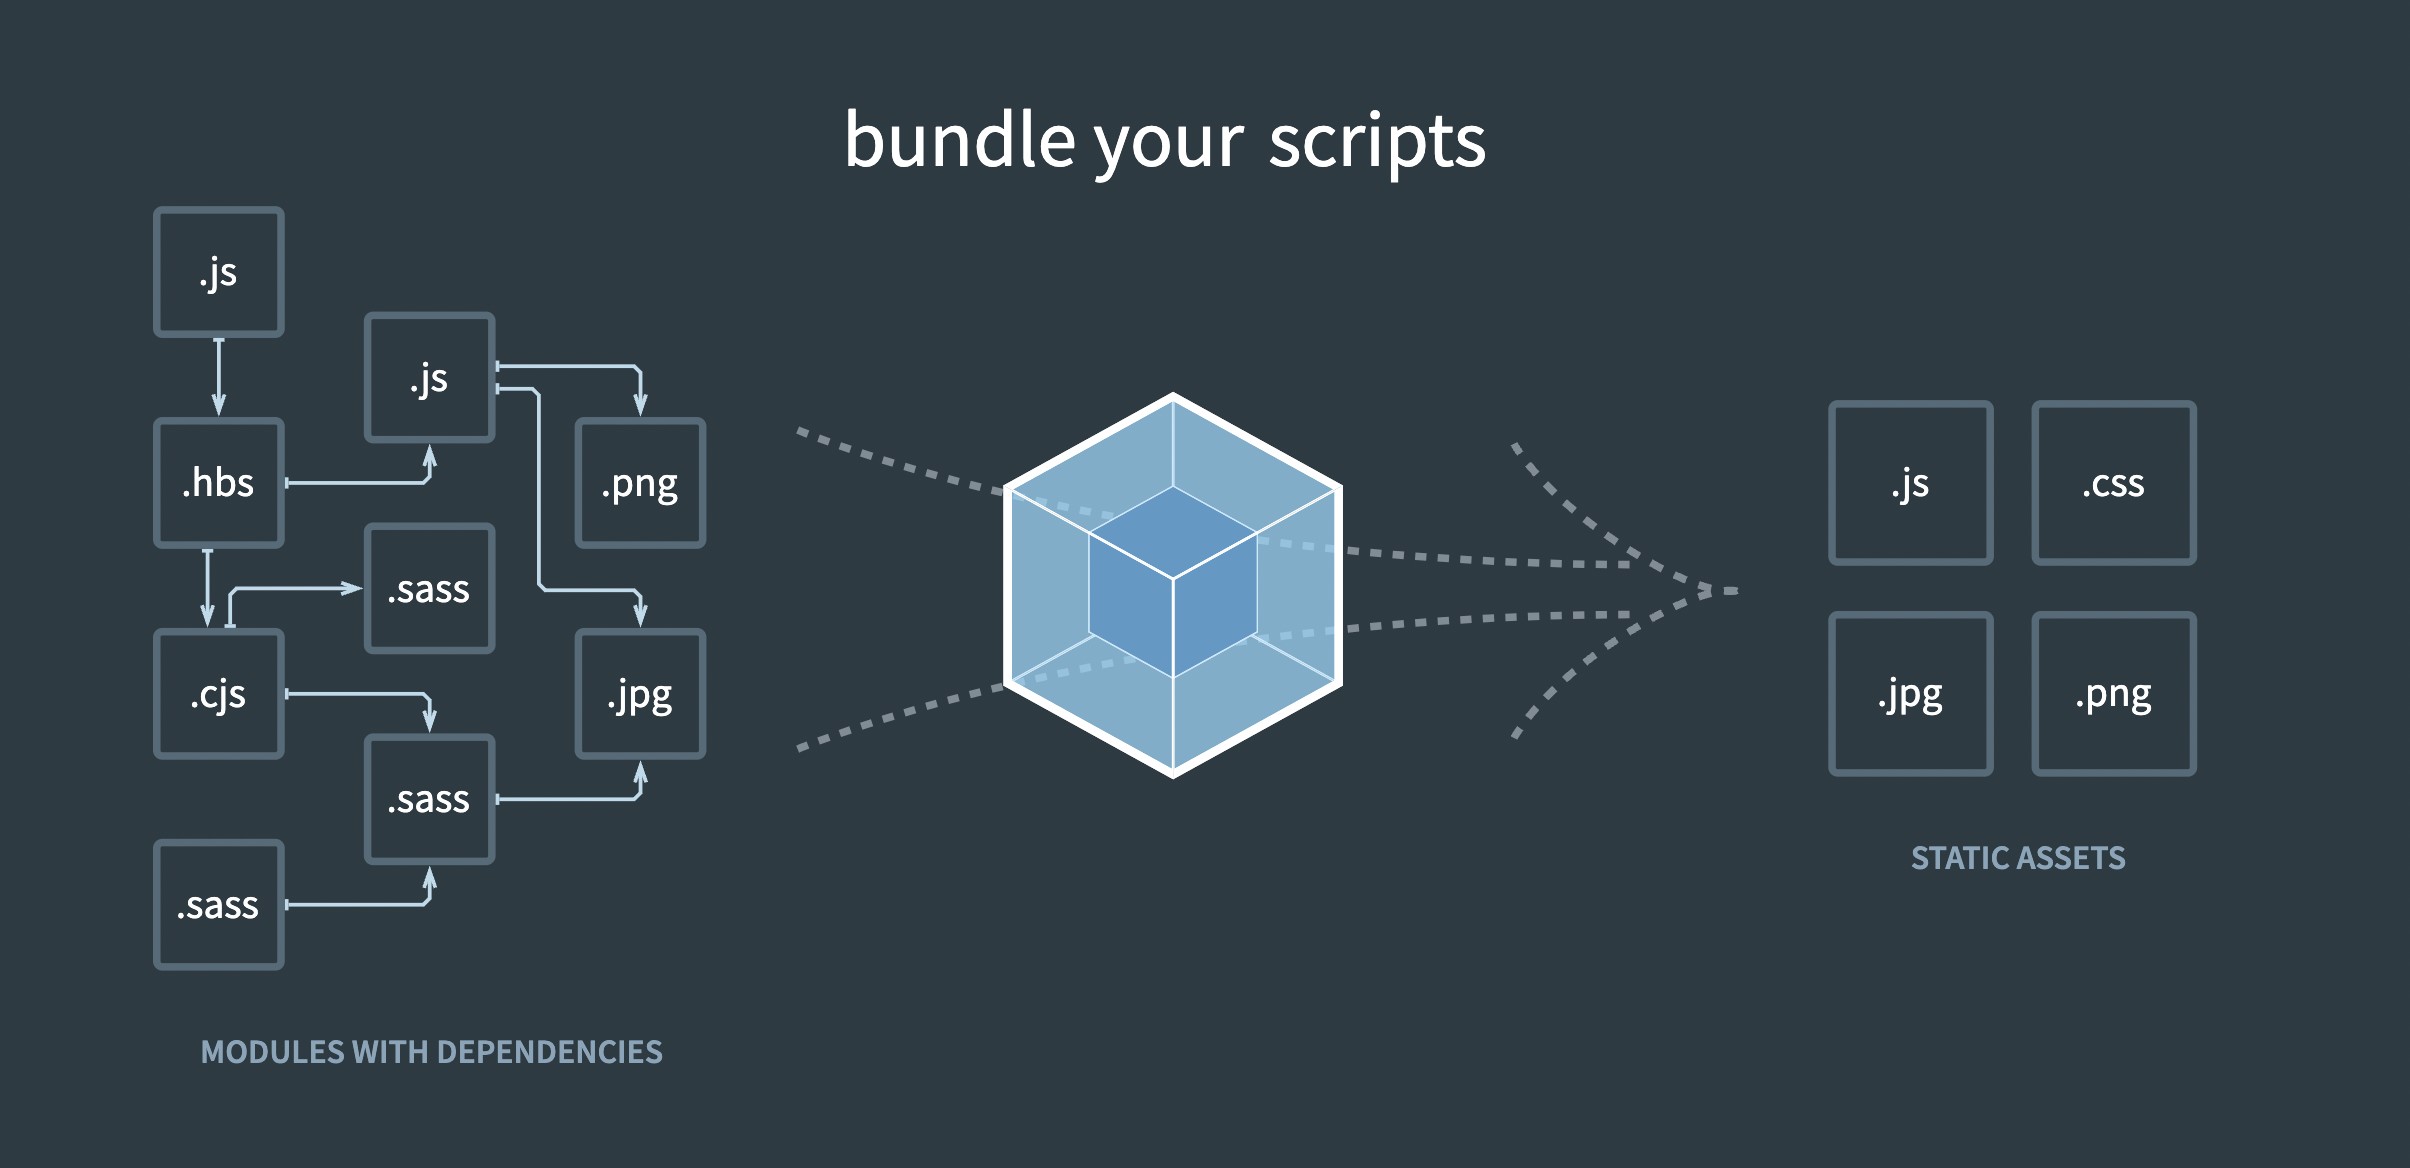
Webpack 사용 방법 - Webpack 사용해서 Three.js boilerplate 만들기 02
webpack 도입하기
basic setup 공식 문서 참고
기본 준비물:
- npm을 이용할거기 때문에 node.js 설치는 기본적으로 하고 옵시다.
- 프로젝트를 만들 새로운 directory를 만들어주고 먼저 index.html 파일을 하나 만들어줍시다.
node.js 시작 세팅
node.js 프로젝트로 선언하기 위해 해당 디렉토리에서 이니셜라이즈를 해줍니다.
npm inint그럼 이런식으로 뜨면서 package.json의 기본 세팅이 되고 파일이 생성된다.
Press ^C at any time to quit.
package name: (three-js-webpack)
version: (1.0.0)
description:
entry point: (index.js)
test command:
git repository:
keywords:
author:
license: (ISC)
About to write to /Users/bumikim/three-js-webpack/package.json:

{
  "name": "three-js-webpack",
  "version": "1.0.0",
  "description": "",
  "main": "index.js",
  "scripts": {
    "test": "echo \"Error: no test specified\" && exit 1"
  },
  "author": "",
  "license": "ISC"
}
webpack 설치
Webpack installation 공식 문서
npm install --save webpack webpack-cli웹팩을 설치하면 아까 생성된 package.json 파일의 디펜던시에 웹팩이 추가된것을 볼 수 있습니다.
{
  "name": "three-js-webpack",
  "version": "1.0.0",
  "description": "",
  "main": "index.js",
  "scripts": {
    "test": "echo \"Error: no test specified\" && exit 1"
  },
  "author": "",
  "license": "ISC",
  "dependencies": {
    "webpack": "^5.72.0",
    "webpack-cli": "^4.9.2"
  }
}
또 디렉토리에 node_modules 폴더가 같이 생성되었습니다. 노드 모듈의 폴더 안에는 webpack, webpack cli의 파일이 같이 설치 되어있습니다.
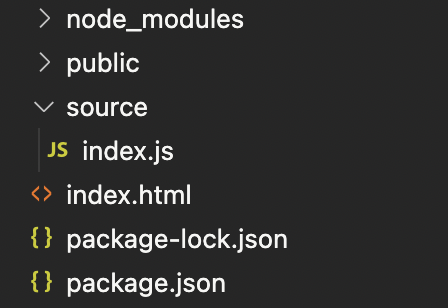
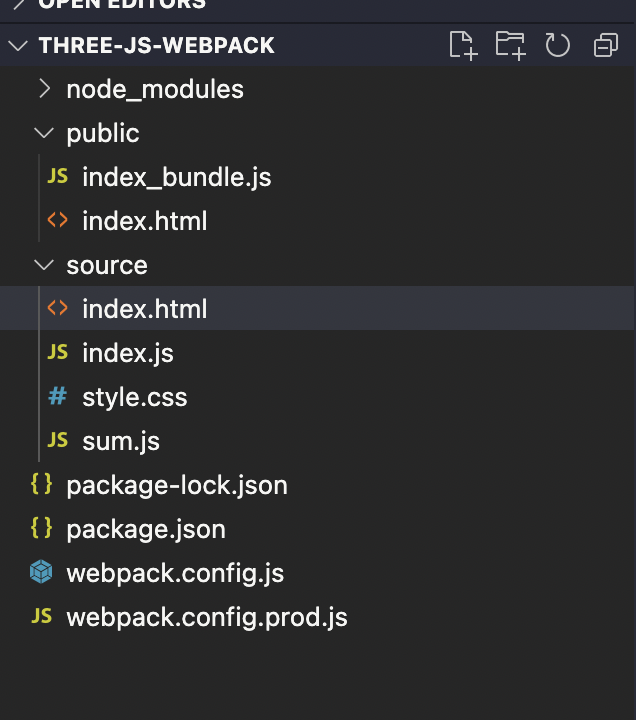
디렉토리 구조 잡기
-
index.js 파일을 생성해줍니다.
이 파일은 entry file 역할을 할 파일입니다. 모든 모듈은 이 인덱스 js 파일으로 import 되고 html 파일은 이 파일을 통해 스크립트를 들여올것입니다. 모든 source들은 source 파일에서 관리해줍시다. -
그리고 public이라는 폴더를 만들어줍니다.
이 폴더에는 나중에 index.js 파일을 하나의 파일로 번들링해서 번들 js 파일을 이 파일 안에 넣어줄것입니다.
-
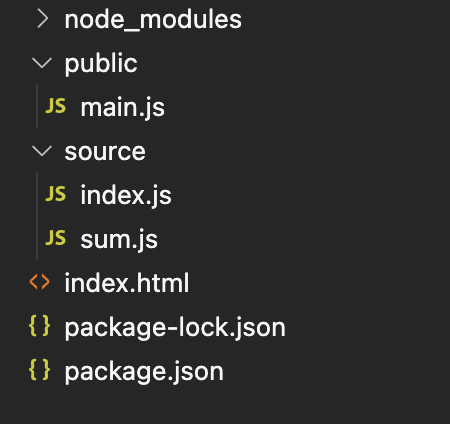
예시를 위해 export 할 js 파일인 sum.js 파일을 하나 더 만들어 줍시다.
sum.js
const sum = function(a,b){
    return a + b
}

export default sum;
index.js
// This is the entry file
import sum from './sum.js'
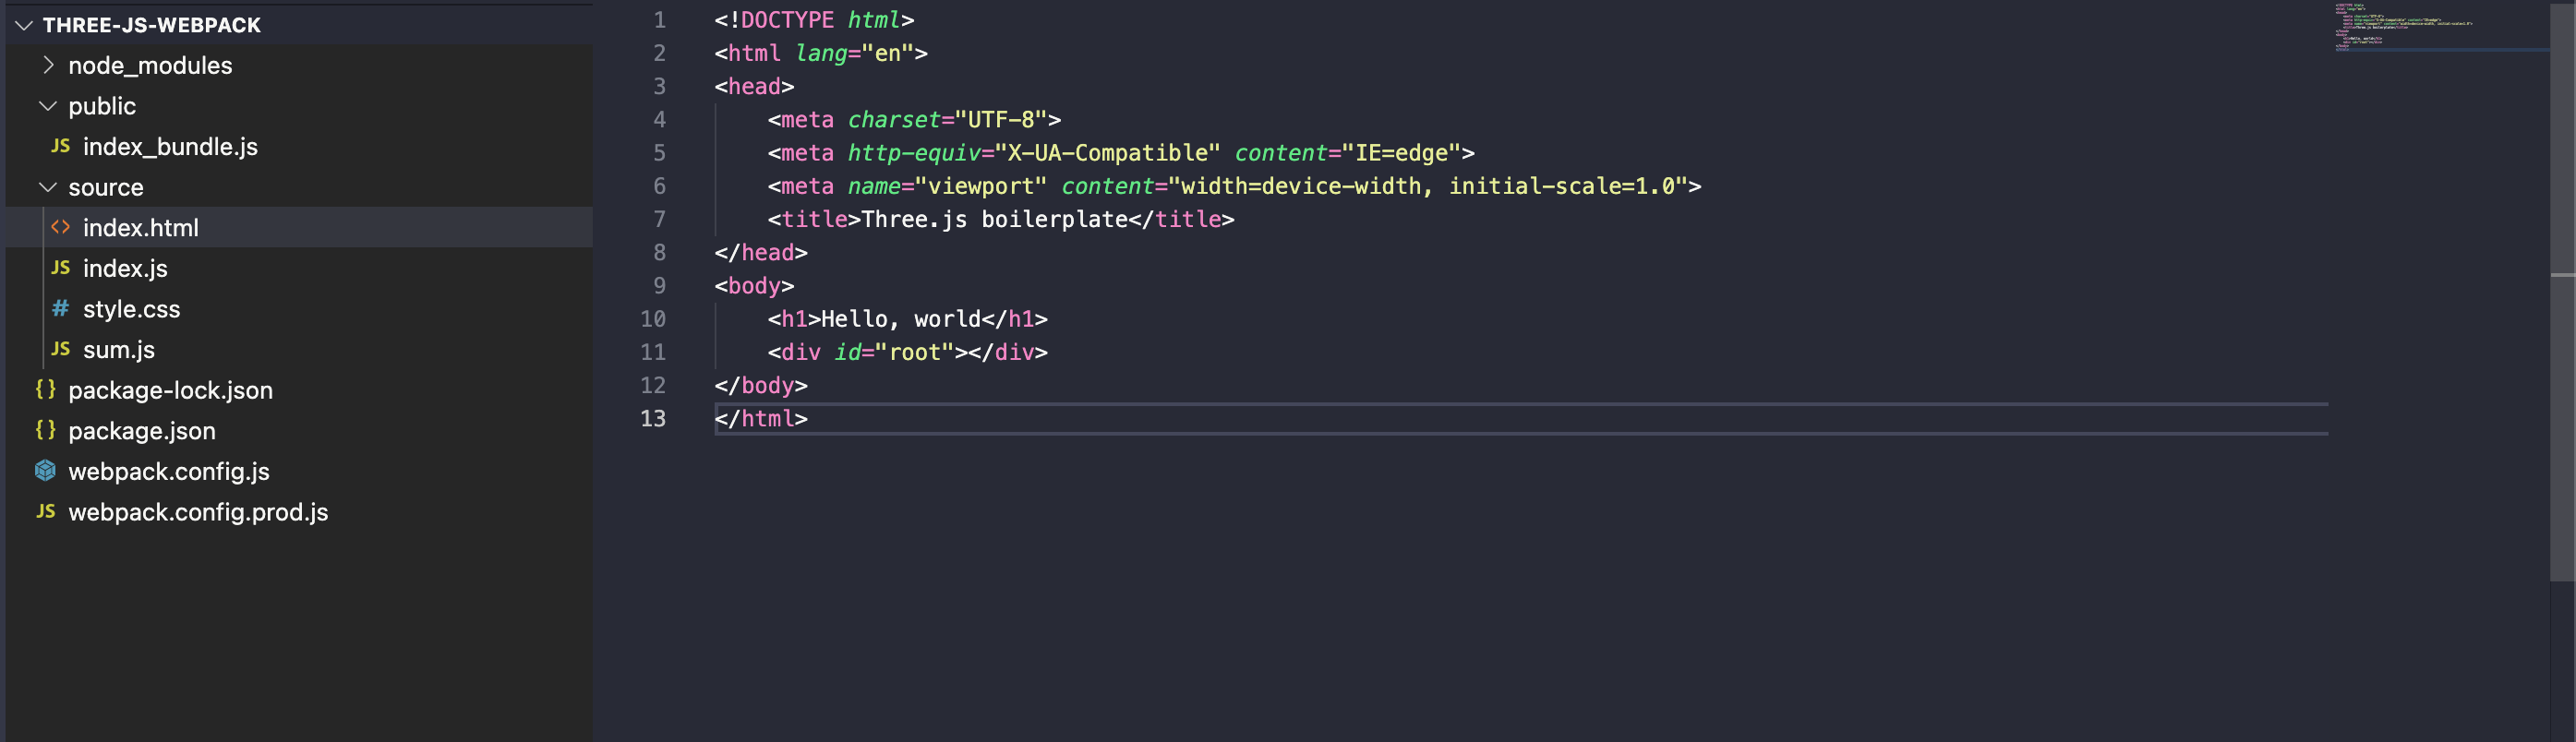
document.querySelector('#root').innerHTML = sum(1,2)그리고 이제 index.html 파일에 번들 js 파일을 연결 시켜줍시다.
<!DOCTYPE html>
<html lang="en">
<head>
<meta charset="UTF-8">
<meta http-equiv="X-UA-Compatible" content="IE=edge">
<meta name="viewport" content="width=device-width, initial-scale=1.0">
<title>Three.js boilerplate</title>
</head>
<body>
<h1>Hello, world</h1>
<div id="root"></div>
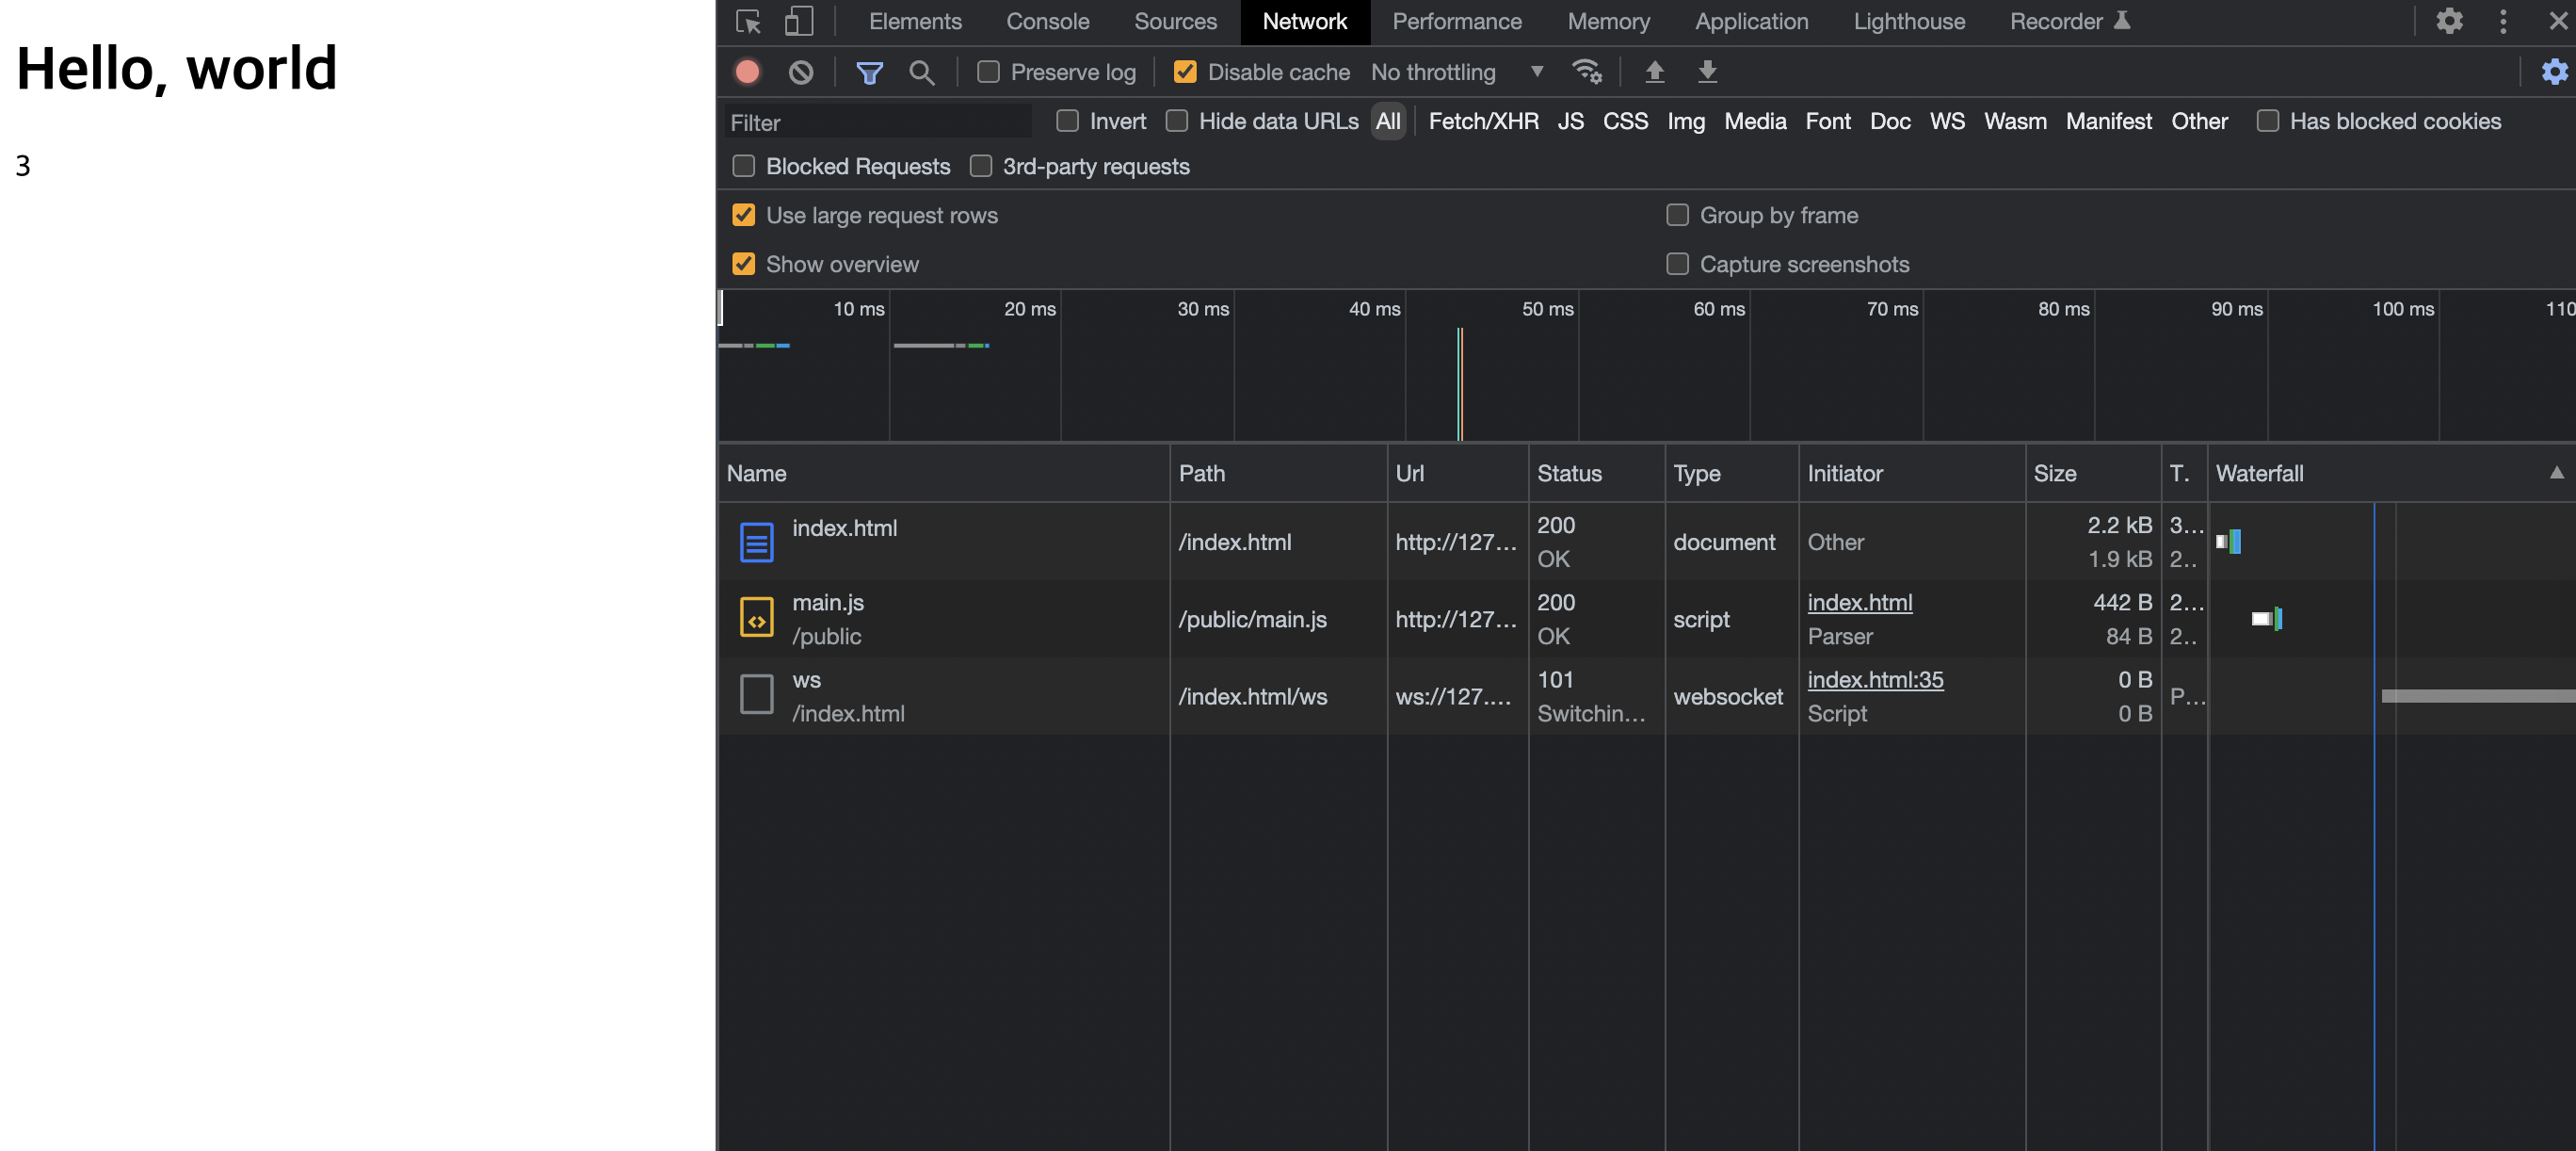
<script src="./public/main.js"></script>
</body>
</html>웹팩에 명령으로 entry 파일, output 파일 생성하기
index.js 파일을 엔트리 파일로 만들어주고, 번들된 파일을 public 폴더에 넣기 위해선 먼저 webpack에게 명령을 해야겠죠.
명령어:
npx webpack --entry ./source/index.js --output-path ./publicnpx webpack --entry <entry file> --output-path <output file path>그럼 이렇게 public 파일에 bundle 파일이 생성된걸 볼 수 있습니다.
그리고 생성된 main.js 코드를 확인해보면 이렇게 출력된걸 볼 수 있는데 놀랍지 않나요?
(() => {
  "use strict";
  document.querySelector("#root").innerHTML = 1 + 2;
})();
index.js 파일에서 이렇게 작성한 코드가 webpack으로 번들한 js 파일에서는 위처럼 출력이 되고 있습니다.
document.querySelector('#root').innerHTML = sum(1,2)소스로드 비교
-
번들링 없이 소스 로드할때
index.js, sum.js 각각 가져옵니다.
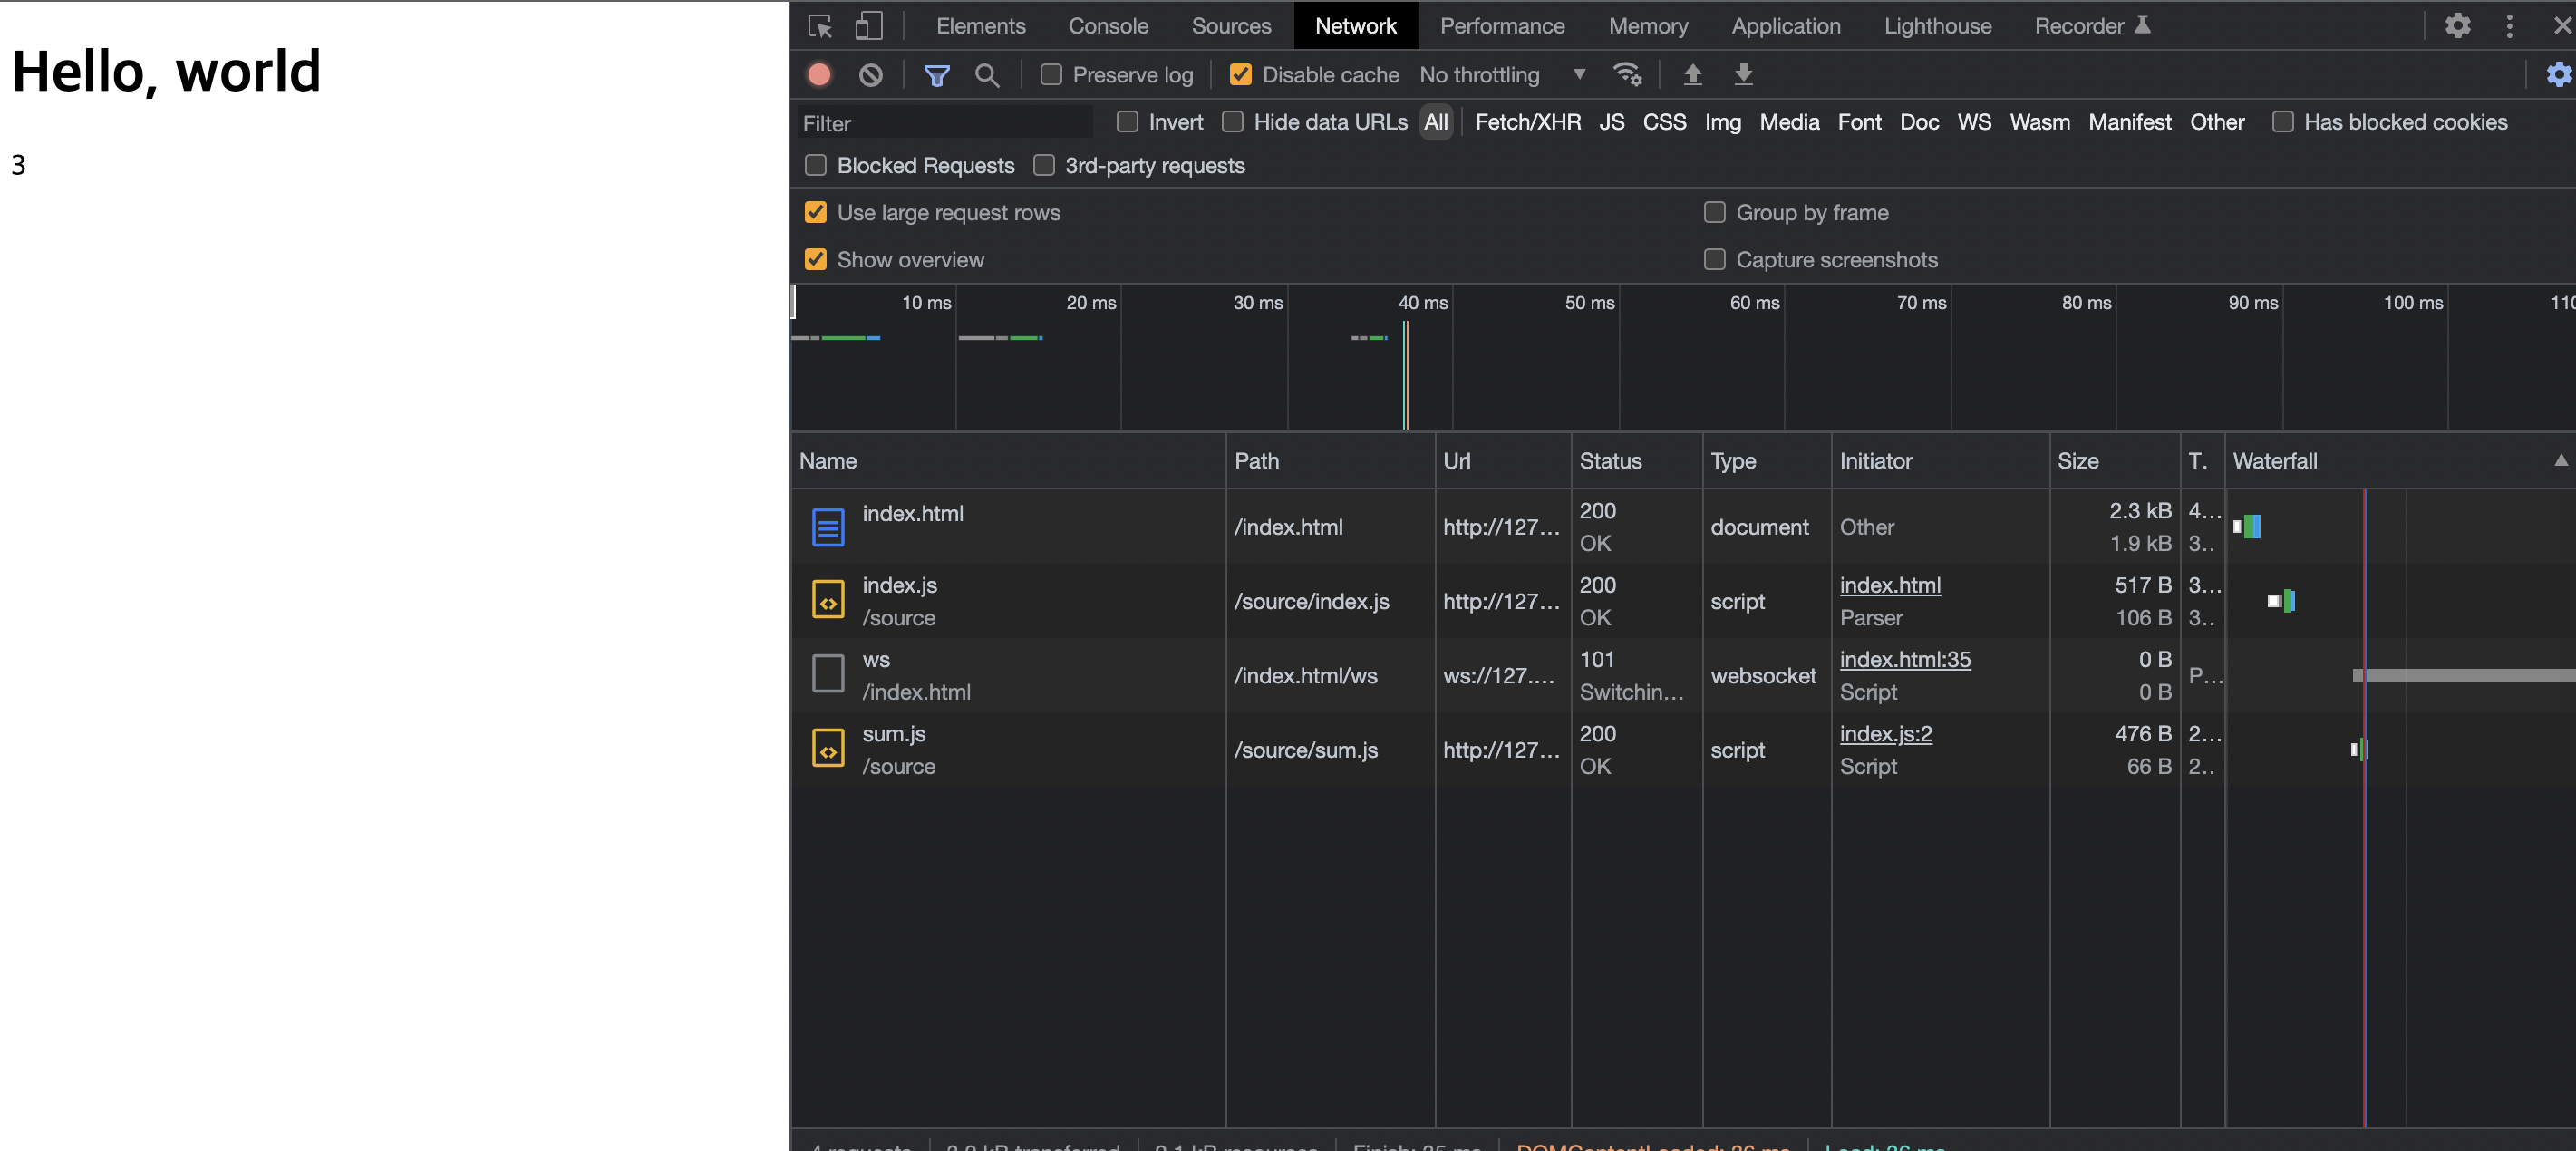
-
번들링 해서 로드할때
main.js 한 파일만 가져옵니다.
웹팩 configuration 설정
webpack configuration 공식 문서
프로젝트 만들때마다 아래의 명령어를 써서 만들 생각을 하니 벌써 귀찮죠?
npx webpack --entry ./source/index.js --output-path ./public그래서 해결 방법으로는 webpack 설정 파일을 만들어 사용하는것입니다. 사실 웹팩 설정 파일은 꼭 사용해야 하는것은 아닙니다. 아래 내용처럼 웹팩이 알아서 src/index.js 경로에 있는 파일을 엔트리로 지정하고 dist 파일에 아웃풋을 던질테지만
Out of the box, webpack won't require you to use a configuration file. However, it will assume the entry point of your project is src/index.js and will output the result in dist/main.js minified and optimized for production.
webpack.config.js 파일을 만들어서 기능을 추가할 수도 있습니다.
Usually, your projects will need to extend this functionality, for this you can create a webpack.config.js file in the root folder and webpack will automatically use it.
또 package.json 파일에 script 를 다르게 작성해서, 다른 config 파일을 사용할 수도 있다고 합니다.
package.json
"scripts": {
  "build": "webpack --config prod.config.js"
}
1. entry, output 설정
먼저 루트 경로에 webpack.config.js 파일을 만들고 아까 명령어로 쳤던 entry, output 설정을 해보도록 하겠습니다.
const path = require('path');

module.exports = {
    entry: "./source/index.js",
    output:{
        path:path.resolve(__dirname, "public"),
        filename: "index_bundle.js"
    }
}
설정했으면 아까 만들어뒀던 public 폴더를 지우고 config 명령어로 실행을 해봅시다.
npx webpack --config example.config.js그럼 다시 이렇게 public 폴더가 생성되면서 index_bundle.js 파일이 빌드 되었습니답!
2. 모드 설정
개발용, 배포용으로 configration을 각각 다르게 만들 수 있습니다.
개발용: webpack.config.js
module.exports = {
    mode: 'development',
    entry: "./source/index.js",
    output:{
        path:path.resolve(__dirname, "public"),
        filename: "index_bundle.js"
    }
}
명령어를 쳐서 다시 run을 시켜보면
npx webpackindex_bundle.js 파일에 요상한 코드들이 추가된것을 볼 수 있습니다. 뭔지는 나도 모릅니다..
배포용 config 파일을 하나 더 만들어 줍시다.
배표용: webpack.config.prod.js
const path = require('path');

module.exports = {
    mode: 'development',
    entry: "./source/index.js",
    output:{
        path:path.resolve(__dirname, "public"),
        filename: "index_bundle.js"
    }
}
그럼 현재 webpack.config.js / webpack.config.prod.js 두개의 설정 파일이 있으니 명령할때 어떤 파일을 실행 시킬지 명시 해주면 됩니다.
npx webpack --config example.config.js저 긴 명령어들을 매번 타이핑하거나 복붙하기 귀찮으니 npm을 사용해서 더 간편한 명령으로 실행시킬 수 있다.
package.json 파일로 가서 scripts 부분에 명령어들을 설정해 주겠습니다.
....
  "scripts": {
    "test": "echo \"Error: no test specified\" && exit 1"
  },
}
이렇게 작성 해주고
  "scripts": {
    "test": "echo \"Error: no test specified\" && exit 1",
    "build": "webpack --config webpack.config.prod.js",
    "start": "webpack --config webpack.config.js"
  },
개발용일때는 명령어:
npm run start배표용일때는 명령어:
npm run build이렇게 설정해주면 됩니답. 진짜 개꿀이네요.
3. 로더 설정
개발시에 html, js 파일 말고도 css, 이미지 에셋들 등 많은 소스가 사용됩니다. 예시로 css 파일을 추가해볼게요.html 파일 상단에 link 태그로 추가해주었습니다.!
<!DOCTYPE html>
<html lang="en">
<head>
    <meta charset="UTF-8">
    <meta http-equiv="X-UA-Compatible" content="IE=edge">
    <meta name="viewport" content="width=device-width, initial-scale=1.0">
    <link rel="stylesheet" href="./source/style.css">
    <title>Three.js boilerplate</title>
</head>
<body>
    <h1>Hello, world</h1>
    <div id="root"></div>
    <script src="./public/main.js"></script>
</body>
</html>
👀 프로젝트 구조
  webpack-demo
  |- package.json
  |- package-lock.json
  |- webpack.config.js
  |- /dist
    |- bundle.js
    |- index.html
  |- /src
   |- style.css
    |- index.js
  |- /node_modules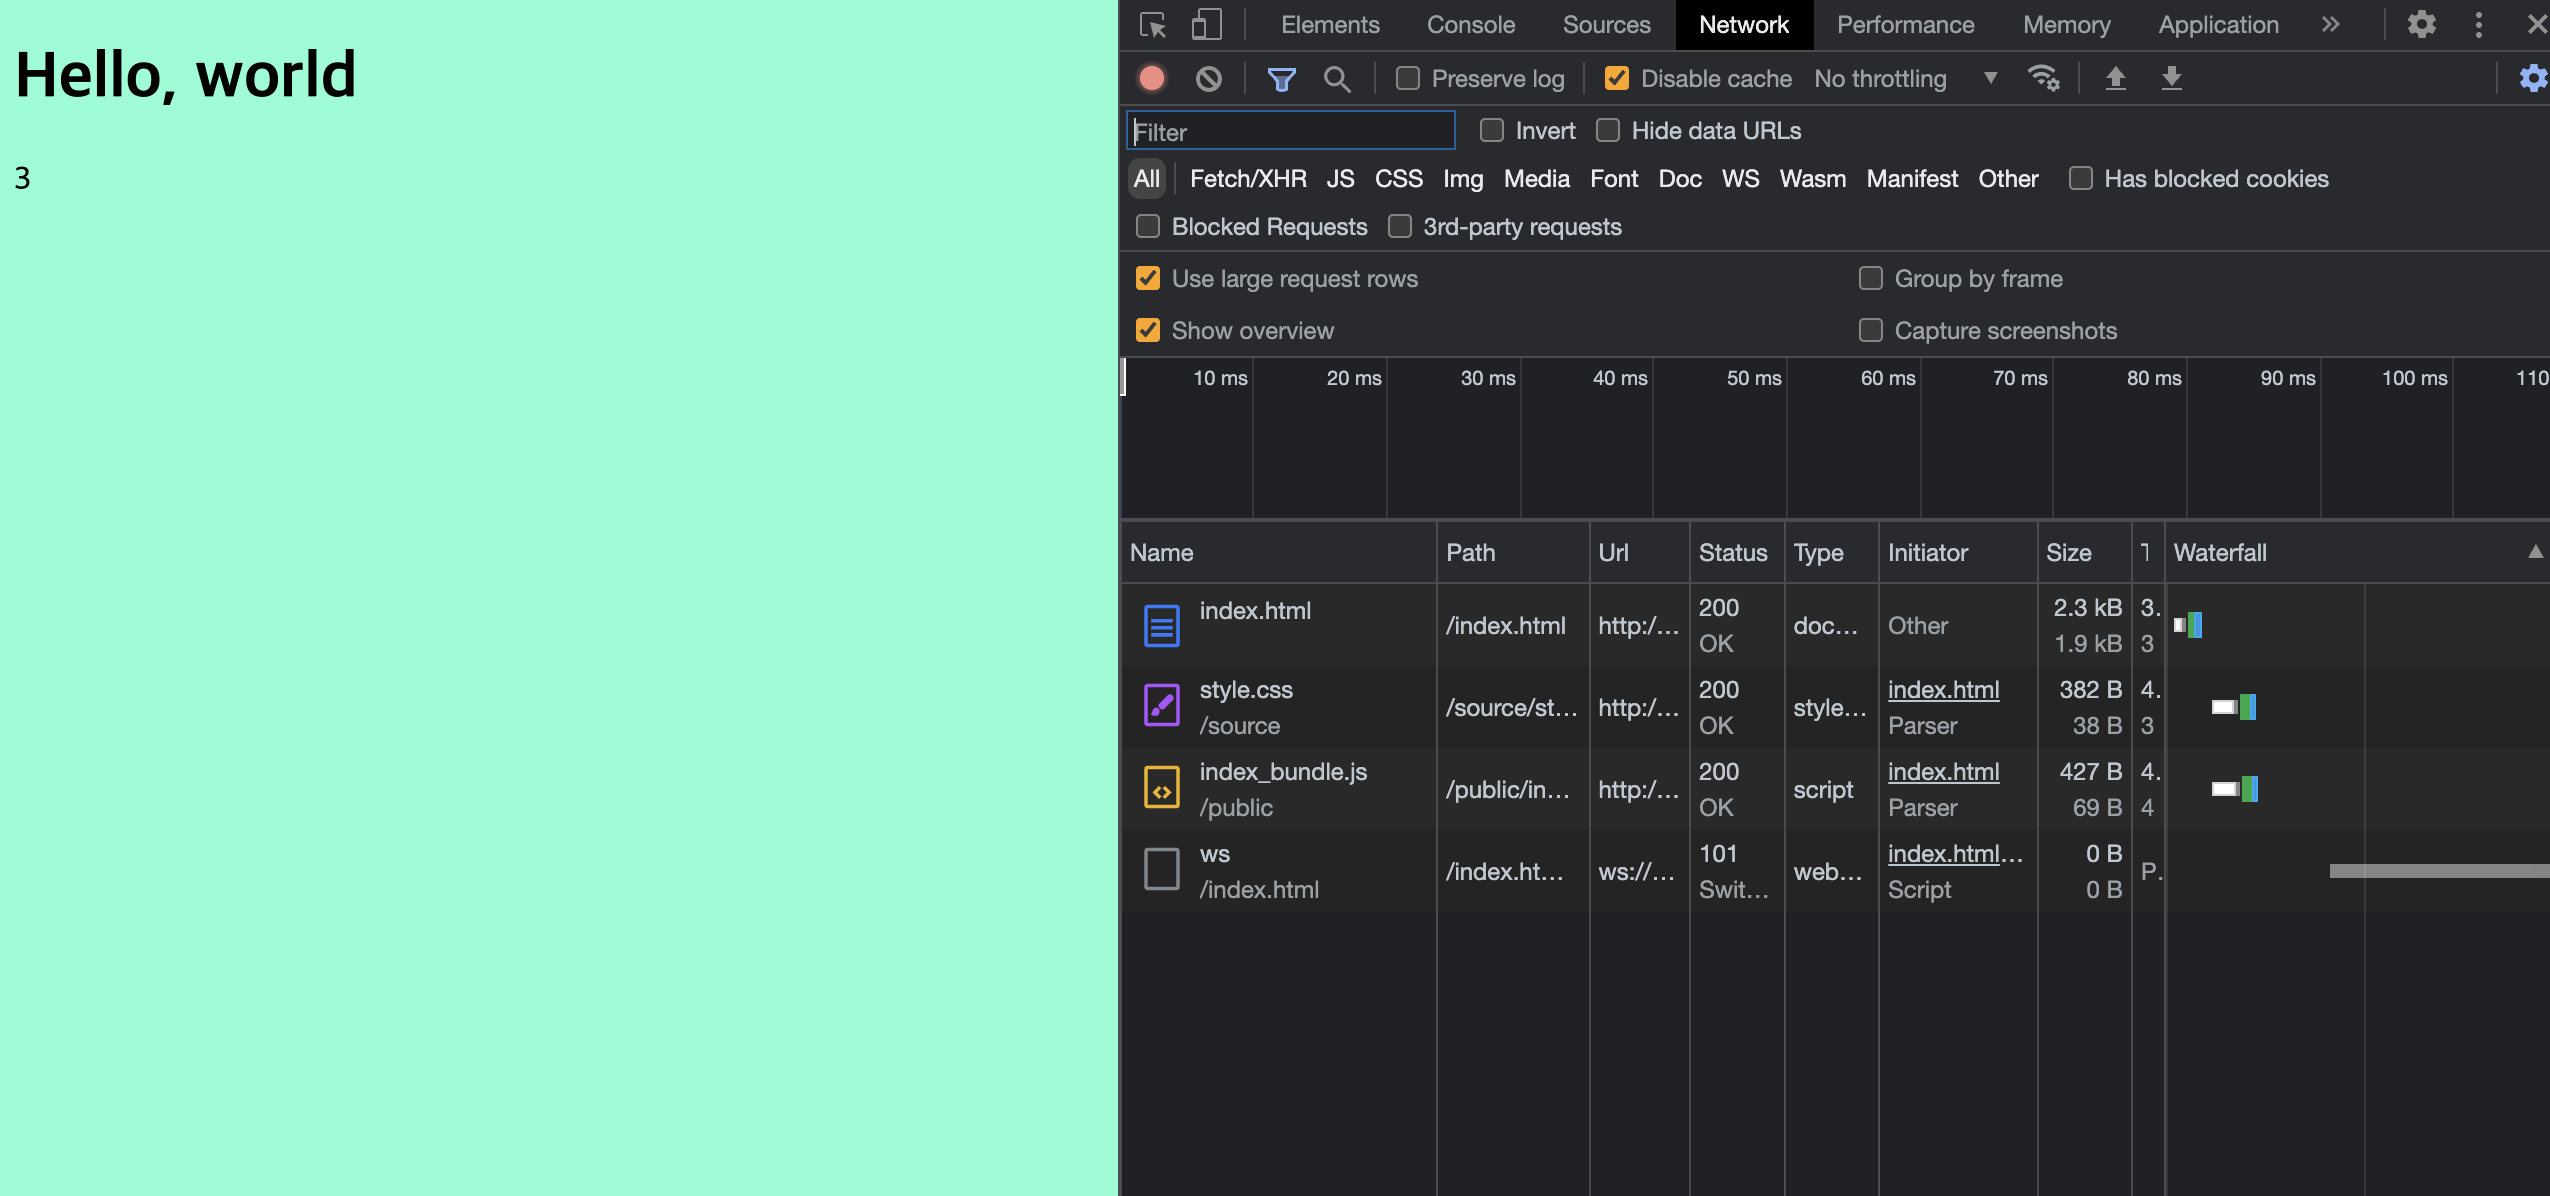
잘 작동은 하지만 network를 보니 css 파일은 따로 가져오네요? 같이 묶어버릴 방법 없을까요? 물론 있습니다~
css 파일 번들링 하기 위한 로더 설치하기
asset management 공식 문서 참조
- 로더 설치 명령하기
npm install --save-dev style-loader css-loader
그럼 package.json 파일에 디펜던시가 추가된것을 볼 수 있습니다.
  "devDependencies": {
    "css-loader": "^6.7.1",
    "style-loader": "^3.3.1"
  }
}- config 파일에 설정 추가
잘 보면 .css 포맷에 해당하는 파일을 style-loader, css-loader을 통해 로드 해오겠다~ 뭐 이런 룰을 설정하는거다 라고 이해하시면 됩니다.
    module: {
        rules: [
          {
            test: /\.css$/i,
            use: ['style-loader', 'css-loader'],
          },
        ],
},- index.js 파일에 css 파일 import
아까 html에 썼던 링크는 지우고 js 파일로 다시 import 해옵시다.
import './style.css';
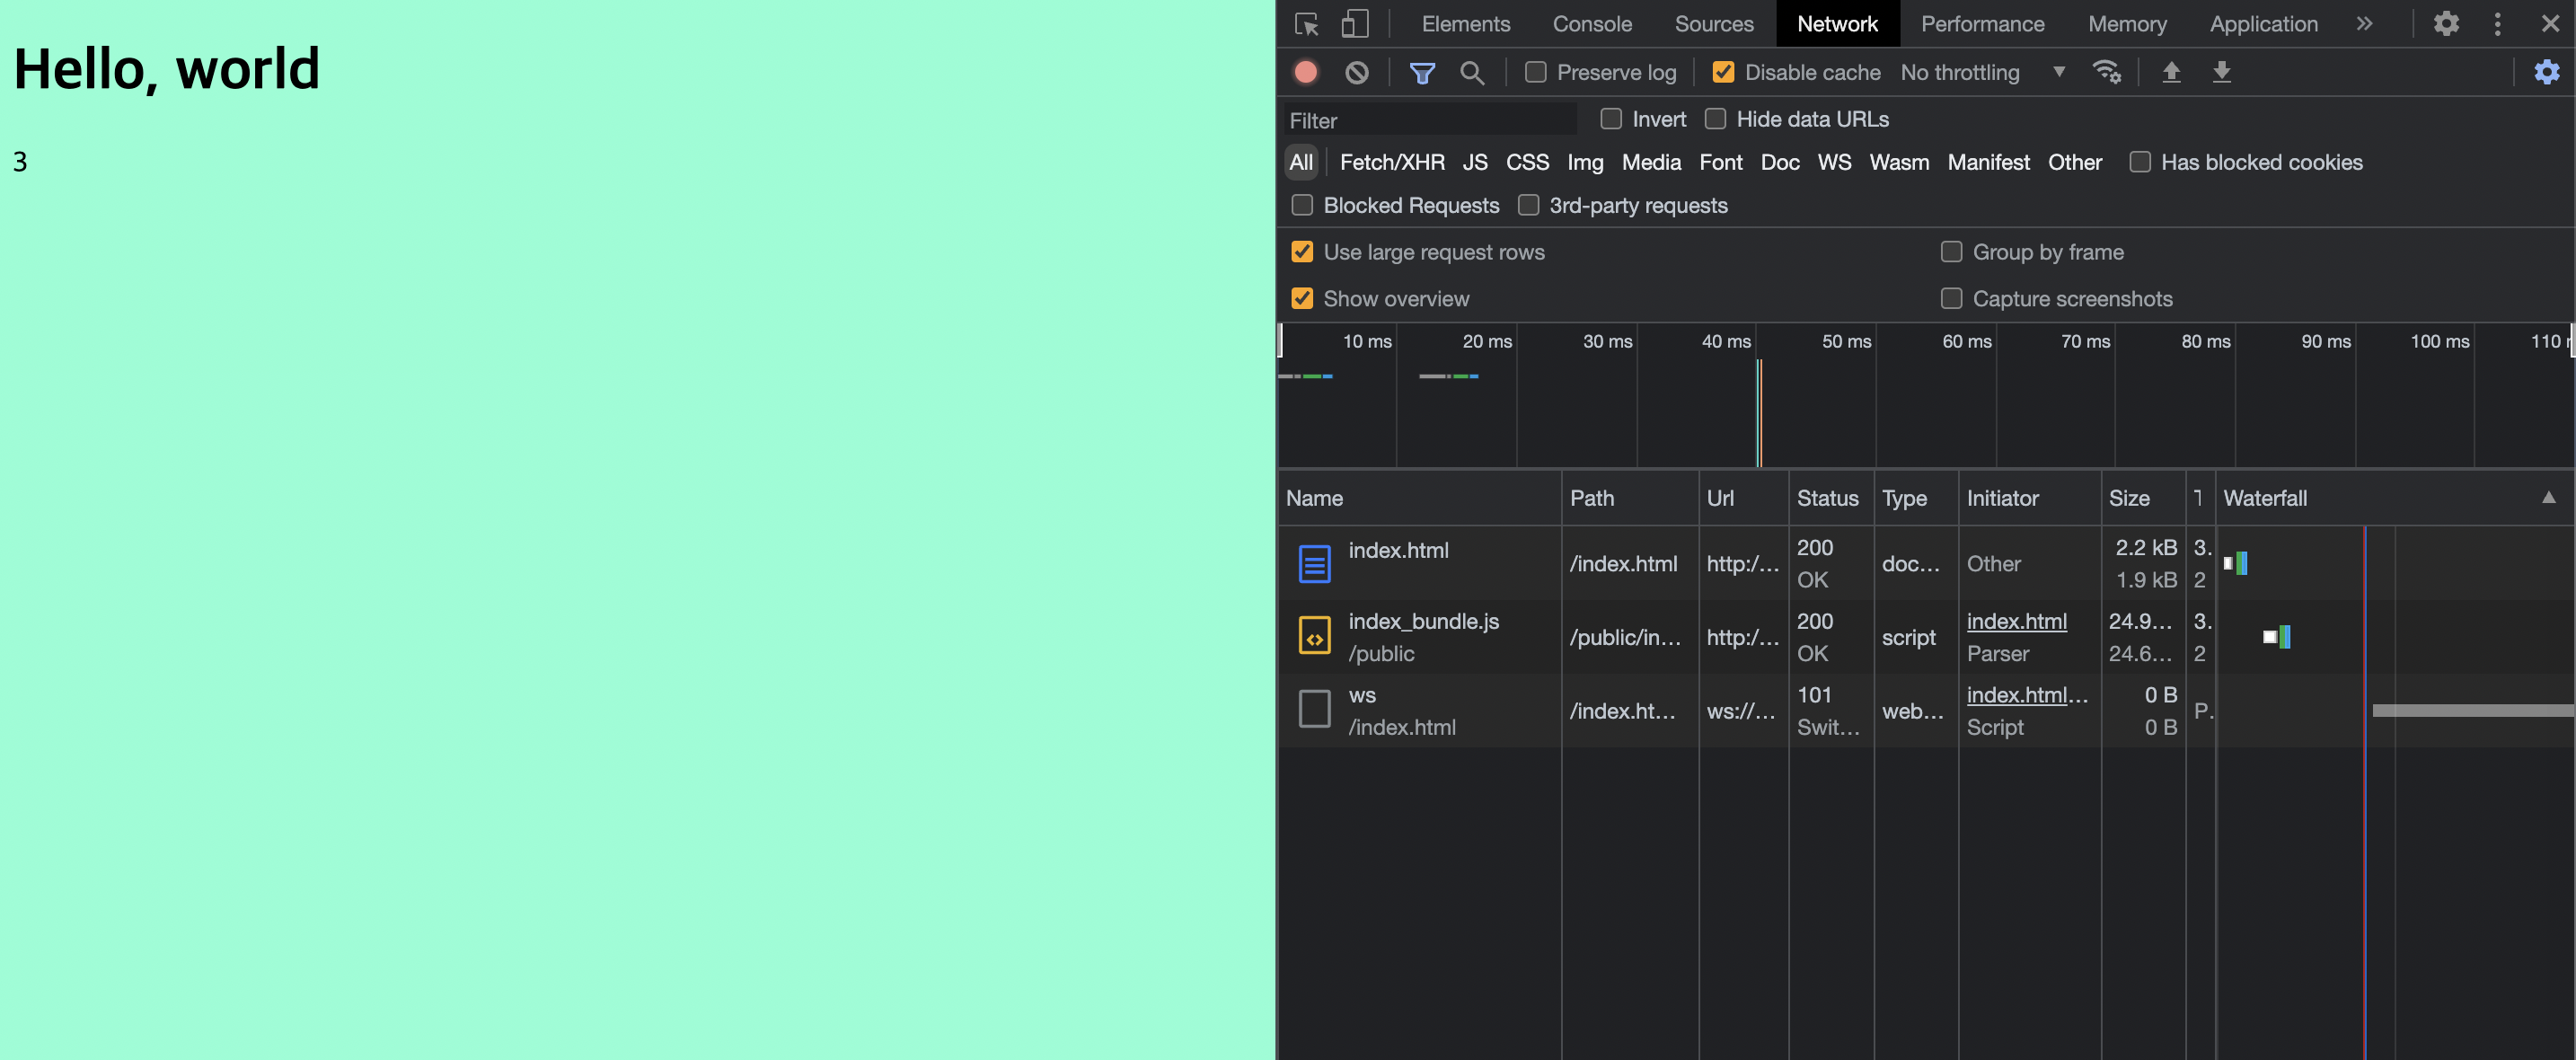
⭐️ 짜잔! css 파일도 함께 bundler가 묶어줬습니다.
css 파일 뿐만 아니라 여러 포맷등의 파일들을 처리해줄 수 있습니다. ex) 폰트, 이미지, 다른 확장자의 파일 등
4. 플러그인 설정
아까 작성한 index.html을 템플릿화 해서 좀 더 간편하게 사용할 수 있도록 웹팩에게 명령을 해봅시다.
HtmlWebpackPlugin 플러그인 참조
설치 명령어:
npm install --save-dev html-webpack-pluginpackage.json 디펜던시에 추가된것 볼 수 있습니다
"html-webpack-plugin": "^5.5.0",그리고 config 파일을 수정해줍니다.
const HtmlWebpackPlugin = require('html-webpack-plugin');
const path = require('path');

module.exports = {
    mode: 'development',
    entry: "./source/index.js",
    output:{
        path:path.resolve(__dirname, "public"),
        filename: "index_bundle.js"
    },
    plugins: [new HtmlWebpackPlugin({
        template:'./source/index.html',
        filename:'./index.html'
    })],
    module: {
        rules: [
          {
            test: /\.css$/i,
            use: ['style-loader', 'css-loader'],
          },
        ],
      },
}
가지고있던 index.html 파일을 소스 폴더로 옮겨주고 script 태그를 지워버렸습니다.
명령어를 실행 해보면
npm run start이렇게 빌드파일에 완성된 index.html 파일을 같이 생성해주었습니다.
꿀팁!
npx webpack watch변경 사항 있을 때 마다 start, build 하지 않아도 되도록 변화를 알아서 저장하고 빌드해주는 명령어 입니다.
이제 webpack 사용법을 거의 다 알아봤습니다.
다음 시간엔 방금 배운 웹팩 사용법으로 three.js boilerplate 만들도록 해보겠습니다~!~!
