Build Native Mobile Apps with Flutter
Lesson 1-15: Quiz < Code the Unit Converter AppBar and Category Route >
In this exercise, you'll finish the implementation of the CategoryRoute.
Goals ⭐️
- Create the home screen of the app.
- Create a ListView for the Categories.
Steps 🏃🏻♀️
- Fill out the TODOs in main.dart and category_route.dart using the specs below.
- If you had customized your category.dart, you can replace our category.dart with yours.
- Customize your app if desired. Some ideas are listed below.
Specs 🔎
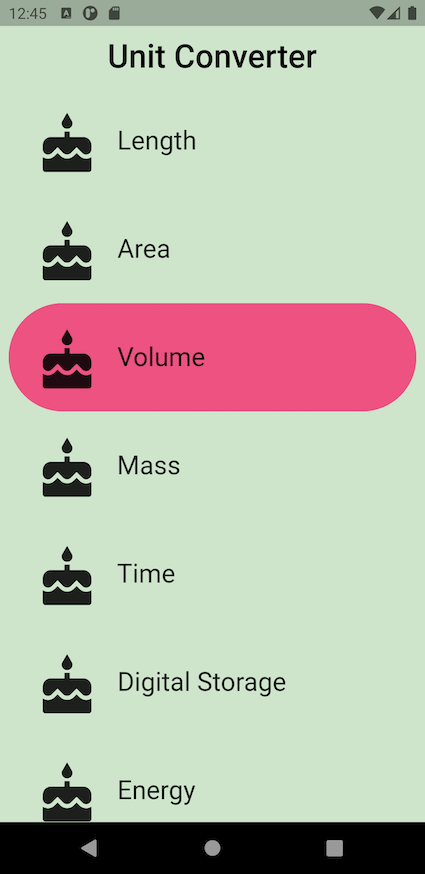
- The AppBar text should say 'Unit Converter' with a font size of 30.0, and an elevation of 0.0.
- A list of 8 Categories should be shown on the screen. You should be able to scroll down the list. There should be 8.0 horizontal padding around this list.
- The AppBar and app body should be the same color. In our example, we use Colors.green[100].
Code 👩🏻💻
Study 🤓
< StatelessWidget>
Flutter에서 화면을 구현할 때 주로 StatelessWidget 혹은 StatefulWidget을 확장(extend)해서 구현한다. 이때 build() 함수를 여러가지 low-level의 Widget들의 조합으로 정의해야한다.
StatelessWidget: 변경 가능한 상태가 필요하지 않은 위젯
StatefulWidget: 변경 가능한 상태를 가진 위젯
StatelessWidget의 build 함수는 화면이 처음 그려질 때 한번만 불려지며, Widget을 삭제하기 전까지 다시 불려지지 않는다. 별도의 상태를 변경할 수 없는 Widget들을 나타낸다. 즉, 한번 화면에 나타나면 변경될 수 없다.
이러한 StatelessWidget을 구현하기 위해서는 build() 함수를 오버라이드하여 Widget에서 활용할 Low-Level의 Widget들을 반환한다.
👇🏻 example code
class UnitConverterApp extends StatelessWidget {
  @override
  Widget build(BuildContext context) {
    return MaterialApp(
      debugShowCheckedModeBanner: false,
      title: 'Unit Converter',
      // TODO: Instead of pointing to exactly 1 Category widget,
      // our home should now point to an instance of the CategoryRoute widget.
      home: CategoryRoute(),
    );
  }
}
< elavation property >
: controls the size of the shadow below the app bar.
▫️ The value must be non-negative.
▫️ If this property is null, then AppBarTheme.elevation of ThemeData.appBarTheme is used. If that is also null, the default value is 4
< padding >
: child widget에 Padding을 가지도록 하는 Widget
- EdgeInsets.symmetric()
▶️ horizontal(left, right), vertical (top, bottom)의 padding 값을 적용한다.
👇🏻 example code
padding: EdgeInsets.symmetric(horizontal: 8.0),Result ✨
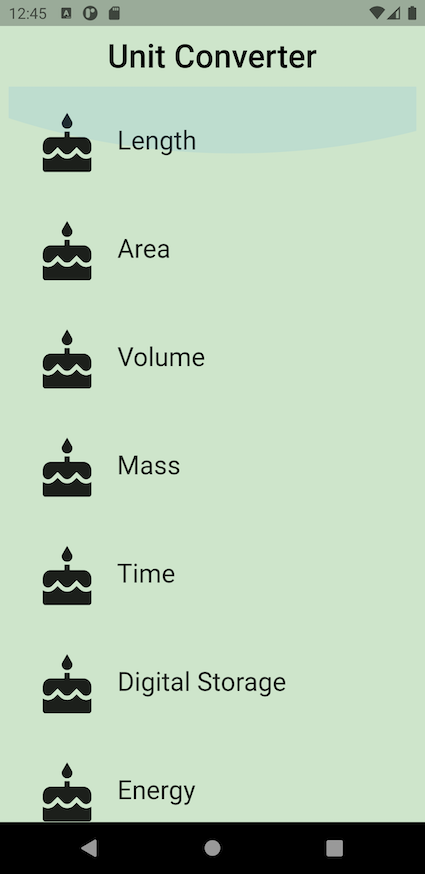
⬇️ After tap