After seeing that the tc is capable of controlling the flow, we then needed to change the mellanox OFED Driver.
Our Goal is to:
1) Have PF communicate with VF via backchannel. (Needs driver edit)
2-1) When VF Recieves a signal from PF,
2-2) Activate tc settings (Needs driver edit)
I First tried to activate the tc setting within the OFED Driver, so I first looked up how to edit the driver code, commimt, build and install.
1. Hello Mellanox!
First, I saw this guy's blog, which told me the basic ways to edit the mellanox OFED.
1.1. Download and unzip Source code.
First, because we have used MLNX-OFED_LINUX 5.8-2.0.3.0-ubuntu20.04 version, I have downloaded ths corresponding source code, and unzipped via:
wget https://content.mellanox.com/ofed/MLNX_OFED-5.8-2.0.3.0/MLNX_OFED_LINUX-5.8-2.0.3.0-ubuntu20.04-x86_64.tgz

tar xvf mlnx-ofed-kernel_5.8.orig.tar.gz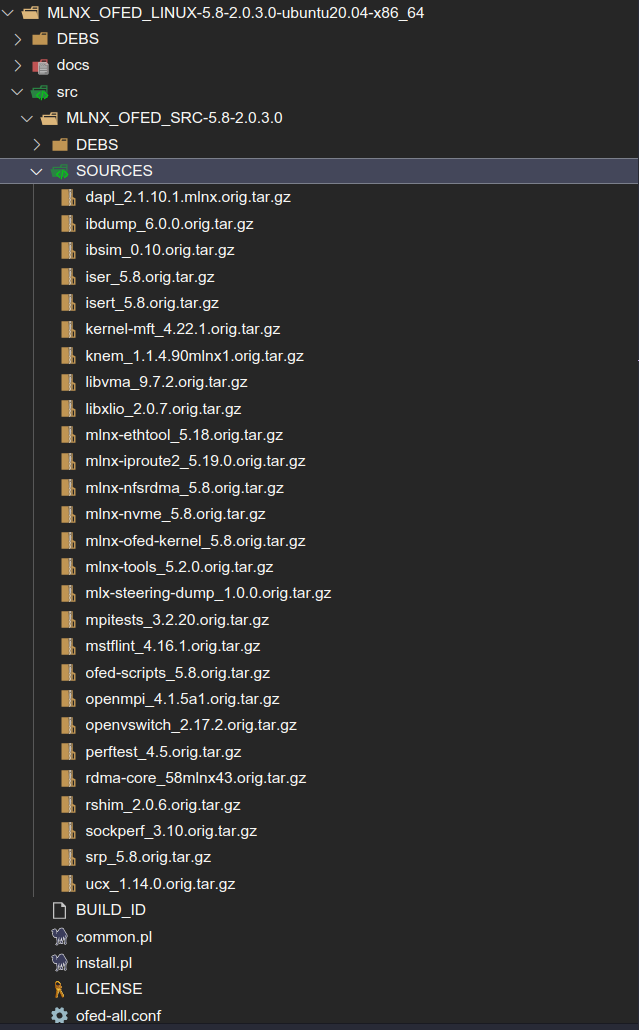
After unzip, we can see that 1) source codes are at the src/MLNX_OFED_SRC-5.8-2.0.3.0/SOURCES , and that the pearl script install.pl :
1. copy the archive into /var/tmp.
2. untar the archive
3. build a deb package using /usr/bin/dpkg-buildpackage.
4. copy the deb package(s) into /path/to/root/ofed/DEBS//.
5. install the package(s) using /usr/bin/dpkg -i after dkms module check (/usr/bin/dpkg-deb).
1.2. Edit the code
Of the various source codes, tc would most likely be located at the mlnx-ofed-kernel. Thus, I decided to make some modifications on them.
Before modifying, I we have to copy the code to another location for backup.
mkdir ~/SR-IOV/OFED_TEST
cp mlnx-ofed-kernel_5.8.orig.tar.gz ~/SR-IOV/OFED_TEST
tar xvf ~/SR-IOV/OFED_TEST/mlnx-ofed-kernel_5.8.orig.tar.gz
Then, we will make some basic changes. For example, We will change the code at en_main.c, inside the mlx5e_init():
int mlx5e_init(void)
{
	printk(KERN_INFO "mlx5_core: Initializing mlx5e!!!!!!!!!!!\n");

	int ret;

	mlx5e_ipsec_build_inverse_table();
	mlx5e_build_ptys2ethtool_map();
	ret = auxiliary_driver_register(&mlx5e_driver);
	if (ret)
		return ret;

	ret = mlx5e_rep_init();
	if (ret)
		auxiliary_driver_unregister(&mlx5e_driver);
	return ret;
}
1.3. Building package (feat. commit)
To build the package, we have to first commit then build:
# At the root of source do:

dpkg-source --commit
# Enter commit message
# Save commit file (using :wq for vim)
dpkg-buildpackage -us -uc
- The
--commitoption will prompt you to name the patch (if it has not been specified on the command line). Afterward, you'll be placed in an editor to specify metadata for the patch, such as a description of what it does and why it is necessary.- After you've done this, your changes will be saved in the form of a patch file under 'debian/patches'. The patch is also added to the 'debian/patches/series' file so it can be applied automatically when the package is built. This is useful for tracking changes made to the package, and it helps ensure consistency and reproducibility in package building.
- This command is part of the source handling changes introduced with Debian source format '3.0 (quilt)', designed to make it easier to handle modifications to the source code. If you're working with an older package that doesn't use the quilt format, you'll need to use the
quilttool directly to manage patches.
dpkg-buildpackage: This is the main command used to build a Debian package. It's a control script that can handle an entire build sequence. It controls the various other tools involved in the process such asdpkg-source,dpkg-genchanges,dpkg-deb, etc.-us: This option tellsdpkg-buildpackagenot to sign the source package. In other words, it stands for "unsigned source".-uc: This option tellsdpkg-buildpackagenot to sign the.changesfile. The.changesfile, which is created bydpkg-genchanges, describes the changes made in the new version of the package as compared to the previous version, among other things.-ucstands for "unsigned changes".- Normally, Debian packages are signed to ensure their integrity and authenticity. However, if you're building a package for personal use or for use within a controlled environment, you might not need the package to be signed, hence the use of the
-usand-ucoptions.
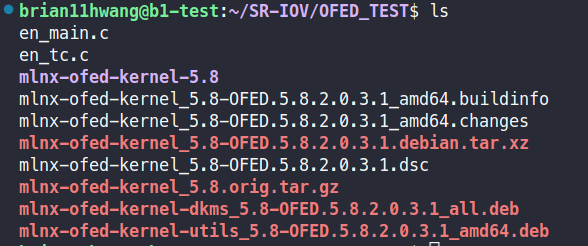
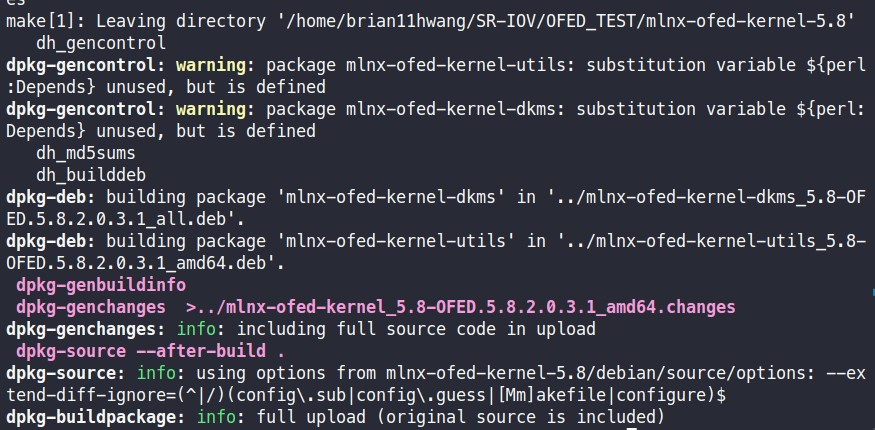
This will generate .deb and other files needed for package installation:
1.4. Install package
Then, install the package using dpkg:
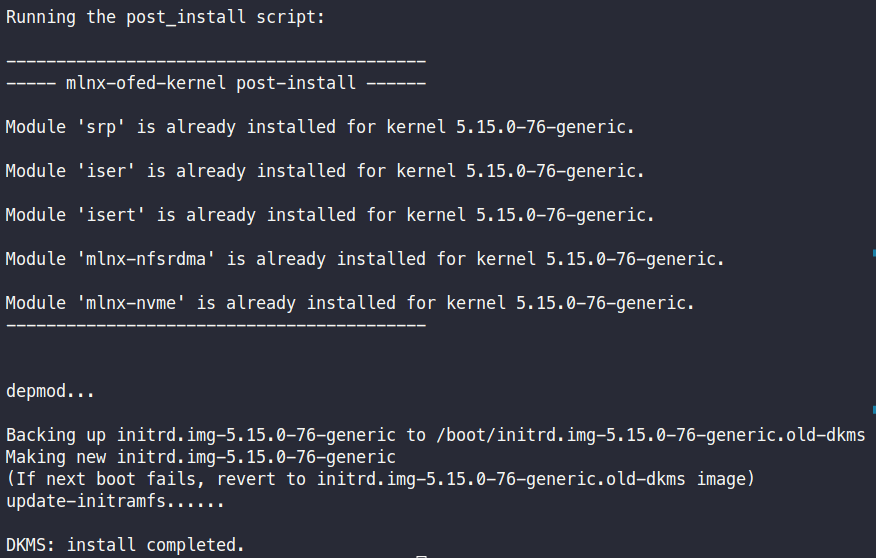
sudo dpkg -i mlnx-ofed-kernel-dkms_5.8-OFED.5.8.2.0.3.1_all.deb1.5. Test
Then, if we re-load the driver using:
sudo /etc/init.d/openibd restart we can see that in the dmesg:
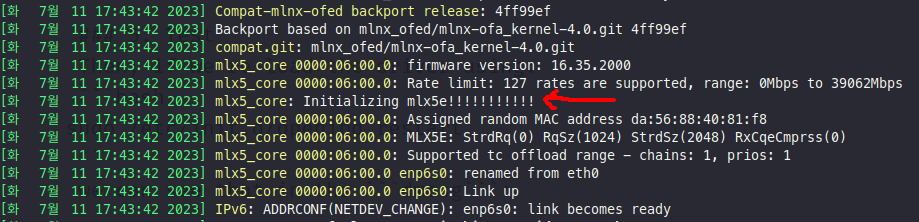
The message has successfully been made.
2. Cluttered Debian source package with autogenerated files
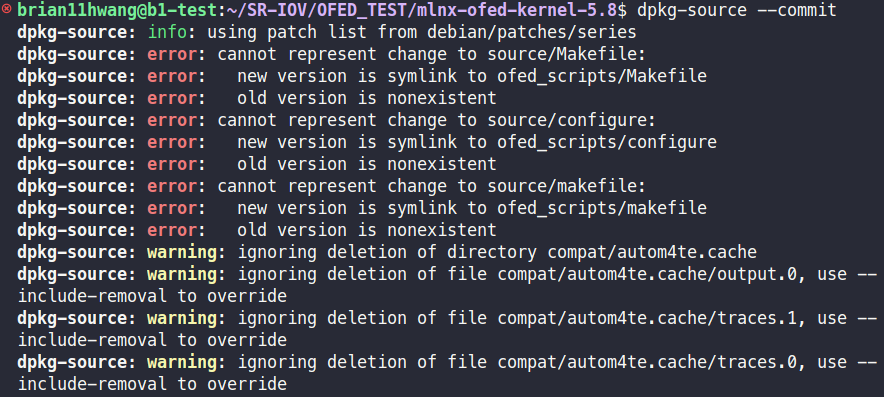
The problem with this method is that after commit/build/installing, it wouldn't let me edit then commit again:
2.1 Suppress commit error
From this source it says that:
we can conveniently have everybody use the --extend-diff-ignore option. It tells dpkg-source to ignore some files when checking whether we have made changes to upstream files.
To automate this, we can have this file added at debian/source/options:
# Don't store changes on autogenerated files
extend-diff-ignore = "(^|/)(config\.sub|config\.guess|[Mm]akefile|configure)$"
2.2 Test commit
Re-do Hello Mellanox! with editing the code:
int mlx5e_init(void)
{
	printk(KERN_INFO "mlx5_core: Initializing mlx5e!!!!!!!!!!!\n");
	printk(KERN_INFO "Test Change!!!!!!!!!!!\n");

	int ret;

	mlx5e_ipsec_build_inverse_table();
	mlx5e_build_ptys2ethtool_map();
	ret = auxiliary_driver_register(&mlx5e_driver);
	if (ret)
		return ret;

	ret = mlx5e_rep_init();
	if (ret)
		auxiliary_driver_unregister(&mlx5e_driver);
	return ret;
}
Re-commit:

Re-build:
Intsall:
Reload driver:

Check demsg:
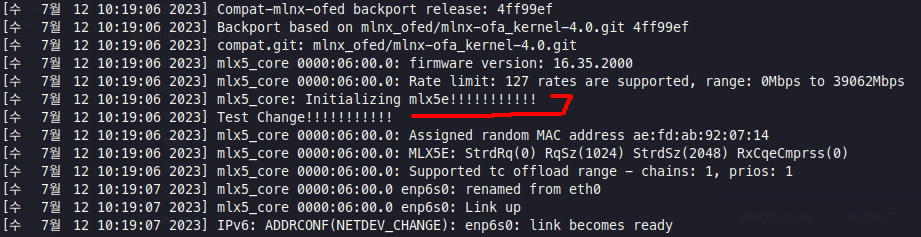
We can now successfully edit and "re-edit" the mellanox OFED source code.
