Redux: props 전송없이도 모든 컴포넌트들이 state를 사용할 수 있게 만들어줌
Redux를 사용해보기 전에 장바구니 페이지를 하나 만들것
import React from "react";
import { Table } from "react-bootstrap";
function Cart() {
return (
<div>
<Table striped bordered hover>
<thead>
<tr>
<th>#</th>
<th>First Name</th>
<th>Last Name</th>
<th>Username</th>
</tr>
</thead>
<tbody>
<tr>
<td>1</td>
<td>Mark</td>
<td>Otto</td>
<td>@mdo</td>
</tr>
<tr>
<td>2</td>
<td>Jacob</td>
<td>Thornton</td>
<td>@fat</td>
</tr>
<tr>
<td>3</td>
<td colSpan={2}>Larry the Bird</td>
<td>@twitter</td>
</tr>
</tbody>
</Table>
</div>
);
}
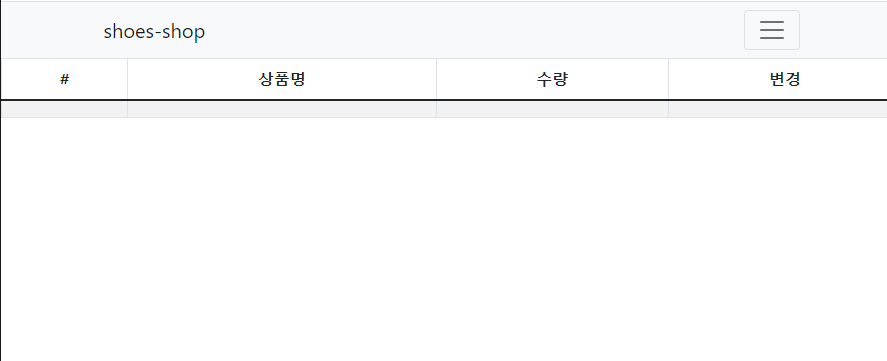
export default Cart;걍 부트스트랩 복붙ㄱㄱ
<Route path="/cart">
	<Cart />
</Route>
그다음 Route를 이용해 특정 페이지로 이동하도록 하였다.
 이제 Redux를 사용해 실제 상품 데이터를 데이터 바인딩 할것이다.
yarn add redux react-redux 설치 ㄱㄱ
- 설치가 완료되었다면 index.js 파일에서 import 해주고, App 컴포넌트를 감싸준다
//index.js
import { Provider } from "react-redux";

ReactDOM.render(
  <React.StrictMode>
    <BrowserRouter>
      <Provider>
        <App />
      </Provider>
    </BrowserRouter>
  </React.StrictMode>,
  document.getElementById("root")
);- createStore()를 import해주고 안에 state를 저장해준다
import { Provider } from "react-redux";
import { createStore } from "redux";

let store = createStore(() => {
  return [{ id: 0, name: "fucking shoes", quan: 2 }];
});

ReactDOM.render(
  <React.StrictMode>
    <BrowserRouter>
      <Provider>
        <App />
      </Provider>
    </BrowserRouter>
  </React.StrictMode>,
  document.getElementById("root")
);- 마지막으로
<Provider>에 props를 전송한다
let store = createStore(() => {
  return [{ id: 0, name: "fucking shoes", quan: 2 }];
});

ReactDOM.render(
  <React.StrictMode>
    <BrowserRouter>
      <Provider store={store}>
        <App />
      </Provider>
    </BrowserRouter>
  </React.StrictMode>,
  document.getElementById("root")
);
이제 Cart.js에가서 state 데이터를 사용할수 있을것
//Cart.js
import { connect } from "react-redux";
먼저 import부터 해주고
- 함수 만들기
- export default connect(함수명)()
(졸라많네...)
function 함수() {

}
export default connect(함수)(Cart);
//export default Cart;
그다음 함수를 작성해주자
function 함수(state) {
    return {
        상품: state
    }
}
redux store의 데이터를 가져와서 props로 변환해주는 함수이다. 받아온 state의 이름을 '상품'이라고 지정했다
function Cart(props) {
  return (
    <div>
      <Table striped bordered hover>
        <thead>
          <tr>
            <th>#</th>
            <th>상품명</th>
            <th>수량</th>
            <th>변경</th>
          </tr>
        </thead>
        <tbody>
          <tr>
            <td>1</td>
            <td>{props.상품[0].name}</td>
            <td>{props.상품[0].quan}</td>
            <td></td>
          </tr>
        </tbody>
      </Table>
    </div>
  );
}
props처럼 데이터 바인딩 해주면 끝!!
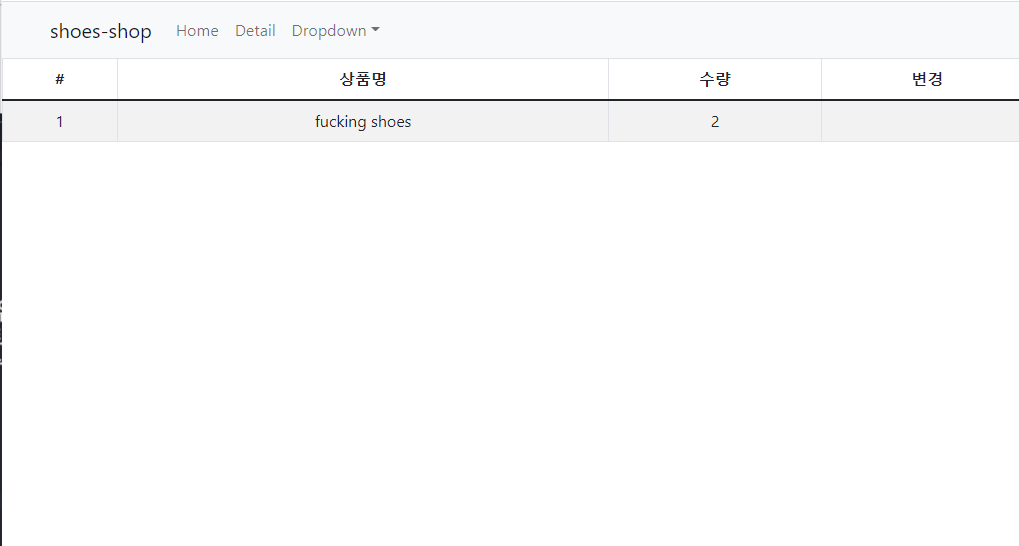 데이터가 잘 불려왔다ㅎㅎ
redux 쓰는 이유
깊은 하위 컴포넌트도 props 여러번 전송없이 state를 직접 갖다쓰기 때문
store데이터를 몇개 더 넣어, map 함수로 이쁘게 출력해 보았다
function Cart(props) {
  return (
    <div>
      <Table striped bordered hover>
        <thead>
          <tr>
            <th>#</th>
            <th>상품명</th>
            <th>수량</th>
            <th>변경</th>
          </tr>
        </thead>
        <tbody>
          {props.상품.map((item, idx) => {
            return (
              <>
                <tr>
                  <td>{idx + 1}</td>
                  <td>{item.name}</td>
                  <td>{item.quan}</td>
                  <td></td>
                </tr>
              </>
            );
          })}
        </tbody>
      </Table>
    </div>
  );
}
굳ㅎㅎ
출처 : https://codingapple.com/ (코딩애플님 리액트 강의)

세상은 모르는 것 투성이