해당 내용은 이미 많은 분들이 포스팅을 하셨지만 종합편은 없는 것 같아서 작성해 본다.
다음에 분명 헤맬 것이 분명한 나를 위해서가 가장 크다.
0 준비
-
ssh-agent 실행 확인
$ Start-Service ssh-agent $ # 아무 반응이 없는 게 정상적인 반응이다. # (ssh-agent가 이미 실행 중이었거나 꺼져 있었는데 해당 명령어로 인해 재실행된 것이다.) -
만약 에러가 난다면 아래 방법을 참조한다.
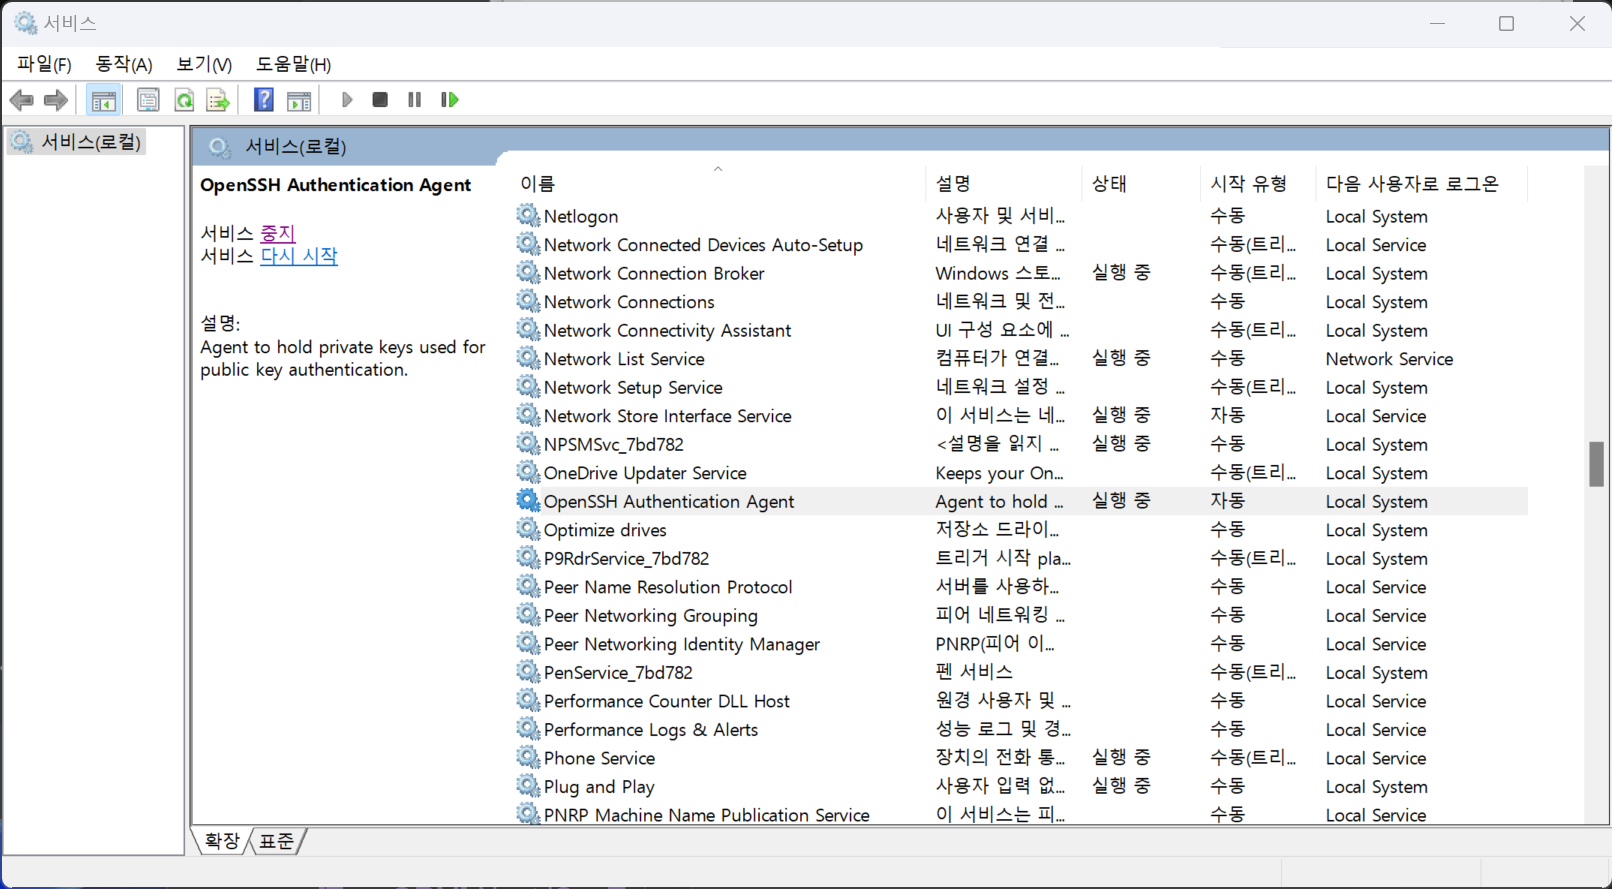
Start-Service: Service 'OpenSSH Authentication Agent (ssh-agent)' cannot be started due to the following error: Cannot start service 'ssh-agent' on computer '.'.
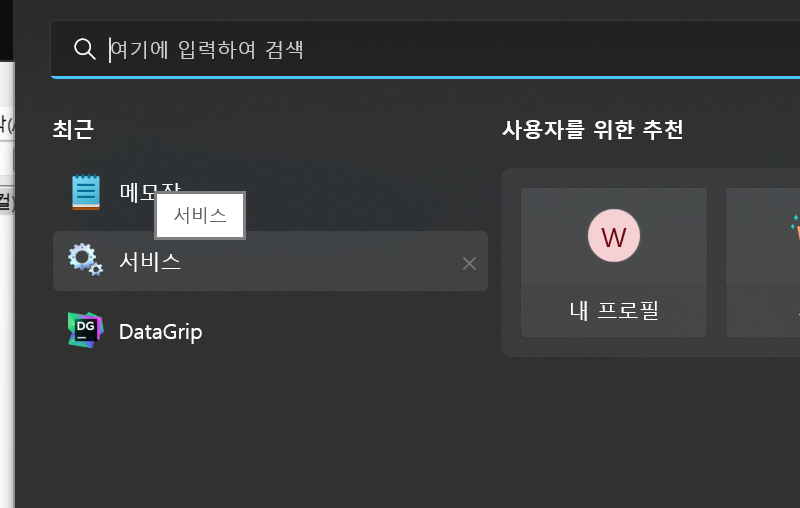
- 시작 - 검색 - 서비스를 찾기 & 실행
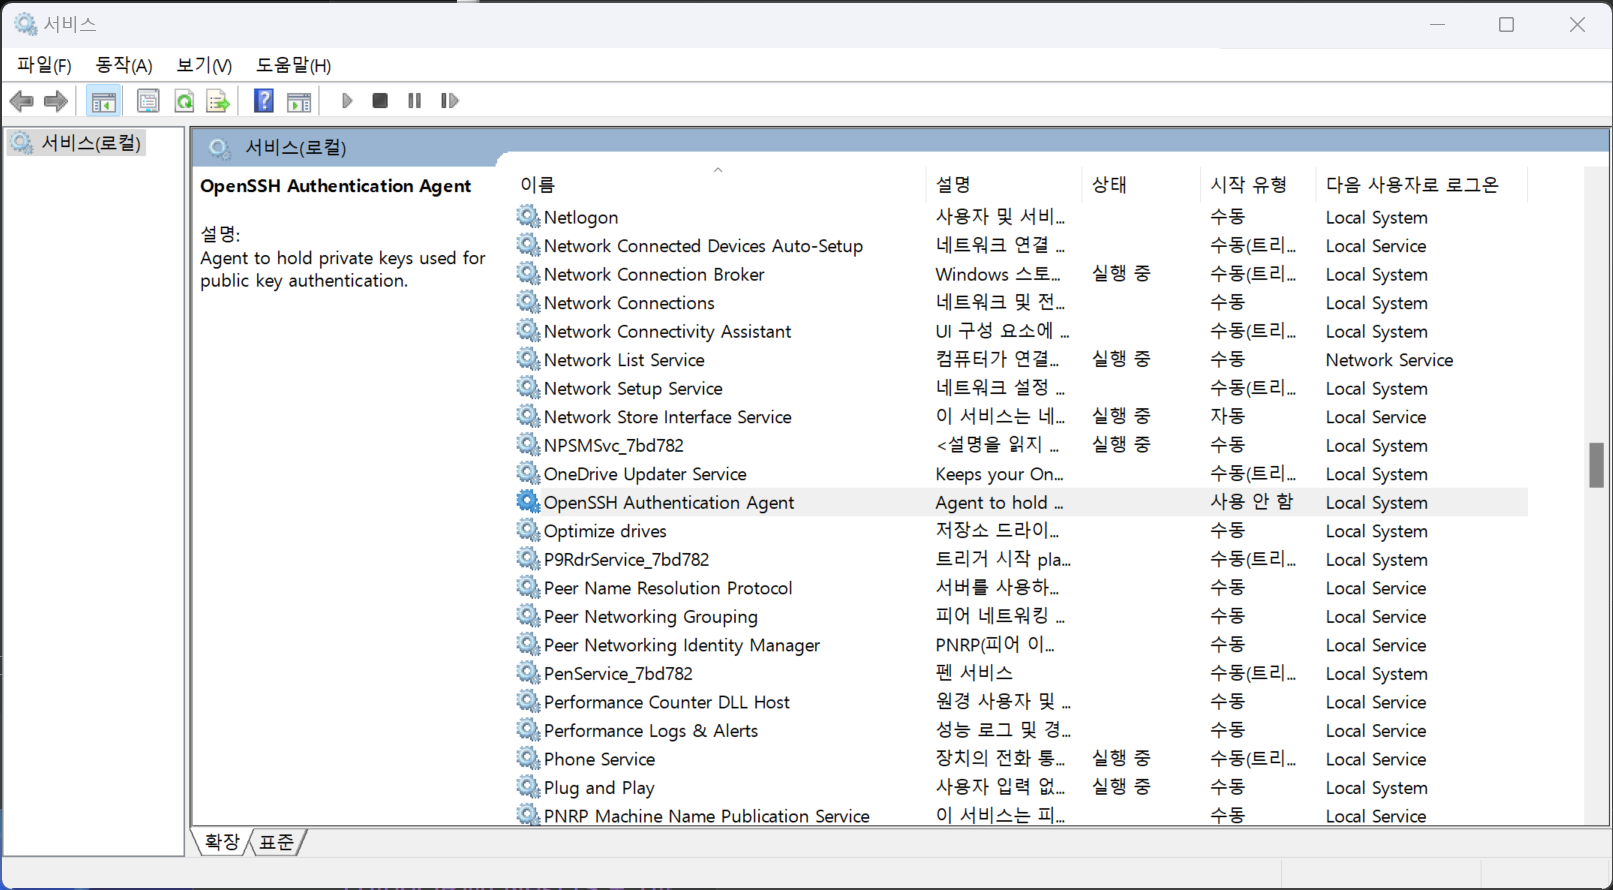
- OpenSSH Authentication Agent 더블 클릭
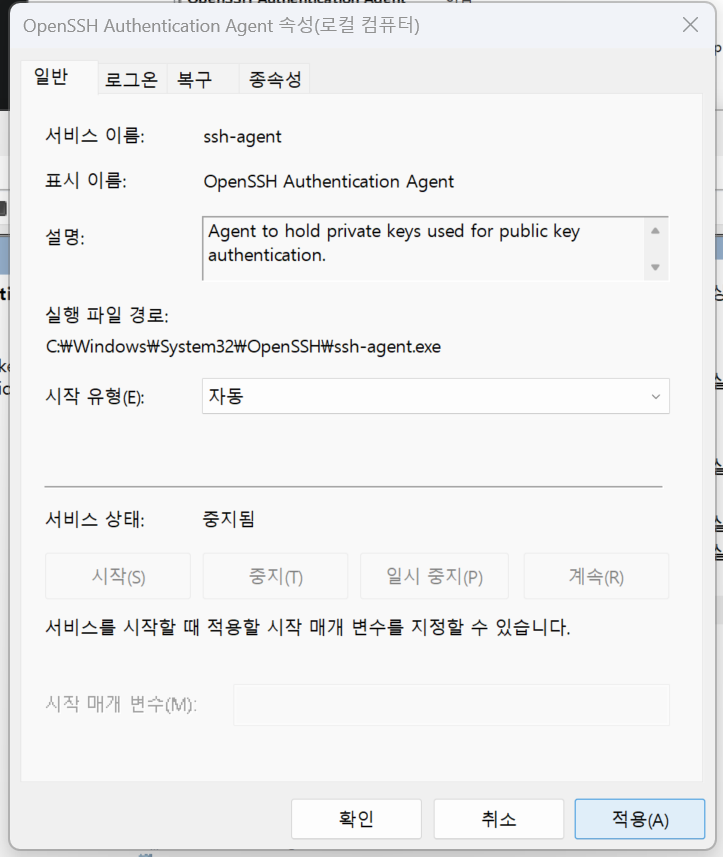
3. 시작유형을 '자동'으로 변경 후 적용
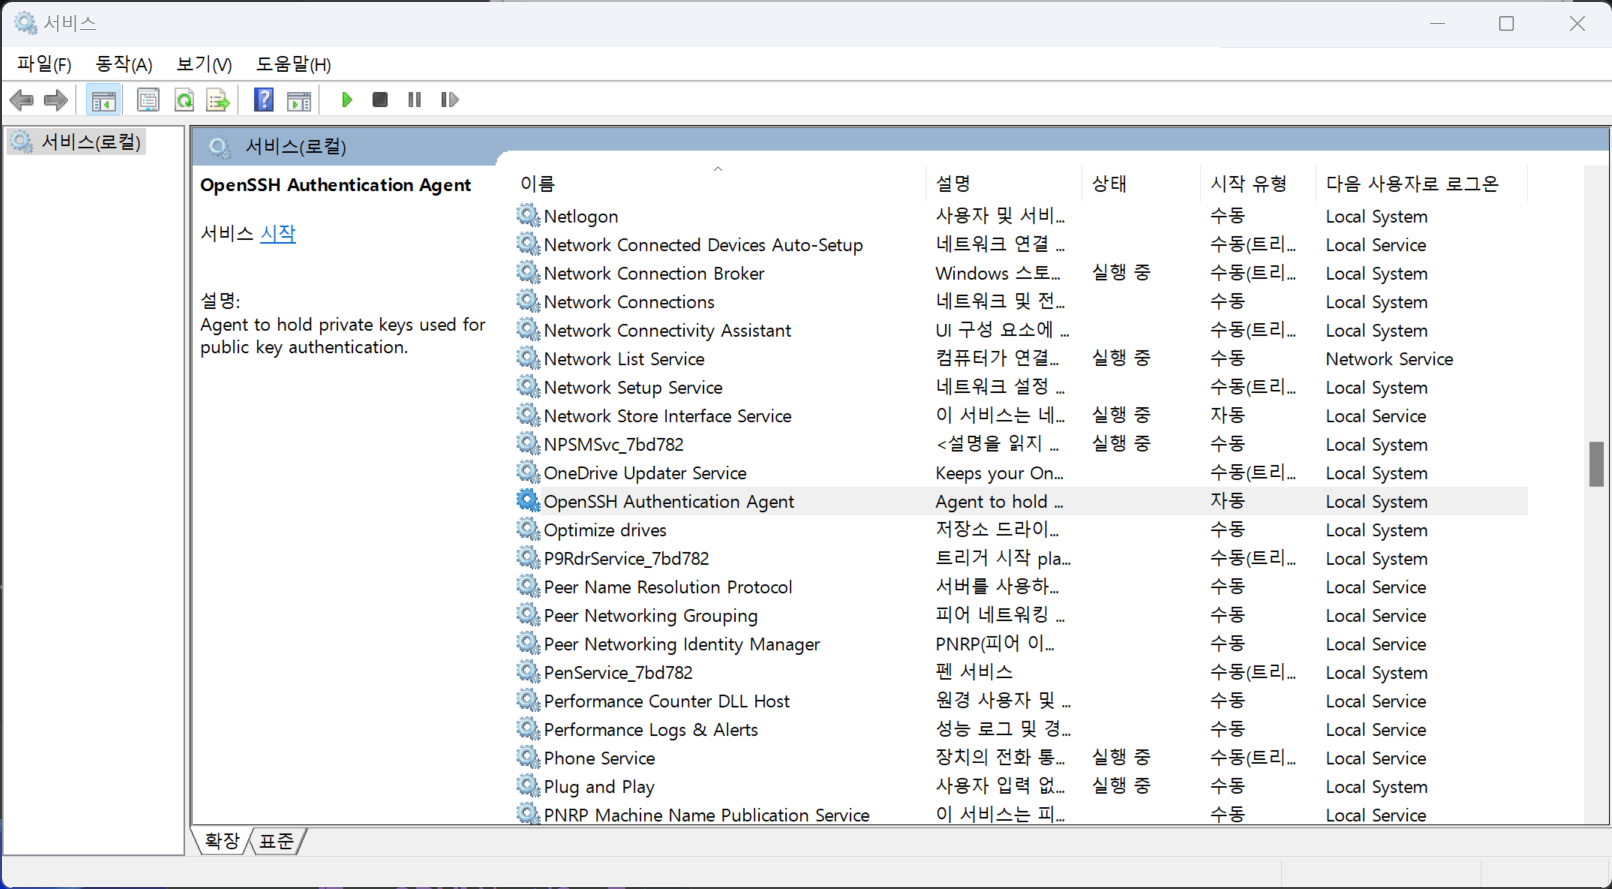
4. 서비스 시작
5. 서비스 시작 확인

1 SSH Key 생성하기
-
기존에 발급받은 SSH Key 가 있는지 확인한다.
$ cd ~/.ssh $ ls # 덮어쓰면 곤란하니 일단 이름을 기억해두고 같은 이름으로 만들지 않도록 주의한다. -
없으면 만든 후 해당 폴더로 들어간다.
$ mkdir ~/.ssh $ cd ~/.ssh -
github 계정(이메일)별로 SSH Key를 생성한다.
$ ssh-keygen -t rsa -C [github 이메일 계정] -f [생성될 SSH key 파일]
 $ ssh-keygen -t rsa -C "git1@email.com" -f "id_rsa_git1"
Generating public/private rsa key pair.
Enter passphrase (empty for no passphrase):   # 엔터
Enter same passphrase again:                  # 엔터
Your identification has been saved in id_rsa_git1
Your public key has been saved in id_rsa_git1.pub
The key fingerprint is:
SHA256:OJPEtuo4rR+O2b2iR/c0aomeMw3M/x+NDHUSSeqGCGM git1@email.com
The key's randomart image is:
+---[RSA 3072]----+
|         .o.     |
|     .   ...     |
|  E   + . o .    |
| . o + * . o     |
|   o. B S        |
|    =..+oo o     |
|   oo* = .+ .    |
|  .BB+* .  .     |
|  *BB=oo...      |
+----[SHA256]-----+
$ ssh-keygen -t rsa -C "git2@email.com" -f "id_rsa_git2"
-
잘 생성되었는지 확인한다.
# id_rsa_gitX는 private key이고,
 # id_rsa_gitX.pub는 public key 이다.

$ ls -l
total 4
-rw-------  1 iam  geni  2602 12 29 13:44 id_rsa_git1
-rw-r--r--  1 iam  geni   568 12 29 13:44 id_rsa_git1.pub
-rw-------  1 iam  geni  2602 12 29 13:44 id_rsa_git2
-rw-r--r--  1 iam  geni   568 12 29 13:44 id_rsa_git2.pub
2 config 작성하기
-
~/.ssh 경로에
config파일을 생성하고 아래와 같이 작성한다.Host github.com-git1 HostName github.com User git1@email.com IdentityFile ~/.ssh/id_rsa_git1 Host github.com-git2 HostName github.com User git2@email.com IdentityFile ~/.ssh/id_rsa_git2
- 생성한 ssh key를 ssh agent에 등록한다.
$ ssh-add id_rsa_git1
 Identity added: git1 (git1@email.com)

 $ ssh-add id_rsa_git2
 Identity added: git2 (git2@email.com)
-
잘 등록되었는지 확인한다.
$ ssh-add -l
3072 SHA256:OJPEtuo4rR+O2b2iR/c0aomeMw3M/x+NDHUSSeqGCGM git1@email.com (RSA)
3072 SHA256:Nyn0lufvrcYw2sMSMEcE1/uA7D2eQKD9ljltcJCdI1M git2@email.com (RSA)

# 혹시 잘못 등록되었다면 삭제 후 다시 등록
$ ssh-add -d ~/.ssh/삭제할 키이름
$ ssh-add -D  # 전체 삭제
3 github에 새로 생성한 public key 등록
- 공개키를 복사한다.
$ cat ~/.ssh/id_rsa_git1.pub
 # 엔터 후 나오는 이상한 문자들 복사
- github에 공개키를 등록한다.
git1으로 github에 로그인 후 Settings > SSH and GPG keys > New SSH key 로 이동
 title은 해당 컴퓨터를 식별할 수 있도록 이름을 붙여줌
 Key 부분에 앞에서 복사한 public key를 붙여넣어 넣기
- git2도 공개키 복사 후 github에 등록한다.
4 .gitconfig 분리
커밋할 때마다 email, name 을 매번 입력하는 것은 귀찮은 일이라 자동으로 각각 세팅되도록 설정한다. (+ SSH 권한 때문에 push 등이 거부당하는 것 방지)
-
주로 사용할 계정을
.gitconfig에 작성한다.# 대상파일 ~/.gitconfig # 없으면 만든 후 연다 $ mkdir ~/.gitconfig # 아래 내용으로 작성한다. [user] email = git1@email.com name = git1 [github] user = git1 [core] sshCommand = "ssh -i ~/.ssh/id_rsa_git1" [includeIf "gitdir:C:/Users/윈도우사용자이름/개발경로/git2/"] path = ~/.gitconfig-git2 # 맨 아래 if문은 git 디렉토리가 .../git2/ 인 경우에는 # .gitconfig 대신에 .gitconfig-git2 설정을 사용한다는 뜻이다. -
.gitconfig-git2작성[user] email = git2@email.com name = git2 [github] user = git2 [core] sshCommand = "ssh -i ~/.ssh/id_rsa_git2"
5 SSH 연결 테스트
-
git1 연결 테스트
$ ssh -T git@github.com-git1 The authenticity of host 'github.com (아이피)' can't be established. RSA key fingerprint is SHA256:nThbg6kXUpJWGl7E1IGOCspRomTxdCARLviKw6E5SY8. Are you sure you want to continue connecting (yes/no/[fingerprint])? yes # yes를 입력 Warning: Permanently added 'github.com,15.164.81.167' (RSA) to the list of known hosts. Hi git1! You've successfully authenticated, but GitHub does not provide shell access. -
git2 연결 테스트
$ ssh -T git@github.com-git2
6 SSH로 clone
- clone 받을 프로토콜을 HTTPS에서 SSH로 변경 후 복사
- git1 계정의 저장소인 경우
# 기본 경로(git@github.com:[user]/[저장소])를 수정
 # (git@github.com 부분을, config 파일을 만들 때 정해 준 Host 명인 git@github.com-git1 으로 변경)

 $ git clone git@github.com-git1:git1/my.git
-
git2 계정의 저장소인 경우
# 일단 git2 저장소 경로로 이동
 $ cd C:/Users/윈도우사용자이름/개발경로/git2

 $ git clone git@github.com-git2:git2/my2.git
- 이미 클론 받은 저장소는 원격저장소 변경 -> 이건 확인 못 함
# 대상파일: [해당 git 저장소 경로]/.git/config

[core]
      repositoryformatversion = 0
      filemode = false
      bare = false
      logallrefupdates = true
      symlinks = false
      ignorecase = true
[remote "origin"]
      url = git@github.com-git1:git1/my.git # 여기를 수정 ??
      fetch = +refs/heads/*:refs/remotes/origin/*
7 참고
- https://mrchypark.github.io/post/여러개의-github-계정을-사용해보자
- https://www.irgroup.org/github-컴퓨터-한대로-여러-계정-사용하기
- https://www.lesstif.com/lpt/ssh-agent-private-key-ssh-add-123338804.html
- https://stackoverflow.com/questions/60557545/git-includeif-multiple-gitconfigs-not-working
- https://hyelmy.github.io/끄적끄적/setting_sshkey

즐거운 개발자