QR로 접속시에 멀리있는사람이면 접속을 차단해주려고 한다.
일단 QR URL을 만들기 위한 참고 사이트 :
https://www.showwcase.com/show/19231/how-to-build-a-dynamic-qr-code-using-react
1. 라이브러리 다운로드
npm i qrcode.reactimport 해주기(QRCodeCanvas)
import {QRCodeCanvas} from 'qrcode.react';
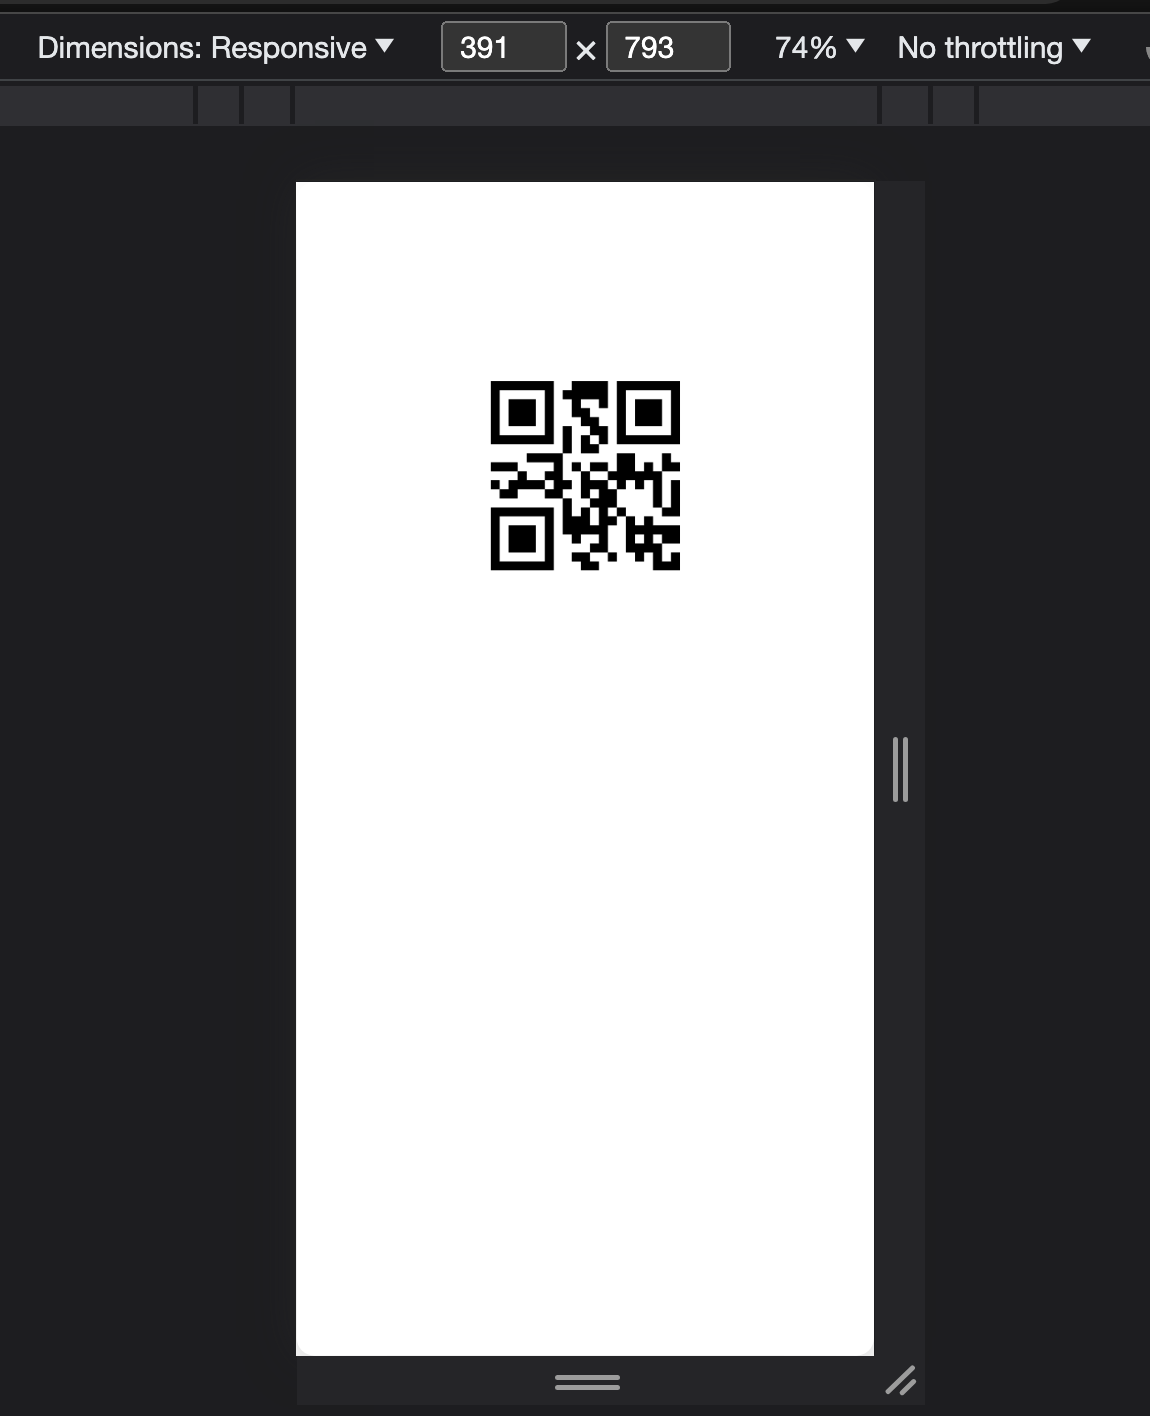
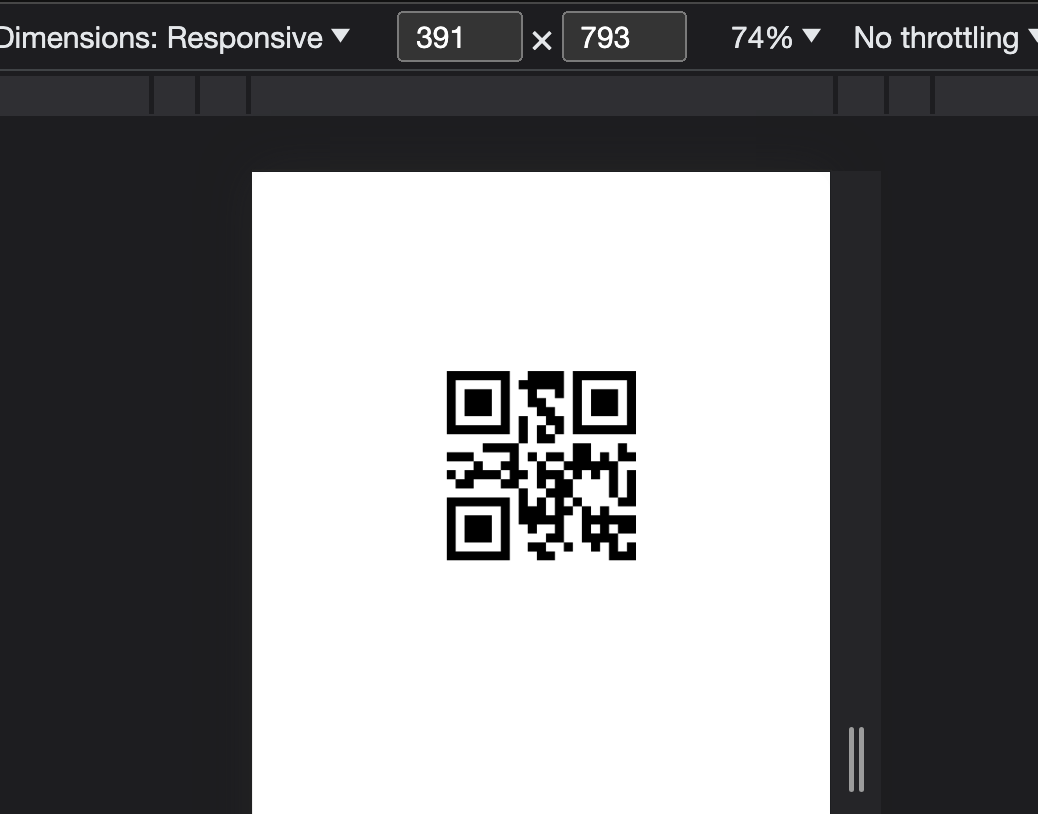
<QRCodeCanvas value="ExampleURL.com" />
다음과 같이 컴포넌트형식? 으로 선언해주면
QR이 생성된다.
import React from 'react'
import { QRCodeCanvas } from 'qrcode.react';
import { useNavigate } from 'react-router-dom';

export default function Qrpage() {
    const navigate = useNavigate();

    return (
        <section className='w-full h-[50vh] flex items-center justify-center flex-col'>
            <QRCodeCanvas
                onClick={() => navigate('/')} value="/" />
        </section>
    )
}
스타일링은 tailwindcss를 사용하였습니다.
QR코드를 쉽게 생성할 수 있었다.
근데 일단 데스크탑 환경에서 해주는 것이다보니 navigate를 통해서 찍었다고 가정하고 클릭을 통해서 이동할 수 있게 해주었다.
QRCodeCanvas 스타일링
해당 컴포넌트를 커맨트 클릭을 통해서 이동하여 넣을 수 있는 값들을 살펴보았다.
declare type QRProps = {
    value: string;
    size?: number;
    level?: string;
    bgColor?: string;
    fgColor?: string;
    style?: CSSProperties;
    includeMargin?: boolean;
    imageSettings?: ImageSettings;
};
declare type QRPropsCanvas = QRProps & React.CanvasHTMLAttributes<HTMLCanvasElement>;
declare type QRPropsSVG = QRProps & React.SVGProps<SVGSVGElement>;
declare function QRCodeCanvas(props: QRPropsCanvas): JSX.Element;
즉 위에 QRPROPS에 선언된 값들을 컴포넌트에 프롭스로서 활용할 수 있다.
value: string;
    size?: number;
    level?: string;
    bgColor?: string;
    fgColor?: string;
    style?: CSSProperties;
    includeMargin?: boolean;
    imageSettings?: ImageSettings;
변경 후
<section className='w-full h-[50vh] flex items-center justify-center flex-col'>
            <h1 className='text-primary text-4xl mb-4 font-bold'>QR CODE</h1>
            <QRCodeCanvas
                className='border-primary border-4 rounded-xl'
                includeMargin
                fgColor="#393E46"
                size={200}
                onClick={() => navigate('/')} value="/" />
        </section>
fgColor로 큐알코드 색을 변경할 수 있고,
includesMargin을 해주면 (boolean) 다음과 같이 마진을 가진다.
size로 값을 조정해줘서 조금 크게 키워주었다.


기억보단 기록을
좋은 글 감사합니다!