1) 프로젝트 환경설정
1- 라이브러리 살펴보기
- gradle,Maven과 같은 빌드 툴들은 '의존관계'를 관리해줌.
- spring boot는 우리가 최초 spring boot 설치시 spring web을 dependency 에 추가해줬지만 해당 spring web을 실행시키기 위해서는 추가적인 라이브러리들을 한번에 같이 가져와줌.
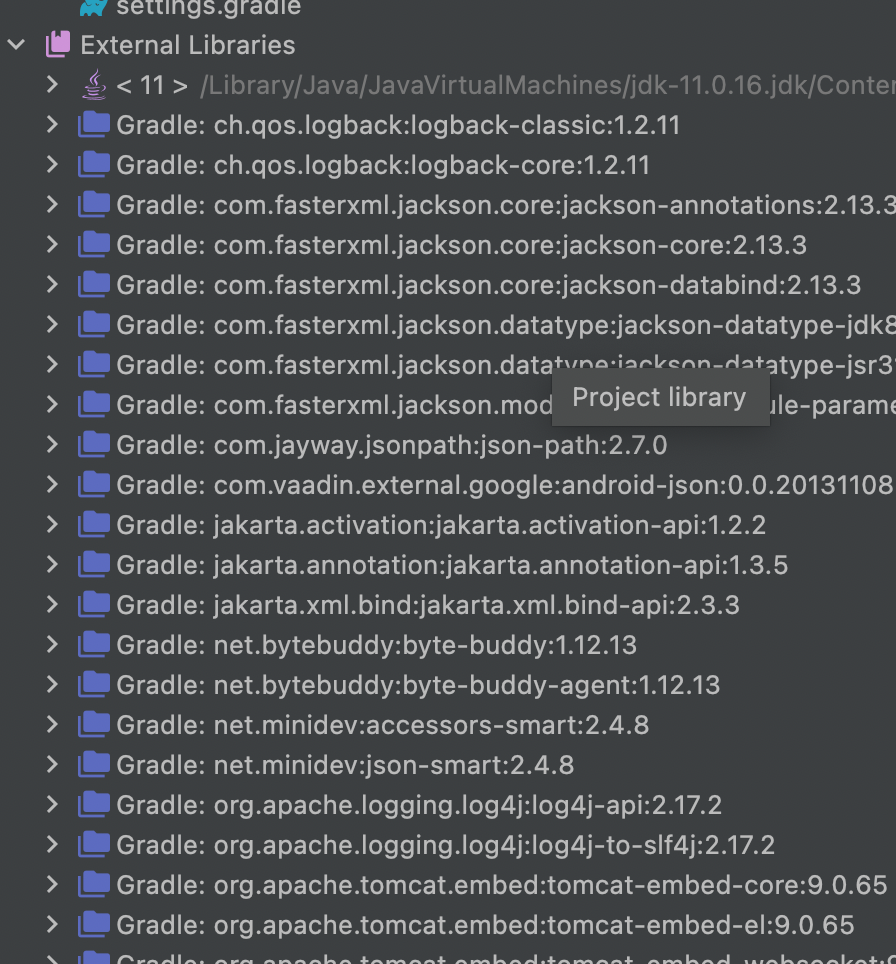

- 옛날에는 웹서버랑 개발 라이브러리가 완전히 분리되었지만 요즘에는 소스라이브러리에서 웹서버를 들고있음 (Embeded - 내장)
-
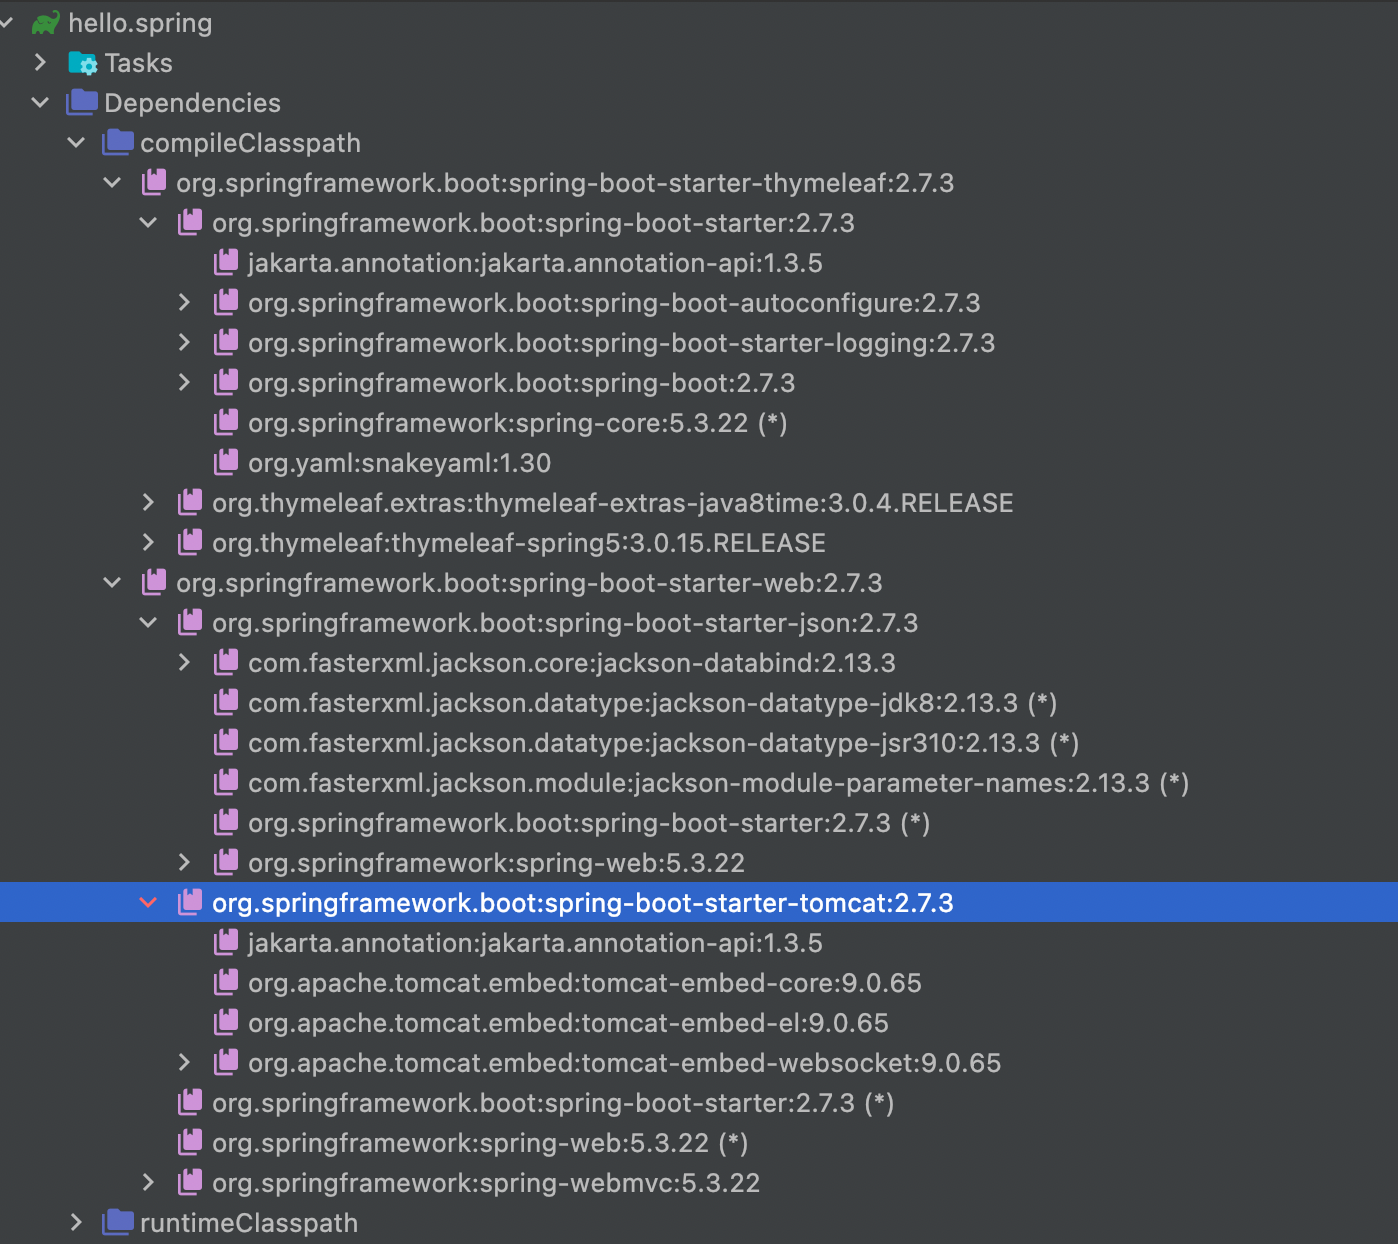
스프링부트 라이브러리 사용시 스프링 코어를 포함해 전부 땡겨 스프링부트와 관련된 모든 세팅이 마련됨.
-
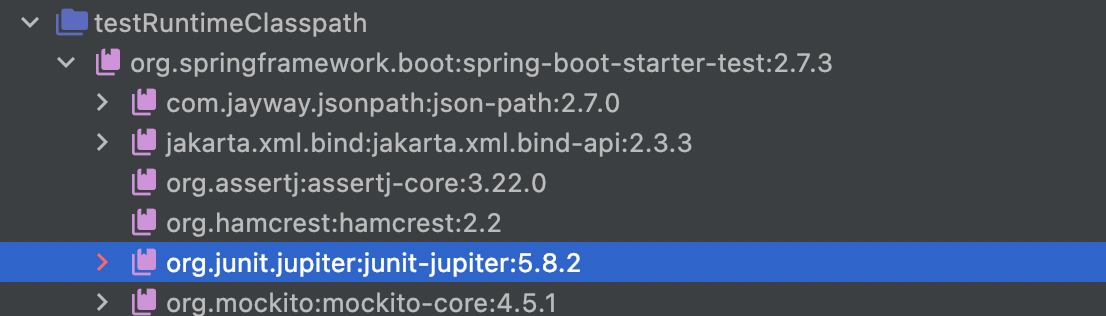
테스트 라이브러리에서는 junit 라이브러리 사용.
정리
스프링 부트 라이브러리
- spring-boot-starter- web 라이브러리에는 톰캣(웹서버), spring-webmvc (스프링 웹 MVC) 가 내재.
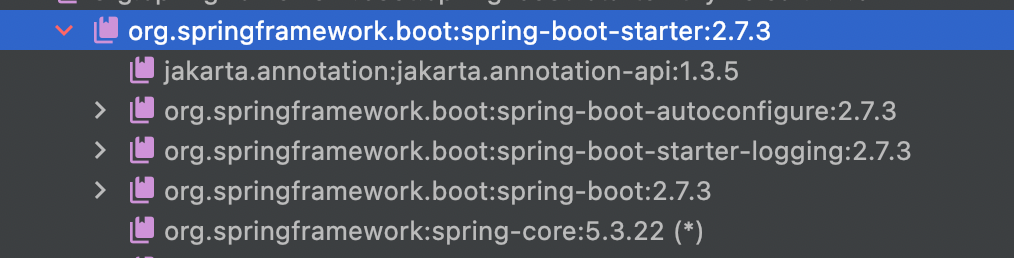
- spring-boot-starter 라이브러리 사용시 spring boot, spring-core 사용가능.
- spring-boot-starter-logging 사용시 logback, slf4j 사용가능.
테스트 라이브러리
- spring - boot - starter - test
- junit : 테스트 프레임워크
- spring - test : 스프링 통합 테스트 지원'
2 - View 환경설정
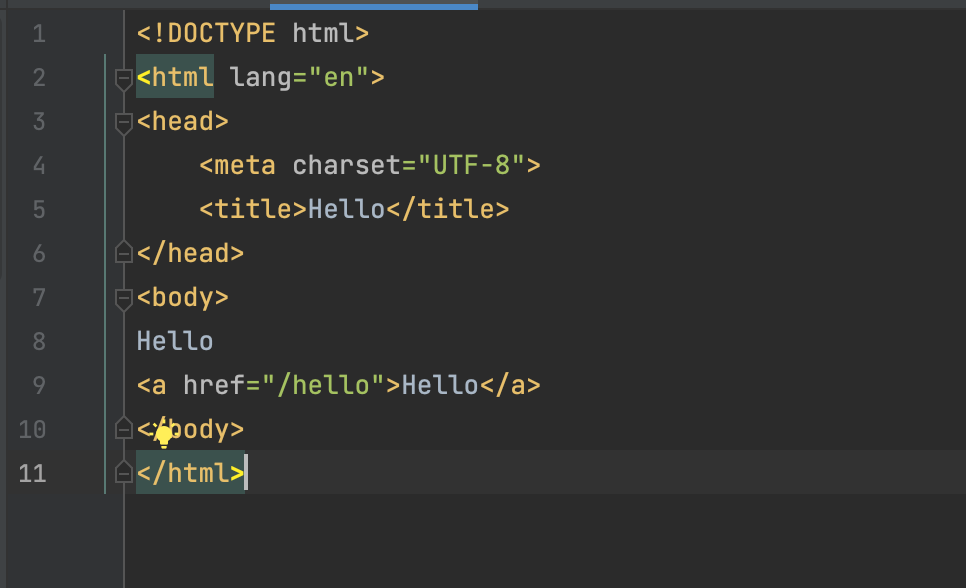
indexl.html 생성
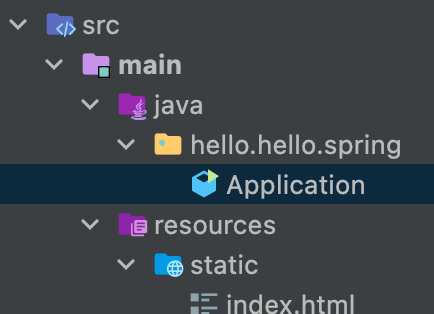
src -> main -> resources -> static -> index.html
- 스프링부트는 자바 엔터프라이즈 웹/앱 애플리케이션 개발에 관한 전반의 생태계를 거의 다 제공.
- 따라서 내가 필요한 정보를 선별 하는 작업이 중요.
- https://docs.spring.io/spring-boot/docs/current/reference/html/features.html#features
- 현재 웹 페이지는 정적 상태의 웹 페이지.
- thymeleaf를 활용해 동적 웹페이지로 변경.
- 'Controller'는 웹 에플리케이션의 첫번째 진입점.
파일 생성
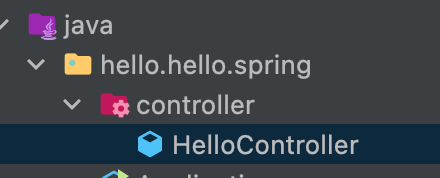
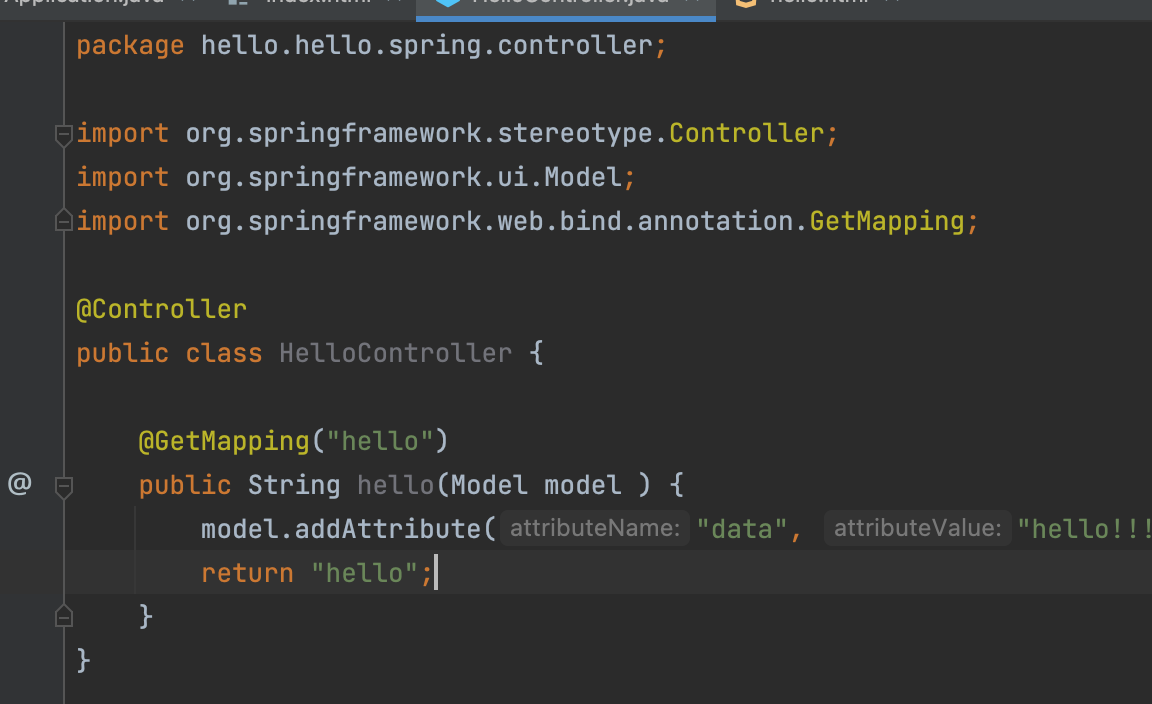
- HelloController
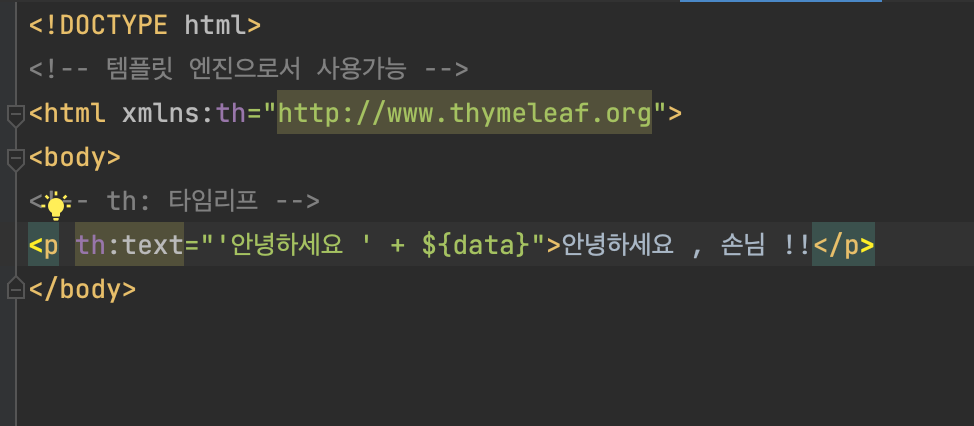
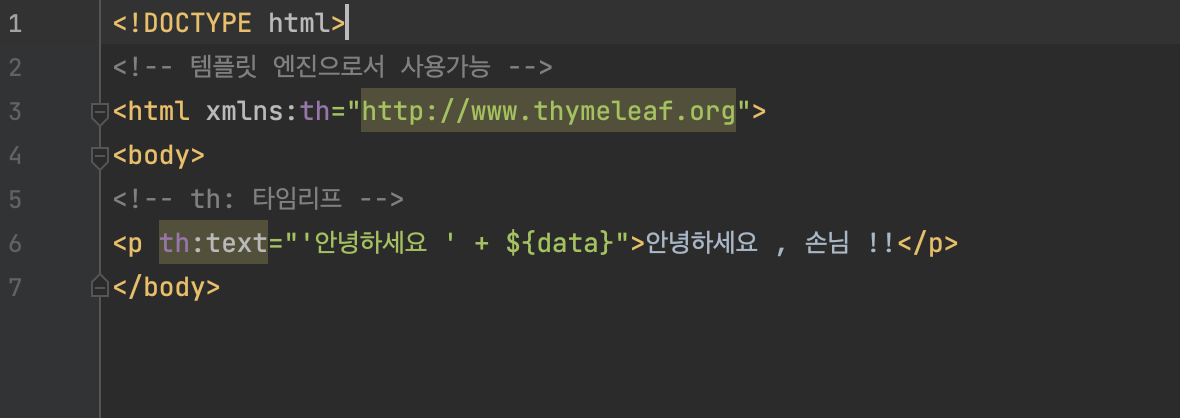
templates -> hello.html 생성

- hello.html
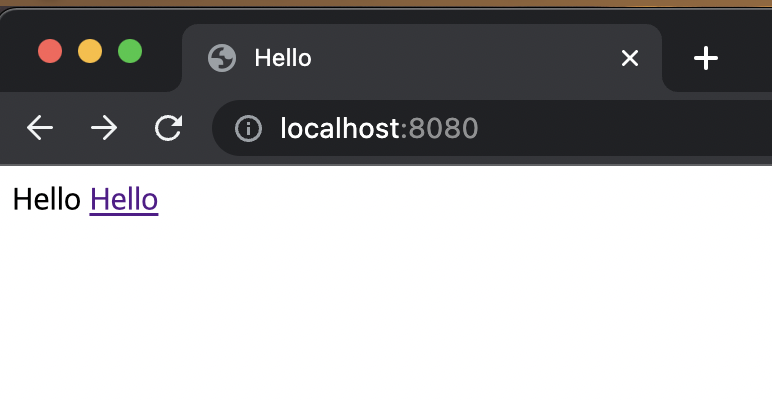
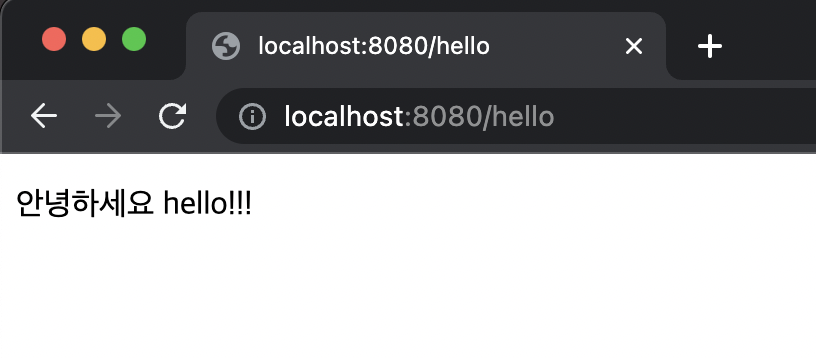
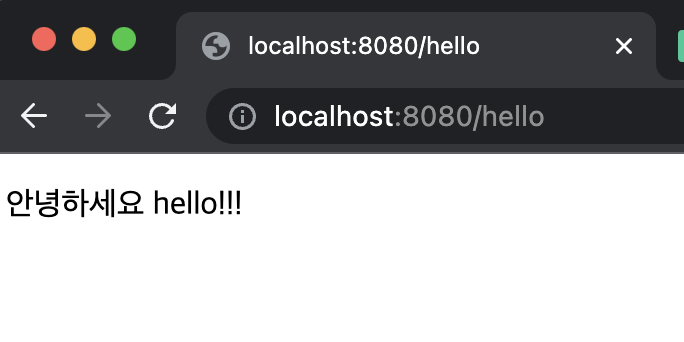
결과
동작 원리
- 스프링 부트에 내장된 톰캣서버가 요청된 url을 받으면 helloController에게 무엇을 가져다 줄지 물어봄. (GetMapping)
GetMapping - HTTP 메소드 중 Create 를 실행하기 위한 'get' 메소드
- 따라서 url에 '/hello' 입력시 해당 웹 페이지로 이동할 수 있음.

- 스프링이 모델을 만들어주고 해당 모델에 addAttribute (key:value 형태로 data:value) 적용.

- "data"를 model에게 넘기면서 return hello 실행 여기서 말하는 hello는 위의 templates 폴더 내 작성 hello.html 을 뜻함.

- Controller에서 리턴값 반환시 뷰 리졸버('viewResolver')가 화면을 찾아서 실행.
resources/templates/+ {ViewName} +.html
- ${data}는 이전 model에서의 key값 의미
- 따라서, "안녕하세요 hello!!! " 로 변경됨.
3. 빌드하고 실행하기

build 완료후 cd build/libs 실행
-
ls -arlth 실행
-
java -jar hello-spring-0.0.1-SNAPSHOT.jar 실행

WILL is ALL