gRPC
grpc에 대한 소개, IDL을 통한 Proto File의 complie 과정과 ProtoBuffer에 대한 소개글은 기존의 글로 대체 하고 구현 위주에 대한 글로 채워보겠습니다.
[ Node.js , JavaScript 환경 설정]
Proto File
syntax = "proto3";
//CustomerService라는 gRPC 서비스를 정의
//GetAll: 매개변수 없이 CustomerList를 반환하는 메소드입니다.
//Get: CustomerRequestId를 매개변수로 받고, 해당 Customer를 반환하는 메소드입니다.
//Insert: Customer를 매개변수로 받고, 추가된 Customer를 반환하는 메소드입니다.
//Update: Customer를 매개변수로 받고, 업데이트된 Customer를 반환하는 메소드입니다.
//Remove: CustomerRequestId를 매개변수로 받고, 아무 값도 반환하지 않는 메소드입니다.
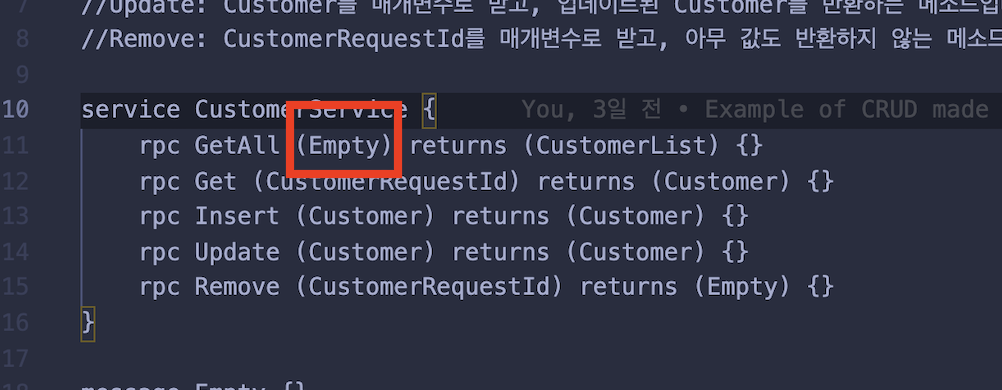
service CustomerService {
rpc GetAll (Empty) returns (CustomerList) {}
rpc Get (CustomerRequestId) returns (Customer) {}
rpc Insert (Customer) returns (Customer) {}
rpc Update (Customer) returns (Customer) {}
rpc Remove (CustomerRequestId) returns (Empty) {}
}
message Empty {}
message Customer {
string id = 1;
string name = 2;
int32 age = 3;
string address = 4;
}
message CustomerList {
repeated Customer customers = 1;
}
message CustomerRequestId {
string id = 1;
}Client 생성
const grpc = require('@grpc/grpc-js');
const protoLoader = require('@grpc/proto-loader');

// 프로토를 JavaScript 객체로 전환하기 위해서는 먼저 패키지 정의를 설정해야 합니다.
// protoLoader는 첫 번째 매개변수로 프로토 파일이 위치한 경로를 받고, 두 번째로 설정 속성을 받아 이 작업을 처리합니다.
const packageDefinition = protoLoader.loadSync('customers.proto', {
  keepCase: true,
  longs: String,
  enums: String,
  defaults: true,
  oneofs: true,
});

//패키지 정의 객체를 손에 넣으면, 이를 grpc 객체의 loadPackageDefinition 함수에 전달하여 반환받을 수 있습니다.
// 클라이언트 생성 위함.
const CustomerService = grpc.loadPackageDefinition(packageDefinition).CustomerService;
//클라이언트 생성
const client = new CustomerService(
  "localhost:30043",
  grpc.credentials.createInsecure()
);


module.exports = client;
- Proto를 JavaScript 객체로 전환하기 위해서는 먼저 패키지 정의를 설정해야 합니다. (loadSync)
- 패키지 정의 객체를 손에 넣으면, 이를 grpc 객체의 loadPackageDefinition 함수에 전달하여 반환받을 수 있습니다.
index.js
const client = require('./client.js');
const path = require("path");
const express = require("express");
const bodyParser = require("body-parser");
const exphbs = require('express-handlebars');


const app = express();


app.set("views", path.join(__dirname, "views"));
app.set("view engine", "hbs");


app.use(bodyParser.json());
app.use(bodyParser.urlencoded({ extended: false }));


app.get("/", (req, res) => {
    client.getAll(null, (err, data) => {
        if (!err) {
            res.render("customers", {
                results: data.customers
            });
        }
    });
});

app.post("/save", (req, res) => {
    let newCustomer = {
        name: req.body.name,
        age: req.body.age,
        address: req.body.address
    };

    client.insert(newCustomer, (err, data) => {
        if (err) throw err;

        console.log("Customer created successfully", data);
        res.redirect("/");
    });
});

app.post("/update", (req, res) => {
    const updateCustomer = {
        id: req.body.id,
        name: req.body.name,
        age: req.body.age,
        address: req.body.address
    };

    client.update(updateCustomer, (err, data) => {
        if (err) throw err;

        console.log("Customer updated successfully", data);
        res.redirect("/");
    });
});

app.post("/remove", (req, res) => {
    client.remove({ id: req.body.customer_id }, (err, _) => {
        if (err) throw err;

        console.log("Customer removed successfully");
        res.redirect("/");
    });
});

const PORT = process.env.PORT || 3000;
app.listen(PORT, () => {
    console.log("Server running at port %d", PORT);
});
Proto 파일의 정의를 맞춘 Client 즉, 서비스 해야 할 함수들에 대한 정의가 들어있는 clinet를 사용해 index.js 에서 해당 함수들에 대한 호출을 수행합니다.
Server.js
Server 파일에서는 index.js에서 호출한 client 들의 함수들을 실질적으로 구현하는 장소이다.
const PROTO_PATH = "./customers.proto";
var grpc = require("grpc");
var protoLoader = require("@grpc/proto-loader");
//먼저, customers.proto 파일을 protoLoader를 사용하여 JavaScript 객체로 변환
var packageDefinition = protoLoader.loadSync(PROTO_PATH, {
keepCase: true,
longs: String,
enums: String,
arrays: true
});
//grpc.loadPackageDefinition() 함수를 사용하여 패키지 정의 객체를 생성합니다.
var customersProto = grpc.loadPackageDefinition(packageDefinition);
const { v4: uuidv4 } = require("uuid");
const server = new grpc.Server();
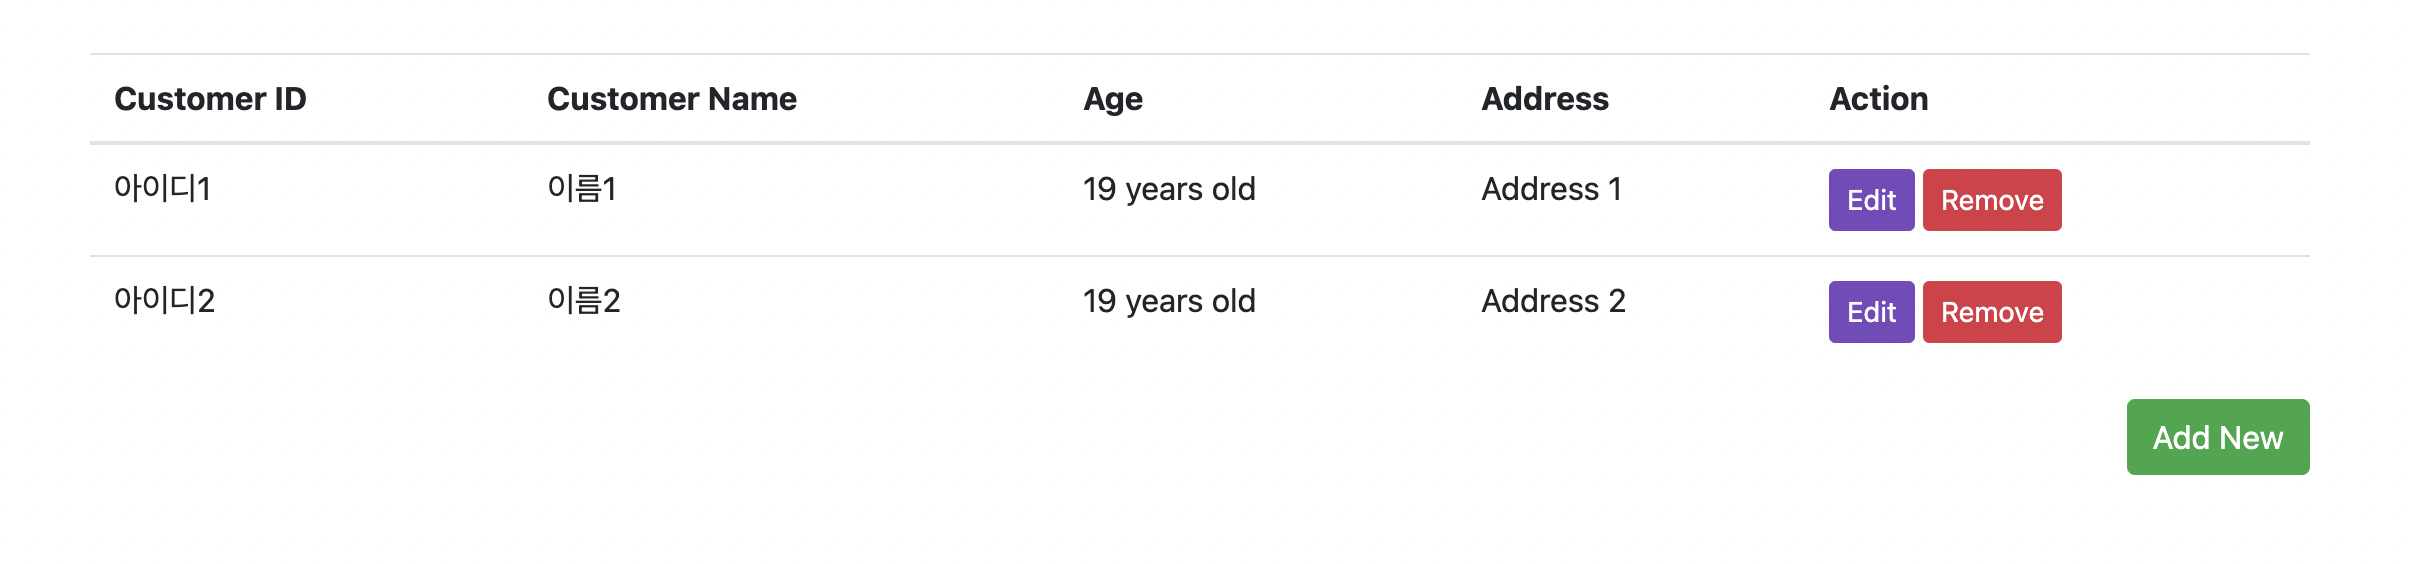
const customers = [
{
id: "아이디1",
name: "이름1",
age: 19,
address: "Address 1"
},
{
id: "아이디2",
name: "이름2",
age: 19,
address: "Address 2"
}
];
//server.addService() 함수를 사용하여 서비스와 메소드를 서버에 추가합니다. (proto 파일에 정의한 것.)
server.addService(customersProto.CustomerService.service, {
getAll: (_, callback) => {
callback(null, { customers });
},
get: (call, callback) => {
//call.request는 서버에서 받은 요청 메시지를 나타내는 객체
let customer = customers.find(n => n.id == call.request.id);
if (customer) {
callback(null, customer);
} else {
callback({
code: grpc.status.NOT_FOUND,
details: "Not found !"
});
}
},
insert: (call, callback) => {
let customer = call.request;
customer.id = uuidv4();
customers.push(customer);
callback(null, customer);
},
update: (call, callback) => {
let existingCustomer = customers.find(n => n.id == call.request.id);
if (existingCustomer) {
existingCustomer.name = call.request.name;
existingCustomer.age = call.request.age;
existingCustomer.address = call.request.address;
callback(null, existingCustomer);
} else {
callback({
code: grpc.status.NOT_FOUND,
details: "Not found"
});
}
},
remove: (call, callback) => {
let existingCustomerIndex = customers.findIndex(
n => n.id == call.request.id
);
if (existingCustomerIndex != -1) {
customers.splice(existingCustomerIndex, 1);
callback(null, {});
} else {
callback({
code: grpc.status.NOT_FOUND,
details: "Not found"
});
}
}
});
server.bind("127.0.0.1:30043", grpc.ServerCredentials.createInsecure());
console.log("Server running at http://127.0.0.1:30043");
server.start();실행 결과
server와 index 파일을 각각 실행시킨다.
- 참고로 index.js 의 포트번호는 노드를 실행시킬 포트번호이고 server와 client의 포트번호는 gRPC통신을 하기 위한 포트번호로 동일하게 맞춰야한다.


서로 다른 언어끼리의 gRPC 통신
client.py
위에서 client.js 파일과 같이 grpc 통신을 할 서버를 열어주고 proto파일에서 정의된 서비스 함수들을 가져온다.
from grpc import insecure_channel
from customers_pb2 import Empty, Customer, CustomerList, CustomerRequestId
from customers_pb2_grpc import CustomerServiceStub

# gRPC 서버에 연결
channel = insecure_channel("localhost:30043")
stub = CustomerServiceStub(channel)

# 클라이언트 생성
def create_client():
    return stub

# 이하의 코드는 필요한 클라이언트 함수들을 호출하는 예시입니다.
if __name__ == "__main__":
    client = create_client()
index.py
clinet.py에서 생성한 client를 가져와 해당 client가 가지고 있는, 서비스를 제공할 수 있는 함수들을 호출한다.
from flask import Flask, jsonify
import client
import json
app = Flask(__name__)
@app.route("/", methods=["GET"])
def getCustomersList():
# gRPC 클라이언트 생성
client_instance = client.create_client()
# 서버에 요청 보내기
response = client_instance.GetAll(client.Empty())
# 응답 처리
customers = response.customers # RepeatedCompositeContainer를 리스트로 변환
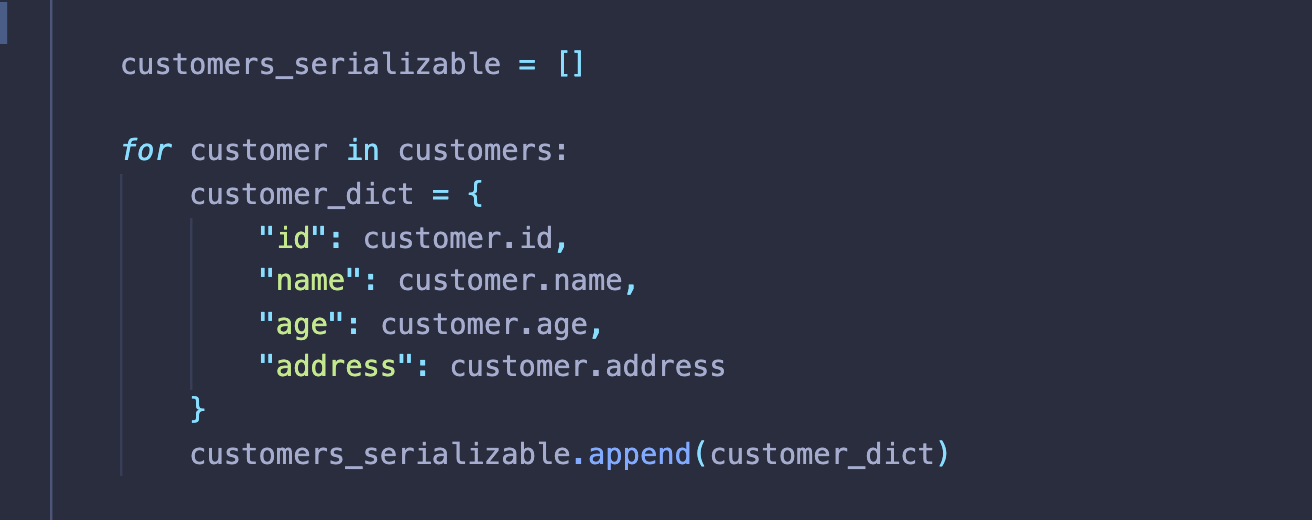
customers_serializable = []
for customer in customers:
customer_dict = {
"id": customer.id,
"name": customer.name,
"age": customer.age,
"address": customer.address
}
customers_serializable.append(customer_dict)
# JSON 인코딩 시 ensure_ascii=False로 설정하여 유니코드 문자를 보존
json_data = json.dumps(customers_serializable, ensure_ascii=False).encode('utf-8')
return json_data, 200, {'Content-Type': 'application/json; charset=utf-8'}
if __name__ == "__main__":
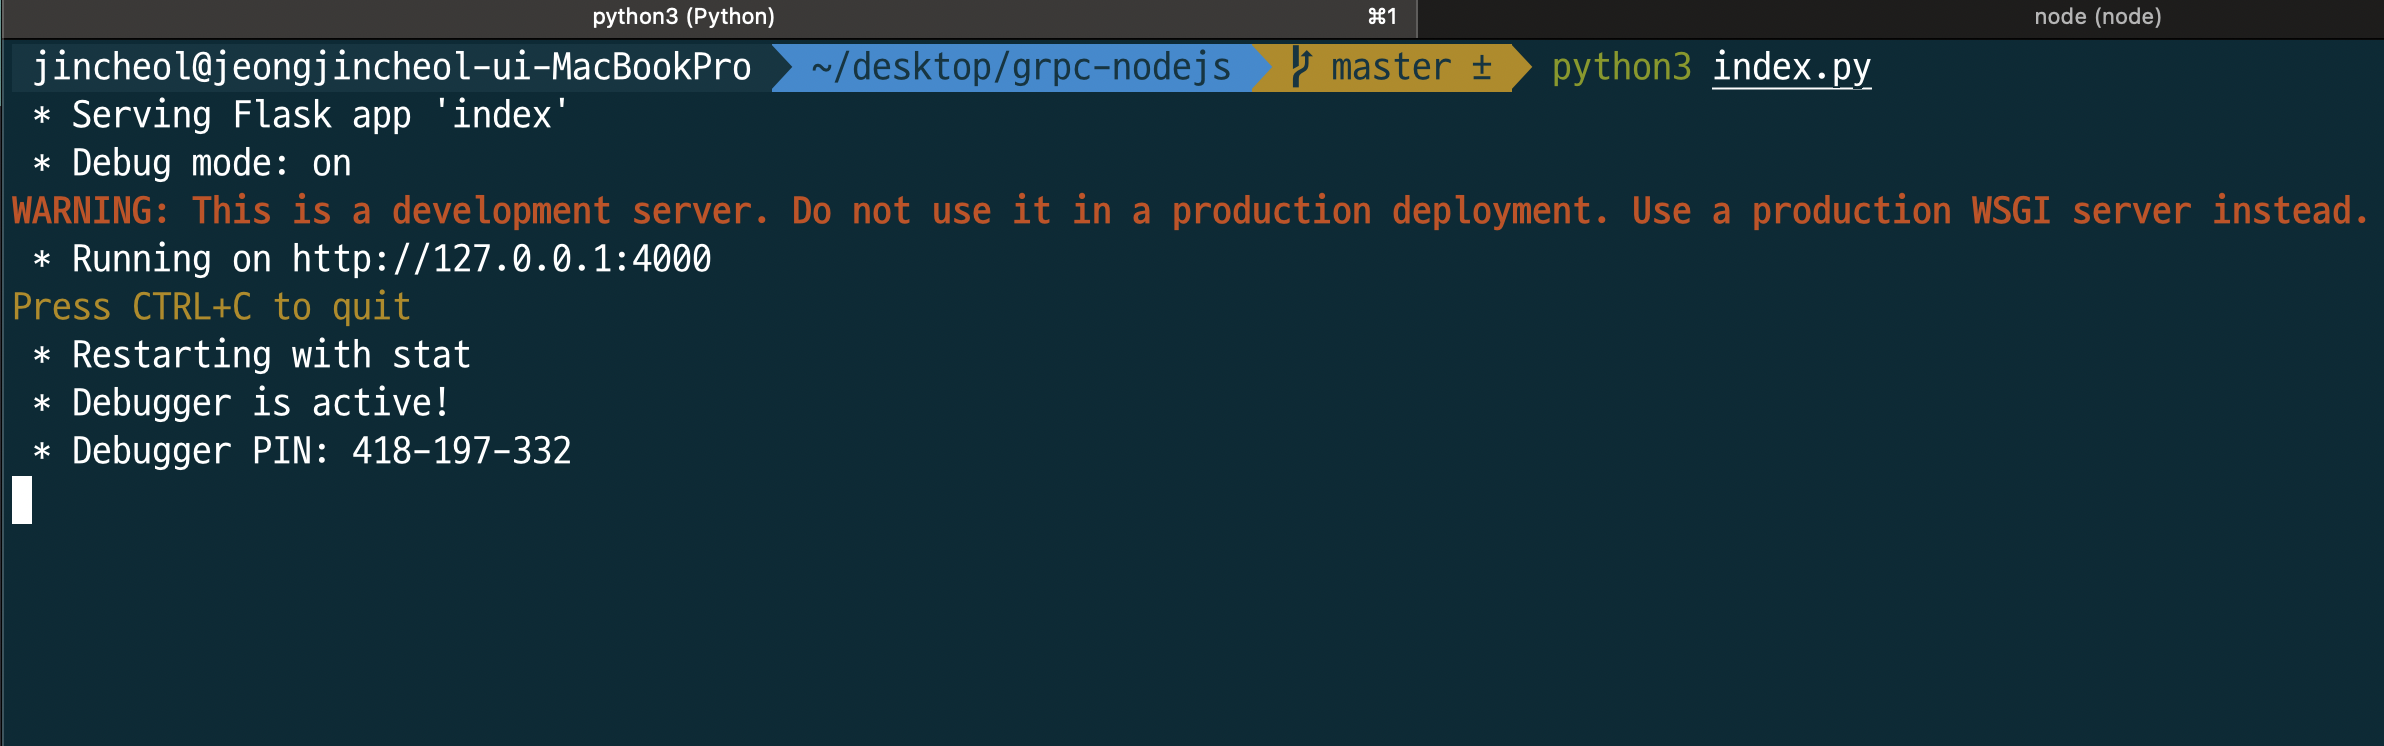
app.run(debug=True, port=4000)
response = client_instance.GetAll(client.Empty())
위와같이 GetAll의 함수에서는 특정 인자로 받는것이 아니라 모든 고객의 정보를 조회하는 것이기 때문에 인자가 들어갈 필요가 있나 싶지만 proto파일에에서 인자로 Empty라는 것을 지정해줬기 때문에 요청에 필요한 메시지 인스턴스를 생성하여 전달해야 합니다.따라서 실제로는 프로토 파일에 정의된 메시지 타입을 확인하여 해당 메소드에 필요한 인자를 전달해야 합니다.
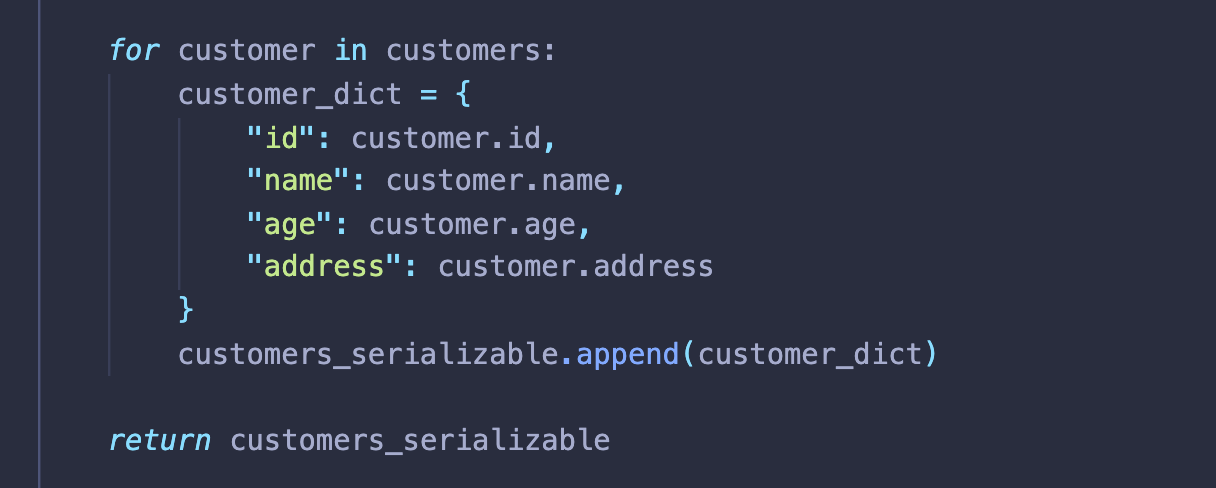
for customer in customers:
    customer_dict = {
        "id": customer.id,
        "name": customer.name,
        "age": customer.age,
        "address": customer.address
    }
    customers_serializable.append(customer_dict)
json_data = json.dumps(customers_serializable, ensure_ascii=False).encode('utf-8')
return json_data, 200, {'Content-Type': 'application/json; charset=utf-8'}

- 위와 같은 경우에는 단순히 return customers를 수행하면 아래와 같은 오류가 발생한다
TypeError: The view function did not return a valid response. The return type must be a string, dict, list, tuple with headers or status, Response instance, or WSGI callable, but it was a RepeatedCompositeContainer.

RepeatedCompositeContainer는 gRPC에서 Repeated Field로 선언된 메시지의 컨테이너입니다.
- gRPC에서 메시지는 필드(field)의 집합으로 구성됩니다. Repeated Field는 해당 필드가 여러 개의 값을 가질 수 있음을 나타내는데, 예를 들어 여러 개의 고객 정보를 담는 경우가 그 예입니다. Repeated Field로 선언된 필드는 0개 이상의 값을 가질 수 있으며, 이들 값은 컨테이너에 저장되어 관리됩니다.
RepeatedCompositeContainer는 Repeated Field에 의해 생성된 메시지 컨테이너로, 해당 필드의 값들을 포함하고 있습니다. 일반적으로 Repeated Field에 의해 생성된 컨테이너는 리스트와 유사한 동작을 수행하며, 반복문 등을 통해 개별 값을 접근할 수 있습니다.
따라서 gRPC에서 서버로부터 받은 Repeated Field를 사용할 때는 해당 컨테이너에서 값을 추출하여 사용해야 합니다. 예를 들어, response.customers는 RepeatedCompositeContainer로 Repeated Field인 customers에 의해 생성된 컨테이너입니다. 이 컨테이너에서 개별 고객 정보를 접근하고 사용할 수 있습니다.
위와 같은 이유로 빈 리스트에 개별 객체들을 추출해와 담아준다.
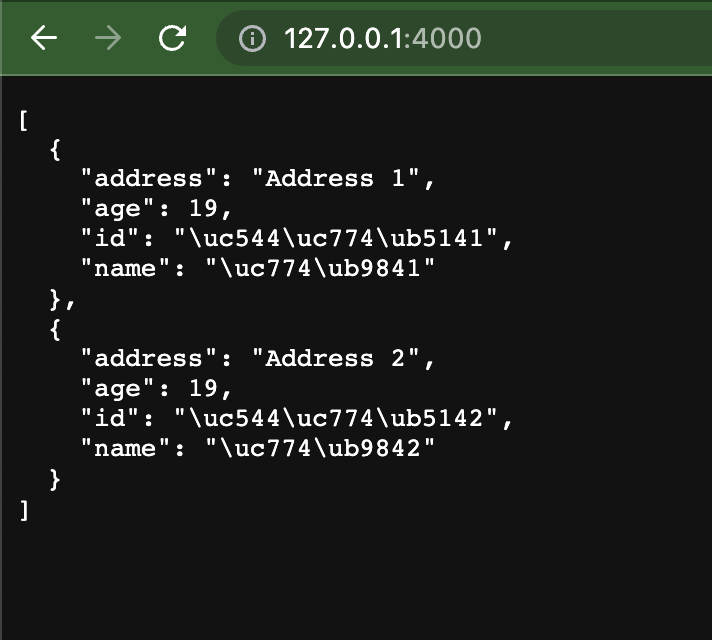
하지만 이렇게 해서 customers_serializable 를 return 하면 한글이 깨져서 나온다.
json.dumps() 함수를 사용해 Python 객체를 JSON 형식의 문자열로 변환한다. 여기서는 customers_serializable 리스트를 JSON 문자열로 변환한다.
- ensureascii=False는 ASCII 이외의 문자를 유니코드 이스케이프 시퀀스 (Ex:"id": "\uc544\uc774\ub5141") 로 변환하지 않고 그대로 유니코드로 유지하도록 설정하는 옵션이다. 이를 설정하면 한글 등의 유니코드 문자가 JSON 문자열에서 이스케이프되지 않고 원본 그대로 유지된다.
- encode('utf-8')은 JSON 문자열을 UTF-8 인코딩으로 변환하는 과정입니다. UTF-8은 가장 일반적으로 사용되는 문자 인코딩 방식 중 하나로, 유니코드 문자를 바이트로 변환하는 데 사용된다.
- 따라서 json_data 변수에는 UTF-8로 인코딩된 JSON 문자열이 저장되게 된다. 이 문자열은 클라이언트로 반환되며, Content-Type 헤더를 통해 해당 문자열이 JSON 형식임을 명시한다.

실행 결과
위에서 실행 과정과 동일하지만 server는 JS 파일로 구성된 파일을 실행시키지만 client 는 python으로 작성된 파일을 실행시킨다. (polyglot)