필요한 준비
-
git bash 다운로드: https://git-scm.com/
-
visual studio code 프로그램 다운로드
-
git graph 설치: extensions 메뉴의 검색창에 git graph 를 치고 install 하기

왼쪽 하단에 git graph가 나온다.
-
폴더 준비: 바탕화면에 작업물을 담아둘 폴더를 준비한다.
과정
1. 파일 만들기
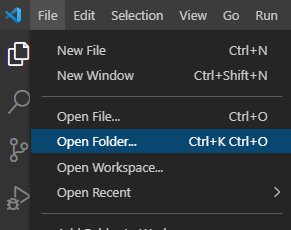
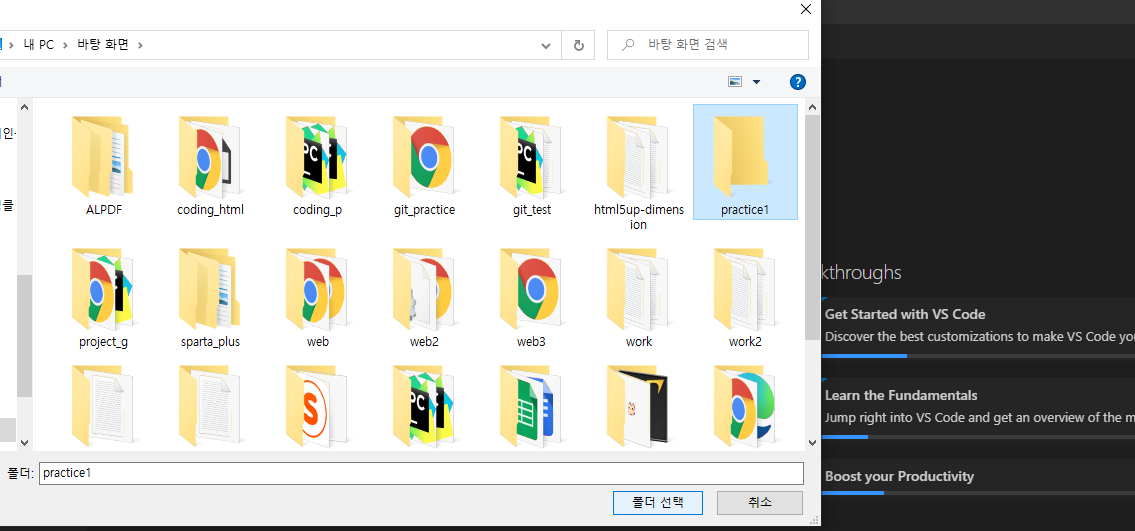
1) 새 폴더 열기
- Visual Studio Code 프로그램 열기 - File 메뉴 - Open Folder - 위에서 준비한 폴더 선택
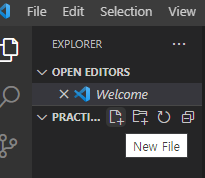
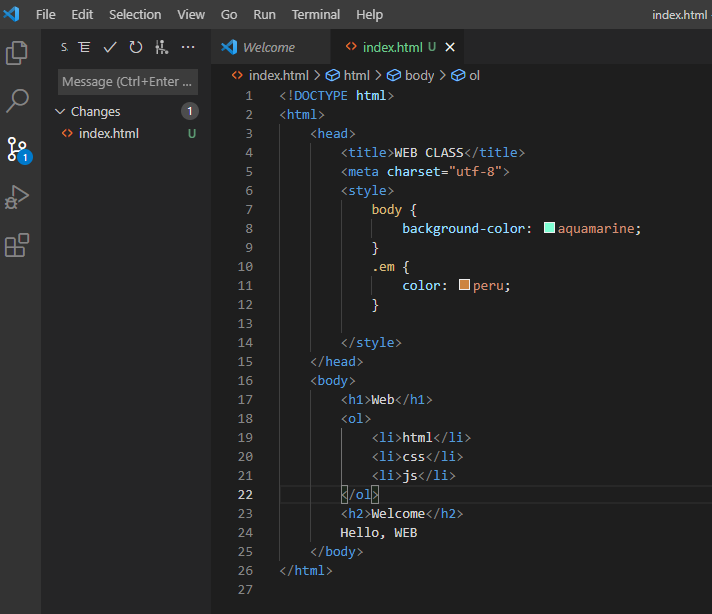
2) 새 파일 생성
- new file 클릭 - index. html 이라고 이름 파일 만들기
- 샘플로 작성한 html 코드 입력
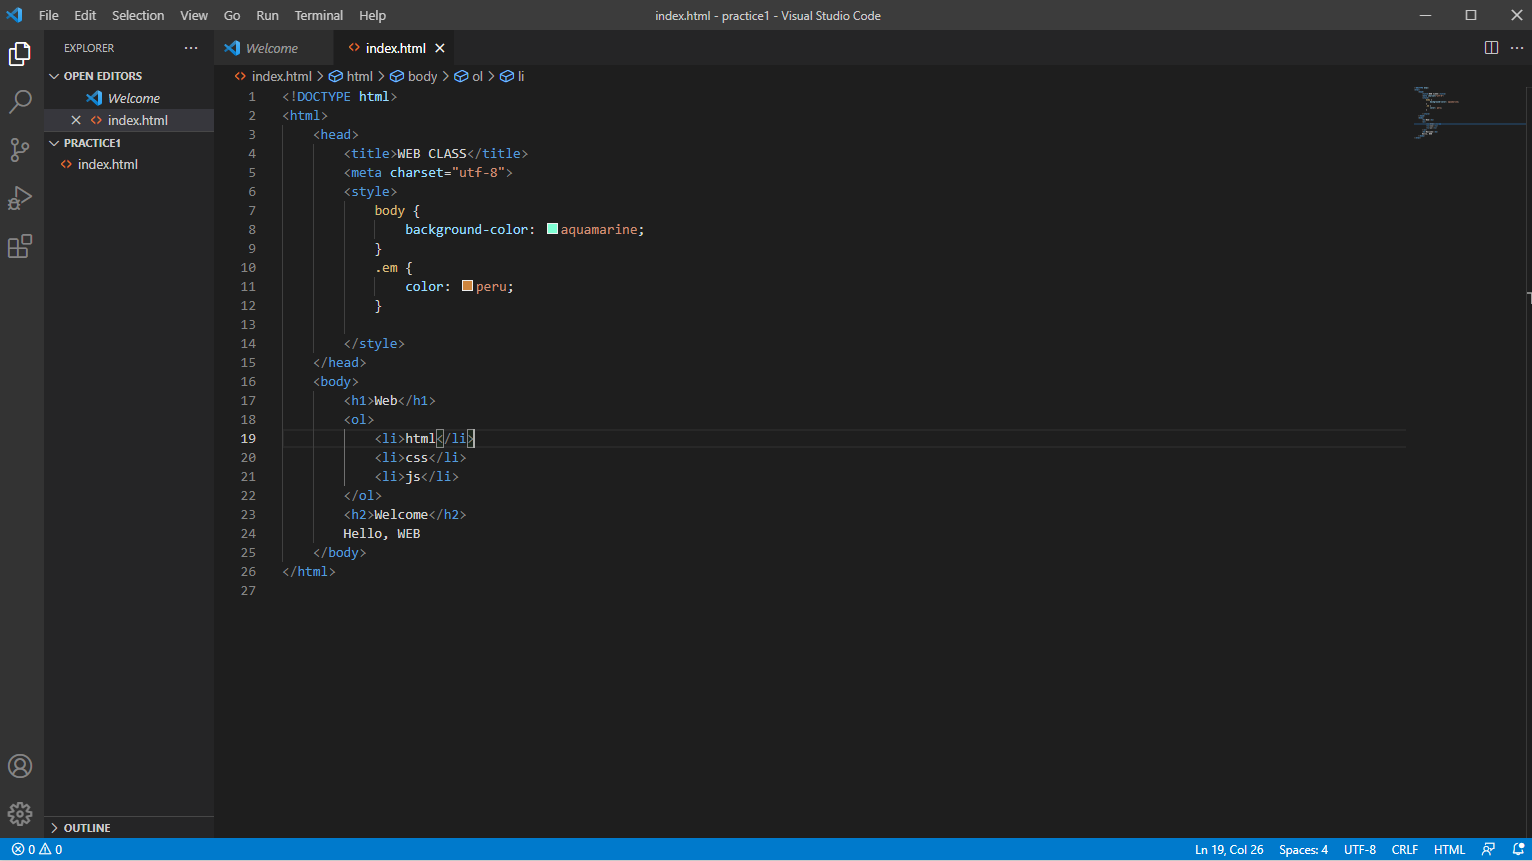
- 코드:
<!DOCTYPE html>
  <html>
      <head>
          <title>WEB CLASS</title>
          <meta charset="utf-8">
          <style>
              body {
                  background-color: aquamarine;
              }
              .em {
                  color: peru;
              }

          </style>
      </head>
      <body>
          <h1>Web</h1>
          <ol>
              <li>html</li>
              <li>css</li>
              <li>js</li>
          </ol>
          <h2>Welcome</h2>
          Hello, WEB
      </body>
  </html>
- ctrl + s 로 저장
2. 로컬 레포짓 설정
1) 로컬 레포짓 생성하기
- 왼쪽의 source control 메뉴 - initailize repository 클릭
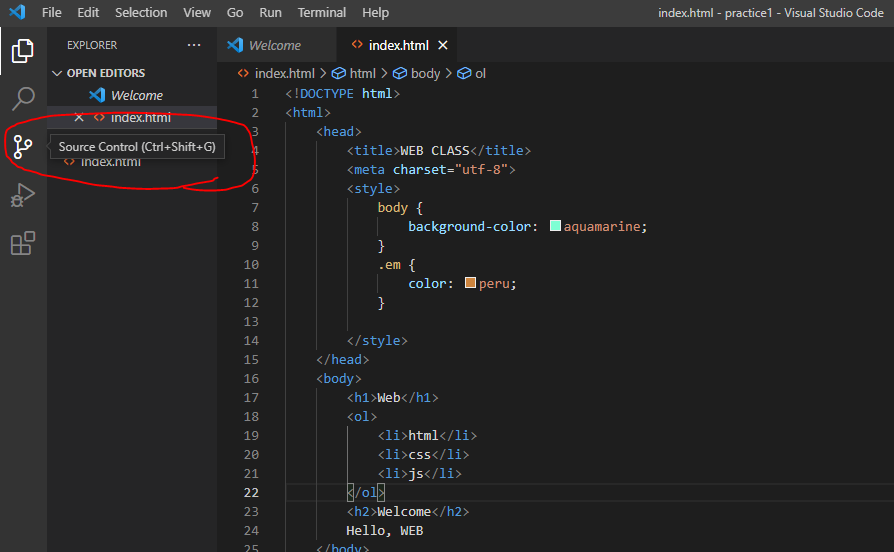
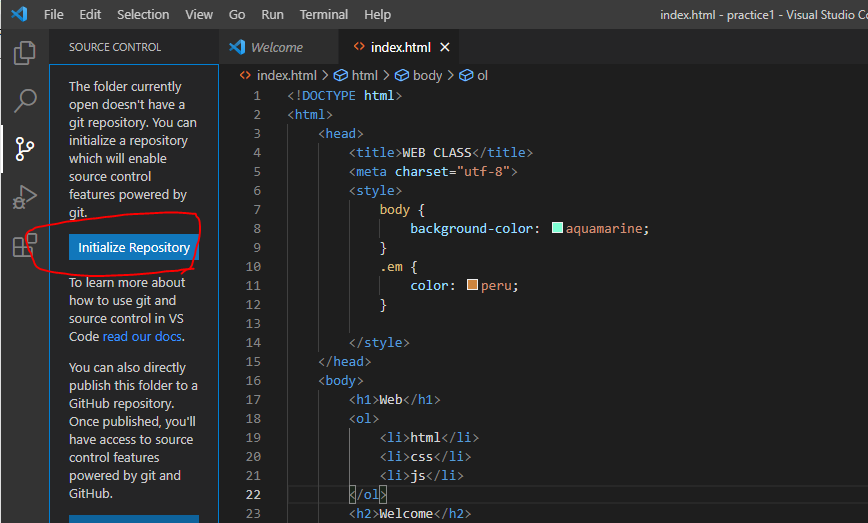
- 다음과 같이 좌측 메뉴에 changes가 나오게 된다.
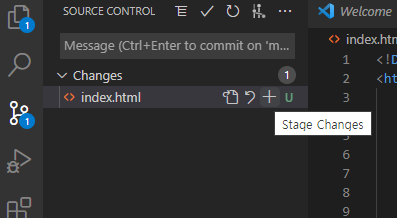
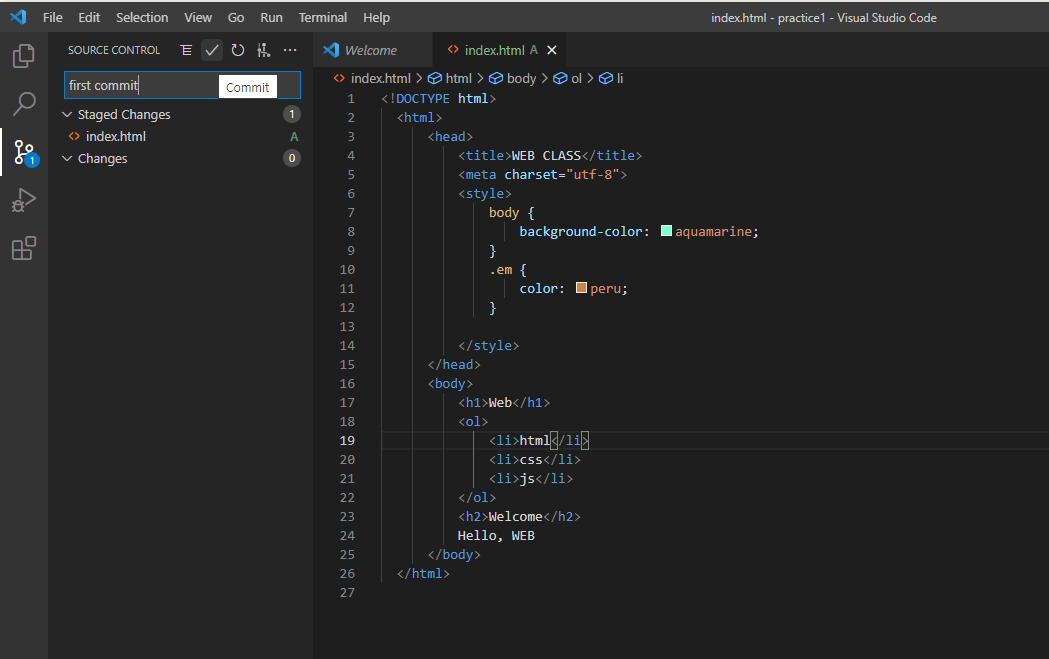
3. commit 하기
1) 첫번째 커밋
-
source control 에서 stage Changes 누르기
-
message창에 내용 적고 commit 누르기
-
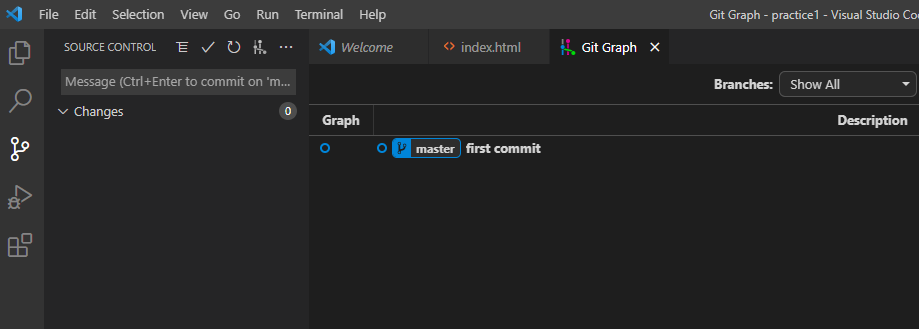
git graph를 눌러서 확인하기
2) 바뀐 내용 커밋
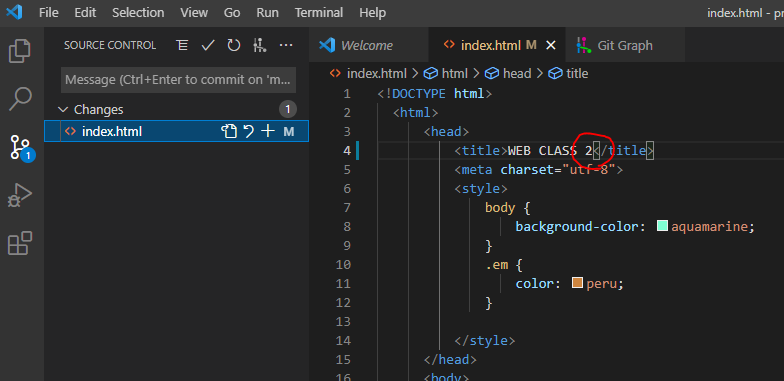
- 원래의 파일 4번라인에 2를 적고 ctrl + s (저장)하면 왼족 changes에 1이 뜨게 된다.
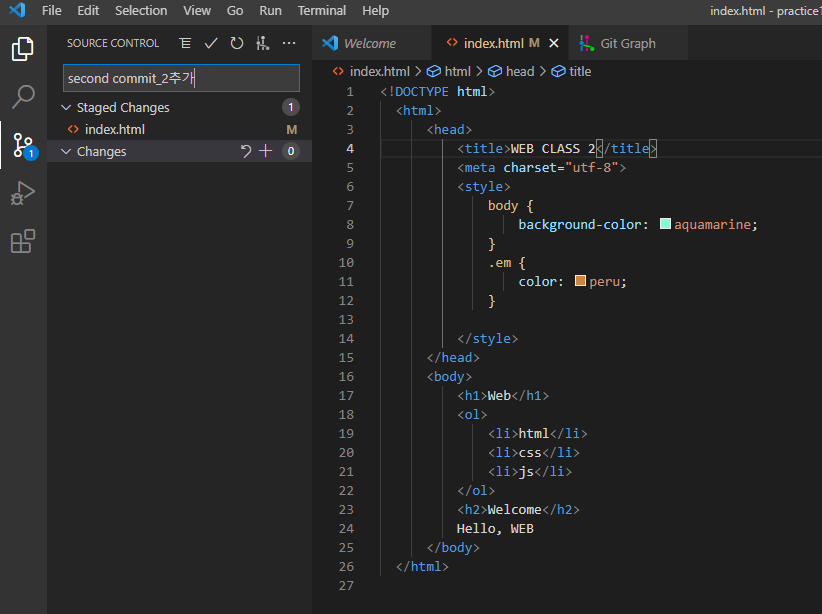
- staged changes 에 올리고 메시지를 다음과 같이 적어서 commit 누르기
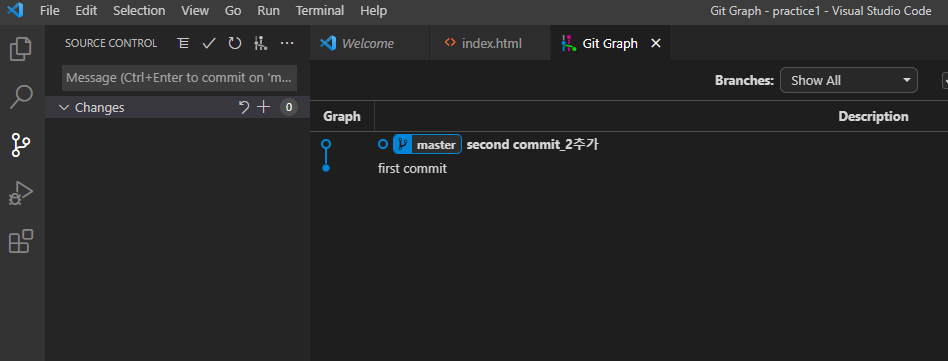
- git graph 눌러서 확인하기
4. git log 확인하기
1) Terminal 창 열기
-
위의 Terminal 메뉴 - New Terminal
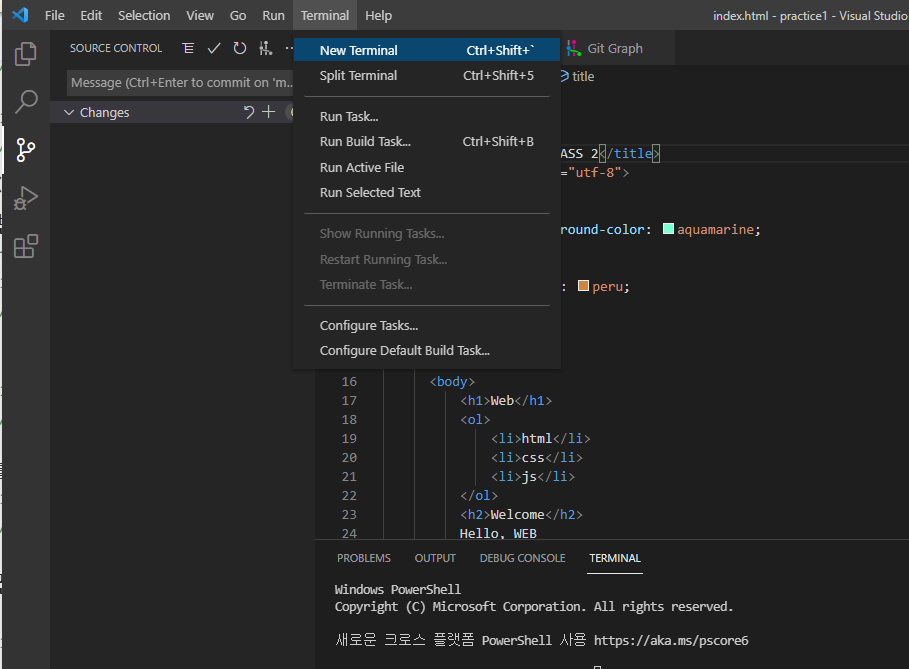
-
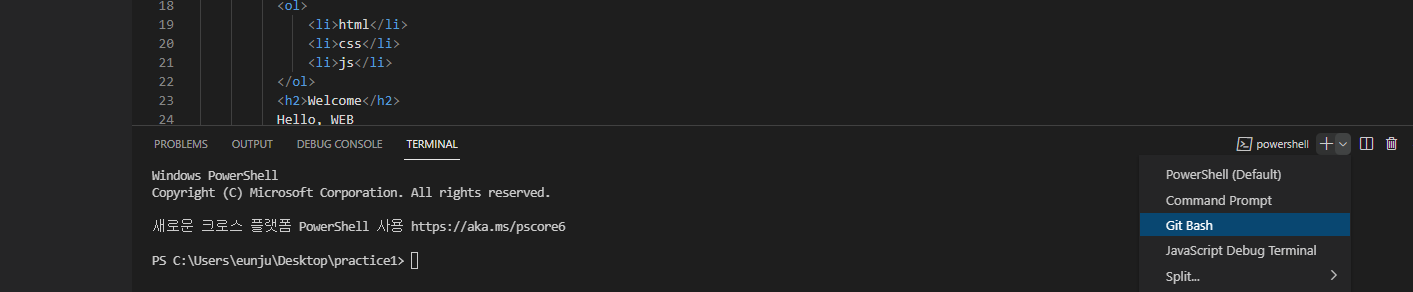
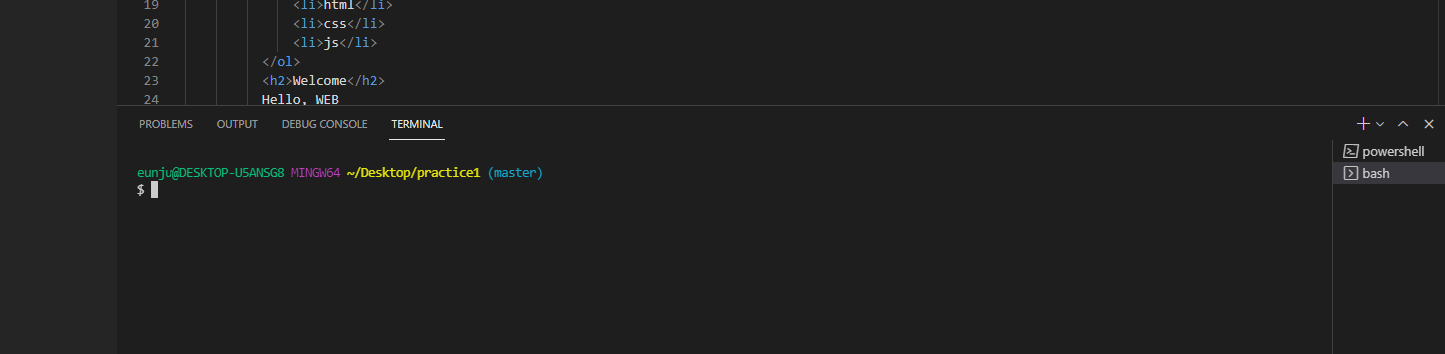
terminal 창의 오른쪽 아래 - 플러스 버튼의 옆의 아래 화살표쪽 누르기 - git bash 선택
-
git log 라고 작성하면 다음과 같이 commit했던 내용들을 볼 수 있다.

5. github의 레포짓과 연동
- 4번까지 로컬에서의 레포짓이였다면 github와 연동하면 다른 컴퓨터에서도 버전관리를 할 수 있게 된다.
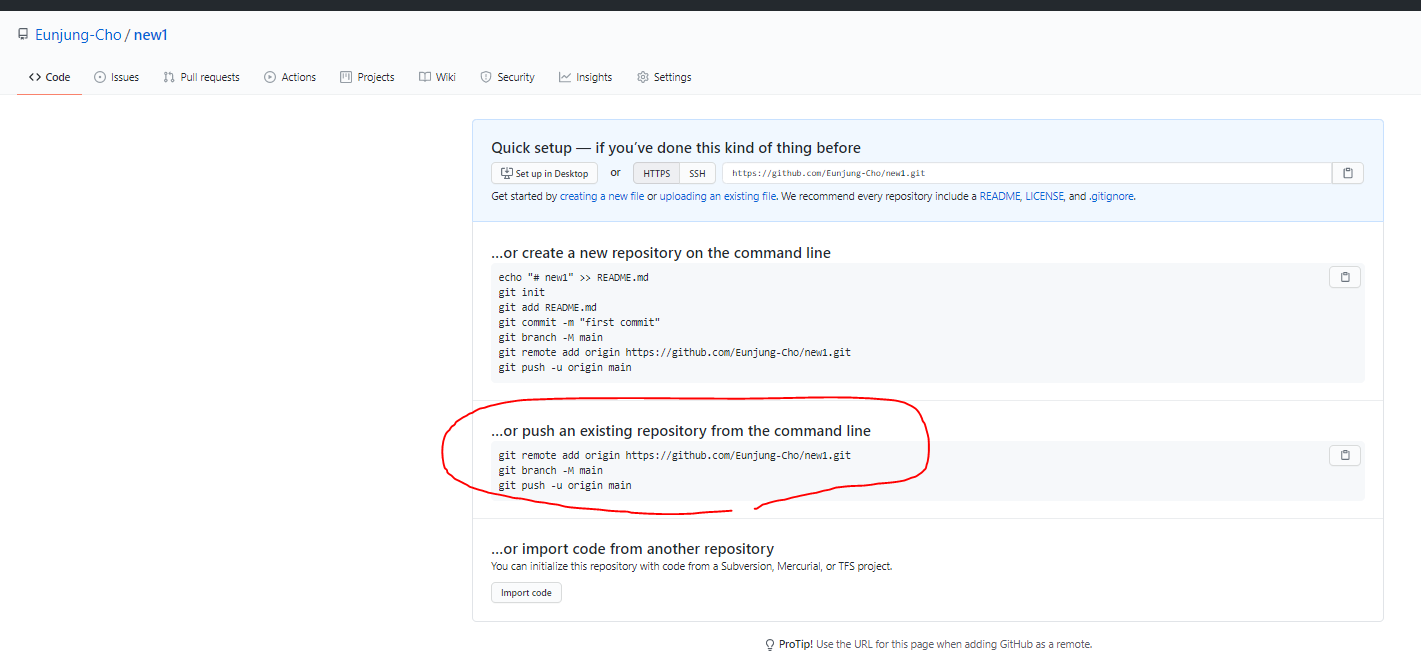
1) github에서 레포짓 준비
- github에 로그인해서 새로운 레포짓을 생성
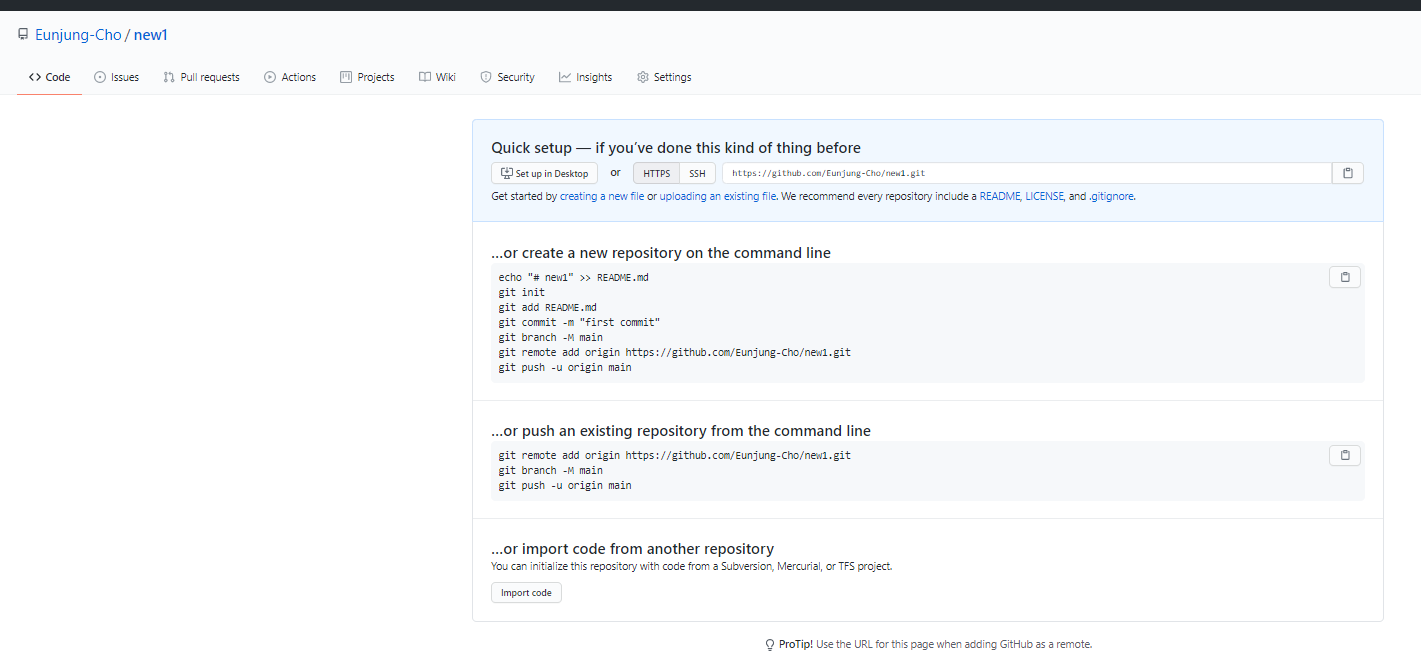
- 커맨드 라인에 있는것 복사
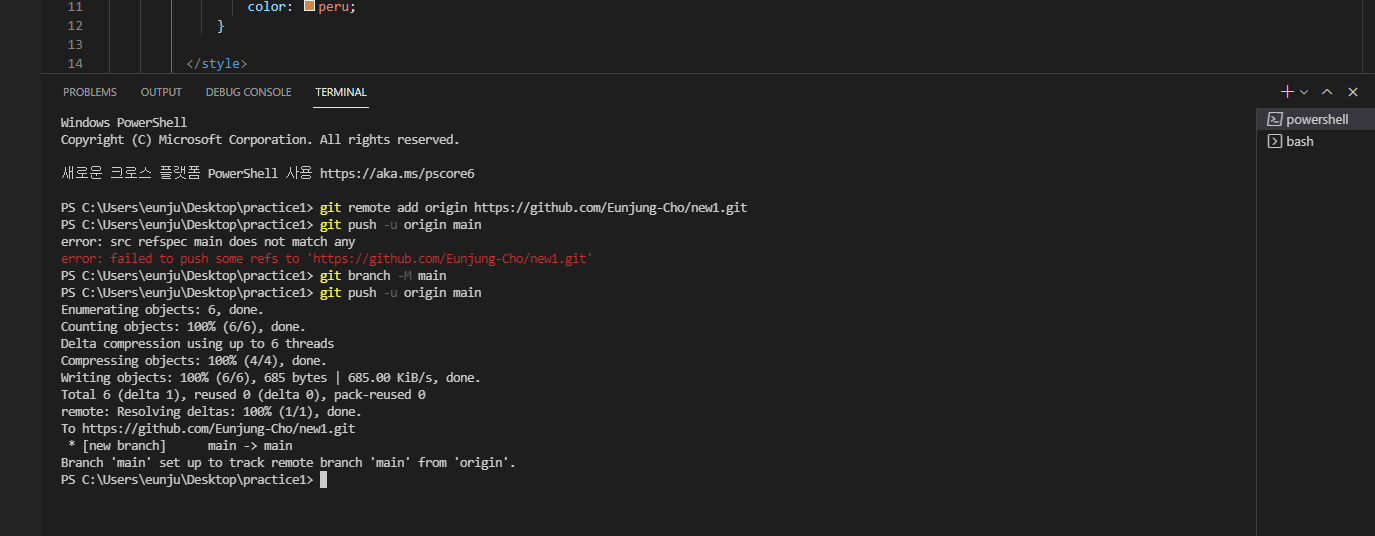
2) git remote 하기
- terminal 창 - powershell 에서 제일 윗줄에 있던 것 복붙 + 엔터

- 순서대로 붙여넣기하고 엔터
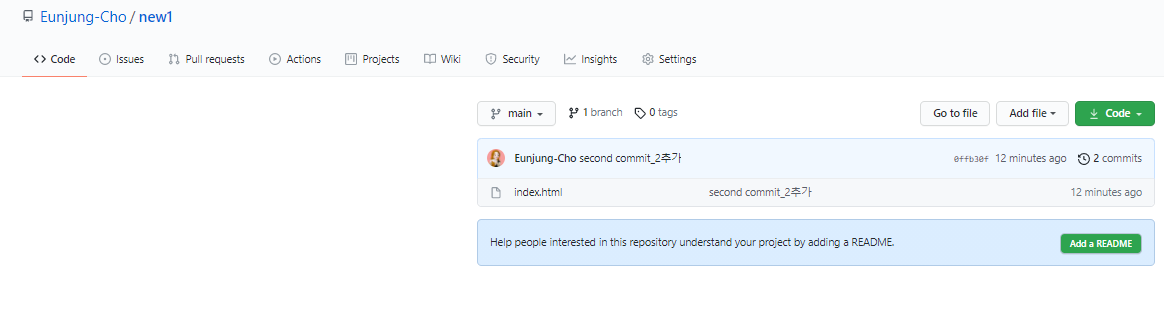
3) github에서 확인
- github의 레포짓에 가면 다음과 같이 파일이 업로드 된 것을 볼 수 있다.
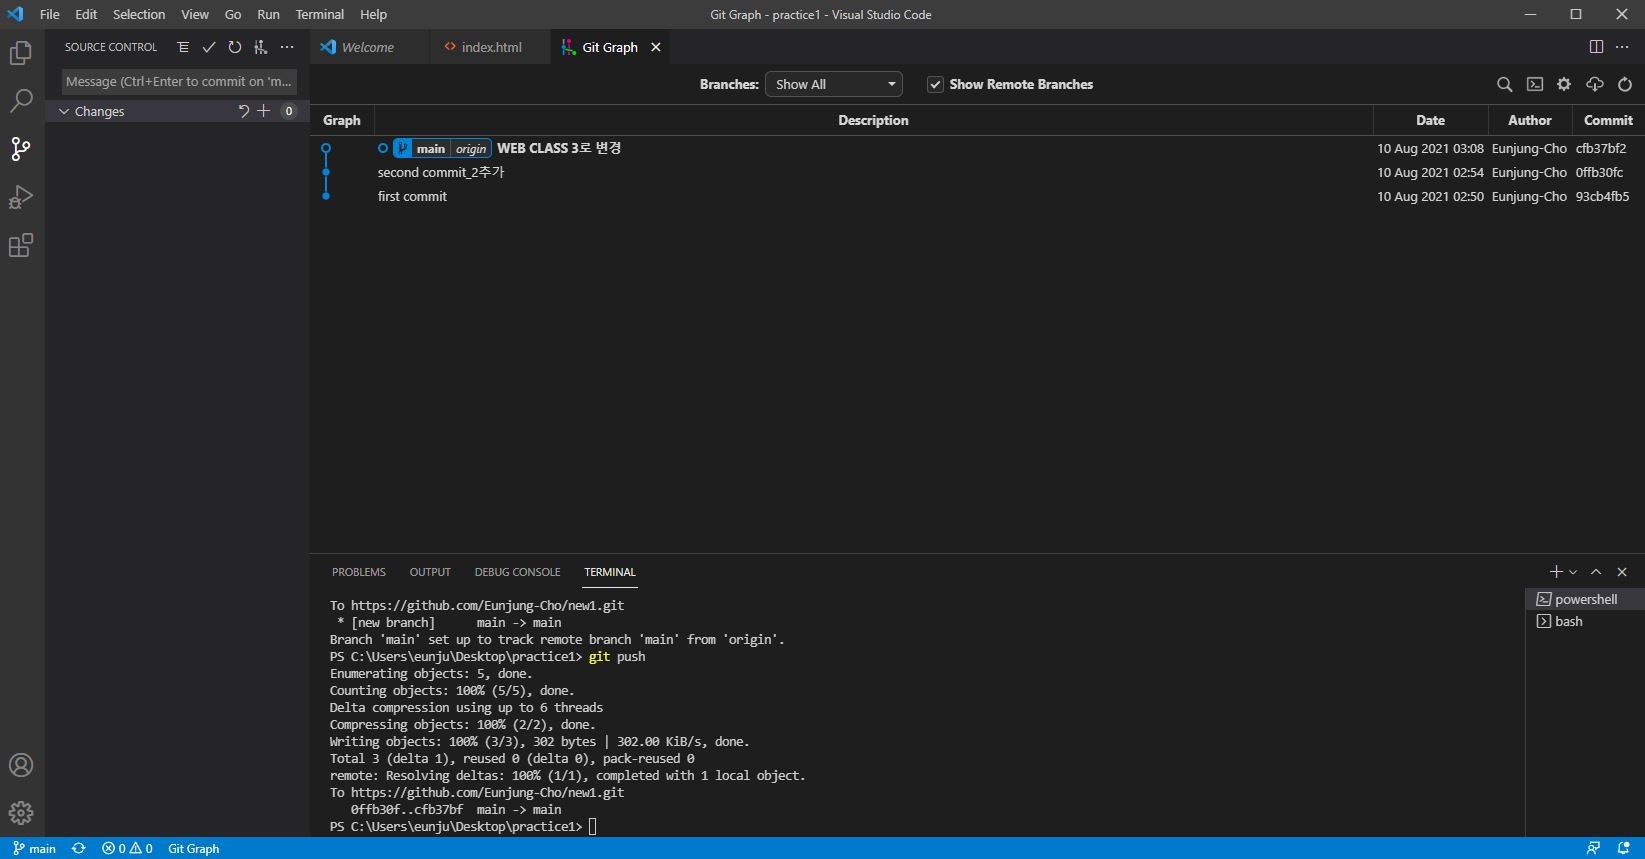
6. 바뀐 내용 github에 업데이트
-
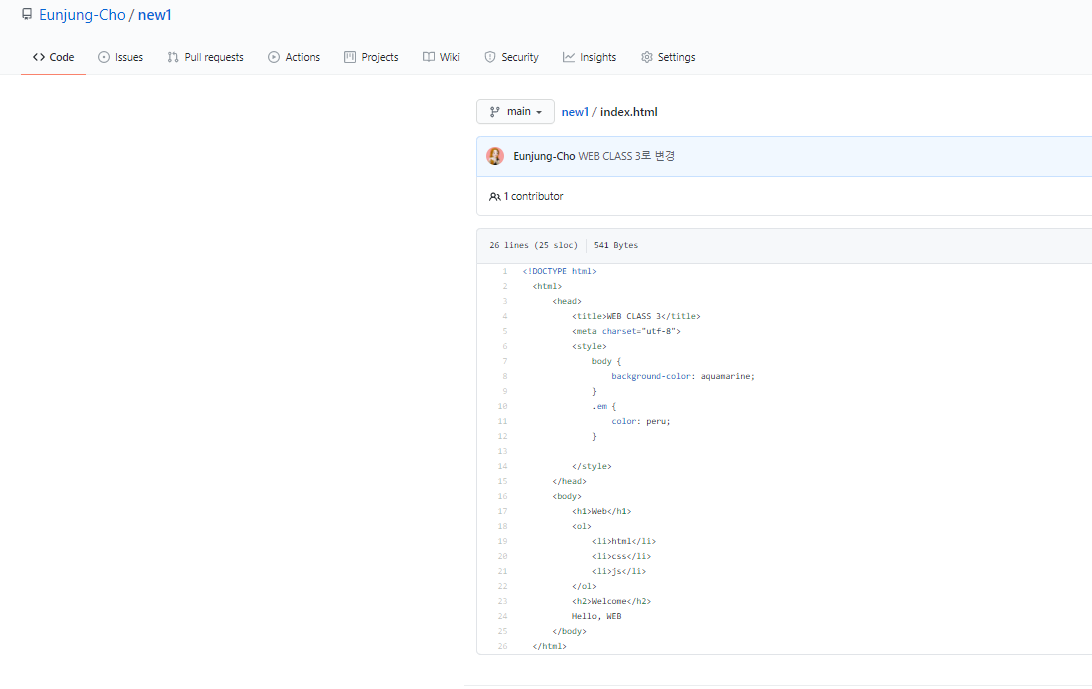
4번째 줄의 WEB CLASS 2 -> WEB CLASS 3로 바꾸고 저장 -> 다음과 같이 메시지 적고 commit
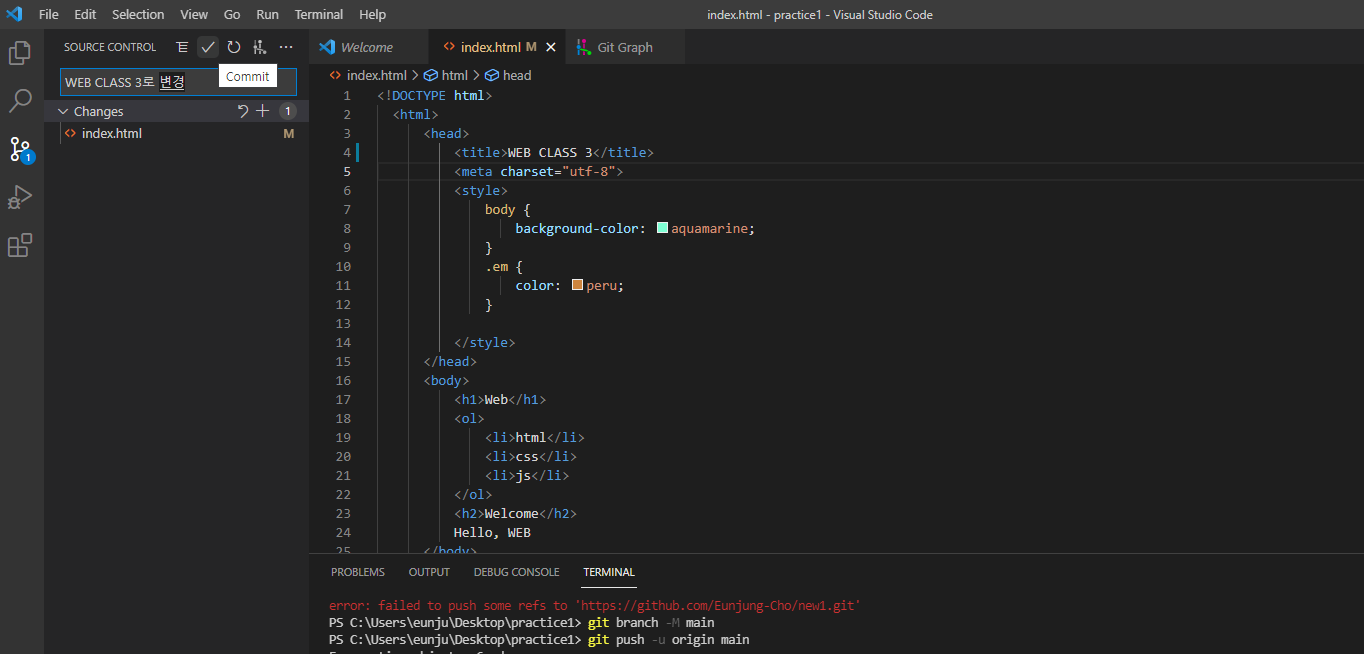
-
왼쪽 아래 파란줄에 저 버튼을 눌러도 되고
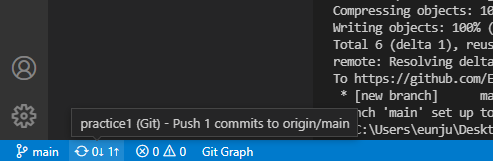
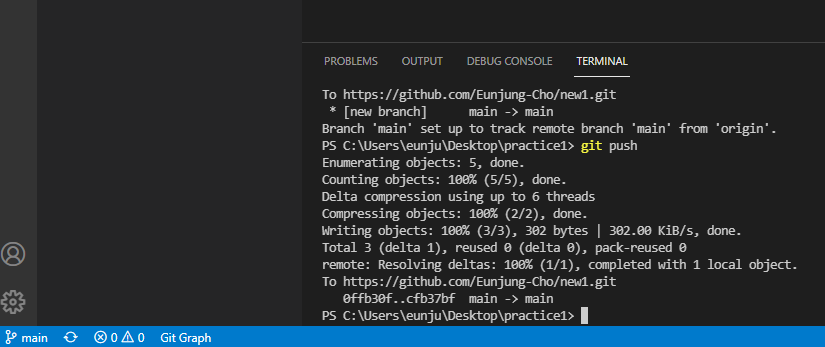
-
terminal 창에서 git push 쓰고 엔터도 가능하다.
-
github에 가서 새로고침(F5)하면 다음과 같이 변경된 사항이 나타난다.

IT컨설팅 데이터 분석가