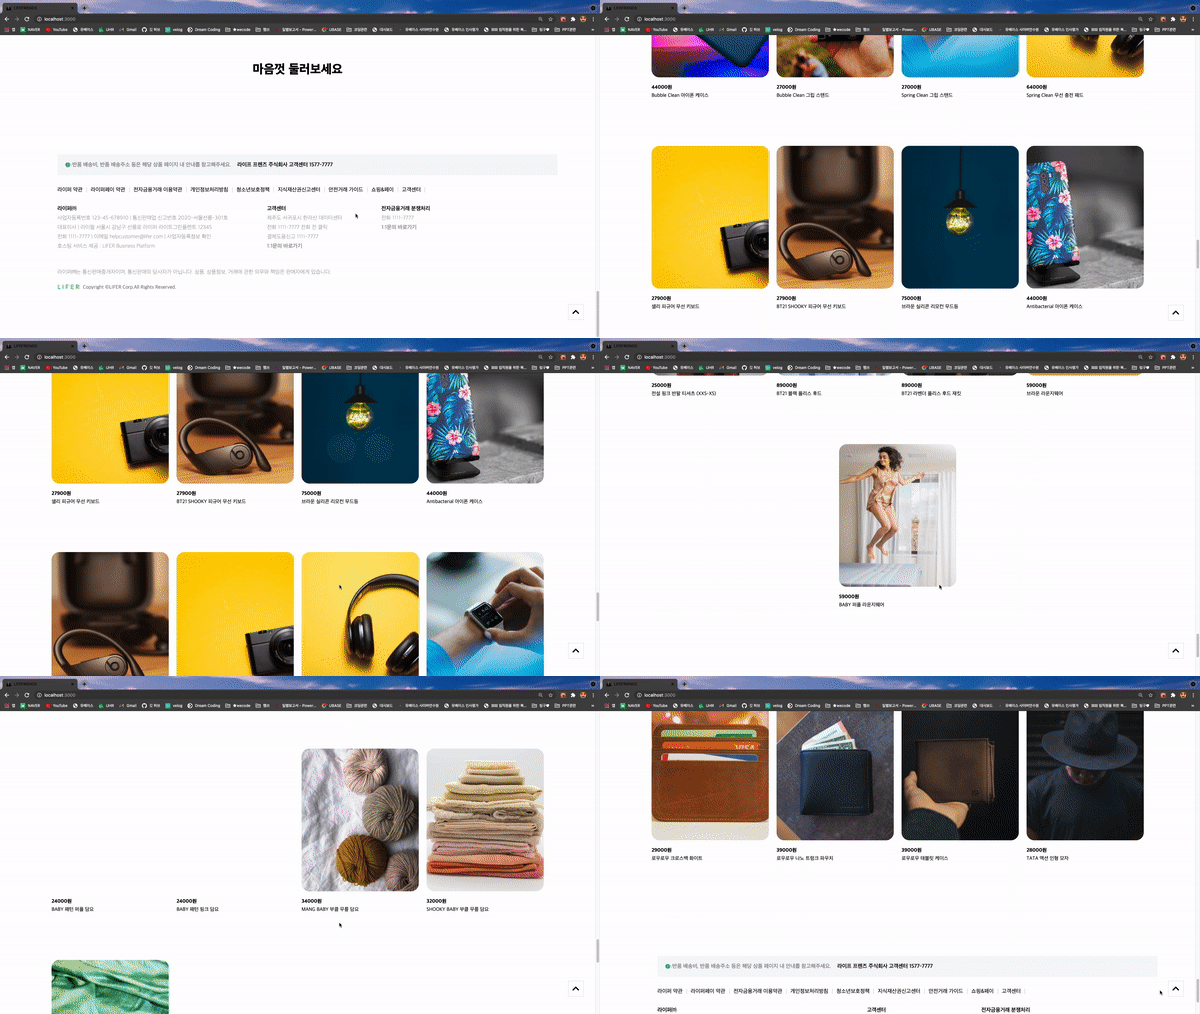
개인 공부를 위해 작성했습니다
1차 프로젝트를 하면서 메인 페이지의 전체 상품을 가져오는 기능 구현 중, 성능상 한 번에 많은 상품이 전부 노출되기 보단 스크롤에 따라 일정 데이터의 양 만큼 호출되도록 기능 구현이 필요했다. 그럴 때 알게 된 무한스크롤 기능 구현했던 내용을 정리해본다.
무한스크롤 Infinite Scroll
무한스크롤은 화면의 맨 아래까지 스크롤을 하면 새로운 컴포넌트가 랜더되는 형태이다. 페이스북, 인스타그램 등 다양한 사이트가 이러한 무한 스크롤 형식을 띄고 있다. 불필요하게 수많은 데이터를 긁어오기보다는, 한번에 10-20개 정도의 포스트만 가져와서 스크롤 될 때마다 업데이트 되는 형식이다.
해당 기능 구현은 두 가지 형태로 해보았는데,
첫 번째는 백엔드로 부터 100개의 데이터를 한 번에 받아와서 클라이언트에서 8개씩 나누어 뿌려주는 형태와,
두 번째는 처음 로딩하는 순간, API로 부터 10개씩 데이터를 호출하는 형태로 구현했다.
확실히 두 번째로 기능 구현을 했을 때에 속도가 더 빨랐다👍
○완성된 코드
componentDidMount() {
  this.getData();
  window.addEventListener('scroll', this.infiniteScroll);
}

componentWillUnmount() {
  window.removeEventListener('scroll', this.infiniteScroll);
}

getData = () => {
  const { num } = this.state;
  fetch(`${GET_CATEGORY_API}/categories?size=10&page=${num}`)
    .then(response => response.json())
    .then(productsdata => {
    this.setState({
      productsData: productsdata.message,
      num: num + 1,
    });
  });
};

infiniteScroll = () => {
  const { documentElement, body } = document;
  const { num } = this.state;
  const scrollHeight = Math.max(documentElement.scrollHeight,body.scrollHeight);
  const scrollTop = Math.max(documentElement.scrollTop, body.scrollTop);
  const clientHeight = documentElement.clientHeight;

  if (scrollTop + clientHeight >= scrollHeight) {
    fetch(`${GET_CATEGORY_API}/categories?size=10&page=${num}`)
      .then(response => response.json())
      .then(productsdata => {
      this.setState({
        productstData: [
          ...this.state.productsData,
          ...productsdata.message,
        ],
      });
    });
    this.getData();
  }
};

  render() {
    const { productstData } = this.state;
    return (
      <section className="mainProducts mainMiddleCards">
        <article className="mainGoods">
          <h2 className="title">마음껏 둘러보세요</h2>
          <MainMediumCard data={productstData} />
        </article>
      </section>
    );
  }
○하나씩 살펴보면,
●componentDidMount될 때 데이터 받아오며 이벤트 실행, componentWillUnmount될 때 이벤트 제거
componentDidMount될 때API로 부터 10개씩 받아오기
componentDidMount() {
    this.getData();
    window.addEventListener('scroll', this.infiniteScroll);
  }

componentWillUnmount() {
  window.removeEventListener('scroll', this.infiniteScroll);
}

getData = () => {
  const { num } = this.state;
  fetch(`${GET_CATEGORY_API}/categories?size=10&page=${num}`)
    .then(response => response.json())
    .then(productsdata => {
    this.setState({
      productsData: productsdata.message,
      num: num + 1,
    });
  });
};
●스크롤이 끝에 다다르면 API 호출해서 데이터 받아오기
infiniteScroll = () => {
  const { documentElement, body } = document;
  const { num } = this.state;
  const scrollHeight = Math.max(
    documentElement.scrollHeight,
    body.scrollHeight
  );
  const scrollTop = Math.max(documentElement.scrollTop, body.scrollTop);
  const clientHeight = documentElement.clientHeight;

  if (scrollTop + clientHeight >= scrollHeight) {
    fetch(`${GET_CATEGORY_API}/categories?size=10&page=${num}`)
      .then(response => response.json())
      .then(productsdata => {
      this.setState({
        productstData: [
          ...this.state.productsData,
          ...productsdata.message,
        ],
      });
    });
    this.getData();
  }
};-
document.documentElement에 접근해서 document의 스크롤 높이에 접근할 수 있다. -
무한스크롤 기능을 구현하며 새롭게 알게 된 내용이다.

-
offsetTop: 왼쪽 끝 맨 위를 기준으로 한 위치값. container에 위치값을 따로 부여하지 않으면 0으로 고정되어 있다.
-
clientTop: client와 offset의 사이에 있는 경계선이다.
-
scrollHeight: 화면에 보이지 않는 곳까지의 총 길이를 의미한다. 스크롤로 지나온 곳, 현재의 보고 있는 곳, 앞으로 내려갈 곳을 모두 합친 사이트의 총 길이.
-
scrollTop: 스크롤해서 올리면 클라이언트에는 보이지 않는 올라가버린 구간
스크롤 높이를 검사해서 끝에 다다를 때 데이터를 주문할 수 있고, 이렇게하면 함수를 한번 밖에 실행하지 않는다. 추가로 데이터가 불러와지면 스크롤의 총 길이가 변하기 때문인데, 계속 변하는 총 길이를 계산해서 데이터를 불러오는 방법을 찾아야한다.
if (scrollTop + clientHeight >= scrollHeight)
스크롤 탑과 클라이언트 높이의 값이 스크롤 높이보다 크거나 같을 때, 라는 조건을 받았다.
결과물
오오오오오오오오오!!!!! +_ + 된다!!!!!!!!!!!!!!!!

