서론
프로젝트에서 통합 테스트와 인수 테스트를 수행할 때, @SpringBootTest를 사용해 테스트를 수행했습니다.
이 때 테스트 격리를 위해 WebEnvironment는 RANDOM_PORT로 지정했습니다.
이로 인해 각각의 테스트 메서드들은 별도의 포트로 실행되었고, @Transactional을 추가했음에도 불구하고 테스트 격리가 되지 않음을 확인했습니다.
해결 방안
다음과 같은 방식을 고려할 수 있습니다.
- @DirtiesContext
- 테스트 더블
- @Sql
- @BeforeEach, @AfterEach
다만, 다음과 같은 이유로 인해 모두 아쉬운 점을 가지고 있었습니다.
- @DirtiesContext
- 테스트 시 ApplicationContext 캐싱 기능을 활용할 수 없음
- 테스트 더블
- 각 테스트 환경에 필요한 객체를 매번 정의해야 함
- DB 연동을 통해 확인해야 할 사항들을 체크하기 어려움
- @Sql
- 테이블이 추가/변경/삭제될 때 마다 수정 필요
- @BeforeEach, @AfterEach
- DB와 연동하는 모든 테스트 코드에 코드가 중복됨
다른 방식을 고민하다 TestExecutionListener를 커스터마이징하기로 결정했습니다.
TestExecutionListener
TestExecutionListener는 스프링에서 제공하는 테스트 실행 주기에서 콜백 메서드를 통해 사용자가 추가 작업을 수행하도록 지원하는 인터페이스입니다.
다음과 같은 Junit 생명 주기에 따른 콜백 메서드를 제공합니다.
| Junit 생명 주기 | TestExecutionListener | 설명 |
|---|---|---|
| @BeforeAll | beforeTestClass() | 모든 테스트를 실행하기 전 단 한 번만 실행/호출 |
| X | prepareTestInstance() | 테스트 인스턴스가 준비되었을 때 호출 |
| @Test | X | 테스트 메서드 실행 |
| @BeforeEach | beforeTestMethod() | 각 테스트 메서드 실행 전에 실행/호출 |
| X | afterTestExecution() | 각 테스트 메서드 실행 직후 호출 |
| @AfterEach | afterTestMethod() | 각 테스트 메서드 실행 후에 실행/호출 |
| @AfterAll | afterTestClass() | 모든 테스트를 실행한 후 단 한 번만 실행/호출 |
각 메서드는 모두 default로 정의되어 있습니다.

AbstractTestExecutionListener
TestExecutionListener에서 제공하는 API는 모두 default로 주어집니다.
그러므로 필요한 메서드만 오버라이딩하면 됩니다.
즉, 바로 TestExecutionListener를 구현해 커스터마이징해도 무방하다는 의미입니다.
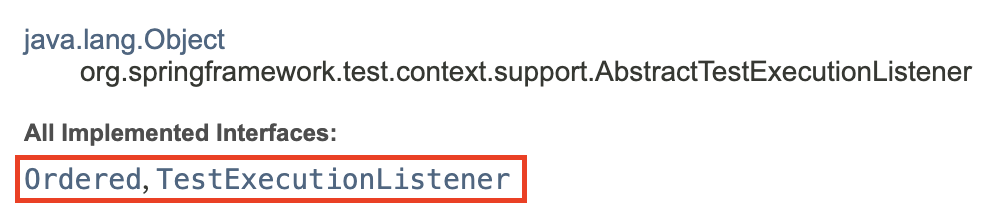
다만 AbstractTestExecutionListener는 모든 default 메서드를 비어 있는 상태로 오버라이딩하고 있고, Ordered 인터페이스도 확장하고 있어 조금 더 편하게 확장이 가능합니다.
AbstractTestExecutionListener 커스터마이징
다음과 같이 AbstractTestExecutionListener를 커스터마이징한 DatabaseCleanListener를 정의했습니다.
public class DatabaseCleanListener extends AbstractTestExecutionListener {

    @Override
    public void beforeTestExecution(final TestContext testContext) {
        final EntityManager em = findEntityManager(testContext);
        final List<String> tableNames = calculateTableNames(em);

        clean(em, tableNames);
    }

    private EntityManager findEntityManager(final TestContext testContext) {
        return testContext.getApplicationContext()
                          .getBean(EntityManager.class);
    }

    private List<String> calculateTableNames(final EntityManager em) {
        return em.getMetamodel()
                 .getEntities()
                 .stream()
                 .filter(entityType -> entityType.getJavaType().getAnnotation(Entity.class) != null)
                 .map(this::calculateTableName)
                 .toList();
    }

    private String calculateTableName(final EntityType<?> entityType) {
        final Table tableAnnotation = entityType.getJavaType().getAnnotation(Table.class);

        if (tableAnnotation != null) {
            return tableAnnotation.name().toLowerCase();
        }

        return convertToSnakeCase(entityType.getName());
    }

    private String convertToSnakeCase(String input) {
        return input.replaceAll("([a-z])([A-Z])", "$1_$2").toLowerCase();
    }


    private void clean(final EntityManager em, final List<String> tableNames) {
        em.flush();

        final StringBuilder sb = new StringBuilder("SET REFERENTIAL_INTEGRITY FALSE;");

        for (final String tableName : tableNames) {
            sb.append("TRUNCATE TABLE ")
              .append(tableName)
              .append(";");

            sb.append("ALTER TABLE ")
              .append(tableName)
              .append(" ALTER COLUMN id RESTART WITH 1;");
        }

        sb.append("SET REFERENTIAL_INTEGRITY TRUE;");

        em.createNativeQuery(sb.toString()).executeUpdate();
    }
}
각 메서드의 용도는 다음과 같습니다.
- beforeTestExecution()
- TestExecutionListener가 제공하는 메서드로, 테스트 메서드가 실행되기 직전에 호출됩니다.
- 안정적인 처리를 위해 afterTestExecution()보다는 beforeTestExecution을 사용할 것을 권장합니다.
- 반드시 후처리를 해야 한다면, before/after 모두 사용할 것을 권장합니다.
- findEntityManager()
- 테스트 환경에서 EntityManager를 추출합니다.
- 테이블 이름을 조회하기 위함입니다.
- calculateTableNames()
- 테이블 이름을 조회합니다.
- EntityManager의 메타 데이터에서 EntityType에서 엔티티에 선언된 애노테이션을 조회하여 처리합니다.
- calculateTableName()
- 별도로 테이블 이름을 정의한 경우 그 이름을 그대로 사용합니다.
- 정의하지 않은 경우 기본적인 엔티티 네이밍 룰에서 테이블 네임을 조회합니다.
- convertToSnakeCase()
- 클래스에서 테이블로 네이밍을 변경하기 위한 메서드입니다.
- 정규표현식으로 snake case를 camel case로 변환했습니다.
- clean()
- 이전 과정에서 구한 모든 테이블을 초기화합니다.
- 작성된 쿼리는 H2 기준입니다.
- 외래 키 제약조건을 무시하고 테이블을 TRUNCATE 한 뒤, PK를 1로 초기화합니다.
@TestExecutionListeners
이렇게 커스터마이징한 TestExecutionListner를 테스트 생명 주기에 포함시켜야하는데, 이 때 사용하는 애노테이션이 @TestExecutionListeners 입니다.
중요한 옵션을 MergeMode로, @TestExecutionListeners 내부 enum으로 선언되어 있습니다.
enum에는 다음과 같은 옵션이 존재합니다.
- REPLACES_DEFAULTS
- 지정한 TestExecutionListeners를 완전히 대체합니다.
- 테스트 시 필요한 의존성을 주입해주는 DependencyInjectionTestExecutionListener 등 기본적으로 세팅되는 모든 TestExecutionListeners를 대체해야 합니다.
- MERGE_WITH_DEFAULTS
- 기존 TestExecutionListeners에 지정한 TestExecutionListeners를 추가(병합, merge)합니다.
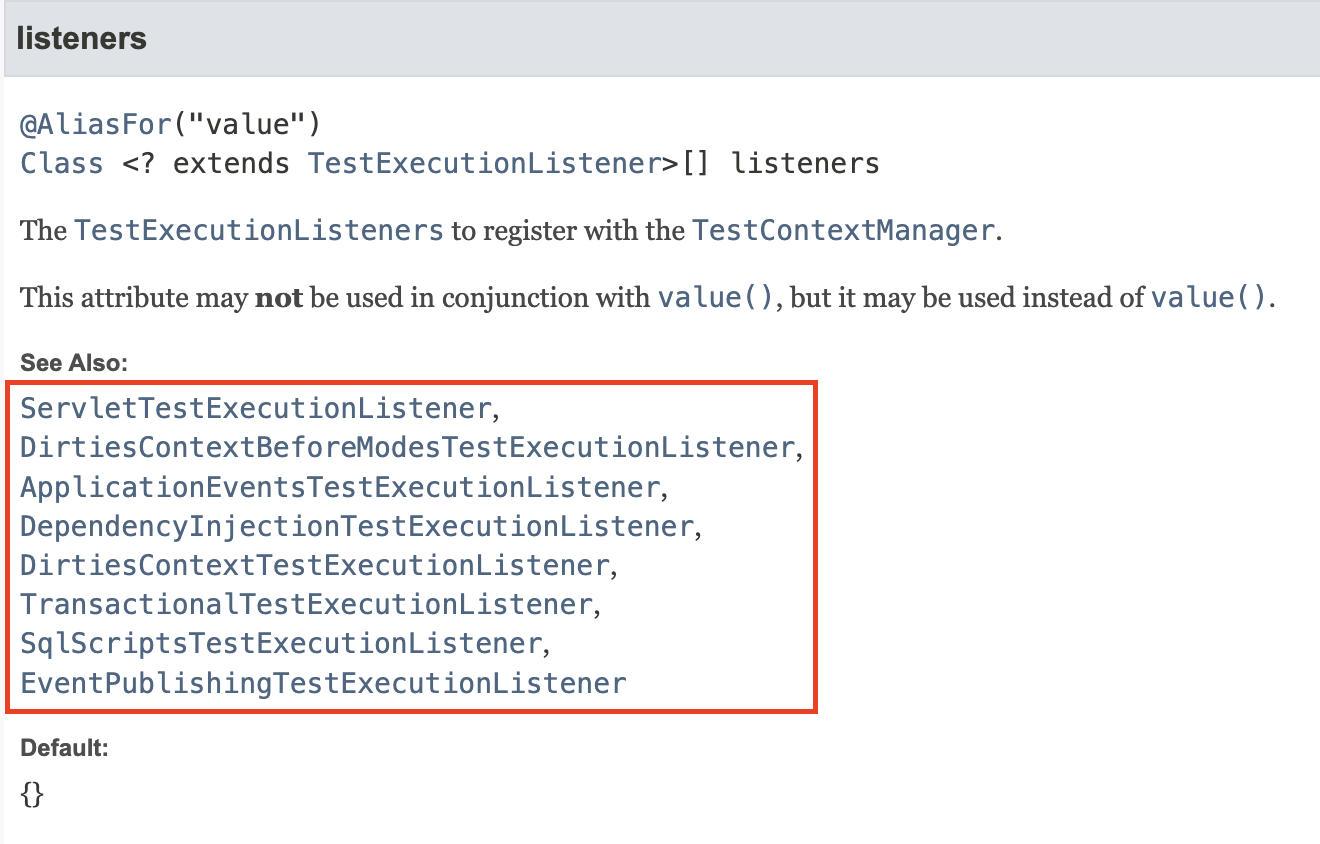
JUnit에서는 기본적으로 다양한 TestExecutionListener가 등록되어 있는데, REPLACES_DEFAULTS를 선택하면 등록된 TestExecutionListeners를 수작업으로 등록해야 하기 때문이 불편합니다.
그러므로 MERGE_WITH_DEFAULTS를 통해 기본적으로 등록된 TestExecutionListeners에 DatabaseCleanListener를 추가했습니다.
애노테이션 커스터마이징
테스트 클래스마다 @TestExecutionListeners를 등록해야 하는데, 상당히 번거롭습니다.
통합 테스트 및 인수 테스트 등 자주 사용되기 때문에 다음과 같이 별도의 애노테이션을 정의했습니다.
@Trasactional
@SpringBootTest(webEnvironment = WebEnvironment.RANDOM_PORT)
@Retention(RetentionPolicy.RUNTIME)
@TestExecutionListeners(value = {DatabaseCleanListener.class}, mergeMode = TestExecutionListeners.MergeMode.MERGE_WITH_DEFAULTS)
public @interface IsolateDatabase {
}

// 사용 예시
@IsolateDatabase
@DisplayNameGeneration(DisplayNameGenerator.ReplaceUnderscores.class)
@SuppressWarnings("NonAsciiCharacters")
class AuctionServiceTest extends AuctionServiceFixture {
	...
}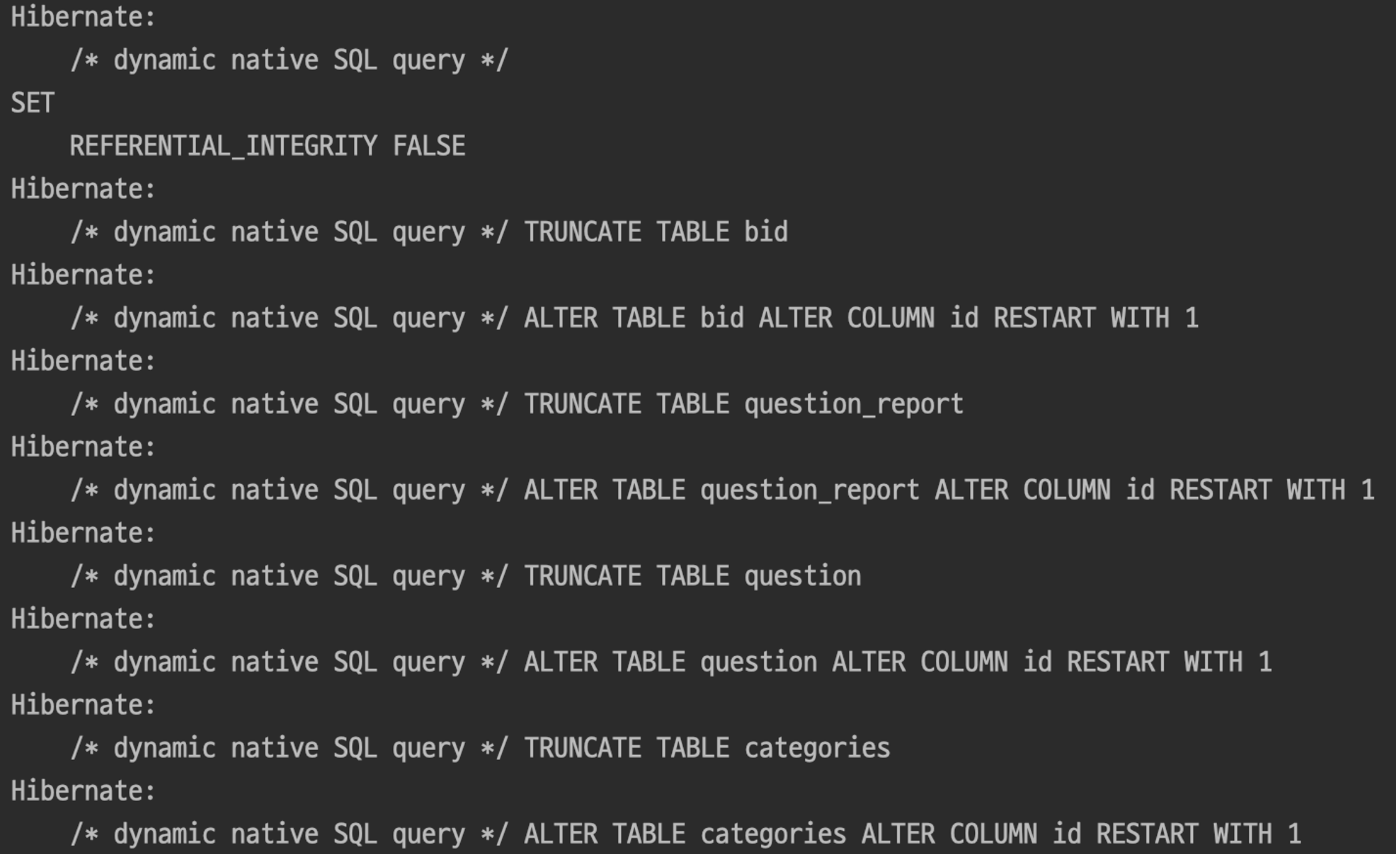
이후 @IsolateDatabase를 명시한 테스트 수행 시 테스트 메서드 실행 전 위와 같이 DB 격리를 수행하는 것을 확인할 수 있습니다.
결론
- WebEnvironment.RANDOM_PORT 환경에서는 @Transactional로 테스트 격리가 불가능합니다.
- 테스트 격리를 할 수 있는 여러 방식이 존재하지만, TestExecutionListener를 커스터마이징해서 공통 처리를 할 수 있습니다.

글 잘봤습니다, 그런데 EntityManager는 작동하기 위해서 @Transactional이 필요한데 어디서 설정하나요?