영상처리 기본 예제
이미지 검출
가장자리 검출
원리 : 미분을 통해 발기 변화율이 큰 부분을 가장자리로 판단.
변화율이기 때문에 노이즈에 민감함 -> 블러링 필요
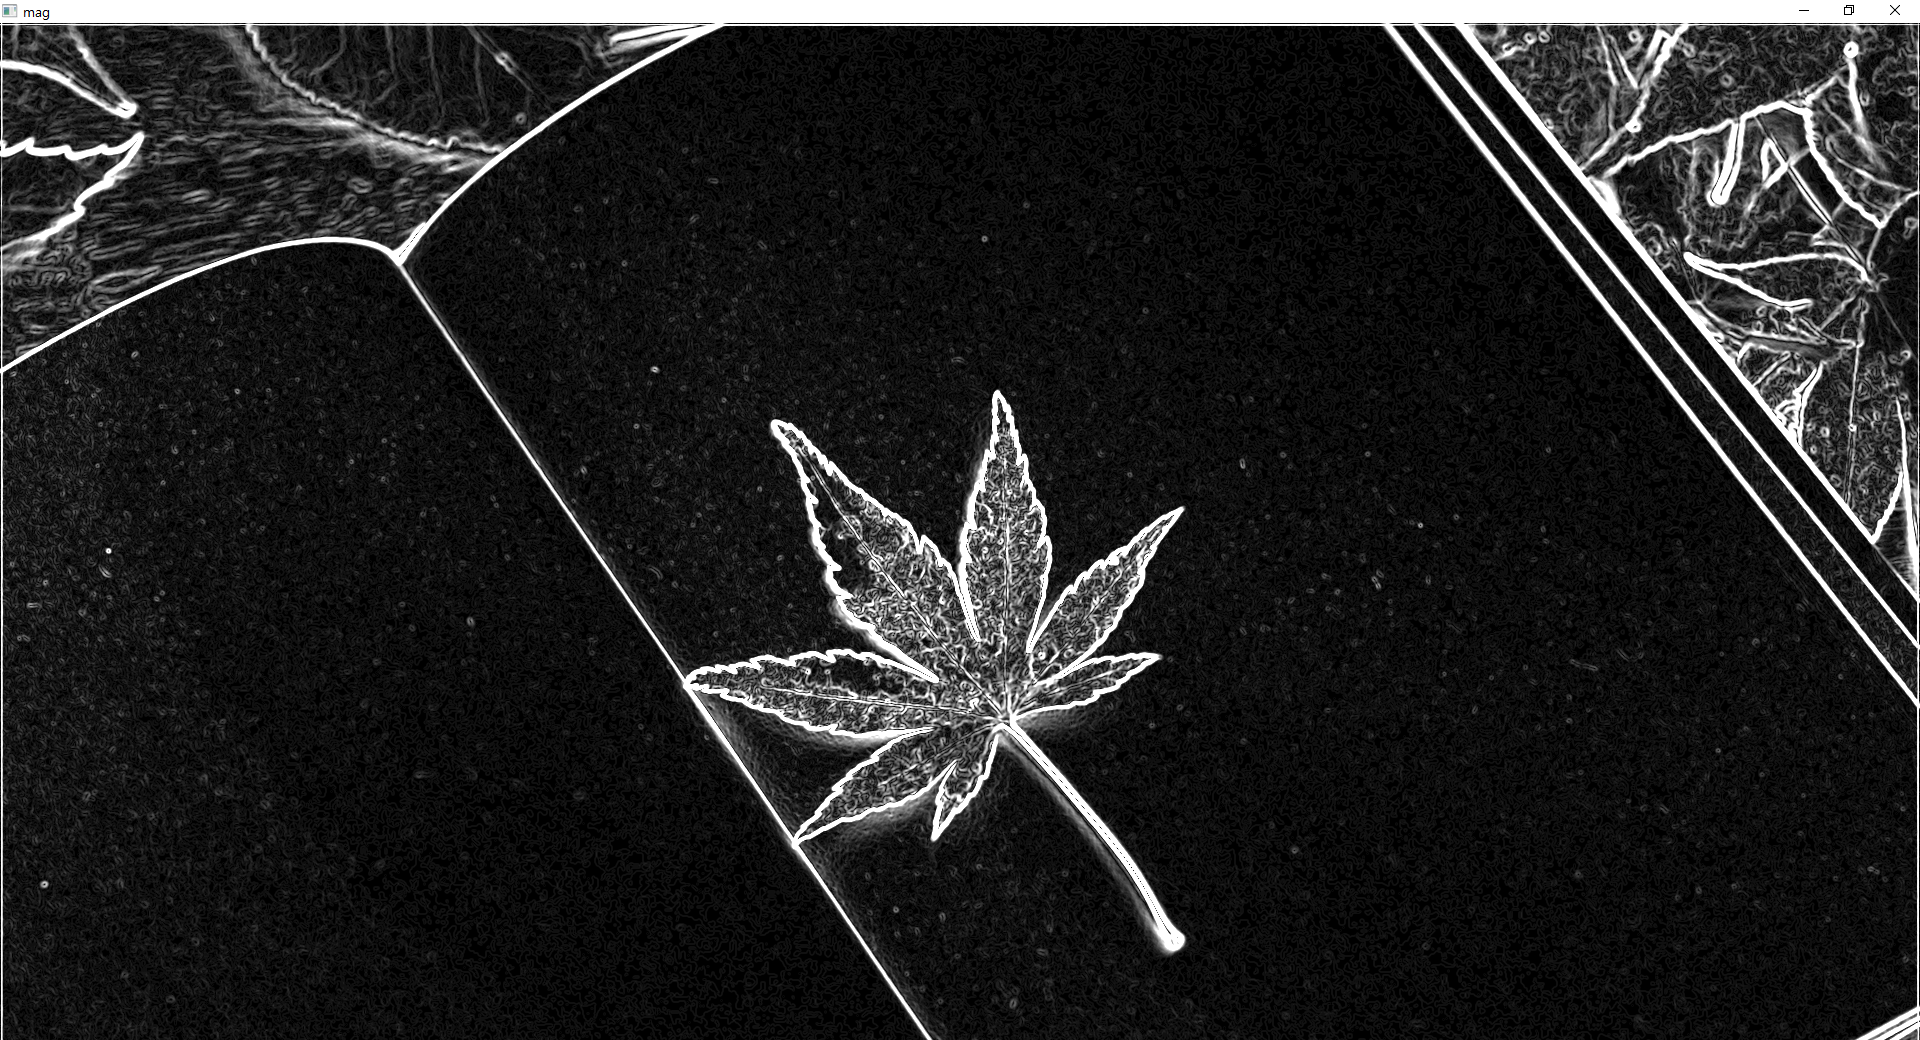
- 원본이미지

- Sobel필터 mag 이미지

import cv2
import numpy as np

src = cv2.imread('book.jpg',cv2.IMREAD_GRAYSCALE)
src = cv2.GaussianBlur(src, (5,5), 0,0, borderType= cv2.BORDER_ISOLATED)
dx = cv2.Sobel(src, cv2.CV_32F, 1, 0, delta =0)
dy = cv2.Sobel(src, cv2.CV_32F, 0, 1, delta =0)

mag = cv2.magnitude(dx, dy) #그레디언트 크기 dx, dy 합산?
mag = np.clip(mag, 0, 255).astype(np.uint8) # 합산 후 255 넘어가는 값 255이하로 조정
dst = np.zeros(src.shape[:2], np.uint8)
dst[msg > 192] = 255

# cv2.imshow('mag',mag)
cv2.imshow('dst',dst)
cv2.imshow('src',src)
cv2.waitKey(0)
cv2.destroyAllWindows()
-
Sobel필터 dst 이미지
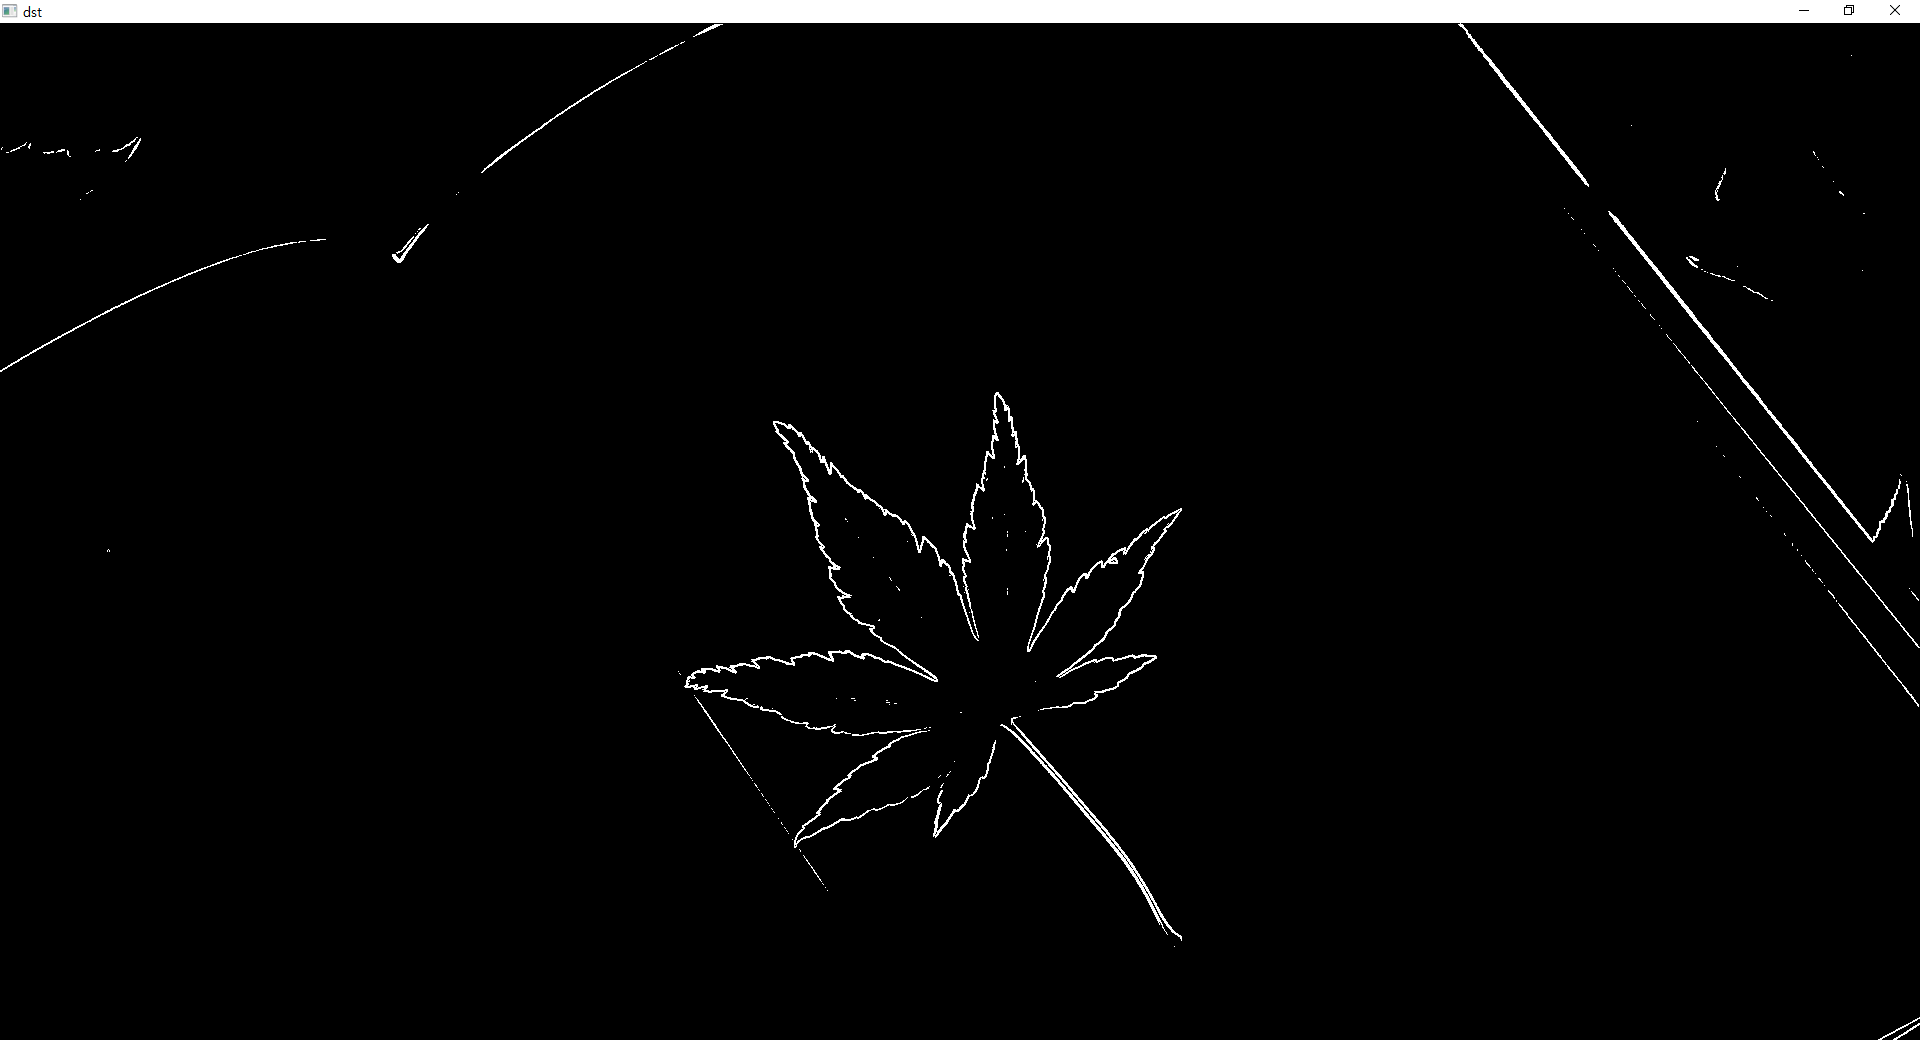
-
원본이미지 Blur 처리 한 후

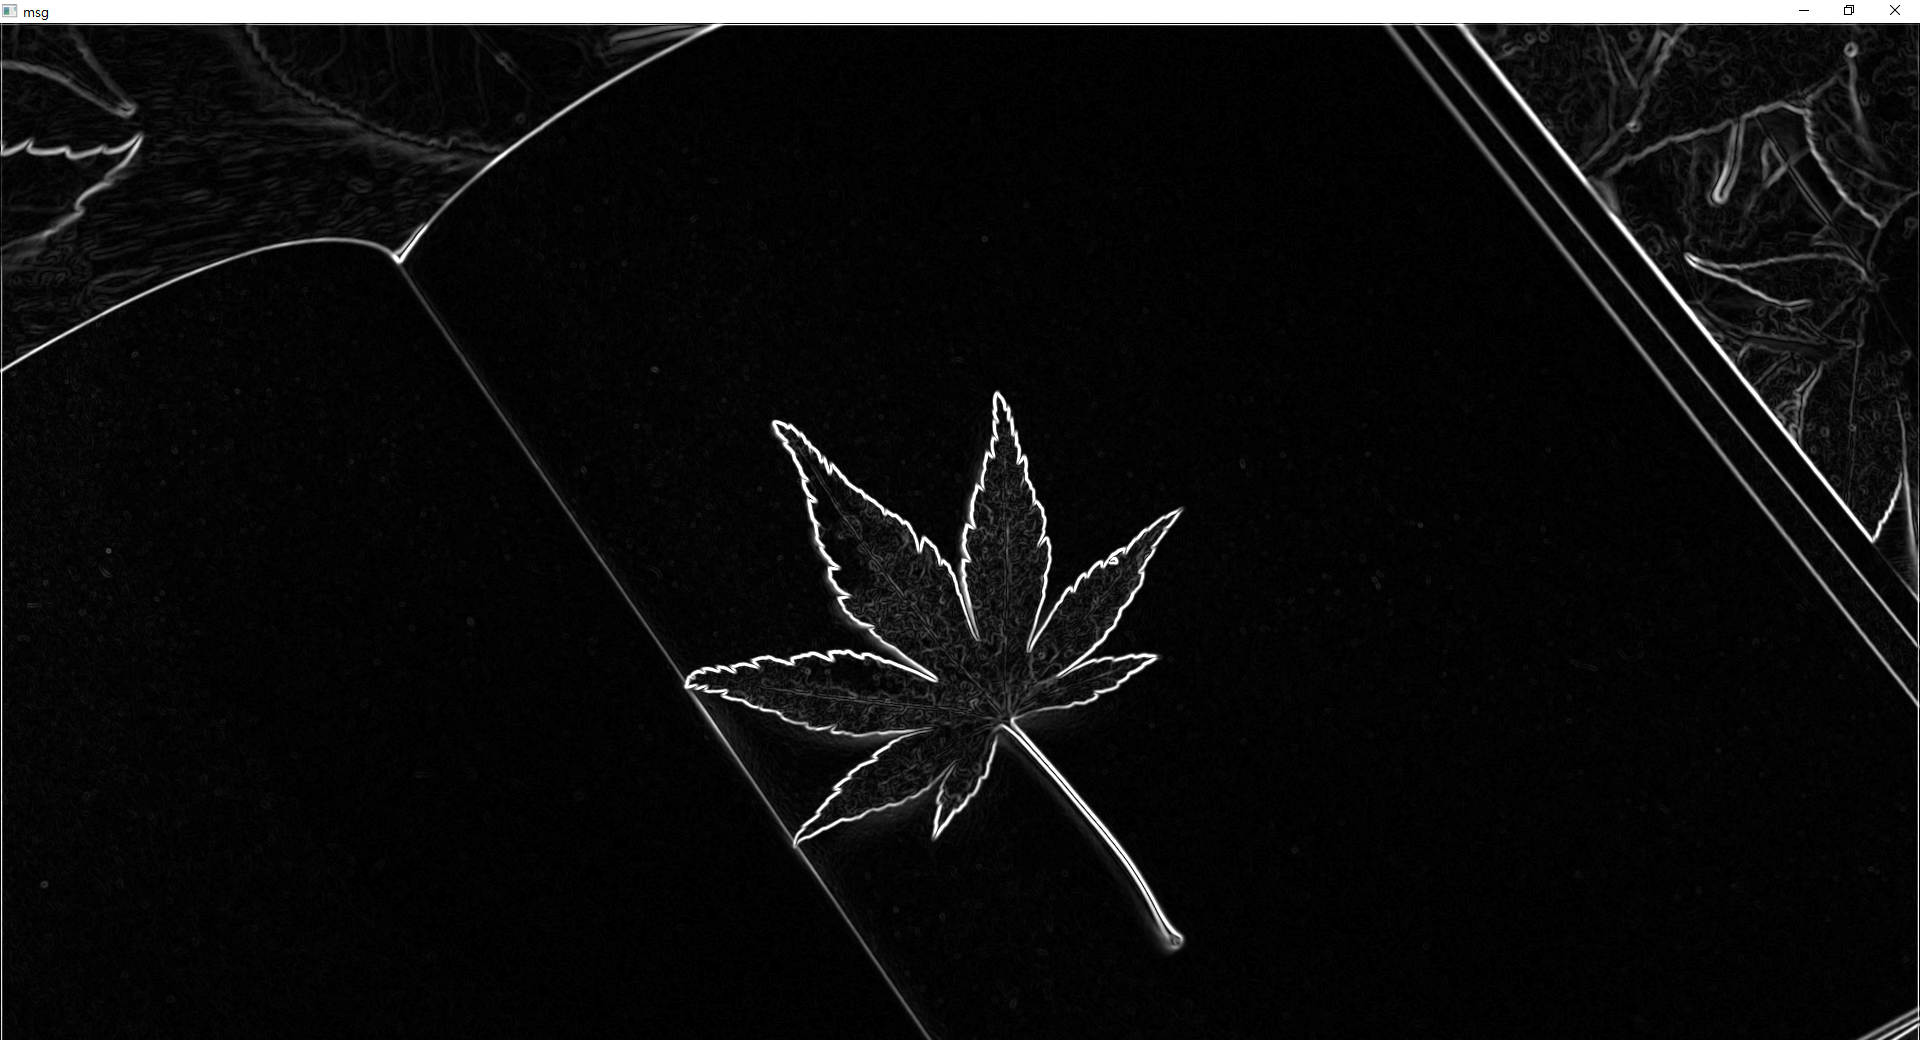
-
Sobel필터 mag 이미지
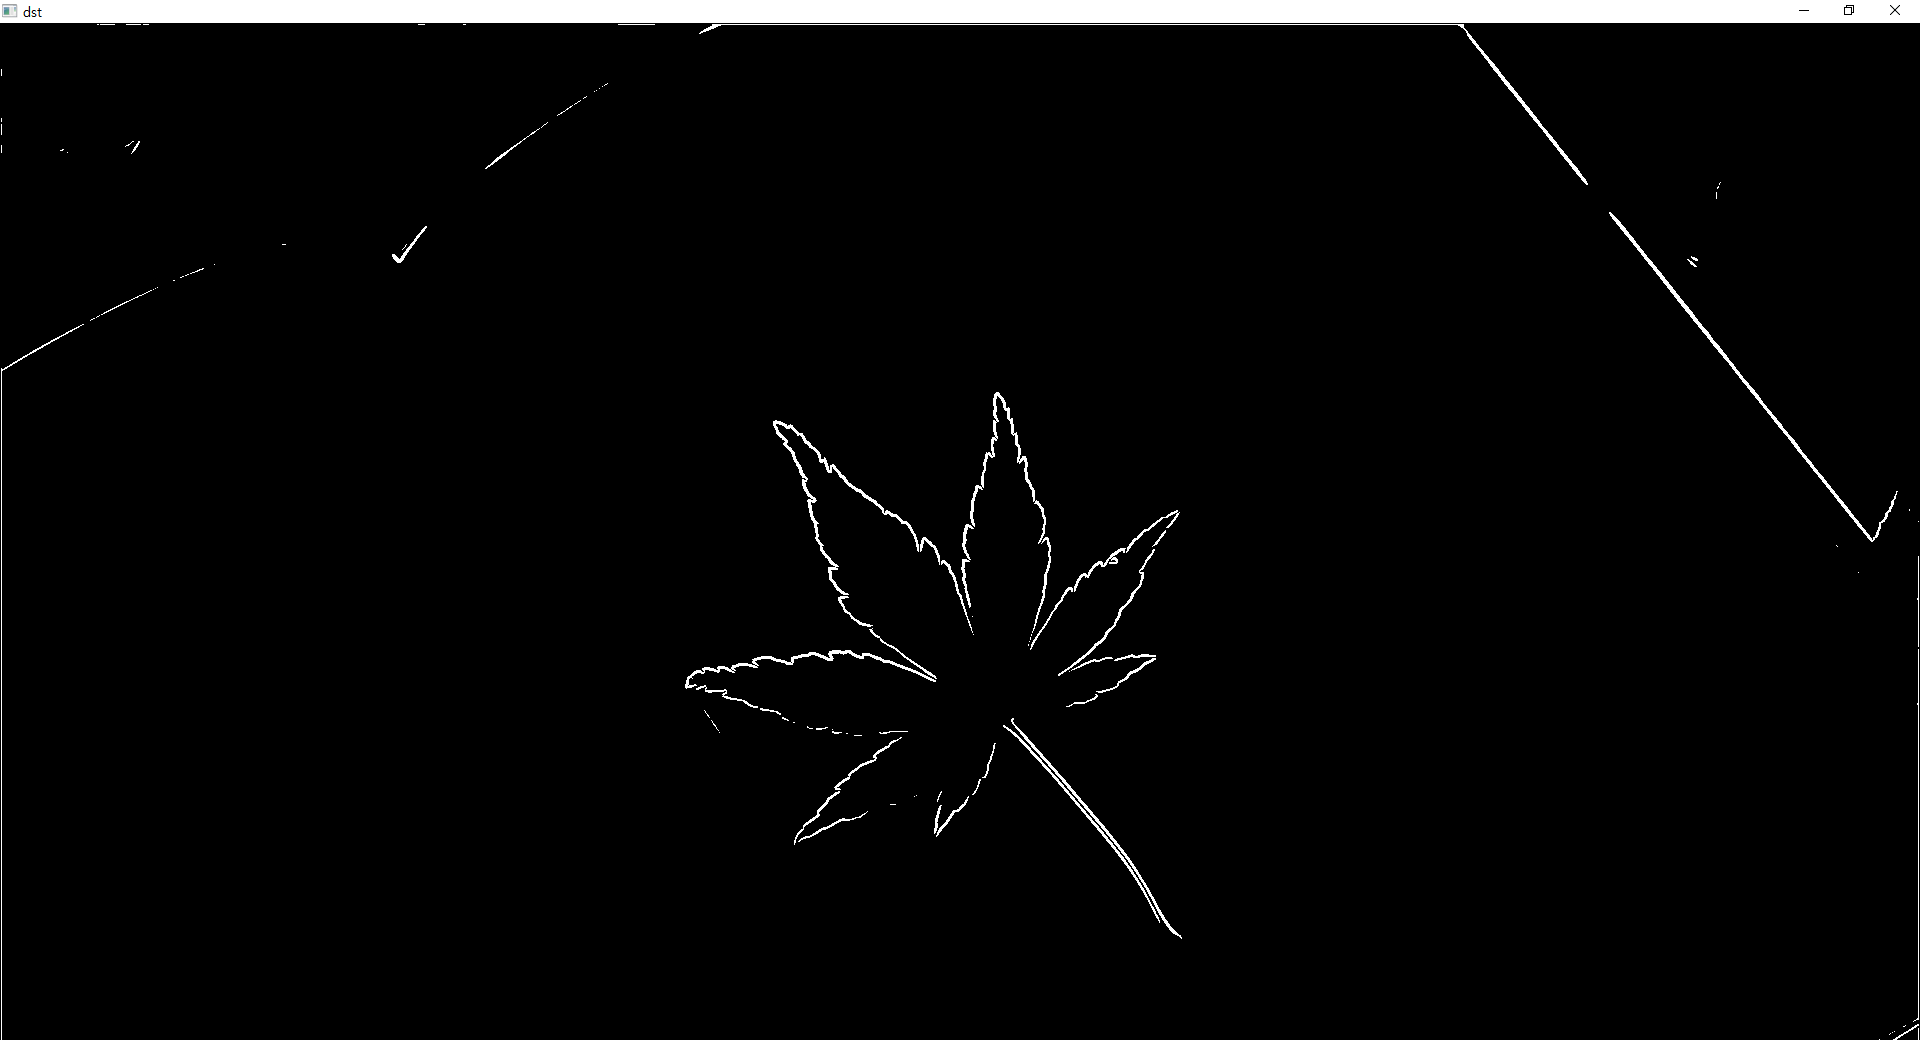
-
Sobel필터 dst 이미지


- Scharr 필터 mag
연산속도가 매우 높다.
import cv2
import numpy as np

src = cv2.imread('book.jpg',cv2.IMREAD_GRAYSCALE)
src = cv2.GaussianBlur(src, (5,5), 0,0, borderType= cv2.BORDER_ISOLATED)
dx = cv2.Scharr(src, cv2.CV_32F, 1, 0, delta =0)
dy = cv2.Scharr(src, cv2.CV_32F, 0, 1, delta =0)

mag = cv2.magnitude(dx, dy) #그레디언트 크기 dx, dy 합산?
mag = np.clip(mag, 0, 255).astype(np.uint8) # 합산 후 255 넘어가는 값 255이하로 조정
# dst = np.zeros(src.shape[:2], np.uint8)
# dst[msg > 192] = 255

cv2.imshow('mag',mag)
# cv2.imshow('dst',dst)
cv2.imshow('src',src)
cv2.waitKey(0)
cv2.destroyAllWindows()
import cv2
import numpy as np

src = cv2.imread('book.jpg',cv2.IMREAD_GRAYSCALE)

laplacian = cv2.Laplacian(src, cv2.CV_8U, ksize=3)

cv2.imshow('mag',mag)
cv2.imshow('src',src)
cv2.waitKey(0)
cv2.destroyAllWindows()- Laplacian 필터 mag

- 케니엣지 필터 mag
import cv2
import numpy as np

src = cv2.imread('book.jpg',cv2.IMREAD_GRAYSCALE)
src = cv2.GaussianBlur(src, (5,5), 0,0, borderType= cv2.BORDER_ISOLATED)

mag = cv2.Canny(src, 100, 200, apertureSize=3, L2gradient=True)

cv2.imshow('mag',mag)
cv2.imshow('src',src)
cv2.waitKey(0)
cv2.destroyAllWindows()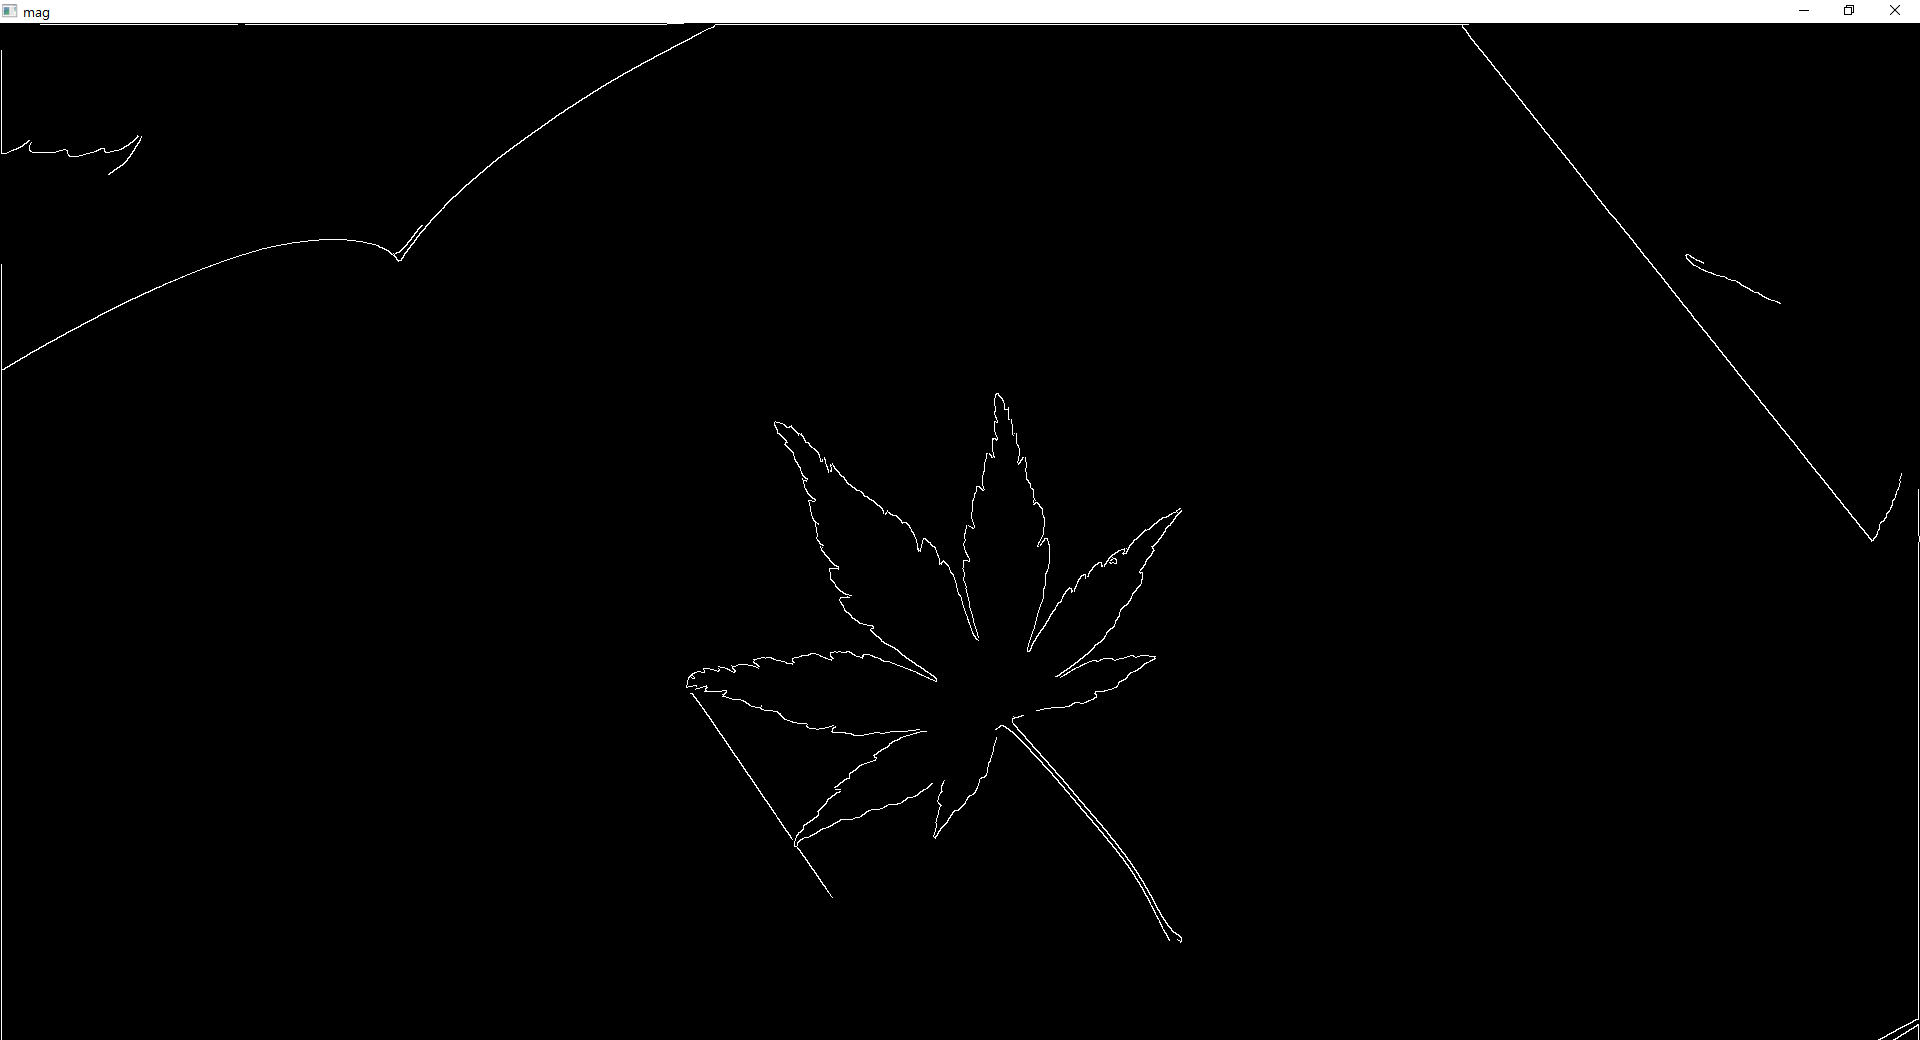
윤곽선 검출 p300
import cv2

src = cv2.imread("chess.png")
dst = src.copy()

kernel = cv2.getStructuringElement(cv2.MORPH_RECT, (3, 3))

gray = cv2.cvtColor(src, cv2.COLOR_RGB2GRAY)
ret, binary = cv2.threshold(gray, 230, 255, cv2.THRESH_BINARY)
morp = cv2.morphologyEx(binary, cv2.MORPH_CLOSE, kernel, iterations=2)
image = cv2.bitwise_not(morp)

contours, hierarchy = cv2.findContours(image, cv2.RETR_TREE, cv2.CHAIN_APPROX_NONE)
cv2.drawContours(dst, contours, -1, (0, 0, 255), 3)
for i in range(len(contours)):
    cv2.putText(dst, str(i), tuple(contours[i][0][0]), cv2.FONT_HERSHEY_COMPLEX, 1.3, (255, 0, 0), 1)
    print(i, hierarchy[0][i])

cv2.imshow("dst", dst)
cv2.waitKey(0)
cv2.destroyAllWindows()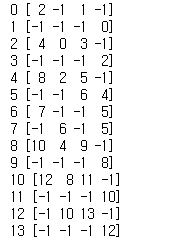
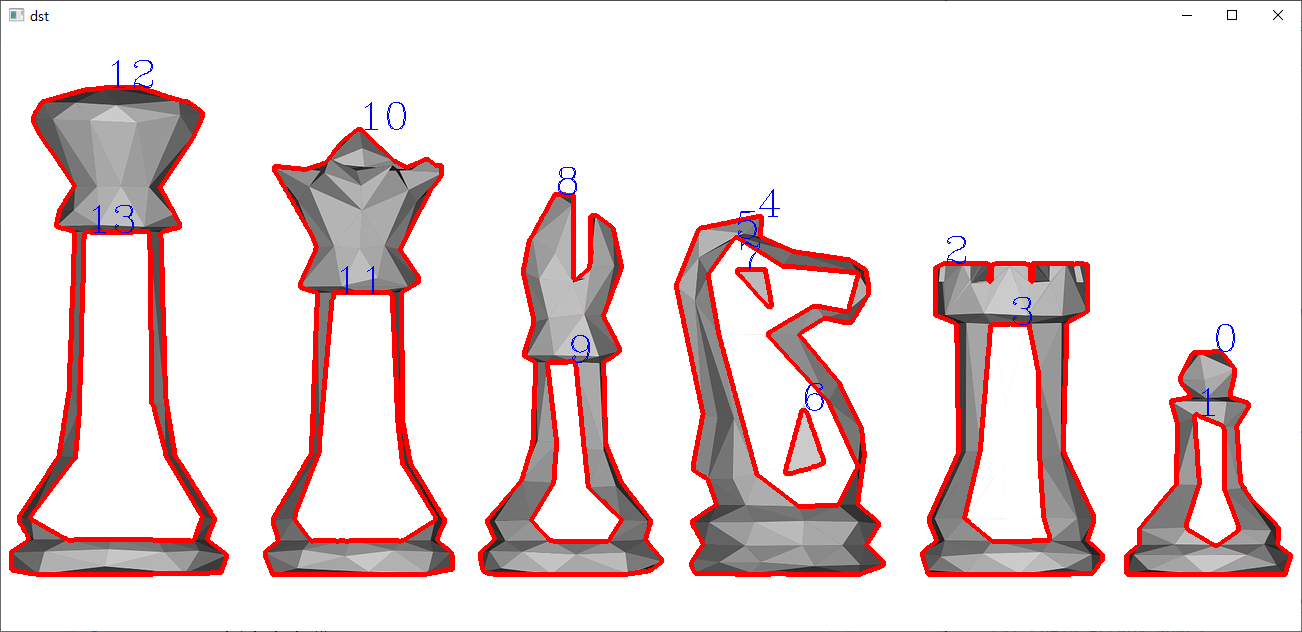
다각형 근사
src = cv2.imread("chess.png")
dst = src.copy()

kernel = cv2.getStructuringElement(cv2.MORPH_RECT, (3,3))

gray = cv2.cvtColor(src, cv2.COLOR_RGB2GRAY)
ret, binary = cv2.threshold(gray, 230, 255, cv2.THRESH_BINARY)
morp = cv2.morphologyEx(binary, cv2.MORPH_CLOSE, kernel, iterations=2)
image = cv2.bitwise_not(morp)

contours, hierarchy = cv2.findContours(image, cv2.RETR_TREE, cv2.CHAIN_APPROX_NONE)

for i in contours:
    perimeter = cv2.arcLength(i, True)
    epsilon = perimeter * 0.05
    approx = cv2.approxPolyDP(i, epsilon, True)
    cv2.drawContours(dst, [approx], 0, (0,0,255),3)
    for j in approx:
        cv2.circle(dst, tuple(j[0]), 3, (255, 0,0), -1)

cv2.imshow("dst", dst)
cv2.waitKey(0)
cv2.destroyAllWindows()
코너 검출
import cv2
import numpy as np

src = cv2.imread("dummy.jpg")
dst = src.copy()

gray = cv2.cvtColor(src, cv2.COLOR_RGB2GRAY)
corners = cv2.goodFeaturesToTrack(gray, 100, 0.01, 5, blockSize=3, useHarrisDetector=True, k=0.03)

for i in corners:
    i = np.uint8(i)
    # cv2.circle(dst, tuple(i[0]), 3, (255, 0, 0), 5)
    # center = (int(i[0][0]), int(i[0][1]))
    # cv2.circle(dst, center, 3, (255, 0, 0), 5)

criteria = (cv2.TERM_CRITERIA_MAX_ITER + cv2.TERM_CRITERIA_EPS, 30, 0.001)
# 튜플임, 30은 반복횟수, 0.001은 정확도
# 기준(criteria) 설정
cv2.cornerSubPix(gray, corners, (5, 5), (-1, -1), criteria)
# criteria 기준으로 코너 픽셀 세밀화

# 점그리기
for i in corners:
    cv2.circle(dst, tuple(i[0]), 3, (0, 0, 255), 5)

cv2.imshow("dst", dst)
cv2.waitKey(0)
cv2.destroyAllWindows()
머신러닝
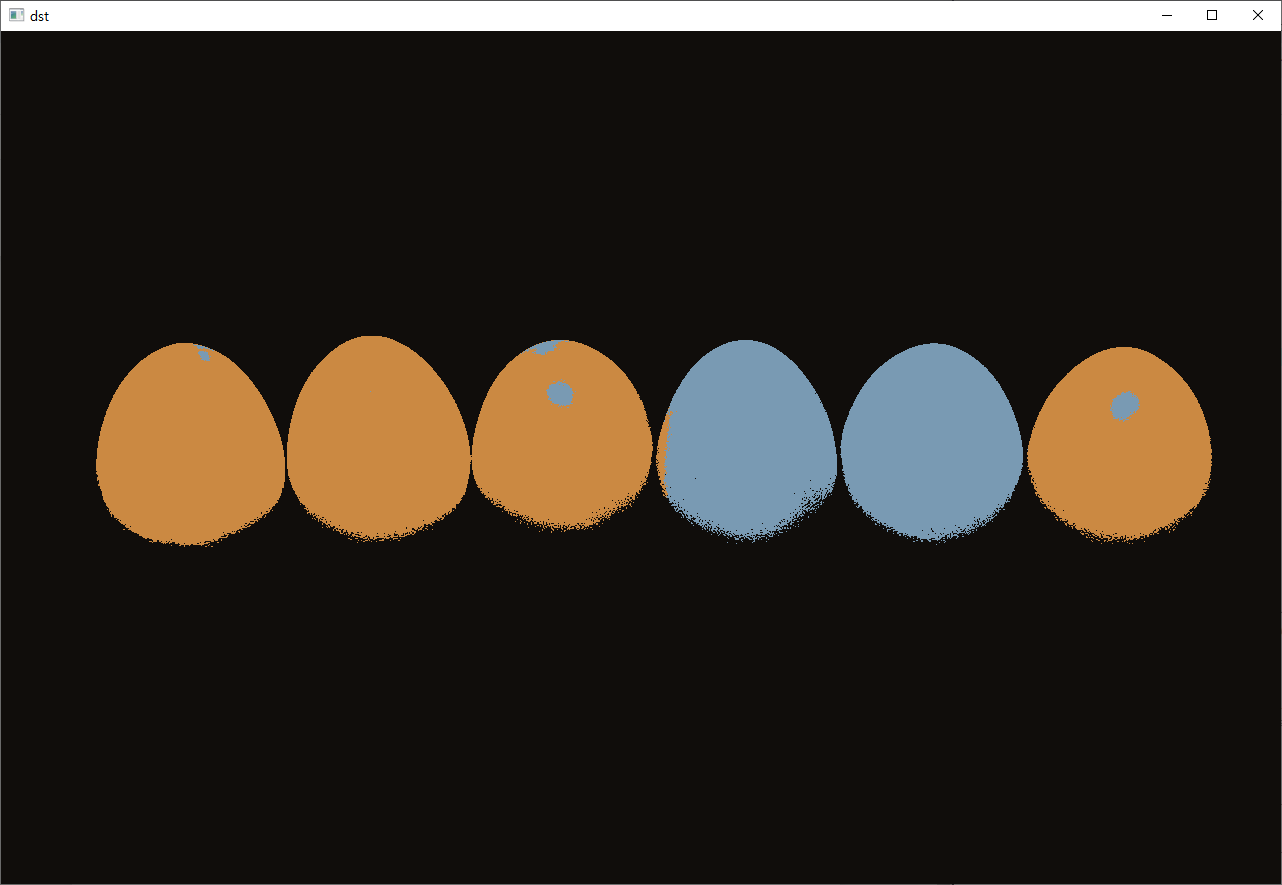
K-평균 군집화 알고리즘
import numpy as np
import cv2

src = cv2.imread("egg.jpg")
data = src.reshape(-1, 3).astype(np.float32)

K = 3
criteria = (cv2.TERM_CRITERIA_MAX_ITER + cv2.TERM_CRITERIA_EPS, 10, 0.001)
retval, bestLabels, centers = cv2.kmeans(data, K, None, criteria, 10, cv2.KMEANS_RANDOM_CENTERS)
# 이미지 압출률, 라벨, 중심점 만들기

# 군집결과 이미지 만들기
centers = centers.astype(np.uint8)
dst = centers[bestLabels].reshape(src.shape)

cv2.imshow("dst", dst)
cv2.waitKey()
cv2.destroyAllWindows()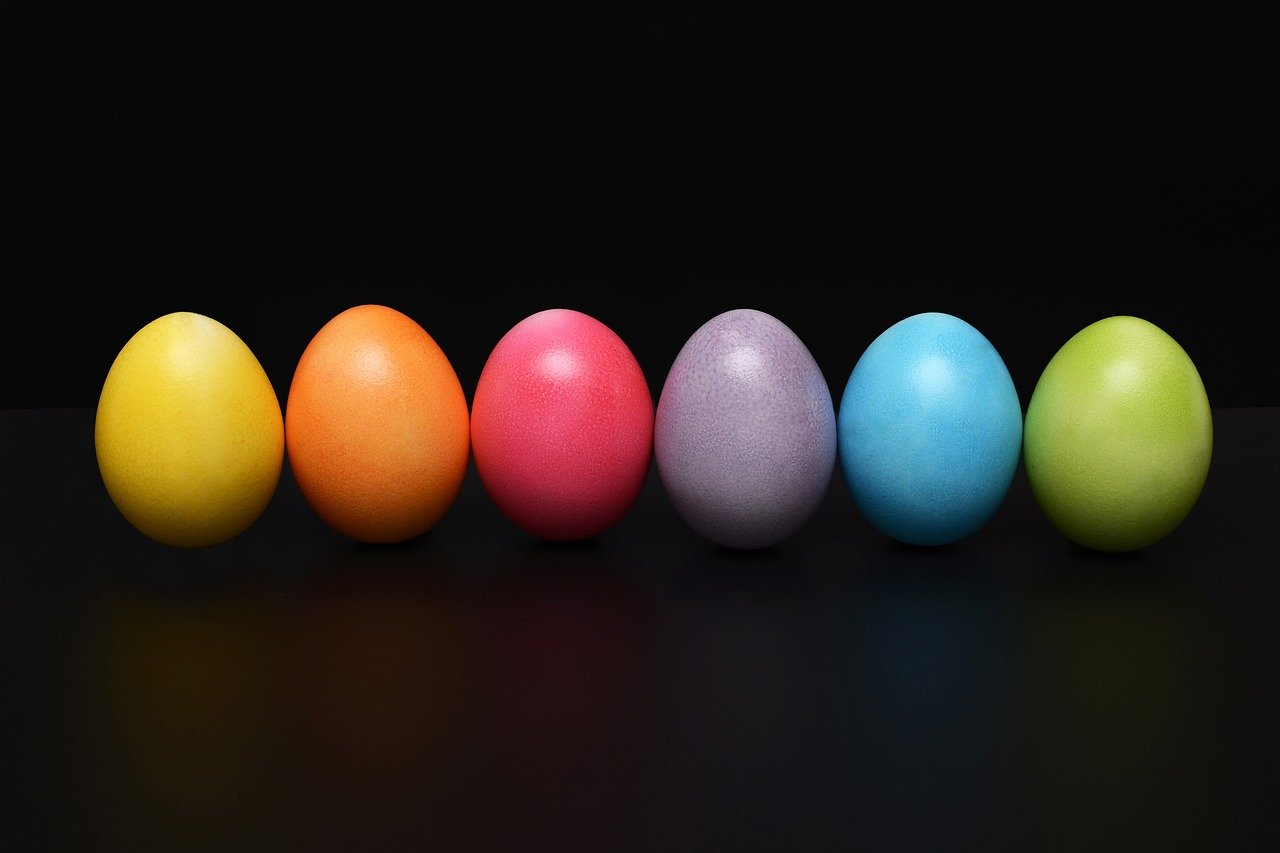
K-최근접 이웃 알고리즘
새로운 데이터가 입력 되었을 때 분류하는 기법
인공신경망
fashion-mnist 압출파일 필요
import numpy as np
import cv2

def loadTrainData(image_path, label_path):
    with open(image_path, 'rb') as image_data:
        images = np.frombuffer(image_data.read(), dtype=np.uint8, offset=16).reshape(-1, 784)

    with open(label_path, 'rb') as label_data:
        labels = np.frombuffer(label_data.read(), dtype=np.uint8, offset=8)

    return images, labels

label_dict = {
    0: "T-shirt/top",
    1:"Trouser",
    2:"Pullover",
    3:"Dress",
    4:"Coat",
    5:"Sandal",
    6:"shirt",
    7:"Sneaker",
    8:"Bag",
    9:"Ankle boot"
}

train_x, train_y = loadTrainData("./fashion-mnist/train-images-idx3-ubyte", "./fashion-mnist/train-labels-idx1-ubyte")
test_x, test_y = loadTrainData("./fashion-mnist/t10k-images-idx3-ubyte", "./fashion-mnist/t10k-labels-idx1-ubyte")

knn = cv2.ml.KNearest_create()
knn.train(train_x.astype(np.float32), cv2.ml.ROW_SAMPLE, train_y.astype(np.int32))

count = 500
retval, results, neighborResponses, dist = knn.findNearest(test_x[:count].astype(np.float32), k=7)

for idx, result in enumerate(results):
    print("index : {}".format(idx))
    print("예측값: {}".format(label_dict[int(result)]))
    print("실제값: {}".format(label_dict[test_y[idx]]))
    cv2.imshow("images", test_x[idx].reshape(28, 28, 1))
    key = cv2.waitKey(0)
    if key == ord('q') or key == 27:
        break
cv2.destroyAllWindows()


# cv2.imshow("images", train_x[0].reshape(28, 28, 1))
# cv2.waitKey()
# cv2.destroyAllWindows()
심층 신경망
import cv2
import numpy as np
config = "tensorflow_model/graph.pbtxt"
model = "tensorflow_model/frozen_inference_graph.pb"
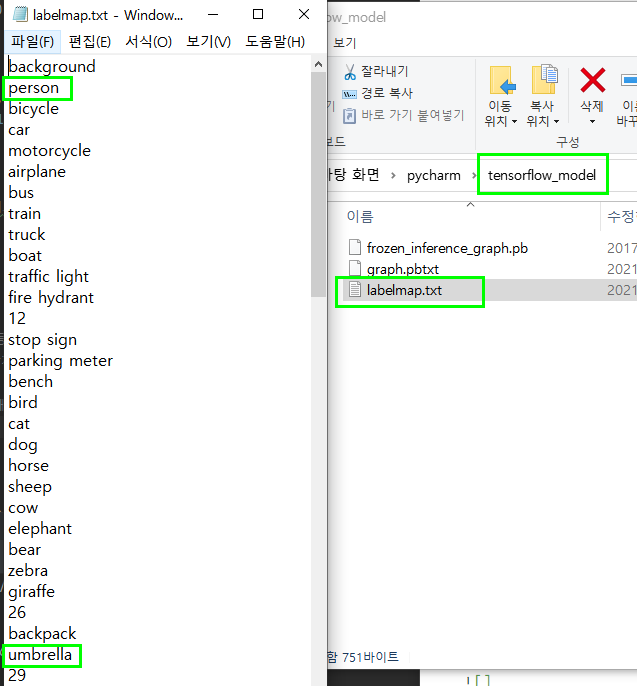
with open("tensorflow_model/labelmap.txt") as file:
classNames = file.read().splitlines()
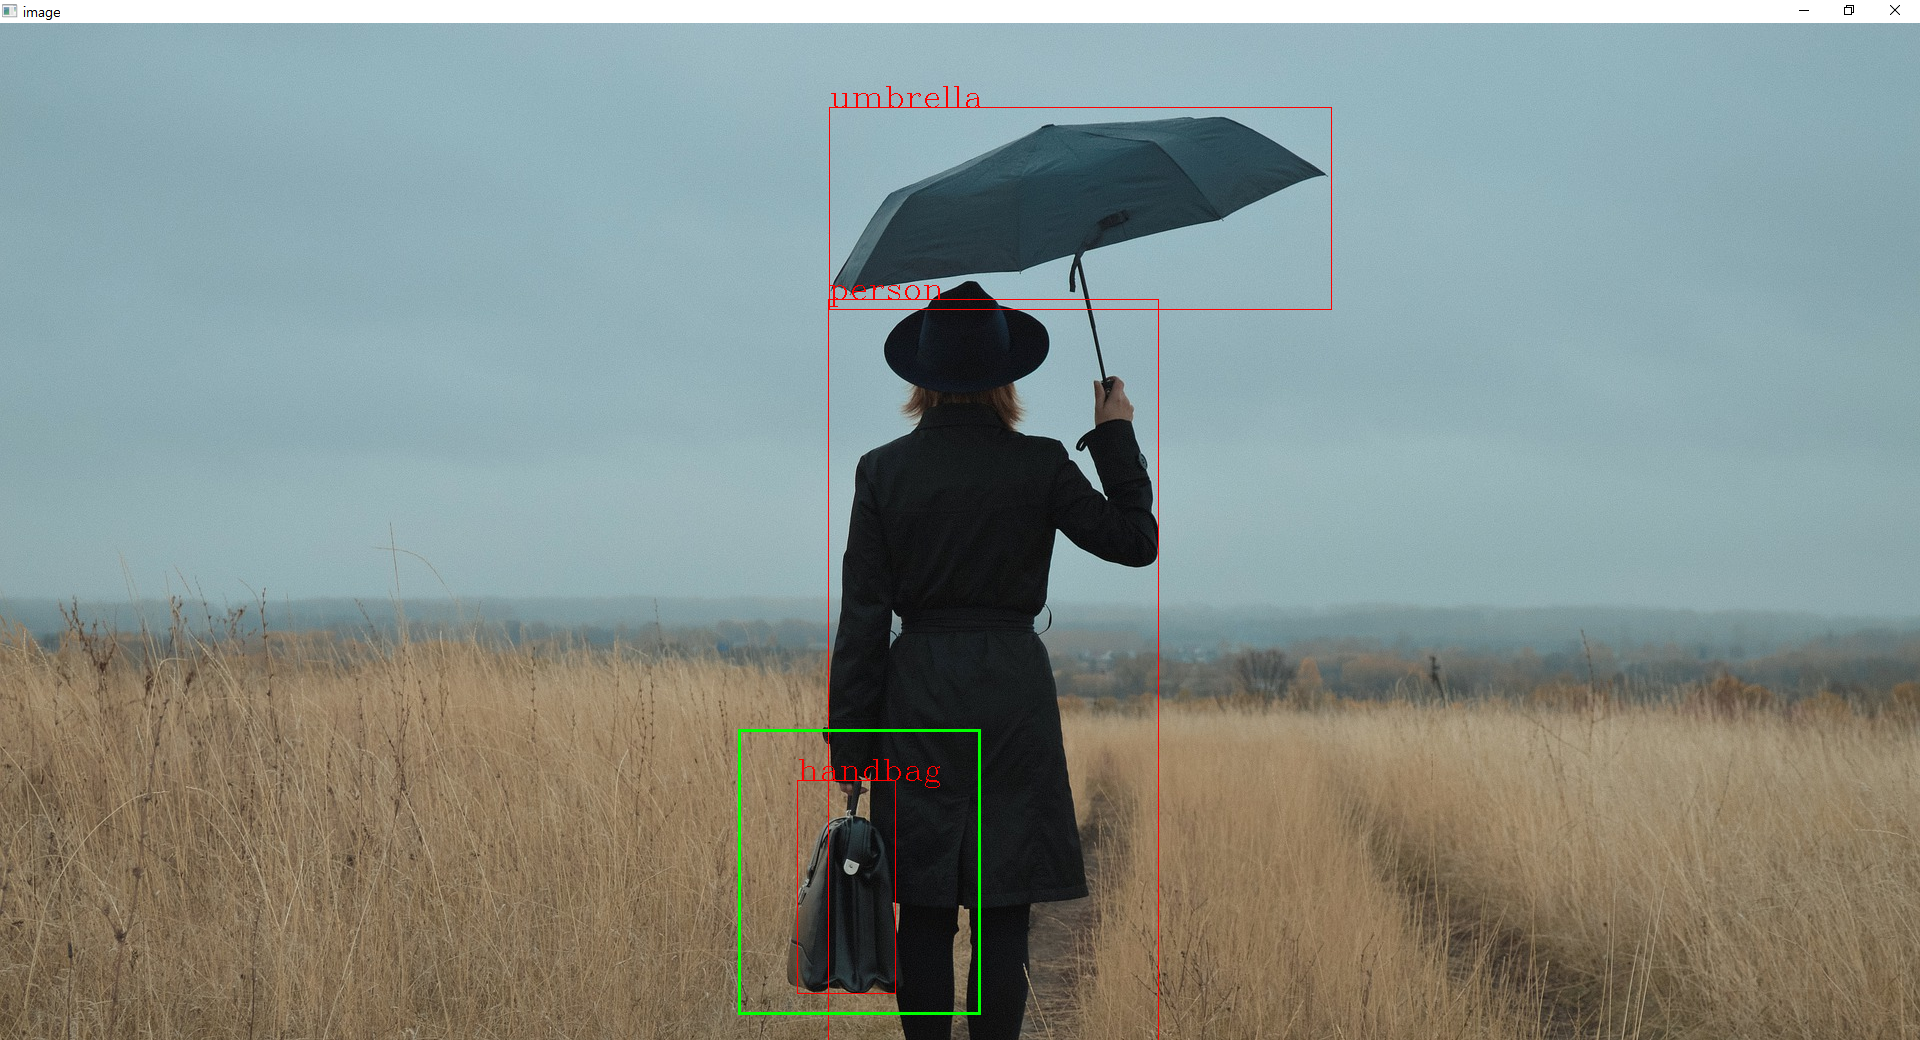
image = cv2.imread("umbrella.jpg")
net = cv2.dnn.readNetFromTensorflow(model, config) # 텐서플로 프레임 워크 읽기
inputBlob = cv2.dnn.blobFromImage(image, 1, (300, 300), swapRB=True, crop=False)
# 딥러닝을 위한 단일 블롭 생성
net.setInput(inputBlob) # 네트워크 입력
outputBlobs = net.forward() # 순전파수행, 네트워크 마다 출력되는 blob 구조가 다름
# print(outputBlobs.shape) # 1, 1, 100, 7
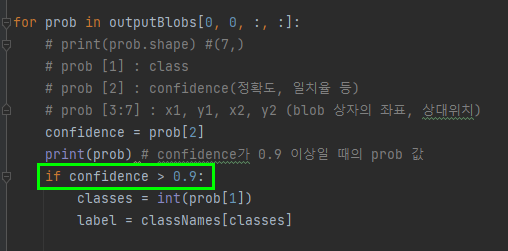
for prob in outputBlobs[0, 0, :, :]:
# print(prob.shape) #(7,)
# prob [1] : class
# prob [2] : confidence(정확도, 일치율 등)
# prob [3:7] : x1, y1, x2, y2 (blob 상자의 좌표, 상대위치)
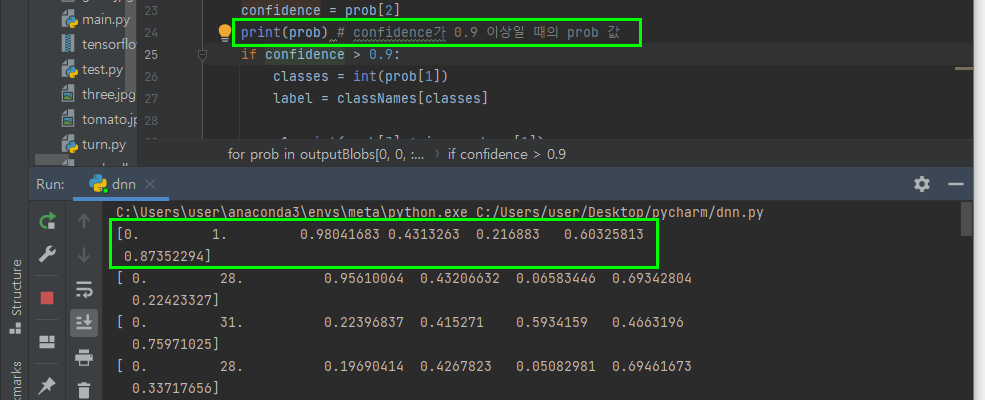
confidence = prob[2]
# print(prob) # confidence가 0.9 이상일 때의 prob 값
if confidence > 0.9:
classes = int(prob[1])
label = classNames[classes]
x1 = int(prob[3] * image.shape[1])
y1 = int(prob[4] * image.shape[0])
x2 = int(prob[5] * image.shape[1])
y2 = int(prob[6] * image.shape[0])
cv2.rectangle(image, (x1, y1), (x2, y2), (0, 0, 255))
cv2.putText(image, label, (x1, y1), cv2.FONT_HERSHEY_COMPLEX, 1.0, (0, 0, 255))
cv2.imshow("image", image)
cv2.waitKey()
cv2.destroyAllWindows()
6개의 index가 있고, 0.98 즉 98%확률로 person이고
95%로 umbrella
- 일치율을 설정 할 수 있다.
얼굴인식
Real-Time Face Recognition: An End-To-End Project Link :
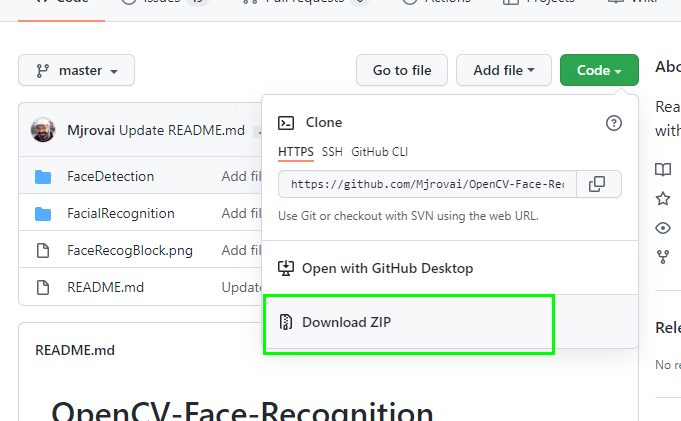
Github Link :

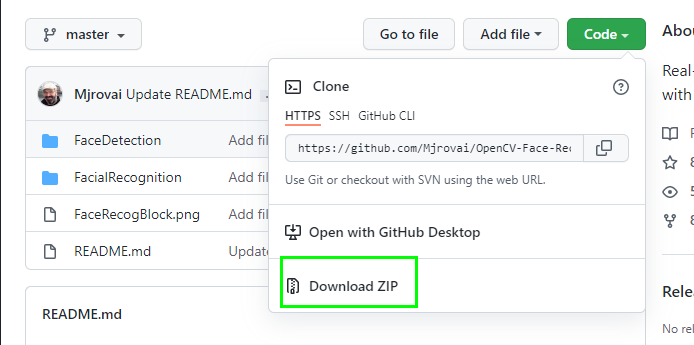
-
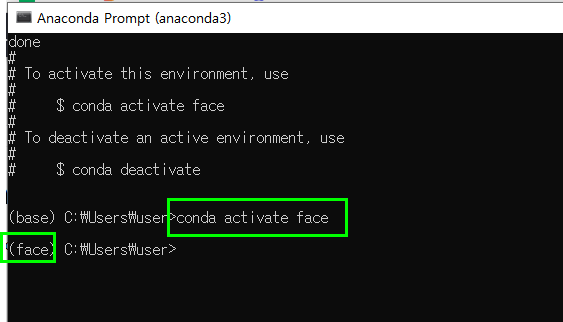
conda create --name face python=3.9.7
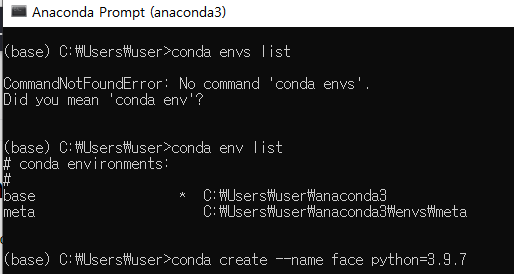
-
conda activate face
-
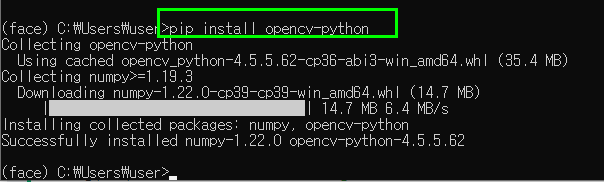
pip3 install opencv-python or pip install opencv-python or conda install opencv-python
-
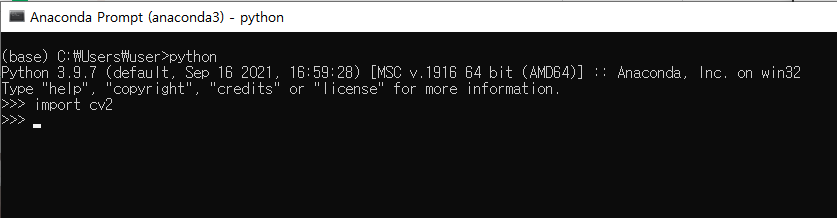
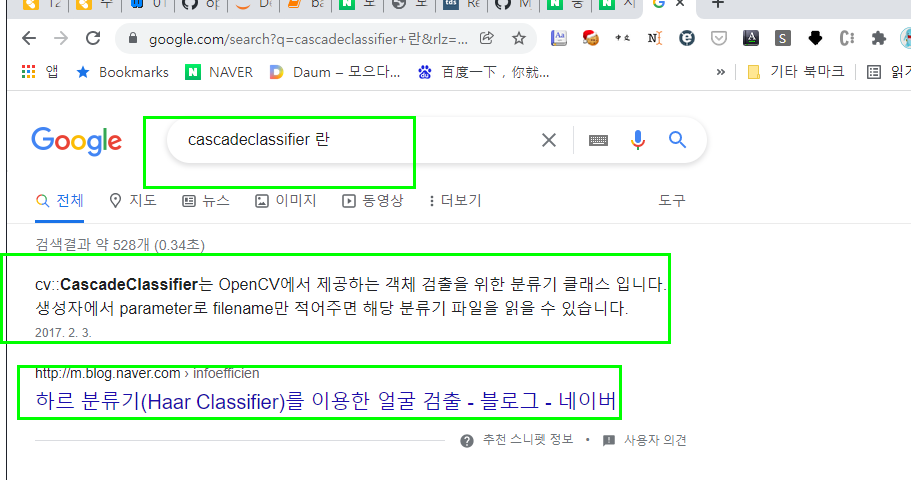
※아래 사진과 같이 python 실행시키고 import cv2 안돼도 pip설치해야 한다.
-
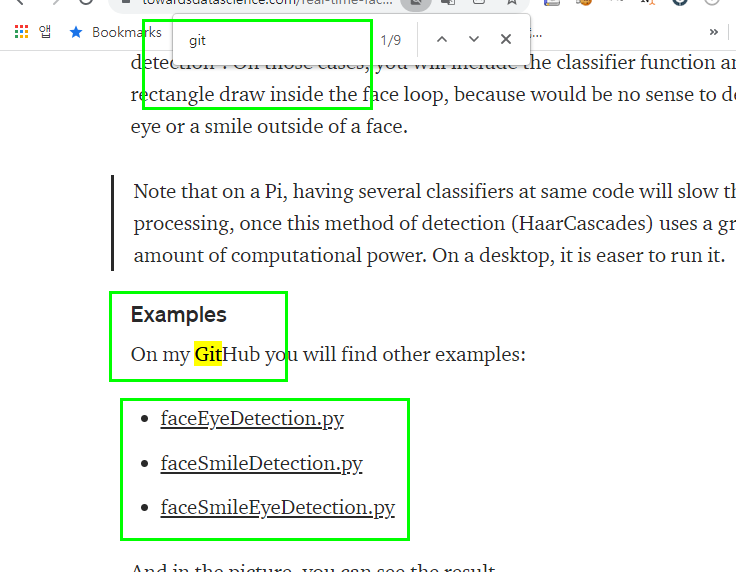
구글에 검색 real time face recognition in python
https://towardsdatascience.com/real-time-face-recognition-an-end-to-end-project-b738bb0f7348?gi=ea05c4defe71
-
PJT생성 face 설정된것 확인
안되어있다면 아나콘다로 pip 설치 및 설정 해야함
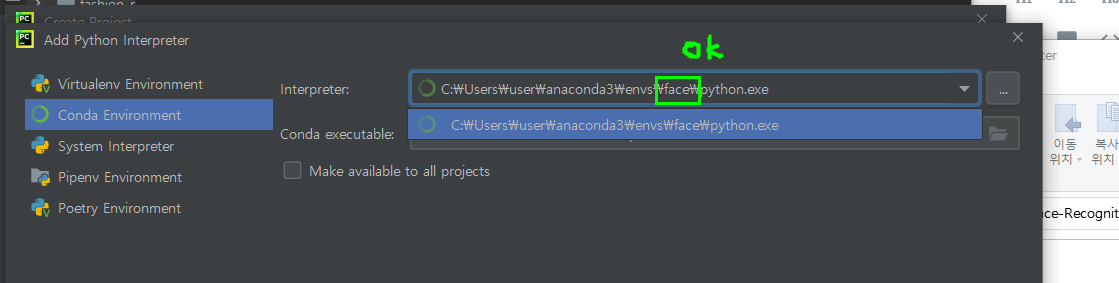
-
최종 설정 완료
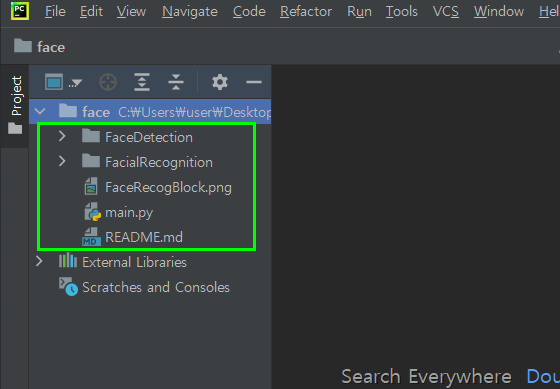
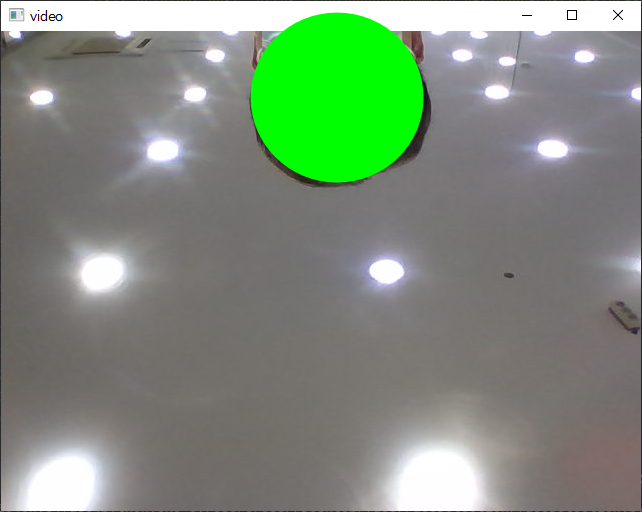
실행
-
실행 시 마스크를 벗고 flip삭제하면 얼굴을찾을 수 있다.
-
faceCascade 객체는 무엇인가

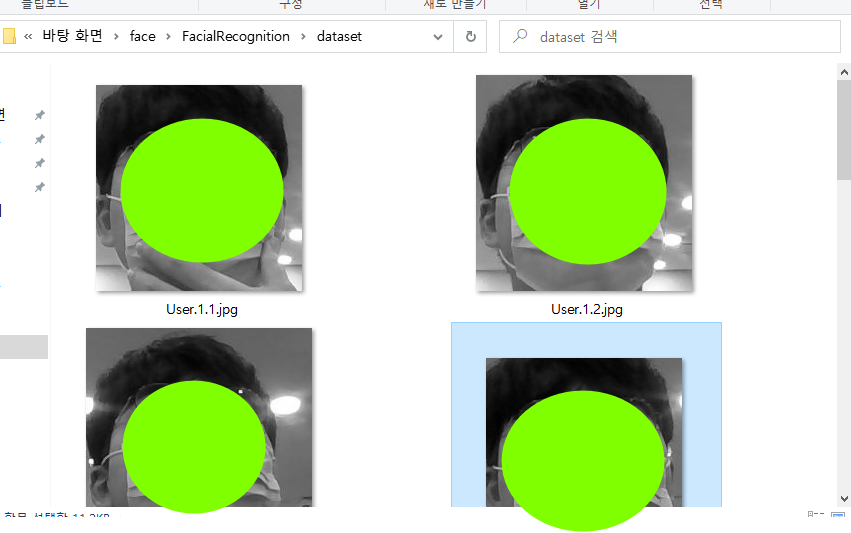
내얼굴로 직접 data를 러닝하고 찾아보자
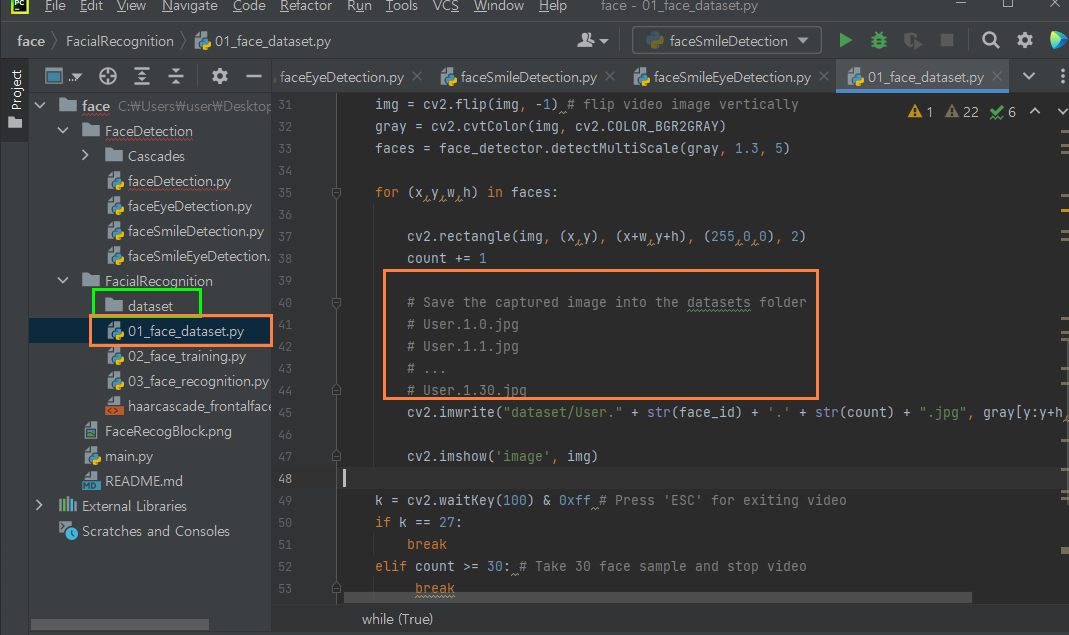
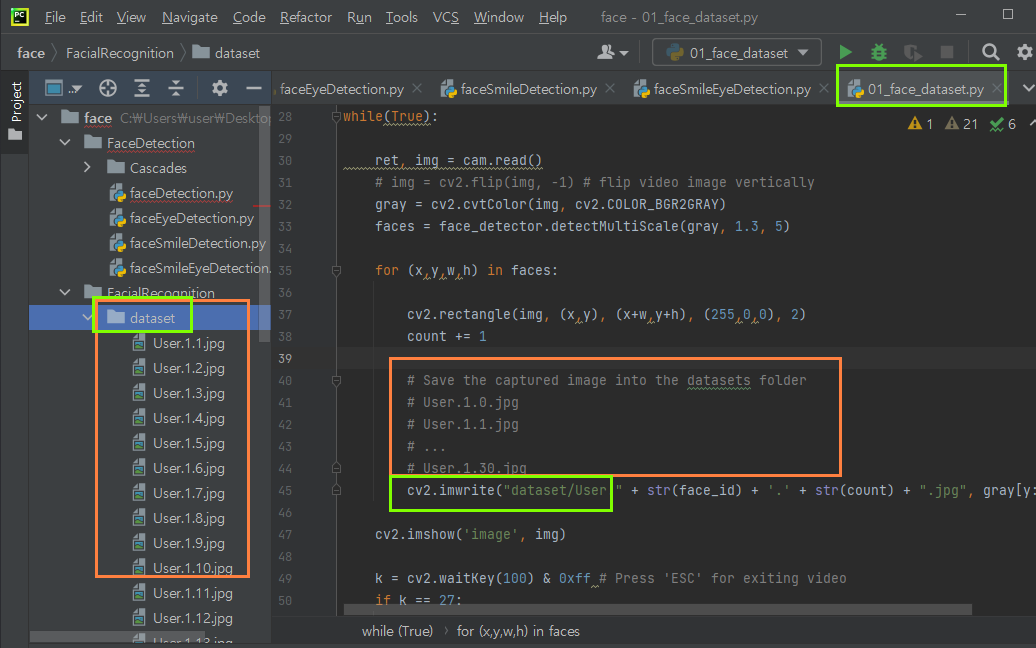
FacialRecognition\01_face_dataset.py 실행
- dataset 폴더를 만들어주자
경로는 코드를 참조한다.
flip 기능은 주석처리하고,
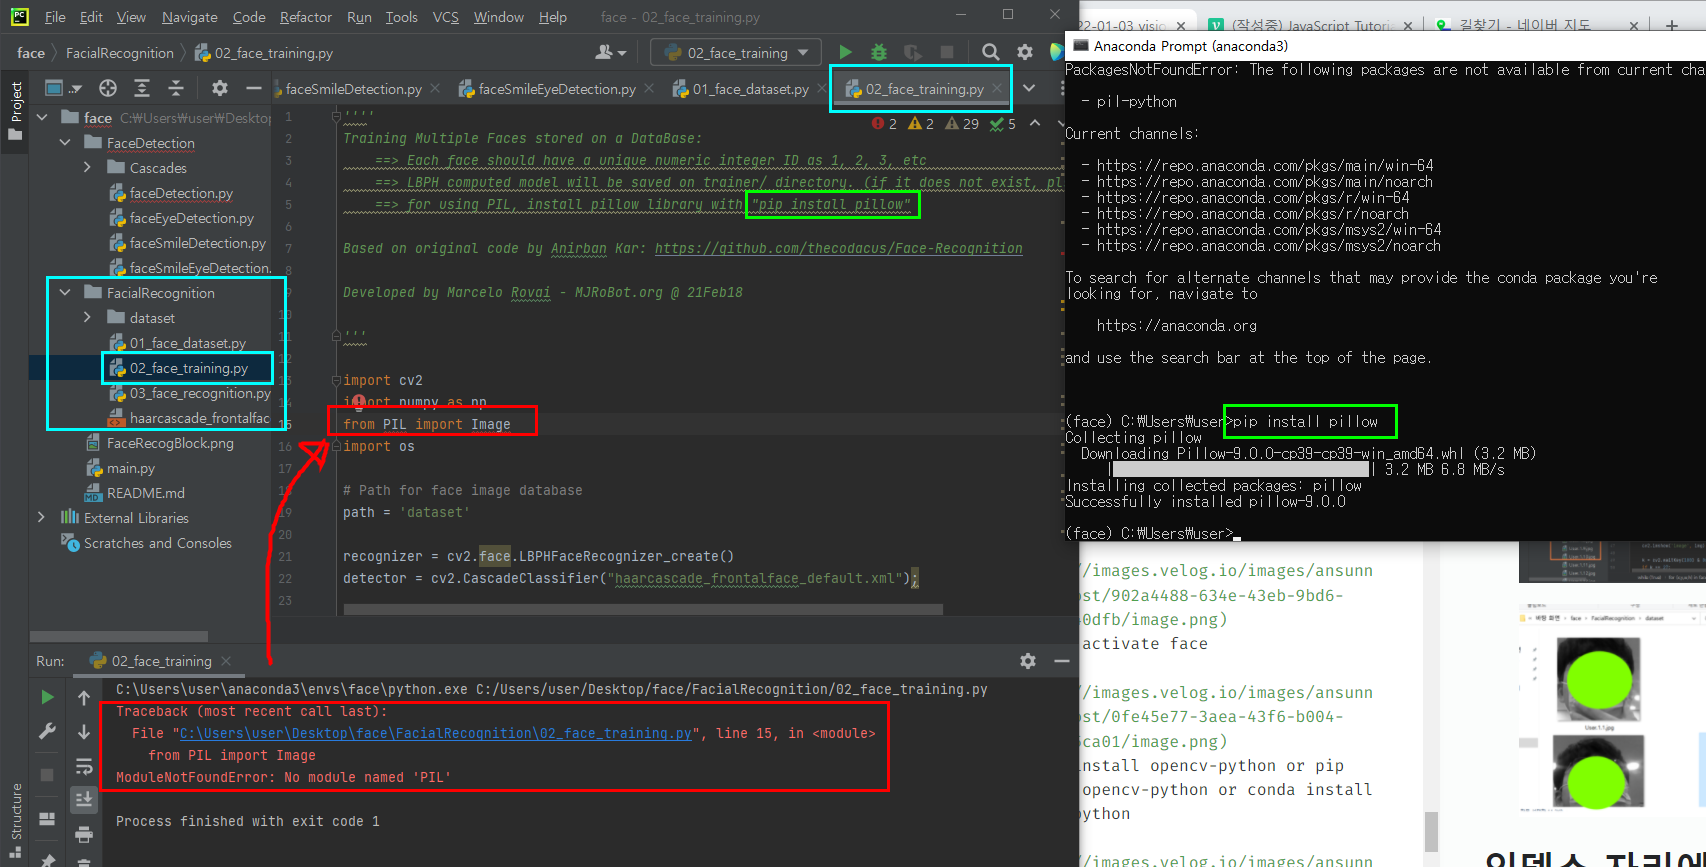
02_face_training.py 실행
실행하면 사진과같이 error가 발생하고 import필요한 PIL이 없음을 알린다.
-
주석의 내용과 같이
pip install pillow를 설치하자.
-
cv2 모듈에 face라는 속성이 없다고한다.
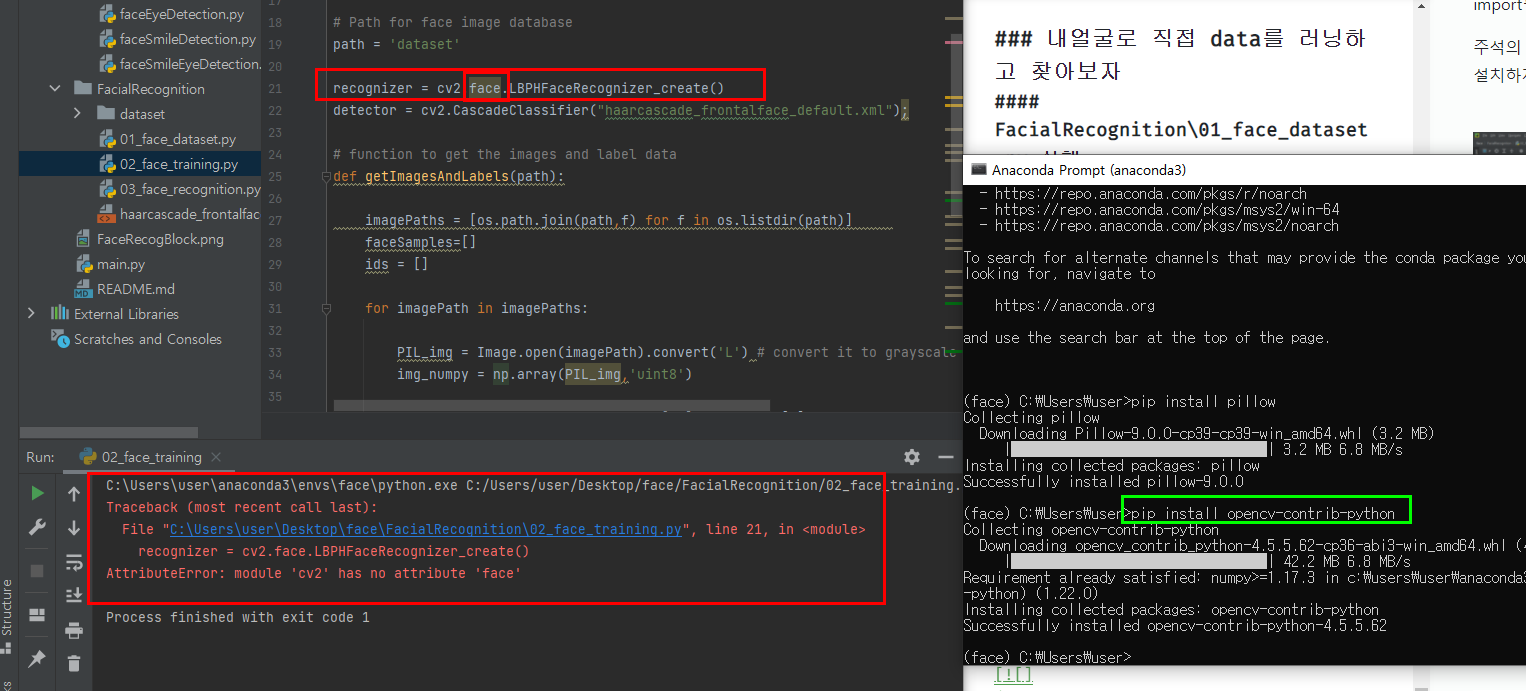
-
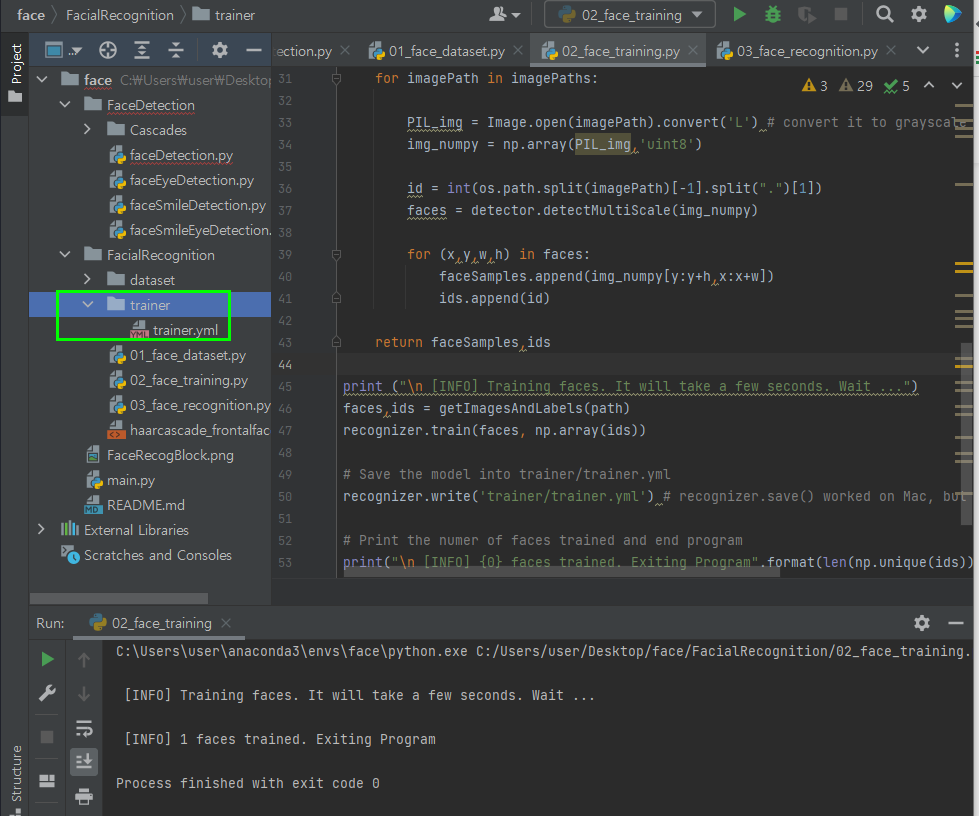
trainer 폴더를 만들자
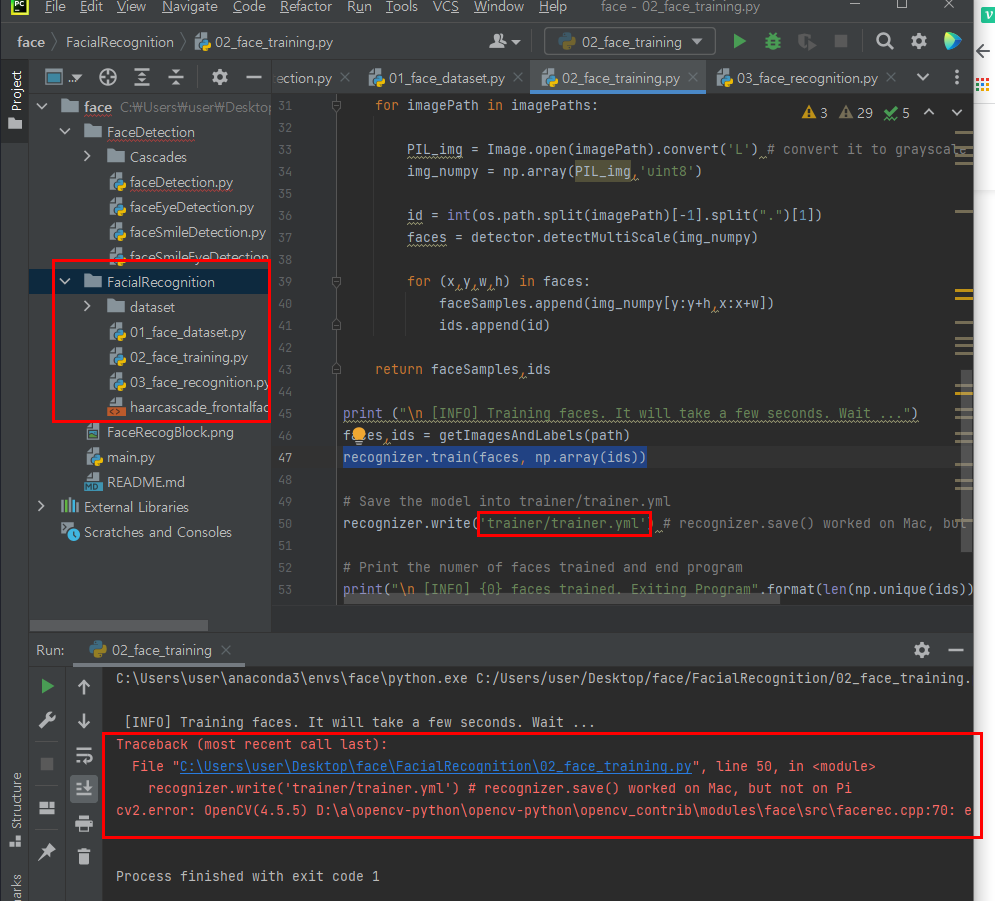
-
성공

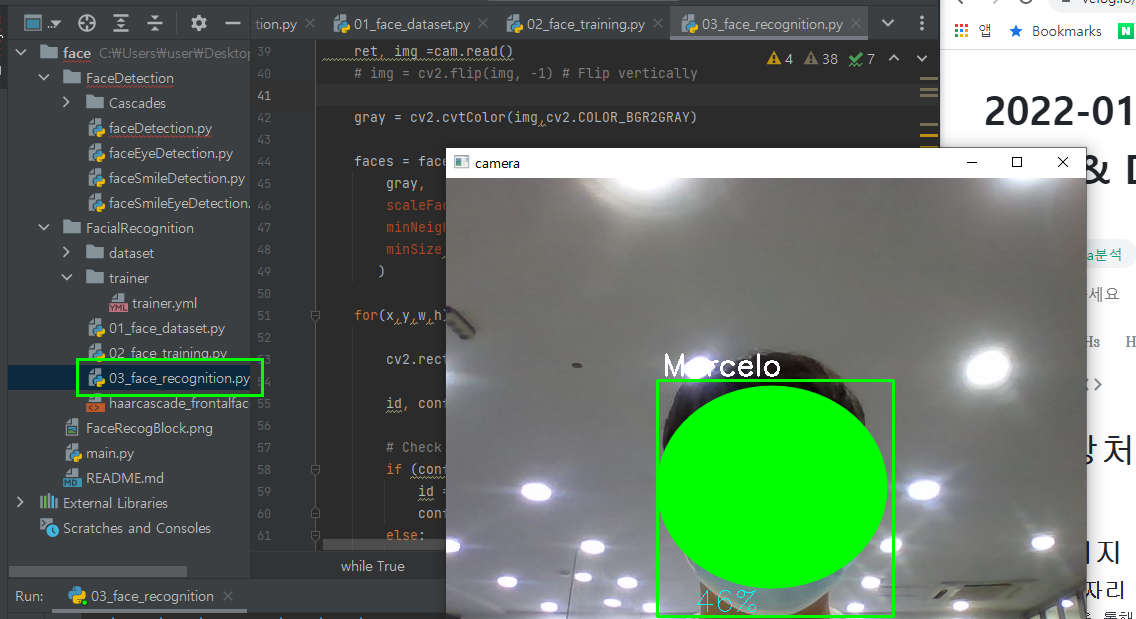
03_face_recognition.py
- 내얼굴 검출 성공~
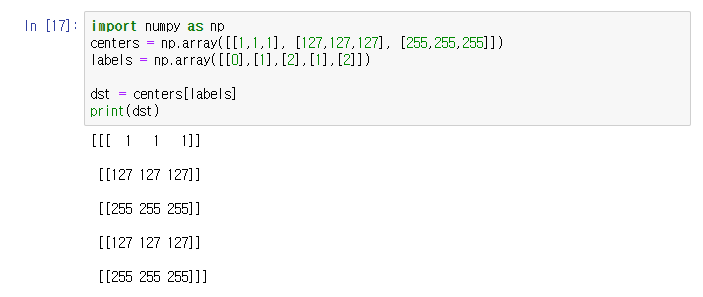
인덱스 자리에 list를 입력할 수 있다.
import numpy as np
centers = np.array([[1,1,1], [127,127,127], [255,255,255]])
labels = np.array([[0],[1],[2],[1],[2]])

dst = centers[labels]
print(dst)