
사건의 전말
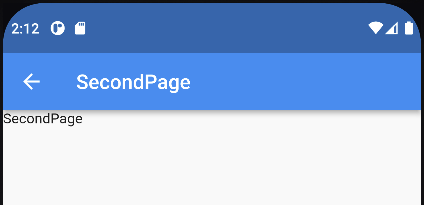
안드로이드 에뮬레이터를 켜놓고 appBar를 퍼블리싱하고 있는데 leading과 title 사이에 패딩을 준 것도 아닌데 사이 간격이 지나치게 띄워져있어 부자연스러움을 느꼈다.
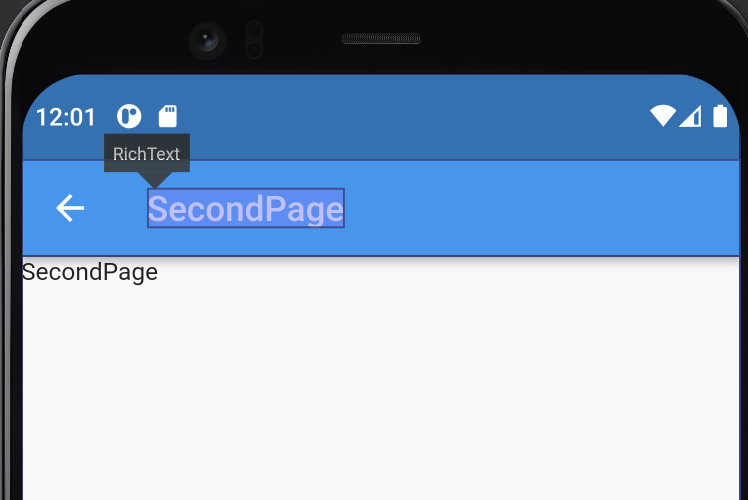
Flutter Inspector로 찍어봐도 패딩은 없는데 leading과 title사이 간격은 넓기만하다.
단서 찾기
AppBar의 속성들을 하나씩 확인하면서 titleSpacing 속성을 찾을 수 있었다.
  /// {@template flutter.material.appbar.titleSpacing}
  /// The spacing around [title] content on the horizontal axis. This spacing is
  /// applied even if there is no [leading] content or [actions]. If you want
  /// [title] to take all the space available, set this value to 0.0.
  ///
  /// If this property is null, then [AppBarTheme.titleSpacing] of
  /// [ThemeData.appBarTheme] is used. If that is also null, then the
  /// default value is [NavigationToolbar.kMiddleSpacing].
  /// {@endtemplate}
  final double? titleSpacing;
수평축에서 title 주위의 간격이다. 이 간격은 leading또는 actions가 없는 경우에도 적용된다.
이 속성이 null이면 ThemeData.appBarTheme가 사용된다.
만약 그것도 null이라면 기본값은 NavigationToolbar.kMiddleSpacing가 기본값이다.
NavigationToolbar.kMiddleSpacing 속성
NavigationToolbar.kMiddleSpacing의 내부 속성으로 들어가보면 default로 16.0이 들어가있는 것을 확인 할 수 있다.
검거 완료!!
  /// The default spacing around the [middle] widget in dp.
  static const double kMiddleSpacing = 16.0;
class SecondPage extends StatelessWidget {
const SecondPage({super.key});
Widget build(BuildContext context) {
return Scaffold(
appBar: AppBar(
titleSpacing: -16.0,
title: Text('SecondPage'),
),
body: Text('SecondPage'),
);
}
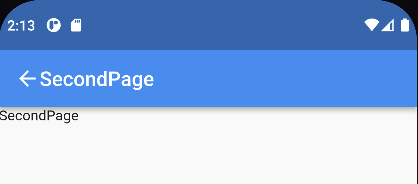
}바로 완치!!
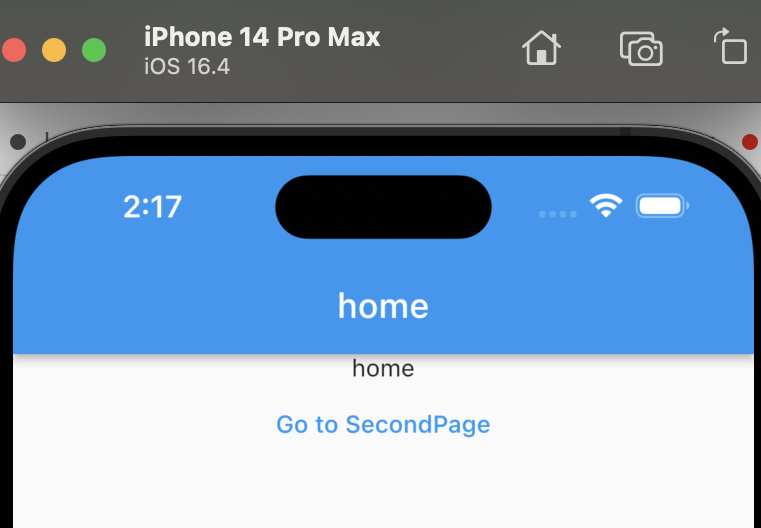
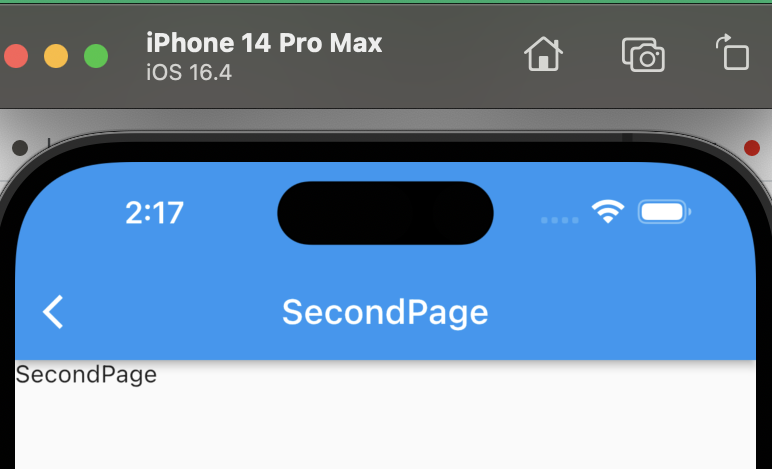
iOS에서
iOS환경에서는 title이 항상 화면의 정중앙에 오게되므로 titleSpacing을 조절해줘도 변경되지 않는다.
결론
안드로이드 환경에서 appBar의 leading과 title사이의 간격을 줄이고 싶다면 titleSpacing값을 조절해라.
기본적으로 NavigationToolbar.kMiddleSpacing에 의해 16만큼 자리를 차지하고 있다.
titleSpacing : -16.0을 할경우 leading과 title 사이의 공간이 0이된다.

실패를 두려워하지 않고 배우고 기록하여 내일의 밑거름 삼아 다음 단계로 성장하겠습니다.