개요
- Nest.js 에서
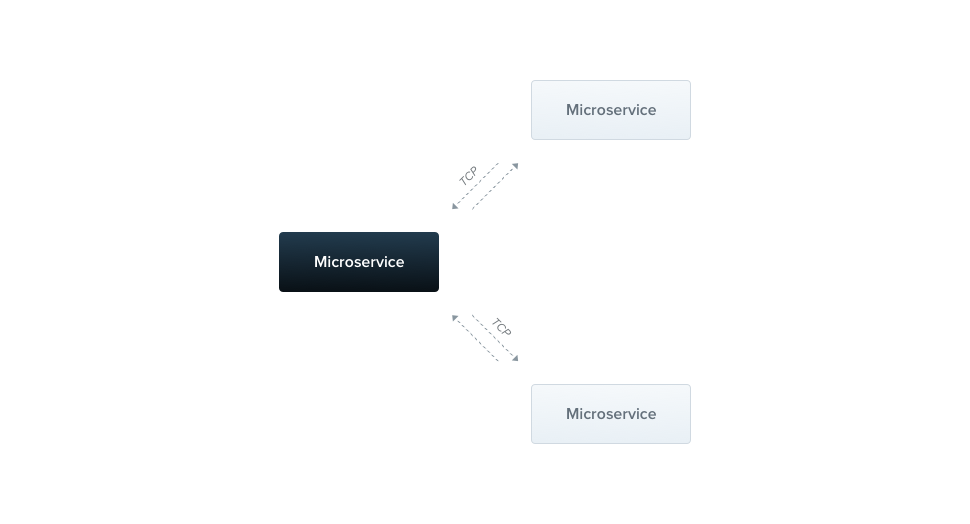
Microservices는 HTTP 를 제외한 transport layer 를 사용하는 애플리케이션 - DI, decorator, pipe, exception filter 등 동일하게 지원
transporter: 서로 다른 인스턴스간 message 전송을 제공하는 built-in transport layer 구현체- request-response, event 방식
- 개발자는 추상화된 miscroservice 를 이용해 개발
초기 설정
설치
npm i --save @nestjs/microservicesMicroService 설정
createMicroservice()를 통해 인스턴스화transport는TCP,KAFKA,REDIS,GRPC등options에는 위transport에 필요한 옵션 지정- ex) TCP 의 경우 host, port, retryAttempts, retryDelay (retry 횟수, 딜레이)
import { NestFactory } from '@nestjs/core';
import { Transport, MicroserviceOptions } from '@nestjs/microservices';
import { AppModule } from './app.module';

async function bootstrap() {
  const app = await NestFactory.createMicroservice<MicroserviceOptions>(
    AppModule,
    {
      transport: Transport.TCP,
      options: {
        ...
      }
    },
  );
  await app.listen();
}
bootstrap();- hybrid 애플리케이션인 경우
connectMicroService()사용
import { ConfigService } from '@nestjs/config'
import { NestFactory } from '@nestjs/core'
import { Transport } from '@nestjs/microservices'
import { AppModule } from '~/src/app.module'

async function bootstrap() {
  const app = await NestFactory.create(AppModule)

  app.connectMicroservice({
    transport: Transport.KAFKA,
    options: {
      client: {
        brokers: ['localhost:9092'],
      },
    },
  })

  await app.startAllMicroservices()
  await app.listen(3000)
}
bootstrap()
Patterns
request-response 방식
@MessagePattern데코레이터를 통해- Controller 에서만 사용 가능, 그외 provider 에서는 무시됨
import { Controller } from '@nestjs/common';
import { MessagePattern } from '@nestjs/microservices';

@Controller()
export class MathController {
  @MessagePattern({ cmd: 'sum' })
  accumulate(data: number[]): number {
    return (data || []).reduce((a, b) => a + b);
  }
}async를 지원하여 비동기로 사용할 수도 있다.
@MessagePattern({ cmd: 'sum' })
async accumulate(data: number[]): Promise<number> {
  return (data || []).reduce((a, b) => a + b);
}Observerble을 통해 스트림 완료시 알림을 받을 수도 있다.
@MessagePattern({ cmd: 'sum' })
accumulate(data: number[]): Observable<number> {
  return from([1, 2, 3]);
}
event 기반 방식
- 요청 후 응답을 기다리는 방식이 아닌, 이벤트 발생 시 노티하는 방식
@EventPattern데코레이터를 사용하여 event handler 를 등록- 단일 이벤트에 여러 event handler 를 등록할 수 있다.
@Ctx데코레이터로 Context 접근- Kafka 의 경우 topic, partition 등
@EventPattern('user_created')
async handleUserCreated(data: Record<string, unknown>) {
  // business logic
}@MessagePattern('time.us.*')
getDate(@Payload() data: number[], @Ctx() context: NatsContext) {
console.log(`Subject: ${context.getSubject()}`); // e.g. "time.us.east"
return new Date().toLocaleTimeString(...);
}Client
ClientProxy클래스를 통해 message send, event publish- request-response 방식은
send() - event 방식은
emit()
- request-response 방식은
등록 (register)
-
ClientModule.register()를 통해 등록하는 방법name: injection token 역할transport,options: 상기 내용 동일
-
DI 로 injection 하는 방법
constructor(
  @Inject('MATH_SERVICE') private client: ClientProxy,
) {}- custom provider 를 등록하는 방법
- 다른 의존성에 대한 injection 이 필요한 경우 유용
@Module({
  providers: [
    {
      provide: 'MATH_SERVICE',
      useFactory: (configService: ConfigService) => {
        const mathSvcOptions = configService.getMathSvcOptions();
        return ClientProxyFactory.create(mathSvcOptions);
      },
      inject: [ConfigService],
    }
  ]
  ...
})@Client데코레이터 사용하는 방법 (권장하지 않음)
@Client({ transport: Transport.TCP })
client: ClientProxy;
send message / event publish
- 공통적으로 pattern, payload 를 인자로 넘겨준다.
- pattern 은
@MessagePattern,@EventPattern데코레이터와 매칭되어야 받을 수 있다.
- pattern 은
message 보내기
send()로 message send
accumulate(): Observable<number> {
  const pattern = { cmd: 'sum' };
  const payload = [1, 2, 3];
  return this.client.send<number>(pattern, payload);
}
event 발행
- ClientProxy 의 emit() 으로 이벤트 발행
async publish() {
  this.client.emit<number>('user_created', new UserCreatedEvent());
}
timeout 처리
rxjs패키치 설치 후 pipe 를 통해 timeout 설정
this.client
 .send<TResult, TInput>(pattern, data)
 .pipe(timeout(5000));