React Query
react query 사용법을 배우고 데이터를 시각해 해보자.
리액트 쿼리에서는 감사하게도
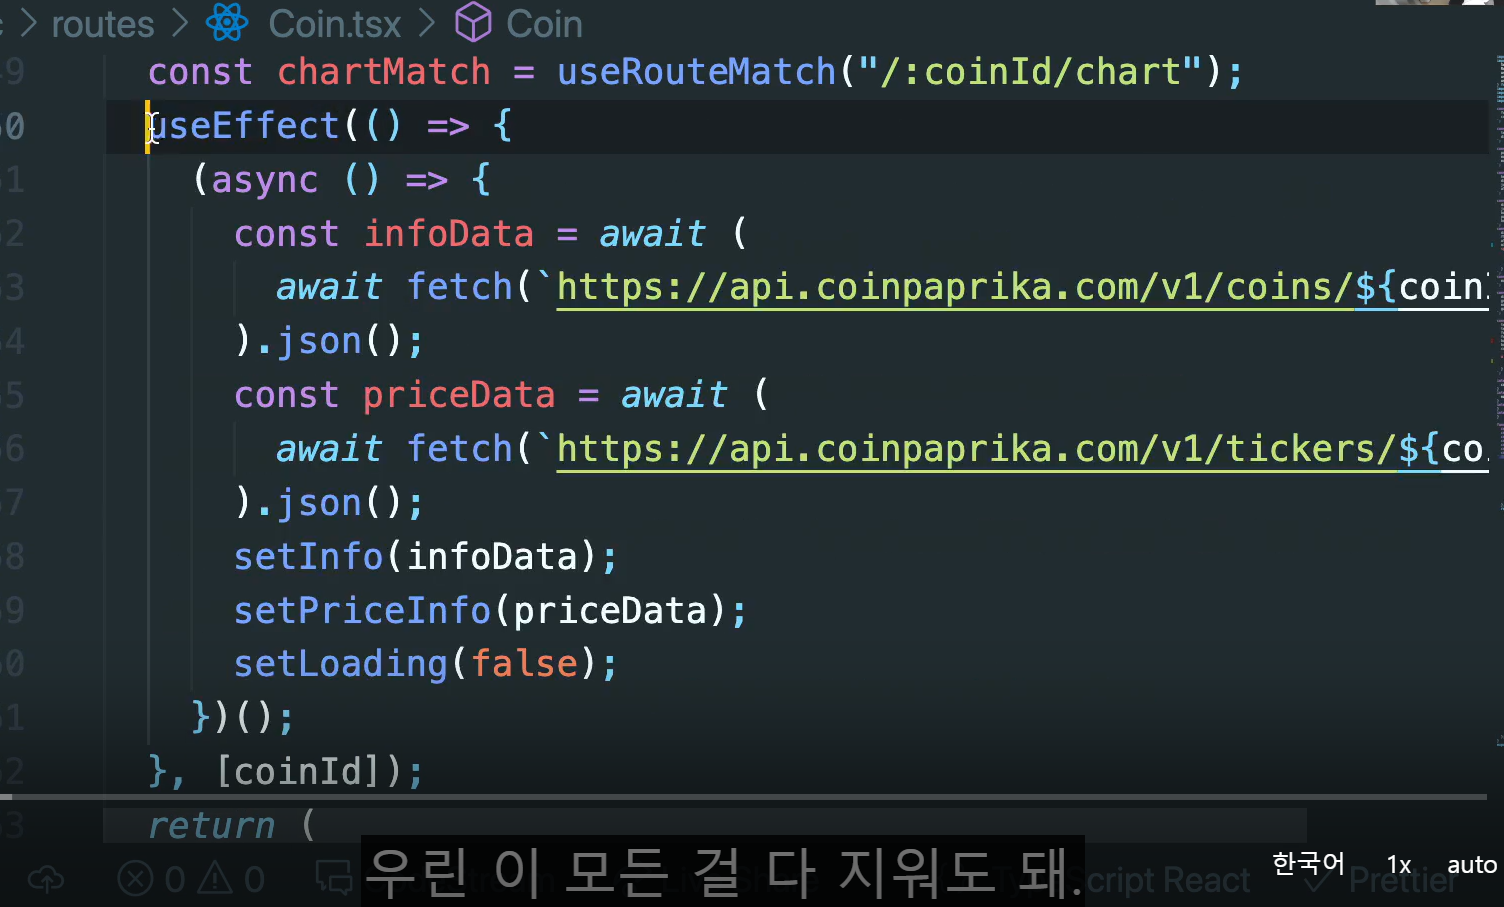
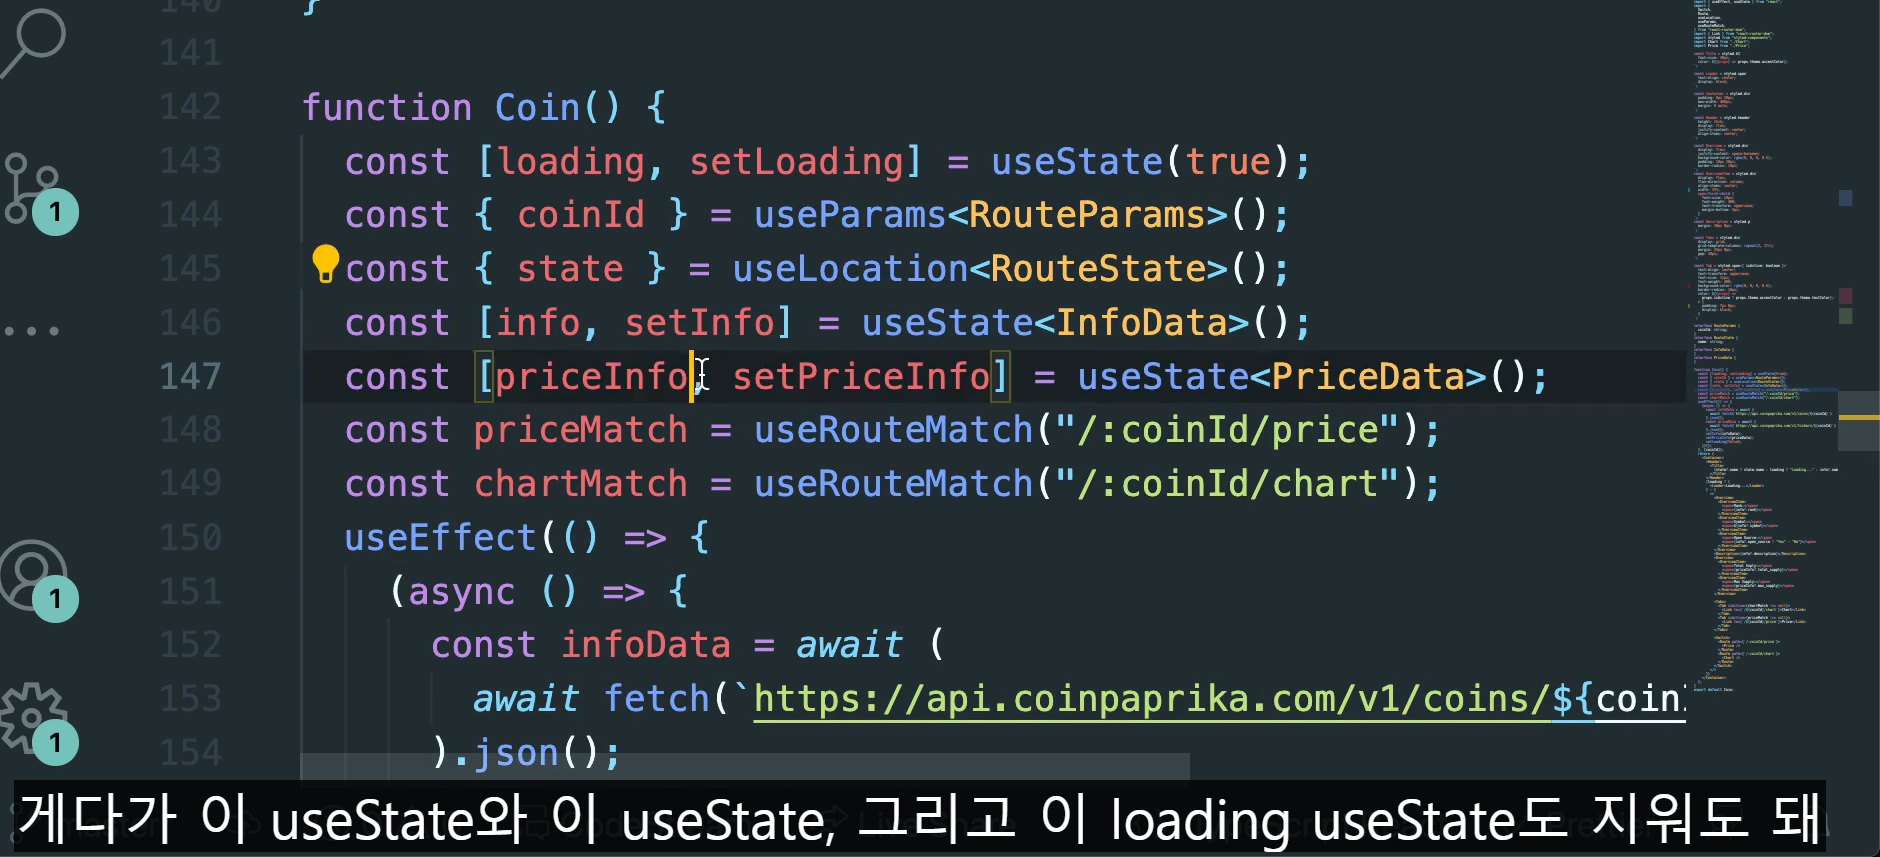
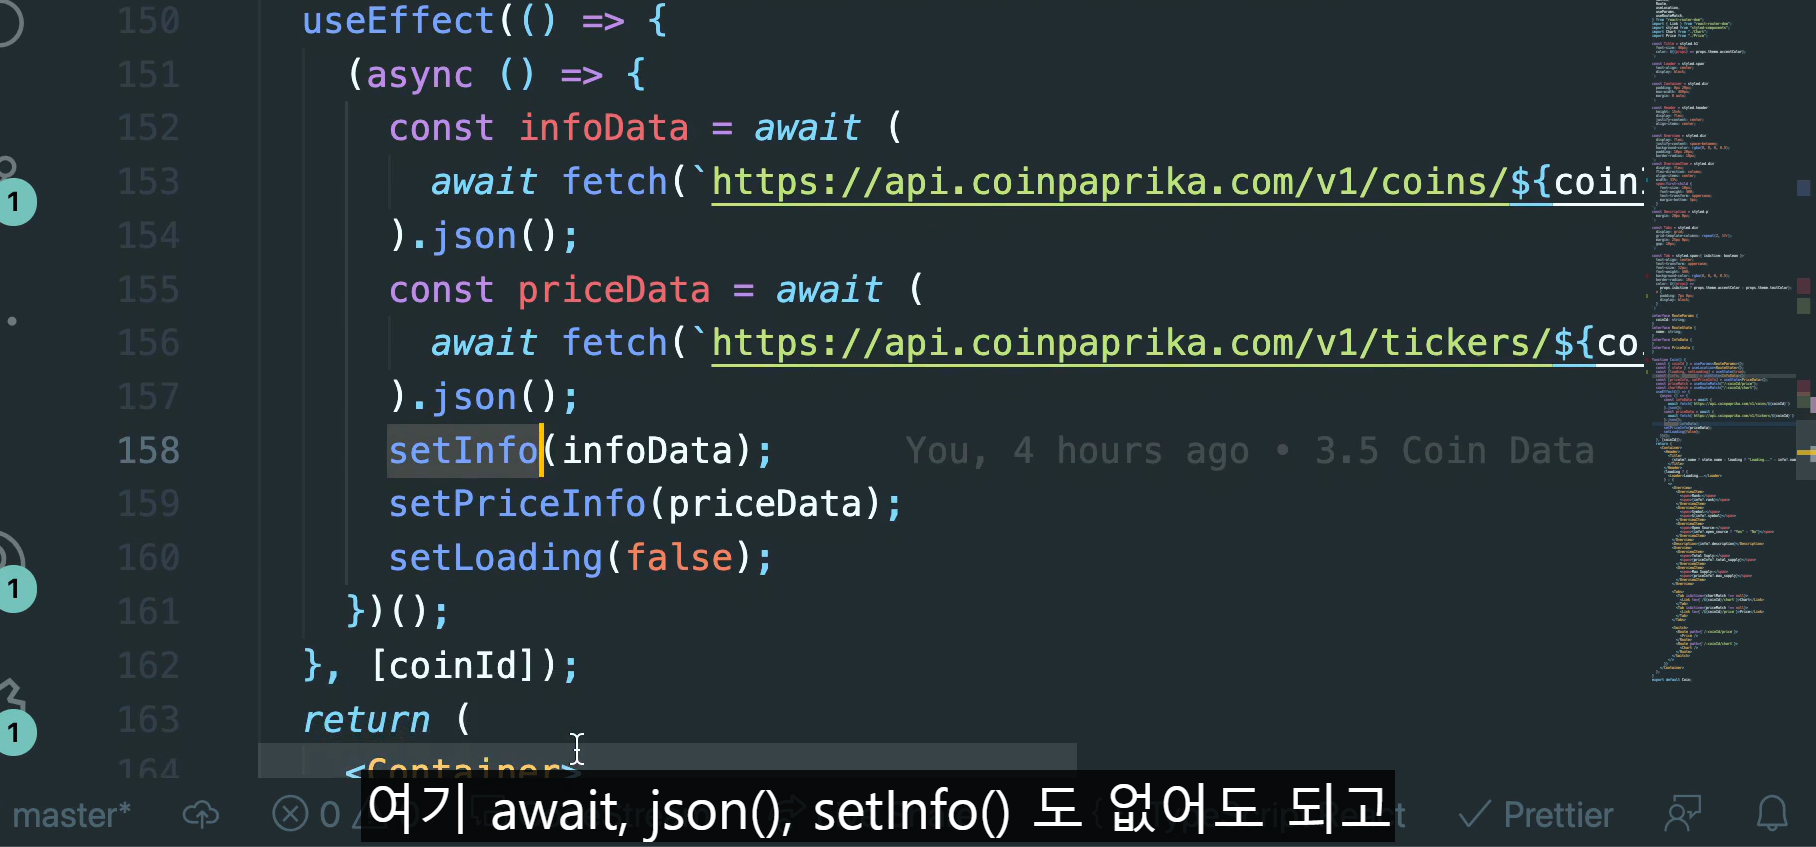
이 모든 것을 지워도 된다.
react query 사용에 앞서서
npm install react-query를 해주어야 한다.
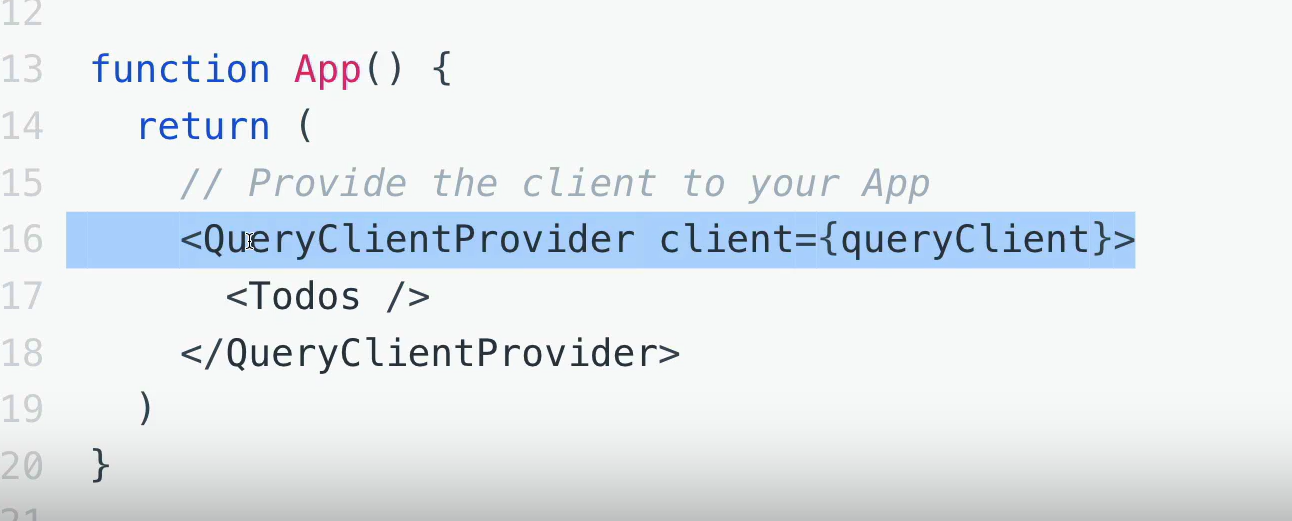
그리고 한줄짜리 코드인 query Client를 만들어야 한다.

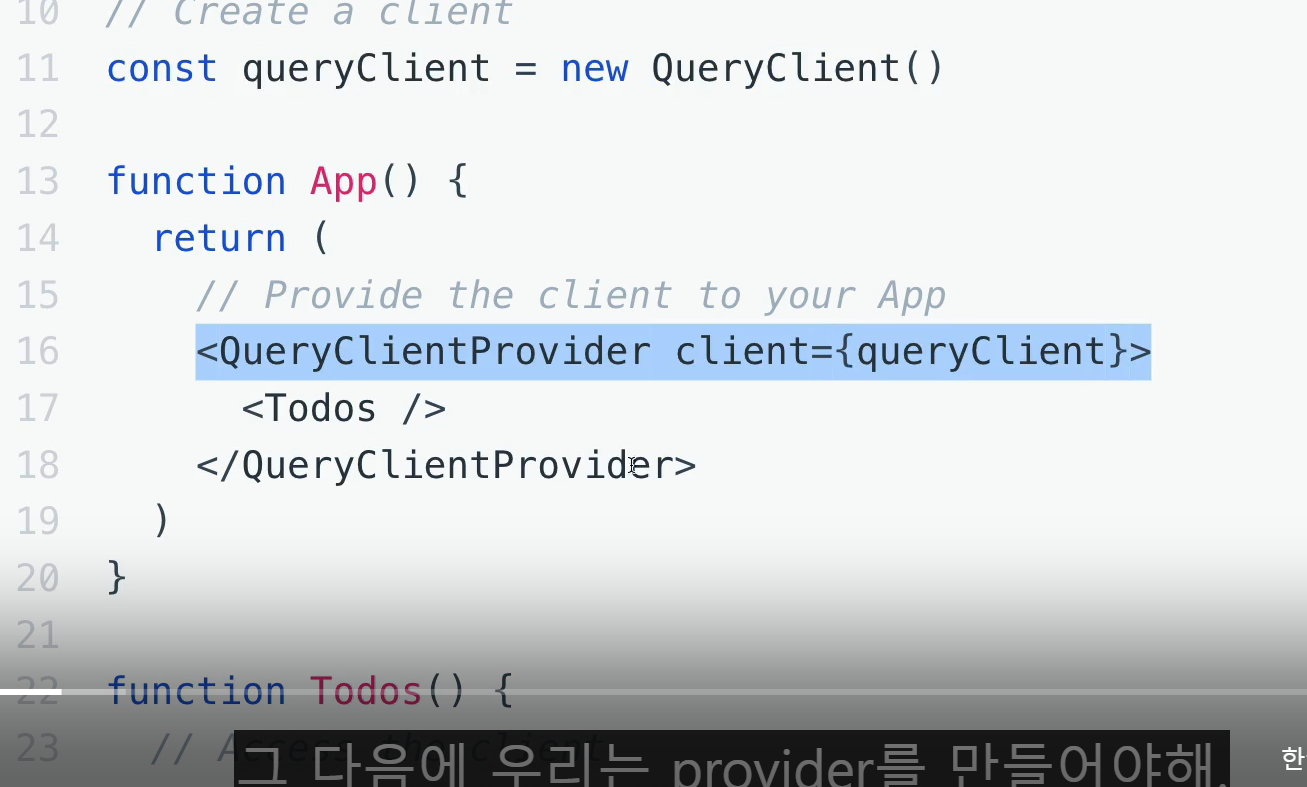
이 패턴은 App 에서 볼 수 있다.

같은 맥락으로 queryClientProvider 안에 있는 모든 것은
queryClient에 접근할 수 있다
초기 설치 및 코드
React Query는 우리 스스로가 실행하고 있었던 로직들을 축약해준다.
이전에 우리는 State 를 가지고 있었다. 하나는 데이터를 위한 State 였고, 다른 것은 로딩을 위한 것이었다.
그리고 데이터가 준비되면 데이터를 State에 집어넣고 로딩을 false로 두었다.
react-query는
이 모든 과정을 자동으로 축약해 줄 것이다.
react-query를 사용하기 위해서 우리는 fetcher()을 사용할 것이다. fetcher은

앞서 만들었던 이것과 같다.
팁인데
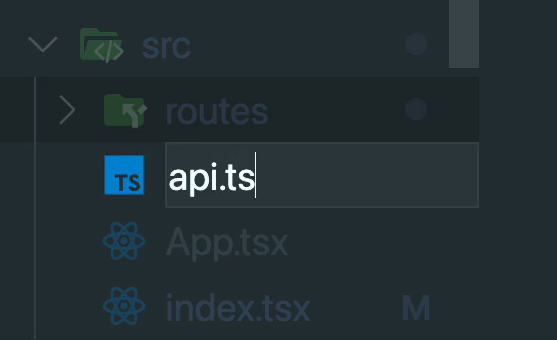
기본적으로 API와 관련된 것들은 component들과 멀리 떨어져 있도록 한다.
component들이 fetch하지 않는게 더 낫기 때문.
그래서 api.ts라고 불리는 파일 안에 넣을 것이다.
fetcher 함수는 꼭 fetcher promise를 return해줘야 한다.
이 함수를 api.ts에 만들어야한다. 그리고 json data 를 return 해야 하는데, 정확히는 json data의 Promise이다. 그래서 원한다면 이 함수를 async로 만들 수 있다.
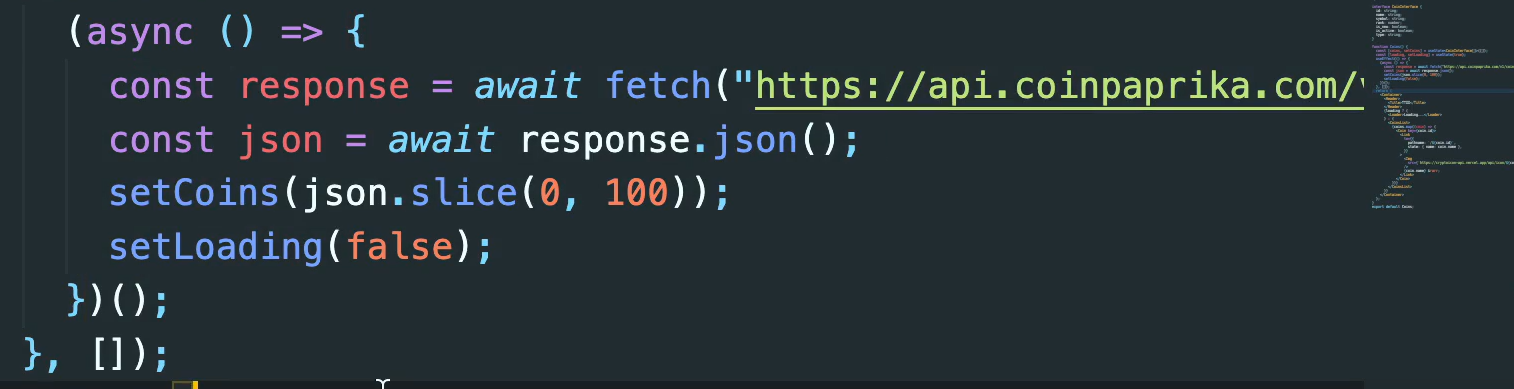
그래서 이전에 만들었던 useEffect의 코드를 붙여넣을 것이다.

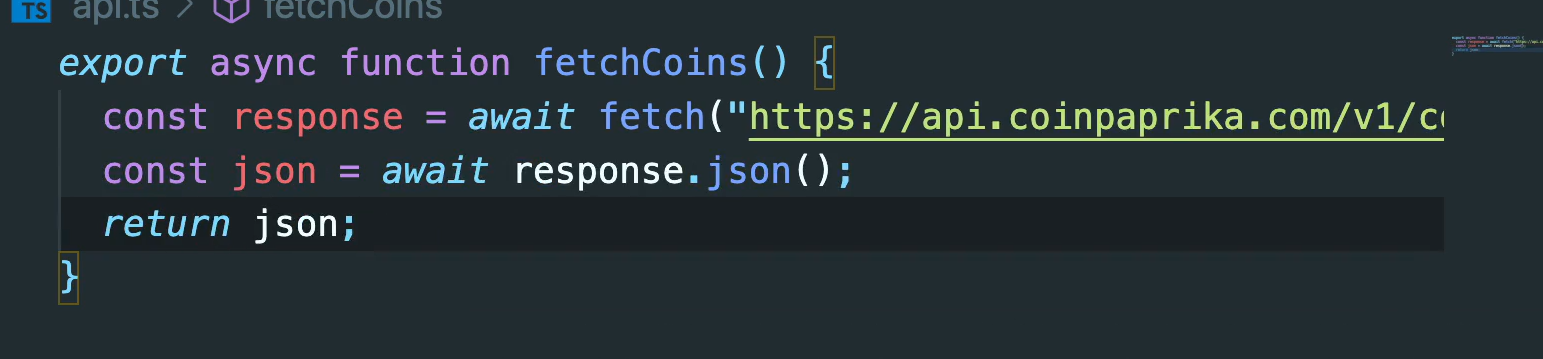
그리고 json을 return한다.
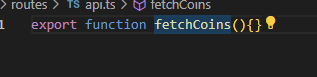
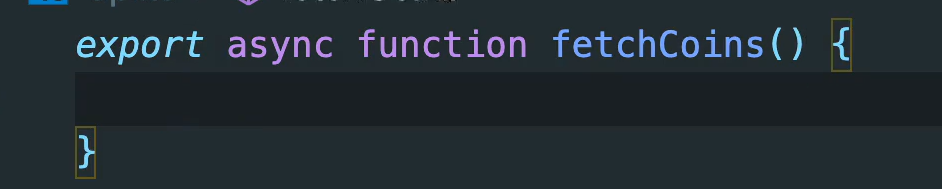
export async function fetchCoins() {
  const response = await fetch('https://api.coinpaprika.com/v1/coins');
  const json = await response.json();
  return json;
  //가독성 높은 오래된 방법
  // return fetch('https://api.coinpaprika.com/v1/coins').then((reponse) => respons.json())
  // 두 코드는 같은 것이다. fetcher 함수인 fetchCoin 은 URL을 부르고 URL로 부터 json을 return 한다.
}
현 상태이고, useQuery라는 hook을 사용할 것이다.

이전 코드와 useQuery를 이용한 것 비교
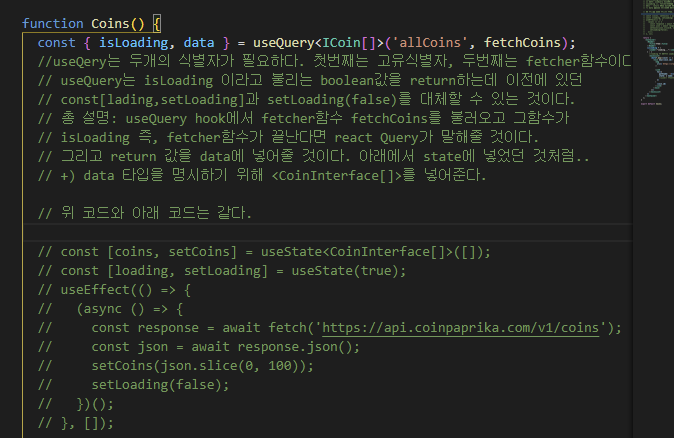
function Coins() {
const {isLoading, data} = useQuery("allCoins", fetchCoins)
//useQery는 두개의 식별자가 필요하다. 첫번째는 고유식별자, 두번째는 fetcher함수이다.
// useQuery는 isLoading 이라고 불리는 boolean값을 return하는데 이전에 있던
// const[lading,setLoading]과 setLoading(false)를 대체할 수 있는 것이다.
// 총 설명: useQuery hook에서 fetcher함수 fetchCoins를 불러오고 그함수가
// isLoading 즉, fetcher함수가 끝난다면 react Query가 말해줄 것이다.
// 그리고 return 값을 data에 넣어줄 것이다. 아래에서 state에 넣었던 것처럼..


// 위 코드와 아래 코드는 같다.

  // const [coins, setCoins] = useState<CoinInterface[]>([]);
  // const [loading, setLoading] = useState(true);
  // useEffect(() => {
  //   (async () => {
  //     const response = await fetch('https://api.coinpaprika.com/v1/coins');
  //     const json = await response.json();
  //     setCoins(json.slice(0, 100));
  //     setLoading(false);
  //   })();
  // }, []);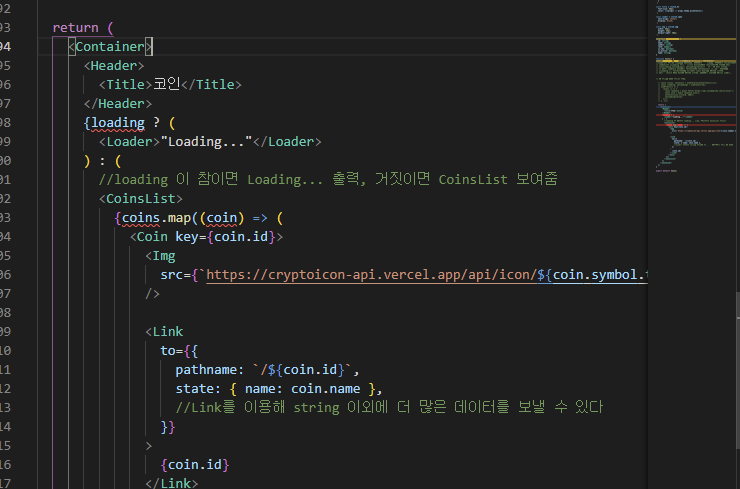
그리고 아래 return도 바꿔준다.
+) data 타입을 명시하기 위해 useQuery 바로 뒤에
Coin 의 interface인
<ICoin[]>를 넣어준다.
마무리 상태
여기서 문제는 몇 만개의 코인을 보고 있다는 것이다. fetcher은 모든 코인을 가져오기 때문에...
100개로 끊어보고 싶다면 .slice기능을 사용하면 된다.

이전과 다르게 데이터를 불러오기전의 isLoading 이 false 상태의 "Loading..." 화면이 보이지 않는데, 이는 react-query가 데이터를 파괴하지 않고 유지하고 있기 때문이다. 아주 멋지다
Coins.tsx
import styled from 'styled-components';
import { Link } from 'react-router-dom';
import { useEffect, useState } from 'react';
import { useQuery } from 'react-query';
import { fetchCoins } from './api';
const Container = styled.div`
  padding: 0px 20px;
  max-width: 480px;
  margin: 0 auto;
`;

const Header = styled.header`
  height: 20vh;
  display: flex;
  justify-content: center;
  align-items: center;
`;

const CoinsList = styled.ul``;

const Coin = styled.li`
  background-color: white;
  color: ${(props) => props.theme.bgColor};
  margin-bottom: 10px;
  padding: 20px;
  border-radius: 15px;

  a {
    padding: 5px; // 좀 더 넓은 범위에서 transition 효과 적용 가능
    transition: color 0.2s ease-in;
  }

  &:hover {
    a {
      color: ${(props) => props.theme.accentColor};
    }
    // 아래에서는 a가 아닌 Link라는 이름으로 사용했지만
    // css에서는 anchor 를 선택해야 했다. 이건 모든 react router link들이
    // 결국에는 anchor로 바뀔거기도 하고,
    // react router dom이 우리 대신 설정을 도와줄 특별한 event listener들이 있기도 하다
  }
`;

const Title = styled.h1`
  font-size: 48px;
  color: ${(props) => props.theme.accentColor};
`;

const Loader = styled.span`
  text-align: center;
  display: block;
`;

const Img = styled.img`
  width: 25px;
  height: 25px;
  margin-right: 10px;
`;

interface ICoin {
  id: string;
  name: string;
  symbol: string;
  rank: number;
  is_new: boolean;
  is_active: boolean;
  type: string;
}

function Coins() {
  const { isLoading, data } = useQuery<ICoin[]>('allCoins', fetchCoins);
  //useQery는 두개의 식별자가 필요하다. 첫번째는 고유식별자, 두번째는 fetcher함수이다.
  // useQuery는 isLoading 이라고 불리는 boolean값을 return하는데 이전에 있던
  // const[lading,setLoading]과 setLoading(false)를 대체할 수 있는 것이다.
  // 총 설명: useQuery hook에서 fetcher함수 fetchCoins를 불러오고 그함수가
  // isLoading 즉, fetcher함수가 끝난다면 react Query가 말해줄 것이다.
  // 그리고 return 값을 data에 넣어줄 것이다. 아래에서 state에 넣었던 것처럼..
  // +) data 타입을 명시하기 위해 <CoinInterface[]>를 넣어준다.

  // 위 코드와 아래 코드는 같다.

  // const [coins, setCoins] = useState<CoinInterface[]>([]);
  // const [loading, setLoading] = useState(true);
  // useEffect(() => {
  //   (async () => {
  //     const response = await fetch('https://api.coinpaprika.com/v1/coins');
  //     const json = await response.json();
  //     setCoins(json.slice(0, 100));
  //     setLoading(false);
  //   })();
  // }, []);

  return (
    <Container>
      <Header>
        <Title>코인</Title>
      </Header>
      {isLoading ? (
        <Loader>"Loading..."</Loader>
      ) : (
        //loading 이 참이면 Loading... 출력, 거짓이면 CoinsList 보여줌
        <CoinsList>
          {data?.slice(0, 100).map((coin) => (
            <Coin key={coin.id}>
              <Img
                src={`https://cryptoicon-api.vercel.app/api/icon/${coin.symbol.toLowerCase()}`}
              />

              <Link
                to={{
                  pathname: `/${coin.id}`,
                  state: { name: coin.name },
                  //Link를 이용해 string 이외에 더 많은 데이터를 보낼 수 있다
                }}
              >
                {coin.id}
              </Link>
            </Coin>
          ))}
        </CoinsList>
      )}
    </Container>
  );
}

export default Coins;
api.ts
export async function fetchCoins() {
  const response = await fetch('https://api.coinpaprika.com/v1/coins');
  const json = await response.json();
  return json;
  //가독성 높은 오래된 방법
  // return fetch('https://api.coinpaprika.com/v1/coins').then((reponse) => respons.json())
  // 두 코드는 같은 것이다. fetcher 함수인 fetchCoin 은 URL을 부르고 URL로 부터 json을 return 한다.
}
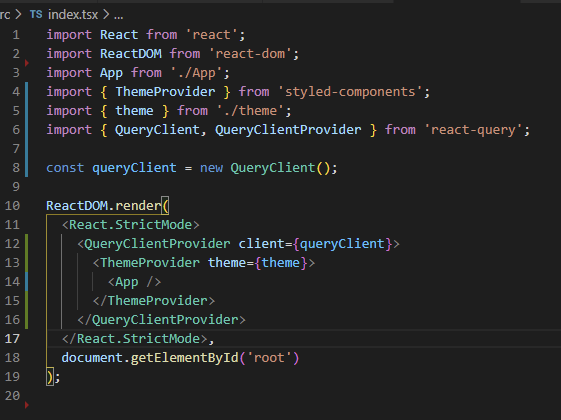
index.tsx
import React from 'react';
import ReactDOM from 'react-dom';
import App from './App';
import { ThemeProvider } from 'styled-components';
import { theme } from './theme';
import { QueryClient, QueryClientProvider } from 'react-query';

const queryClient = new QueryClient();

ReactDOM.render(
  <React.StrictMode>
    //감싸준다 !!
    <QueryClientProvider client={queryClient}>
      <ThemeProvider theme={theme}>
        <App />
      </ThemeProvider>
    </QueryClientProvider>
  </React.StrictMode>,
  document.getElementById('root')
);
이 다음 Coin에도 useQuery를 사용해보자 ~~