client ⇒ POST /blog {title: ‘…’, content: ‘….’} ⇒ Express nodejs server
C(reate): POST / R(ead): GET / U(pdate): PUT / D(elete): DELETE ⇒ CRUD
요청(req)에는 POST, GET, PUT,DELETE… 등 메소드 와 ‘/’, ‘/blog’ 와 같이 리소스 엔드 포인트가 필요하다.
ex) POST /blog, PUT /blog/31231, GET /blog?page=1&per_page=10, DELETE /blog/31231
User API 만들기
const users = []

app.get('/user', function(req, res) {
    res.send({users: users});
})

// app.메소드("리소스 엔드 포인트", 함수(요청, 응답){
//
// })
// 메소드는 리소드 엔드 포인트화 함수를 인자로 받는다.

app.post('/user', function(req, res){
    users.push({ name: "Kim", age: "26"})
    return res.send({success: true})
})
웹사이트는 기본적으로 파일을 생성하고 수정할 수 있는 파 일 시그템을 제공하지 않는다.
Web API인fileReader객체를 사용해 사용자가 지정한 파일을 읽어드리는것은 가능하다
그래서 postman 이라는 프로그램을 이용하자.
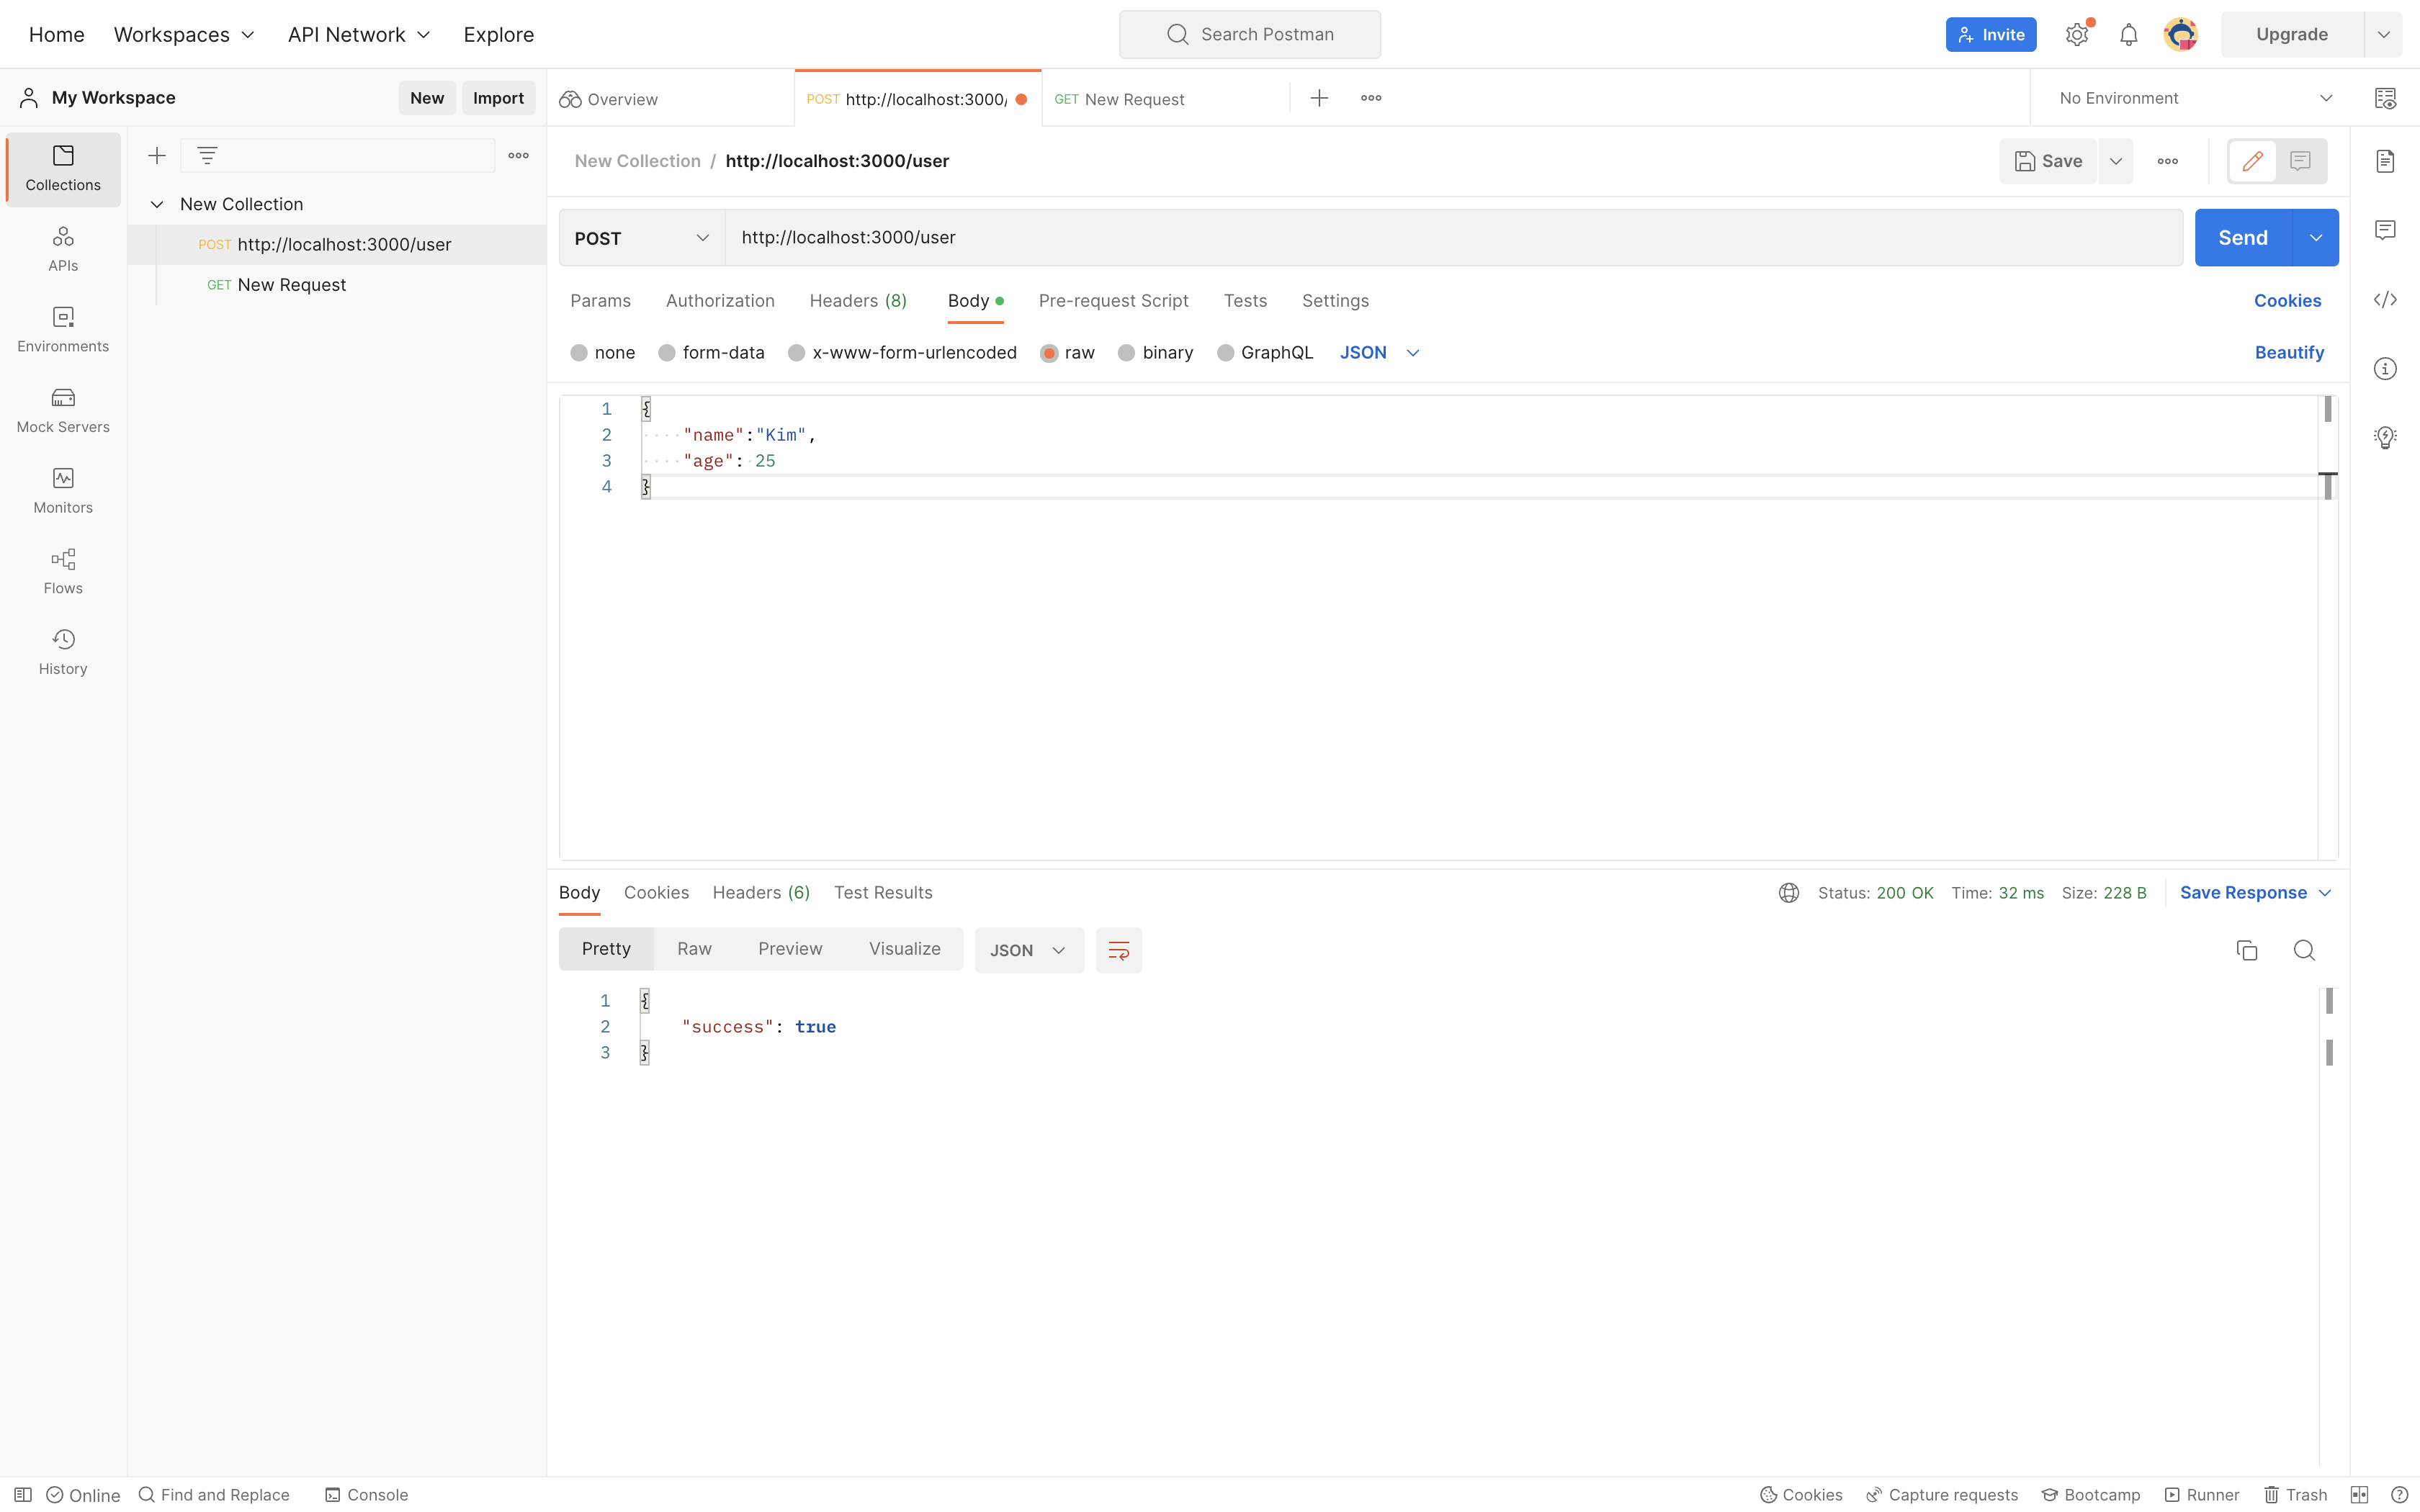
Postman
Post 요청
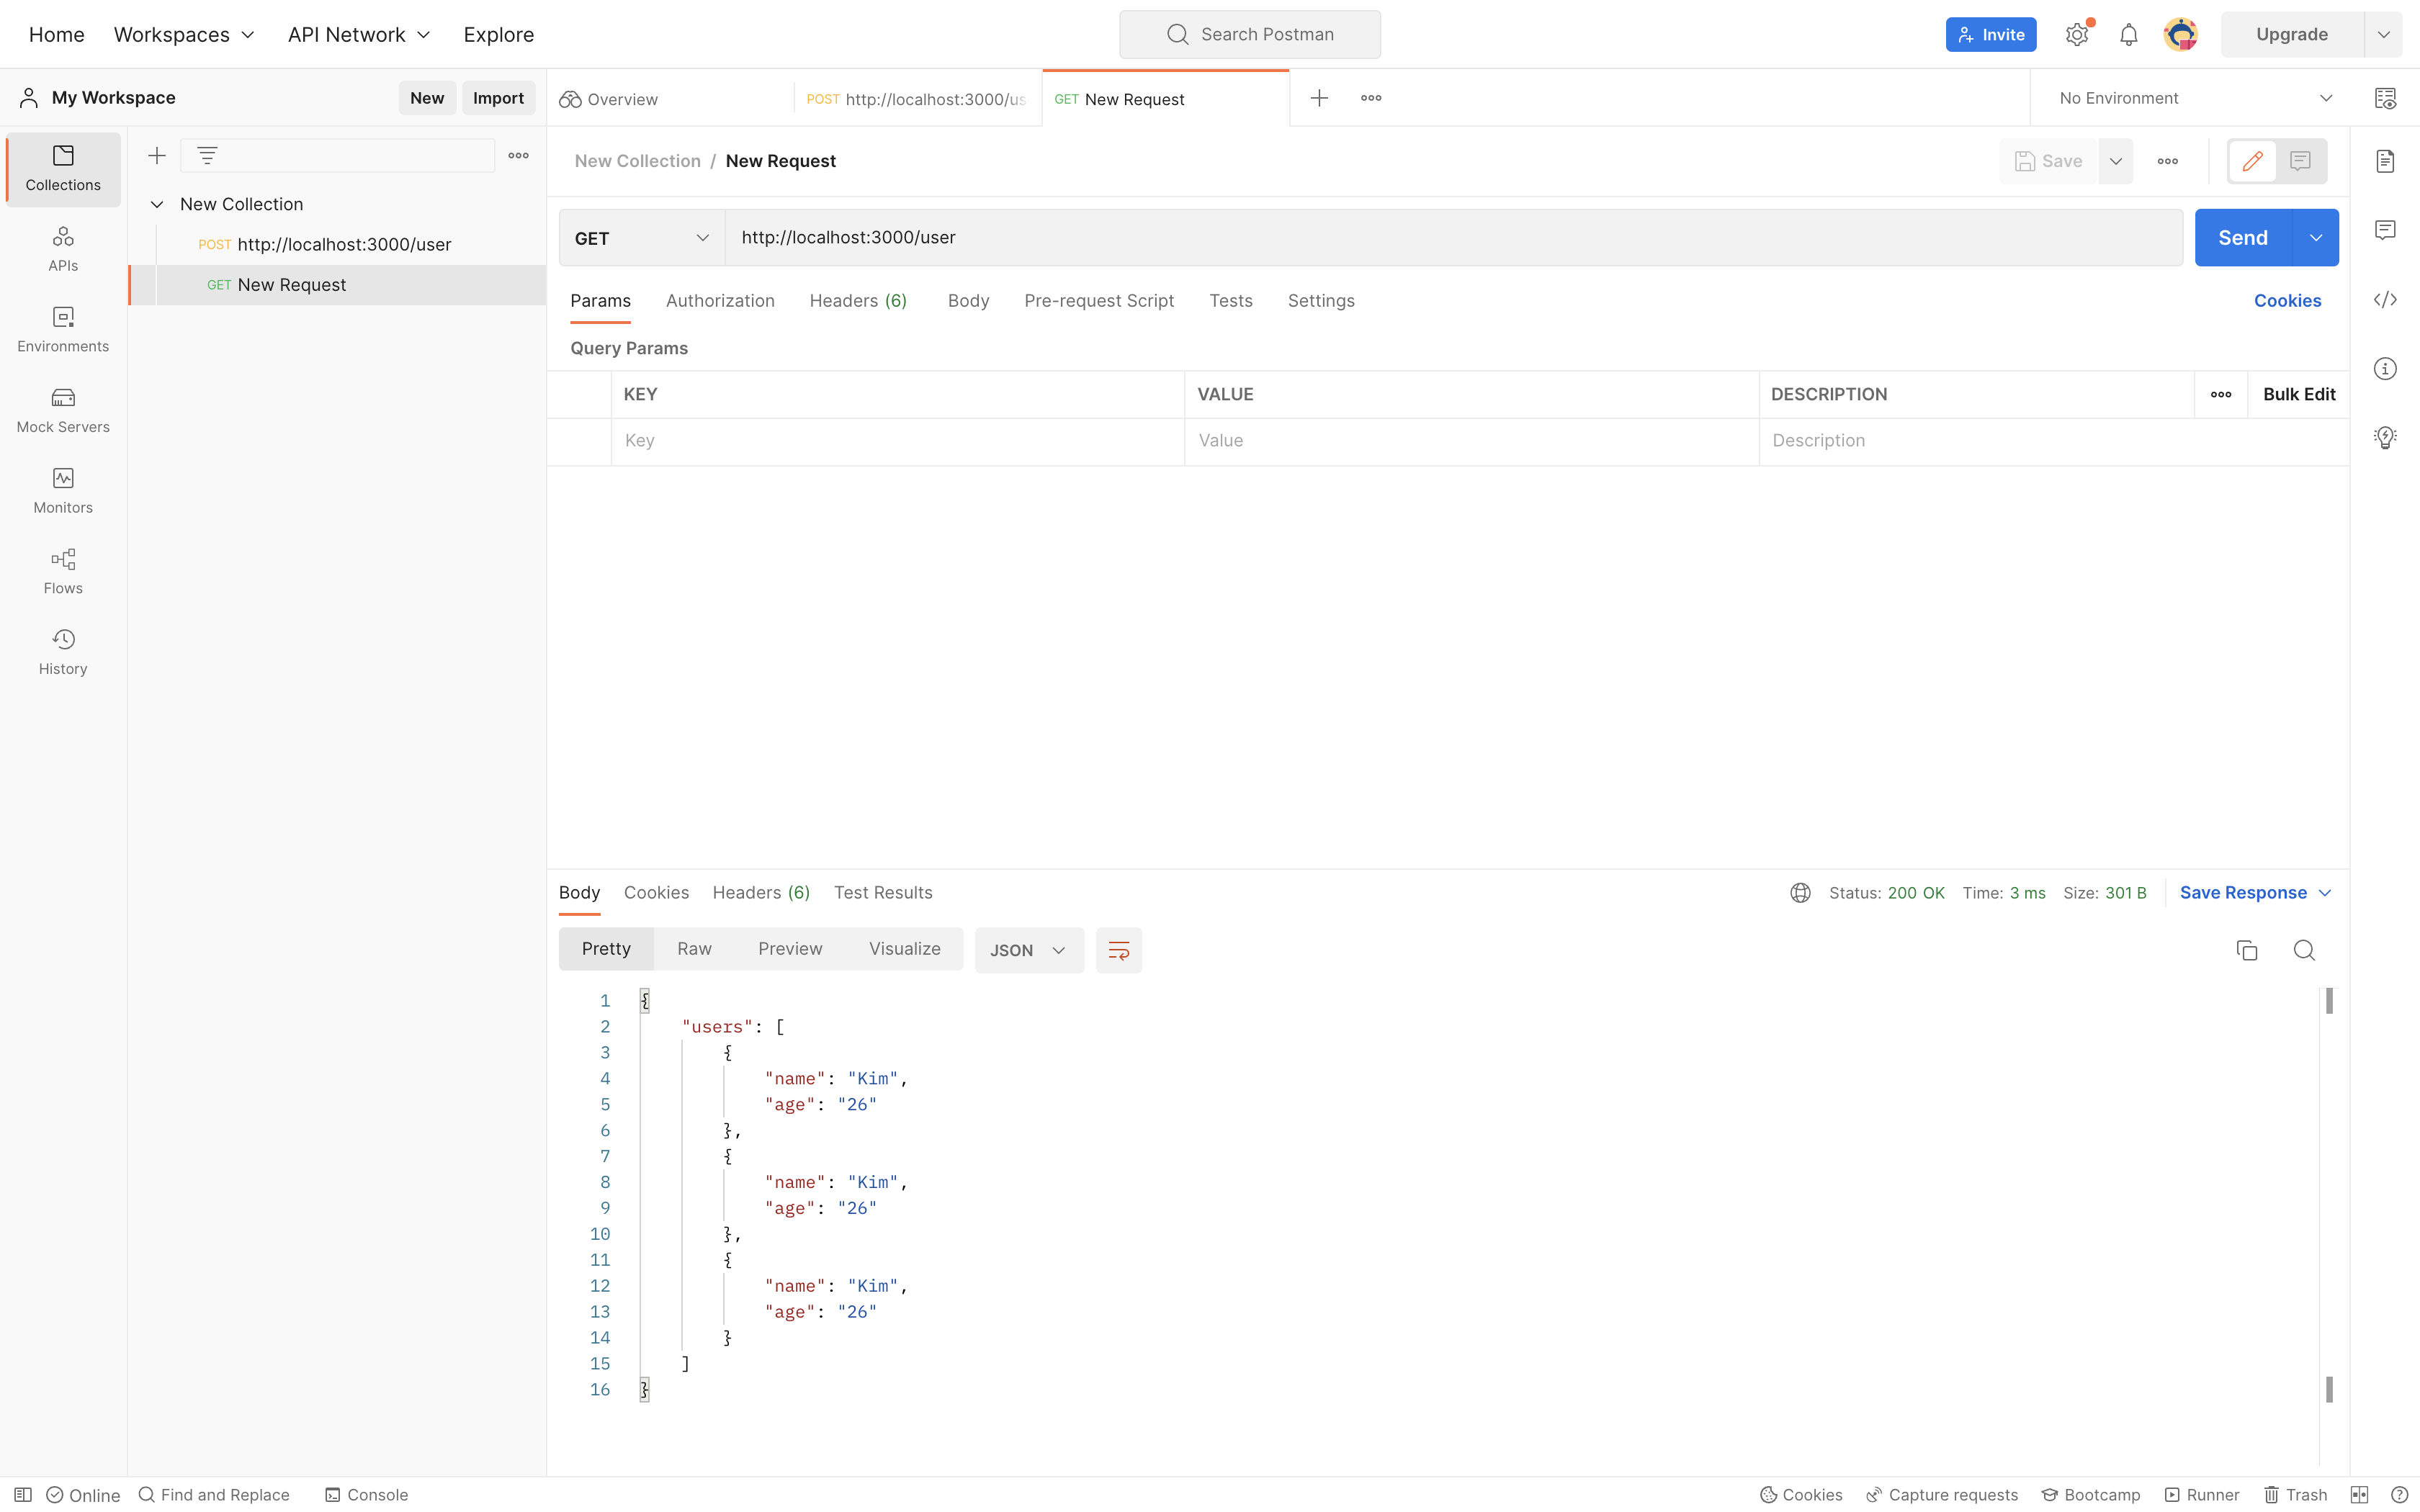
Get 요청
const express = require("express");
const app = express();

const users = []

app.get('/user', function(req, res) {
    res.send({users: users});
});

// app.메소드("리소스 엔드 포인트", 함수(요청, 응답){
//
// })
// 메소드는 리소드 엔드 포인트화 함수를 인자로 받는다.

app.post('/user', function(req, res){
    users.push({ name: req.body.name, age: req.body.age})
    return res.send({success: true})
})

app.listen(3000, function(){
    console.log('server is running on 3000');
})
이제 user라는 object에 바디의 요청값들을 보내주려고 한다.
실재로 실행해보면 오류가 나온다.
- 오류 메세지
<!DOCTYPE html> <html lang="en"> <head> <meta charset="utf-8"> <title>Error</title> </head> <body> <pre>TypeError: Cannot read property 'name' of undefined<br> at /Users/kimseounghun/Desktop/nodejs/mongodb_study/server.js:16:33<br> at Layer.handle [as handle_request] (/Users/kimseounghun/Desktop/nodejs/mongodb_study/node_modules/express/lib/router/layer.js:95:5)<br> at next (/Users/kimseounghun/Desktop/nodejs/mongodb_study/node_modules/express/lib/router/route.js:144:13)<br> at Route.dispatch (/Users/kimseounghun/Desktop/nodejs/mongodb_study/node_modules/express/lib/router/route.js:114:3)<br> at Layer.handle [as handle_request] (/Users/kimseounghun/Desktop/nodejs/mongodb_study/node_modules/express/lib/router/layer.js:95:5)<br> at /Users/kimseounghun/Desktop/nodejs/mongodb_study/node_modules/express/lib/router/index.js:284:15<br> at Function.process_params (/Users/kimseounghun/Desktop/nodejs/mongodb_study/node_modules/express/lib/router/index.js:346:12)<br> at next (/Users/kimseounghun/Desktop/nodejs/mongodb_study/node_modules/express/lib/router/index.js:280:10)<br> at expressInit (/Users/kimseounghun/Desktop/nodejs/mongodb_study/node_modules/express/lib/middleware/init.js:40:5)<br> at Layer.handle [as handle_request] (/Users/kimseounghun/Desktop/nodejs/mongodb_study/node_modules/express/lib/router/layer.js:95:5)</pre> </body> </html>
위 코드대로라면
자바스크립트 객채로 가정하고 코드가 읽어서 그렇다.
request 에서는 json 형식, string 형식으로 저장이 되어 있는데, 자바스크립트 객채로 사용할 수 있도록 파싱을 해주어야 하는데, 미들웨어 를 이용한다.
미들웨어: 함수, 데이터를 일정한 형식으로 가공할때 필요하다. next()로 다음 미들웨어로 이동하면서 진행한다.
미들웨어 종류 예시: CORS(이상한 도메인을 방지해주는 역활), JSON.parse(json을 자바스크립트 객채로 파싱해주는 역활), authenitcate(로그인에 필요한 헤터 토큰), logging, router1, router2
미들웨어 추가
app.use(express.json())
// 원래라면 body-parser를 받아와야 하지만 요즘에는 너무 자주 사용하는 기능이라 express에 내장되어 있다
post 성공