Vue.js
템플릿 문법
데이터 바인딩
Computed
this.num -> data num
컴퓨티드 속성은 단순히 뷰 템플릿 코드의 가독성만 높여줄 뿐만 아니라 컴퓨티드 속성의 대상으로 정한 data 속성이 변했을 때 이를 감지하고 자동으로 다시 연산해주는 장점이 있습니다.
참고 문서
<!DOCTYPE html>
<html lang="en">
<head>
    <meta charset="UTF-8">
    <meta http-equiv="X-UA-Compatible" content="IE=edge">
    <meta name="viewport" content="width=device-width, initial-scale=1.0">
    <title>Document</title>
</head>
<body>
    <div id="app">
        <p>{{ num }}</p>
        <p>{{ doubleNum }}</p>
    </div>

    <script src="https://cdn.jsdelivr.net/npm/vue@2/dist/vue.js"></script>

    <script>
        new Vue({
            el: '#app',
            data: {
                num: 10
            },
            computed: {
                doubleNum: function(){
                    return this.num * 2;
                }
            }

        });
    </script>
</body>
</html>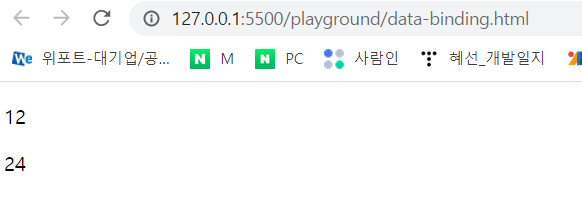
뷰 디렉티브
id: v-bind:if="" / class: v-bind:class=""
<!DOCTYPE html>
<html lang="en">
<head>
    <meta charset="UTF-8">
    <meta http-equiv="X-UA-Compatible" content="IE=edge">
    <meta name="viewport" content="width=device-width, initial-scale=1.0">
    <title>Document</title>
</head>
<body>
    <div id="app">
        <p v-bind:id="uuid" v-bind:class="name">{{ num }}</p>
        <!-- <p id="abc1234">{{ num }}</p> -->
        <p>{{ doubleNum }}</p>
    </div>

    <script src="https://cdn.jsdelivr.net/npm/vue@2/dist/vue.js"></script>

    <script>
        new Vue({
            el: '#app',
            data: {
                num: 10,
                uuid: 'abc1234',
                name: 'text-blue'
            },
            computed: {
                doubleNum: function(){
                    return this.num * 2;
                }
            }

        });
    </script>
</body>
</html>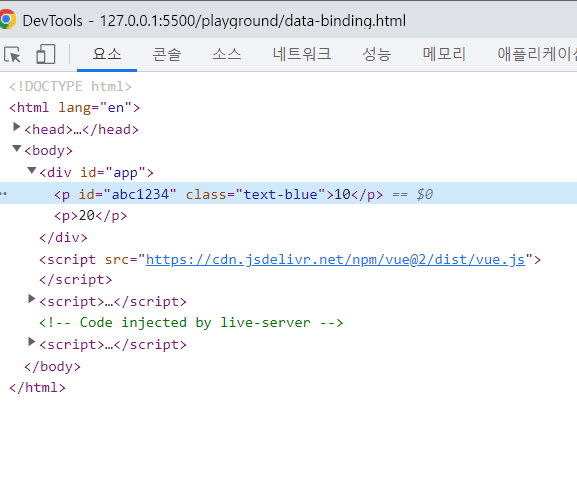
뷰 디렉티브2
if: v-if="" / else: v-else / show: v-show=""
if와 show의 차이는 if는 true일때 보여지고 false일 때는 다른 값을 보여주지만 show는 없어지지 않고 display: none;으로 바뀜
<!DOCTYPE html>
<html lang="en">
<head>
    <meta charset="UTF-8">
    <meta http-equiv="X-UA-Compatible" content="IE=edge">
    <meta name="viewport" content="width=device-width, initial-scale=1.0">
    <title>Document</title>
</head>
<body>
    <div id="app">
        <p v-bind:id="uuid" v-bind:class="name">{{ num }}</p>
        <!-- <p id="abc1234">{{ num }}</p> -->
        <p>{{ doubleNum }}</p>
        <div v-if="loading">
            Loading...
        </div>
        <div v-else>
            test user has been logged in
        </div>
        <div v-show="loading">
            Loading...
        </div>
    </div>

    <script src="https://cdn.jsdelivr.net/npm/vue@2/dist/vue.js"></script>

    <script>
        new Vue({
            el: '#app',
            data: {
                num: 10,
                uuid: 'abc1234',
                name: 'text-blue',
                loading: true
            },
            computed: {
                doubleNum: function(){
                    return this.num * 2;
                }
            }

        });
    </script>
</body>
</html>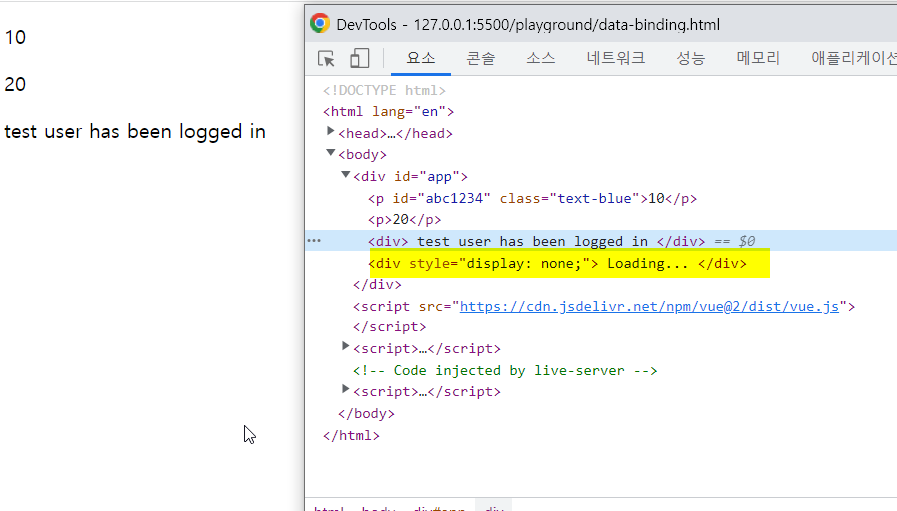
(실습) 서비스 구현해보기
input binding
vuejs.org 공식문서에서 참고 하기
공식문서
<!DOCTYPE html>
<html lang="en">
<head>
    <meta charset="UTF-8">
    <meta http-equiv="X-UA-Compatible" content="IE=edge">
    <meta name="viewport" content="width=device-width, initial-scale=1.0">
    <title>Document</title>
</head>
<body>
    <div id="app">
        <p v-bind:id="uuid" v-bind:class="name">{{ num }}</p>
        <!-- <p id="abc1234">{{ num }}</p> -->
        <p>{{ doubleNum }}</p>
        <div v-if="loading">
            Loading...
        </div>
        <div v-else>
            test user has been logged in
        </div>
        <div v-show="loading">
            Loading...
        </div>
        <!-- TODO: 인풋 박스를 만들고 입력된 값을 p 태그에 출력해보세요 -->
        <input type="text" v-model="message">
        <p>{{ message }}</p>
    </div>

    <script src="https://cdn.jsdelivr.net/npm/vue@2/dist/vue.js"></script>

    <script>
        new Vue({
            el: '#app',
            data: {
                num: 10,
                uuid: 'abc1234',
                name: 'text-blue',
                loading: true,
                message: ''
            },
            computed: {
                doubleNum: function(){
                    return this.num * 2;
                }
            }

        });
    </script>
</body>
</html>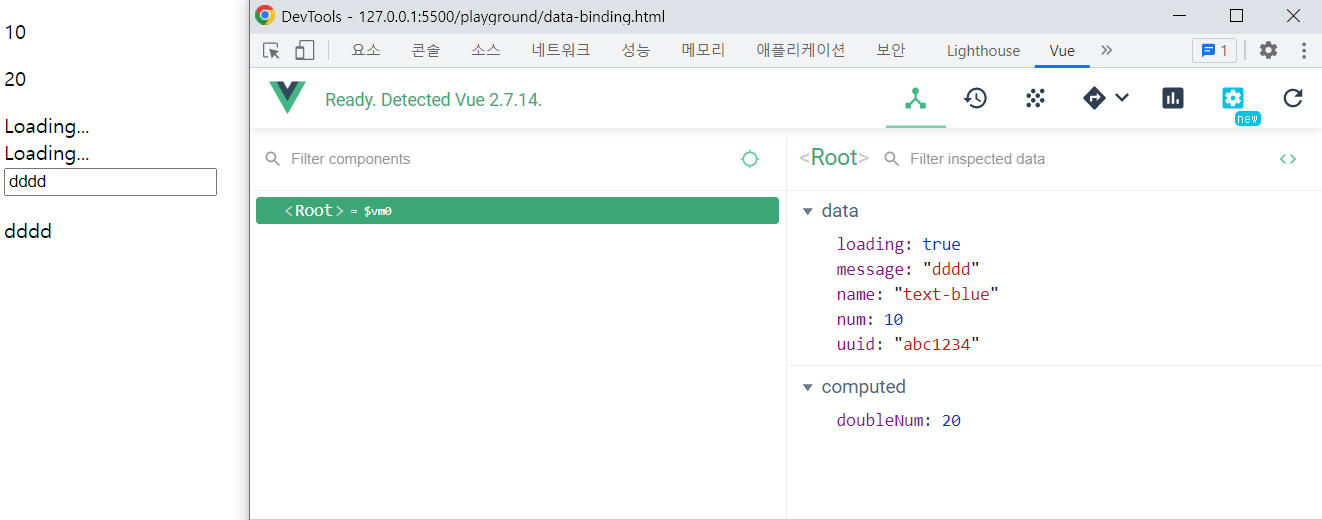
메소드와 이벤트핸들링
v-on 이벤트 명 / keyup 키보드의 키를 놓았을 때 실행함 / enter
참고 블로그
<!DOCTYPE html>
<html lang="en">
<head>
    <meta charset="UTF-8">
    <meta http-equiv="X-UA-Compatible" content="IE=edge">
    <meta name="viewport" content="width=device-width, initial-scale=1.0">
    <title>Document</title>
</head>
<body>
    <div id="app">
        <button v-on:click="logText">click me</button>
        <input type="text" v-on:keyup.enter="logText">
        <button>add</button>
    </div>
    <script src="https://cdn.jsdelivr.net/npm/vue@2/dist/vue.js"></script>
    <script>
        new Vue({
            el: '#app',
            methods: {
                logText: function() {
                    console.log('clicked');
                }
            }
        })
    </script>
</body>
</html>
watch
watch 속성은 특정 데이터의 변화를 감지하여 자동으로 특정 로직을 수행해주는 속성입니다
클릭할 때마다 num은 1씩 증가하고 changed가 콘솔에 찍히는 로직
<!DOCTYPE html>
<html lang="en">
<head>
    <meta charset="UTF-8">
    <meta http-equiv="X-UA-Compatible" content="IE=edge">
    <meta name="viewport" content="width=device-width, initial-scale=1.0">
    <title>Document</title>
</head>
<body>
    <div id="app">
        {{ num }}
        <button v-on:click="addNum">increase</button>
    </div>
    <script src="https://cdn.jsdelivr.net/npm/vue@2/dist/vue.js"></script>
    <script>
        new Vue({
            el: '#app',
            data: {
                num: 10
            },
            watch: {
                num: function() {
                    this.logText();
                }
            },
            methods: {
                addNum: function() {
                    this.num = this.num + 1;
                },
                logText: function() {
                    console.log('changed');
                }
            }
        })
    </script>
</body>
</html>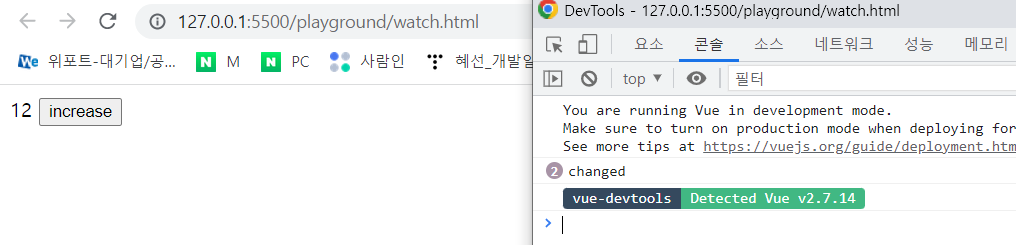
computed vs watch
두가지 모두 특정 data의 변화를 감지하여 자동으로 바꿔주는 속성이다.
그렇다면 두가지의 차이점은?
computed
단순한 값의 대한 계산 / 단순한 텍스트의 입력을 받아서 계산하는 것
watch
매번 실행되는 게 부담스러운 것들을 처리 / 데이터 요청
공식문서에서는 watch 보단 computed를 쓰는 것을 권장하고 있음
<!DOCTYPE html>
<html lang="en">
<head>
    <meta charset="UTF-8">
    <meta http-equiv="X-UA-Compatible" content="IE=edge">
    <meta name="viewport" content="width=device-width, initial-scale=1.0">
    <title>Document</title>
</head>
<body>
    <div id="app">
        {{ num }}
    </div>
    <script src="https://cdn.jsdelivr.net/npm/vue@2/dist/vue.js"></script>
    <script>
        new Vue({
            el: '#app',
            data: {
                num: 10
            },
            computed: {
                doubleNum: function() {
                    return this.num * 2;
                }
            },
            watch: {
                num: function(newValue, oldValue) {
                    this.fetchUserByNumber(newValue)
                }
            },
            methods: {
                fetchUserByNumber: function(num) {
                    console.log(num);
                    // axios.get(num);
                }
            }
        })
    </script>
</body>
</html>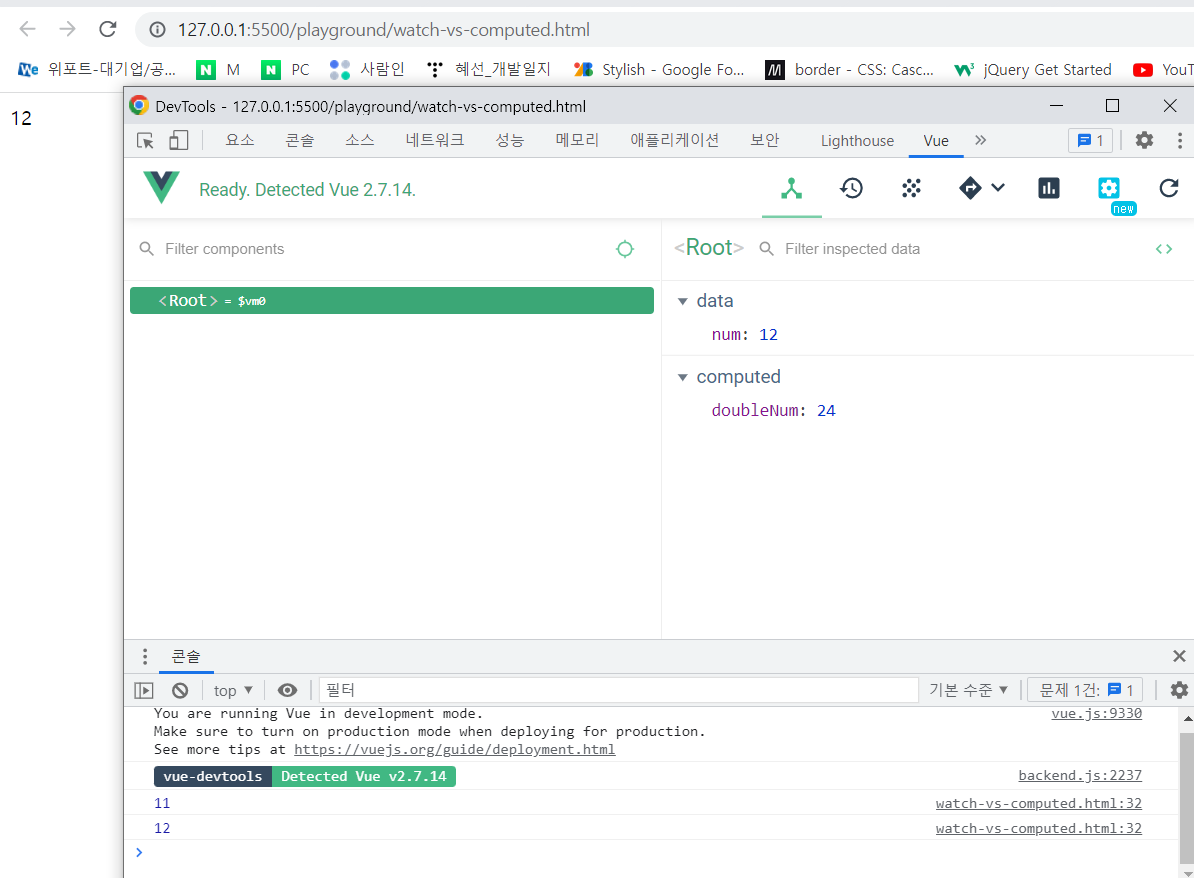
Computed 클래스 코드
삼항 연산자 사용: 조건일때 ? true : false
<!DOCTYPE html>
<html lang="en">
<head>
    <meta charset="UTF-8">
    <meta http-equiv="X-UA-Compatible" content="IE=edge">
    <meta name="viewport" content="width=device-width, initial-scale=1.0">
    <title>Document</title>
    <style>
        .warning {
            color: red;
        }
    </style>
</head>
<body>
    <div id="app">
        <!-- <p v-bind:class="{ warning: isError }">Hello</p> -->
        <p v-bind:class="errorTextColor">Hello</p>
    </div>
    <script src="https://cdn.jsdelivr.net/npm/vue@2/dist/vue.js"></script>
    <script>
        new Vue({
            el: '#app',
            data: {
                // cname: 'blue-text',
                isError: false // boolean
            },
            computed: {
                errorTextColor: function() {
                    return this.isError ? 'warning' : null;
                }
            }
        });
    </script>
</body>
</html>
Vue cli
cli 설치
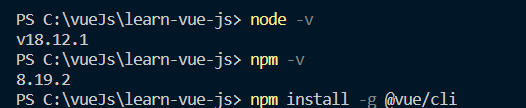
node 10. 이상
npm 6. 이상 -> 버전 확인
vsCode-> 터미널 -> npm install -g @vue/cli 설치 명령어
vue create vue-cli
cd vue cli + npm run serve
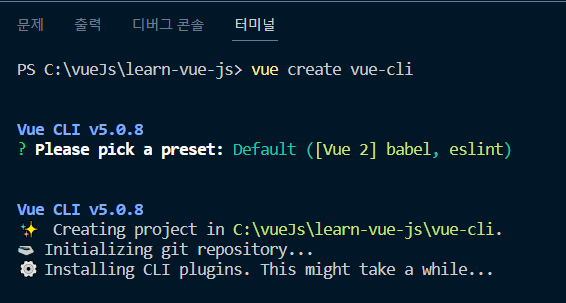

설치 완료!
ESLink 에러해결
templates에서 계속 Parsing error: No Babel config file detected for C:\vueJs\learn-vue-js\vue-cli\src\App.vue...이런 에러가 떴다
해결방법
ctrl+,를 켜서 위에 아이콘을 클릭 후 아래같이 추가 해줘서 해결
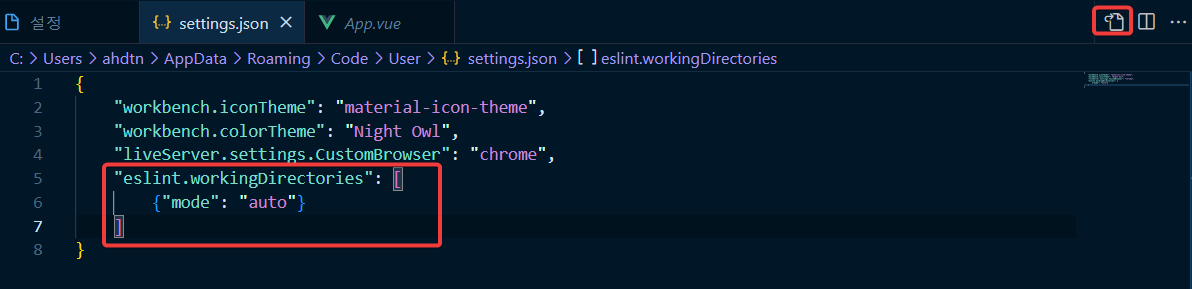
"eslint.workingDirectories": [
        {"mode": "auto"}
 ],
multi-word-component-names 오류 해결
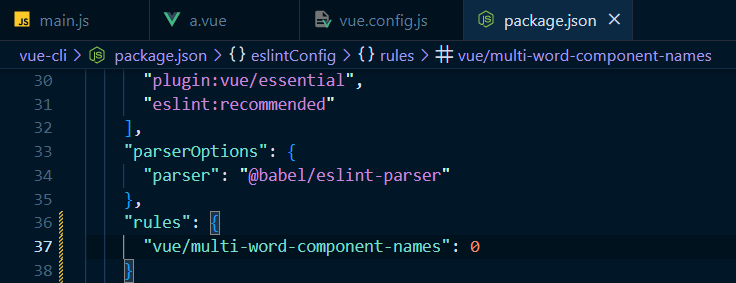
"vue/multi-word-component-names": 0Vue cli - 살펴보기
main.js
App.vue라는 것을 임포트해서 사용
import Vue from 'vue'
import App from './App.vue'

Vue.config.productionTip = false

new Vue({
  render: h => h(App),
}).$mount('#app')
App.vue 를 살펴보기 전에 기본적인 구조는 다음과 같다.
vue를 치고 엔터를 눌렀을 때 자동 생성됨
<template>
  <div>header</div>
</template>

<script>
export default {

}
</script>

<style>

</style>
App.vue
<hello-world></hello-world> -> 공식문서에서는 이 방식을 주로 사용
<template>
  <div id="app">
    <img alt="Vue logo" src="./assets/logo.png">
    <HelloWorld msg="Welcome to Your Vue.js App"/>

    <!-- <hello-world></hello-world>
    <HelloWorld></HelloWorld>
    <Helloworld/> -->
  </div>
</template>

<script>
import HelloWorld from './components/HelloWorld.vue'

export default {
  // 인스턴스 옵션 속성 or 컴포넌트 옵션 속성
  name: 'App',
  components: {
    HelloWorld,
    // 'hello-world': HelloWorld,
  }
}
</script>

<style>
#app {
  font-family: Avenir, Helvetica, Arial, sans-serif;
  -webkit-font-smoothing: antialiased;
  -moz-osx-font-smoothing: grayscale;
  text-align: center;
  color: #2c3e50;
  margin-top: 60px;
}
</style>
HelloWorld.vue
<template>
  <div class="hello">
    <h1>{{ msg }}</h1>
    <p>
      For a guide and recipes on how to configure / customize this project,<br>
      check out the
      <a href="https://cli.vuejs.org" target="_blank" rel="noopener">vue-cli documentation</a>.
    </p>
    <h3>Installed CLI Plugins</h3>
    <ul>
      <li><a href="https://github.com/vuejs/vue-cli/tree/dev/packages/%40vue/cli-plugin-babel" target="_blank" rel="noopener">babel</a></li>
      <li><a href="https://github.com/vuejs/vue-cli/tree/dev/packages/%40vue/cli-plugin-eslint" target="_blank" rel="noopener">eslint</a></li>
    </ul>
    <h3>Essential Links</h3>
    <ul>
      <li><a href="https://vuejs.org" target="_blank" rel="noopener">Core Docs</a></li>
      <li><a href="https://forum.vuejs.org" target="_blank" rel="noopener">Forum</a></li>
      <li><a href="https://chat.vuejs.org" target="_blank" rel="noopener">Community Chat</a></li>
      <li><a href="https://twitter.com/vuejs" target="_blank" rel="noopener">Twitter</a></li>
      <li><a href="https://news.vuejs.org" target="_blank" rel="noopener">News</a></li>
    </ul>
    <h3>Ecosystem</h3>
    <ul>
      <li><a href="https://router.vuejs.org" target="_blank" rel="noopener">vue-router</a></li>
      <li><a href="https://vuex.vuejs.org" target="_blank" rel="noopener">vuex</a></li>
      <li><a href="https://github.com/vuejs/vue-devtools#vue-devtools" target="_blank" rel="noopener">vue-devtools</a></li>
      <li><a href="https://vue-loader.vuejs.org" target="_blank" rel="noopener">vue-loader</a></li>
      <li><a href="https://github.com/vuejs/awesome-vue" target="_blank" rel="noopener">awesome-vue</a></li>
    </ul>
  </div>
</template>

<script>
export default {
  // 인스턴스 옵션 속성
  name: 'HelloWorld',
  props: {
    msg: String  // 타입 정의
  }
}
</script>

<!-- Add "scoped" attribute to limit CSS to this component only -->
<style scoped>
h3 {
  margin: 40px 0 0;
}
ul {
  list-style-type: none;
  padding: 0;
}
li {
  display: inline-block;
  margin: 0 10px;
}
a {
  color: #42b983;
}
</style>
Vue cli - 시작하기
- HelloWorld.vue 삭제
- App.vue 내용 삭제 후 작성
App.vue
<template>
  <div>
    {{ str }}
  </div>
</template>

<script>
// new Vue({ data: { str: 'hi' }})
export default {
 data: function() {
  return {
    str: 'hi'
  }
 }
}
</script>

<style>

</style>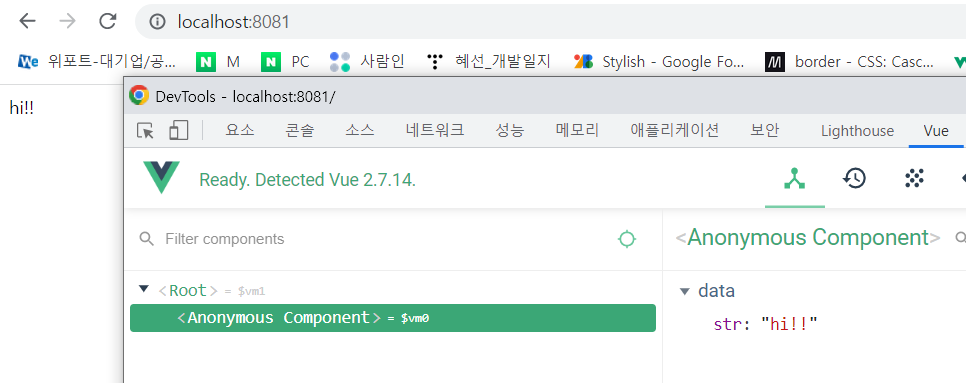
Vue cli - 연결하기
컴포넌트를 두 단어로 쓰는 이유
->html 태그와 구분하기 위해서 두단어를 조합 후 앞 글자를 대문자로 구별
1. components폴더안에 AppHeader.vue를 만든다
<template>
  <header>
    <h1>Header</h1>
  </header>
</template>

<script>
export default {

}
</script>

<style>

</style>
2. App.vue에 AppHeader import 시키기
import를 할 때 경로 설정을 잘해줘야 잘 찾아감
<template>
  <div>
    <app-header></app-header>
  </div>
</template>

<script>
import AppHeader from './components/AppHeader.vue';
// new Vue({ data: { str: 'hi' }})
export default {
 data: function() {
  return {
    str: 'hi'
  }
 },
 components: {
  'app-header': AppHeader
 }
}
</script>

<style>

</style>
Vue cli - Props 사용
1. App.vue에서 v-bind를 사용해 propsdata 가져오기
<template>
  <div>
    <!-- <app-header v-bind:프롭스 속성이름="상위 컴포넌트의 데이터 이름"></app-header> -->
    <app-header v-bind:propsdata="str"></app-header>
  </div>
</template>

<script>
import AppHeader from './components/AppHeader.vue';
// new Vue({ data: { str: 'hi' }})
export default {
 data: function() {
  return {
    str: 'Header'
  }
 },
 components: {
  'app-header': AppHeader
 }
}
</script>

<style>

</style>
2. AppHeader에서 props 사용하기
콧수염 괄호를 사용해서 하면 App 에서 데이터가 변경될 때 따라오는 데이터가 다 변경된다.
<template>
  <header>
    <h1>{{ propsdata }}</h1>
  </header>
</template>

<script>
export default {
    props: ['propsdata']
}
</script>

<style>

</style>
Vue cli - event emit
1. AppHeader에서 event emit 작성
<template>
  <header>
    <h1>{{ propsdata }}</h1>
    <button v-on:click="sendEvent">send</button>
  </header>
</template>

<script>
export default {
    props: ['propsdata'],
    methods: {
        sendEvent: function() {
            this.$emit('renew')
        }
    }
}
</script>

<style>

</style>
2. App.vue에서 갱신되는 데이터 이벤트 작성
<template>
  <div>
    <!-- <app-header v-bind:프롭스 속성이름="상위 컴포넌트의 데이터 이름"></app-header> -->
    <app-header
    v-bind:propsdata="str"
    v-on:renew="renewStr"></app-header>
  </div>
</template>

<script>
import AppHeader from './components/AppHeader.vue';
// new Vue({ data: { str: 'hi' }})
export default {
 data: function() {
  return {
    str: 'Header'
  }
 },
 components: {
  'app-header': AppHeader
 },
 methods: {
  renewStr: function() {
    this.str = 'hi'
  }
 }
}
</script>

<style>

</style>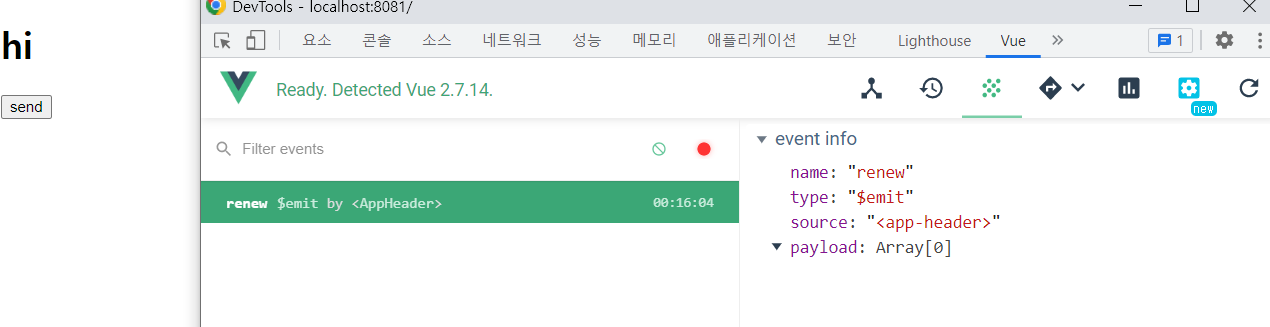
Vue cli - 정리
index.html
마지막에 주석 한줄 : 결국 하나의 파일로 출력된다는 뜻 / web package를 살펴보기 추천
<!DOCTYPE html>
<html lang="">
  <head>
    <meta charset="utf-8">
    <meta http-equiv="X-UA-Compatible" content="IE=edge">
    <meta name="viewport" content="width=device-width,initial-scale=1.0">
    <link rel="icon" href="<%= BASE_URL %>favicon.ico">
    <title><%= htmlWebpackPlugin.options.title %></title>
  </head>
  <body>
    <noscript>
      <strong>We're sorry but <%= htmlWebpackPlugin.options.title %> doesn't work properly without JavaScript enabled. Please enable it to continue.</strong>
    </noscript>
    <div id="app"></div>
    <!-- built files will be auto injected -->
  </body>
</html>
(실습) 사용자폼 만들기
서버 끄기
ctrl+c -> Y -> 휴지통 -> 새 터미널

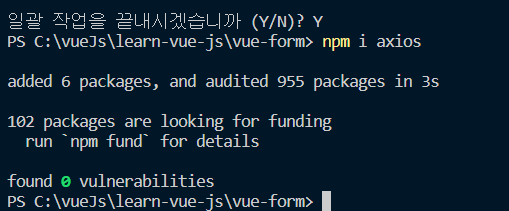
axios import 하는 방법
npm i axios
- v-on:submit.prevent : 새로고침하지 않고 페이지에 머물게함
- label에 for를 input 박스의 id와 연결하면 그대로 전달됨
- v-model : 사용자의 입력을 받는 UI 요소들에 v-model이라는 속성을 사용하면 입력 값이 자동으로 뷰 데이터 속성에 연결됩니다.
- post 속성을 통해 데이터를 전달
- axios: 데이터를 전달할 url를 담고 data를 담는다.
<template>
  <form v-on:submit.prevent="submitForm">
    <div>
      <label for="username">id: </label>
      <input id="username" type="text" v-model="username">
    </div>
    <div>
      <label for="password">pw: </label>
      <input id="password" type="password" v-model="password">
    </div>
    <button type="submit">login</button>
  </form>
</template>

<script>
import axios from 'axios';

export default {
  data: function() { // 데이터가 공유되지 않게하기 위함
    return {
      username: '',
      password: '',
    }
  },
  methods: {
    submitForm: function() {
      // event.preventDefault(); 새로고침 방지(기존 javascript/jquery)
      console.log(this.username, this.password);
      var url = 'https://jsonplaceholder.typicode.com/users';
      var data = {
        username: this.username,
        password: this.password
      }
      axios.post(url, data) // 데이터를 주고 받기 위함
        .then(function(response){
          console.log(response);
        })
        .catch(function(error) {
          console.log(error);
        });
    }
  }
}
</script>

<style>

</style>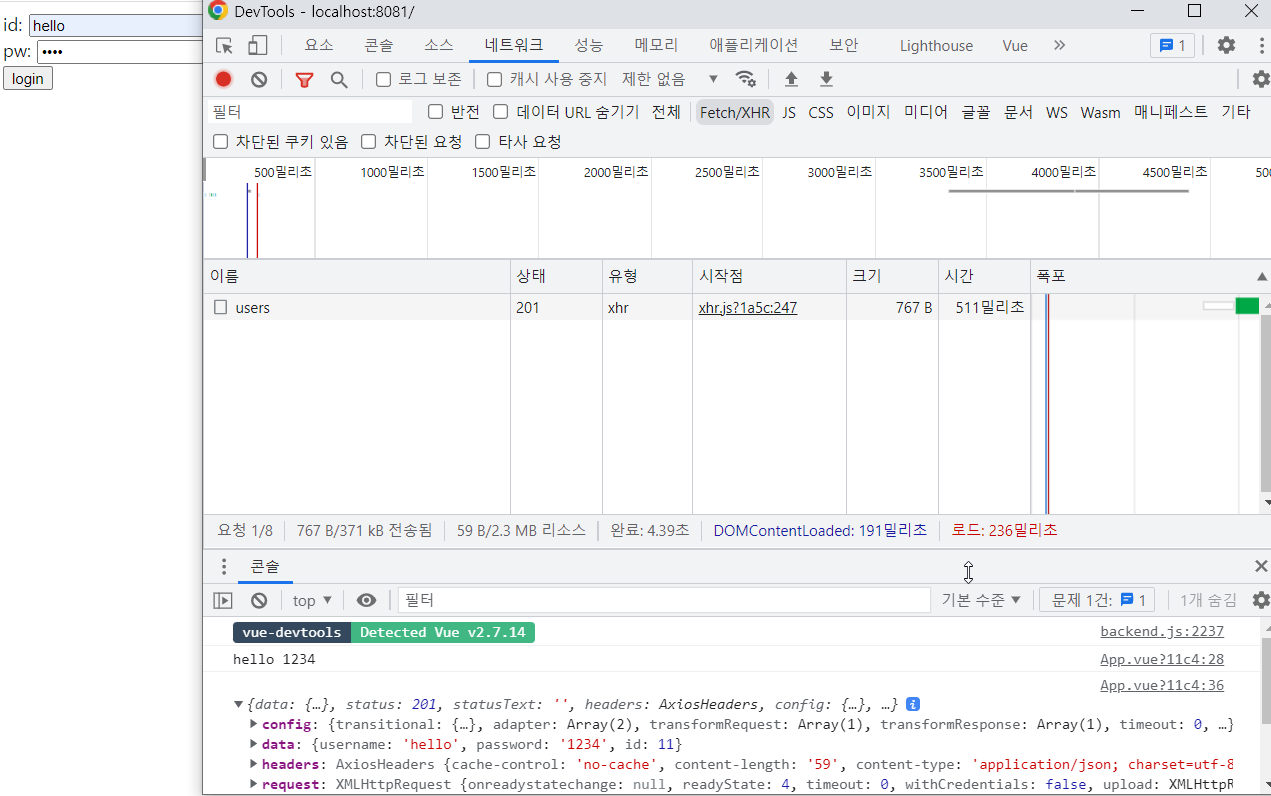
기초 강좌 총정리
- Reactivity
데이터의 대한 변화를 감지해서 화면에 출력 - 인스턴스
뷰를 개발할 때 필수로 생성해야하는 단위이자 데이터를 추가함으로써 데이터를 조작할 수 있다. - 컴포넌트
화면를 나눔(재사용성) - 컴포넌트 통신 - 데이터의 규칙들을 제한하여 데이터의 흐름를 봄
-- props : 상위에서 하위로
-- event emit : 하위에서 상위로 - Http 통신 라이브러리 (axios)
- 템플릿 문법
-- 데이터 바인딩
-- 뷰 디렉티브 - Vue CLI
- 싱글 파일 컴포넌트
학습 방법
공식 문서를 정독(한국어보단 원문을 추천)