본격적으로 프로젝트에 들어가기 앞서 그야말로 image detection을 맛을 한 번 보았다.
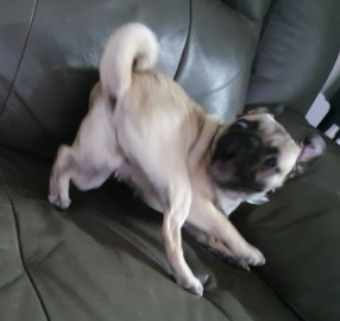
동료의 집에 같이 살고 있는 '양갱'이를 통해서 segmentation을 공부 해 보았다.
img = Image.open('../input/dfsdfsd/image (6).png').convert('RGB')
plt.imshow(img)
plt.show()
위 명령어를 통해 양갱이 사진을 불러온 후
model = torchvision.models.detection.maskrcnn_resnet50_fpn(pretrained=True)
model.eval()
transform = T.Compose([T.ToTensor()])
img_tensor = transform(img)
pred = model([img_tensor])
maskrcnn_resnet50을 불러와 model로 설정해주고 transform한 후 model에 prediction을 시켰다. pretrain된 모델을 가져와서 쓰다보니 학습과정도 필요 없고 가져다 쓰는데 크게 어려움도 없었다.
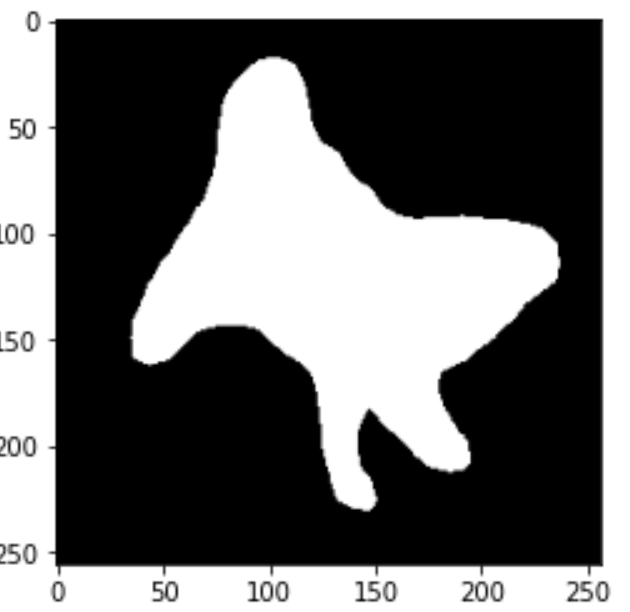
masks = (pred[0]['masks'] > 0.5).squeeze().detach().cpu().numpy()
plt.imshow(masks[0], cmap='gray')
plt.show()
다음과 같은 명령어로 threshold가 0.5이상인 값을 가져와 양갱이의 mask값을 가져왔다.
이 마스크 값을 이미지 값에 덧씌우거나 필터로 활용하려면 마스크에 rgb값이 필요하다. 그래서 구글링 후 mask_rcnn 깃헙 리포지토리에서 마스크에 rgb값을 넣는 함수를 가져와 입맛대로 변형을 했다.
def black_colour_masks(image):
    colours =  [[1,1,1]]
    r = np.zeros_like(image.astype(np.uint8))
    g = np.zeros_like(image.astype(np.uint8))
    b = np.zeros_like(image.astype(np.uint8))
    r[image == 1], g[image ==1], b[image == 1] = colours[0]
    coloured_mask = np.stack([r,g,b], axis=2)
return coloured_mask출처:https://github.com/matterport/Mask_RCNN
masks = (pred[0]['masks'] > 0.6).squeeze().detach().cpu().numpy()
mask = black_colour_masks(masks[0])
background_img = cv2.resize(background, (256,256))
cv2.copyTo(dog_img,mask,background_img)
다음과 같이 마스크값을 불러와 함수를 통해 rgb값을 붙이고 opencv를 통해서 이런 재밌는 일도 할 수 있었다.
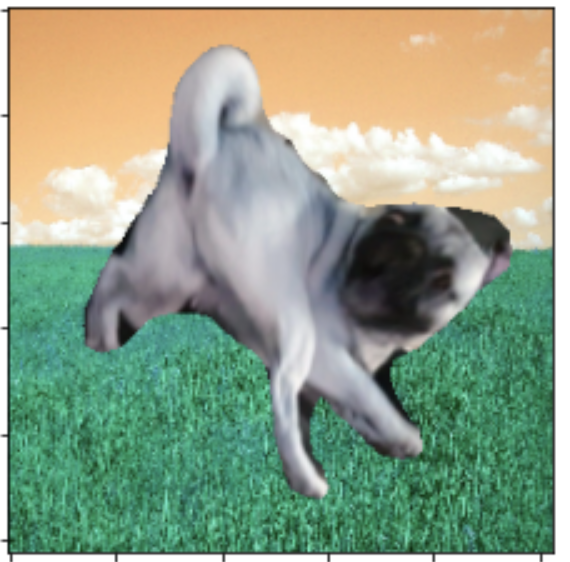
인터넷에서 구해온 배경에 opencv copyTo 함수를 통해서 '양갱'이만 떼와서 붙일 수 있었고
mask[np.where((mask > [0, 0, 0]).any(axis=2))] = [65,80,100]np.where함수를 불러와 마스크 rgb값 중에서 0보다 큰 값들, 그러니까 마스크 바깥쪽 값들을 불러와 값을 지정해 rgb값을 지정해주고
mask_dog_img = mask + dog_img지금처럼 array끼리 값을 더하거나 곱해서 배경색을 변하게 할 수 있다.

오늘 '양갱'이 덕에 여러가지로 segmetation을 가지고 여러가지 실험을 해 볼 수 있었다.
양갱아 고마워

습득력과 응용력이 매우매우 뛰어나신 정한님 응원합니다!